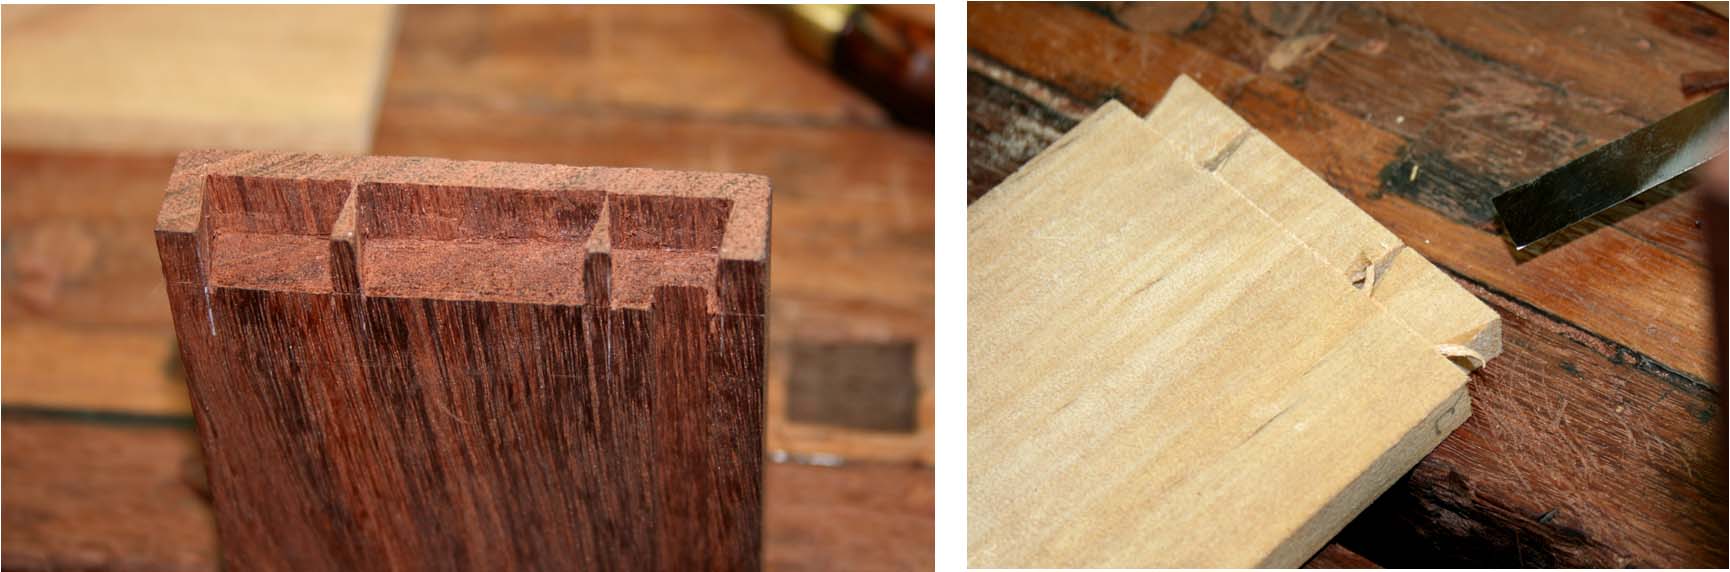
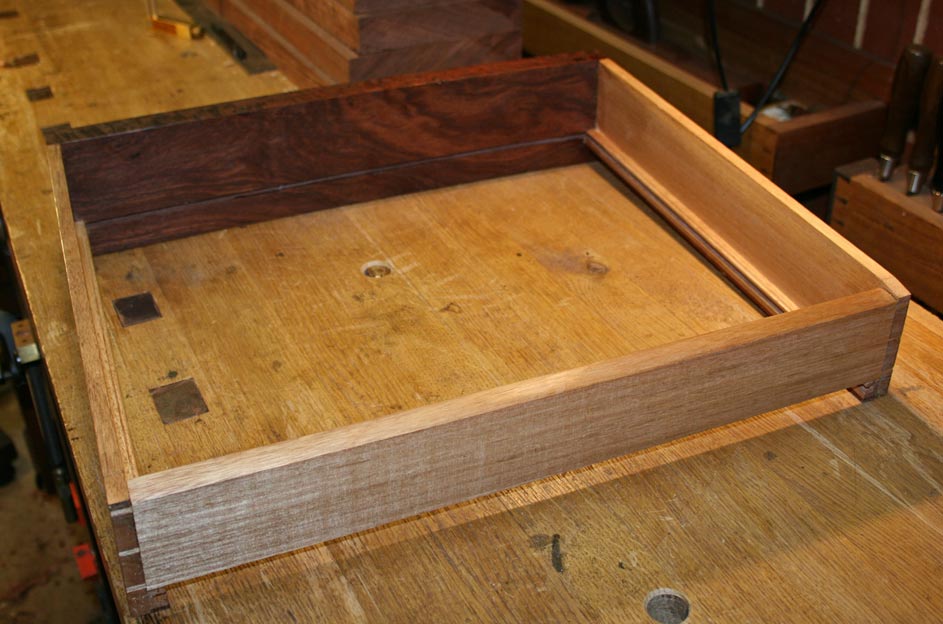
When grooving or rabbeting drawer or box sides for the bottom, what's your preferred method for avoiding blowing out the end grain of the pins (box joints or dovetails)?
I usually use a straight bit on the router table for these cuts, with stop cuts where the pins are. There's usually some paring with a chisel afterwards. But those pins are fragile, and at some point I'm looking around on the floor for a little piece of lost endgrain to glue back in. So how do you do it?
Jim

 Reply With Quote