This is a build thread for a Sheraton style breakfast table with 2 fold up leaves. Rough dimensions are ~ 30 wide x 50 long x 29 tall. I plan to use this table as sort of an auxiliary work surface in my office and like the idea of being able to fold the leaves up to create a larger work surface, and also fold them down for storage etc.
Im terrible at design so prefer to find finished pieces I like and try and re-create them. This table is a combination of a design features in similar Sheraton and Heppelwhite tables I found in an excellent book with simple measured, line drawings of classic early American furniture types. I dont have the book handy now but will add the author and title on my next post.
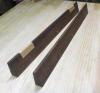
Lumber is Sapelle, which Ive never used before. I find it to be an excellent hand tool wood works just like Caribbean mahogany, without the opposing, rowed grain in African mahogany that for me can create tearout challenges.
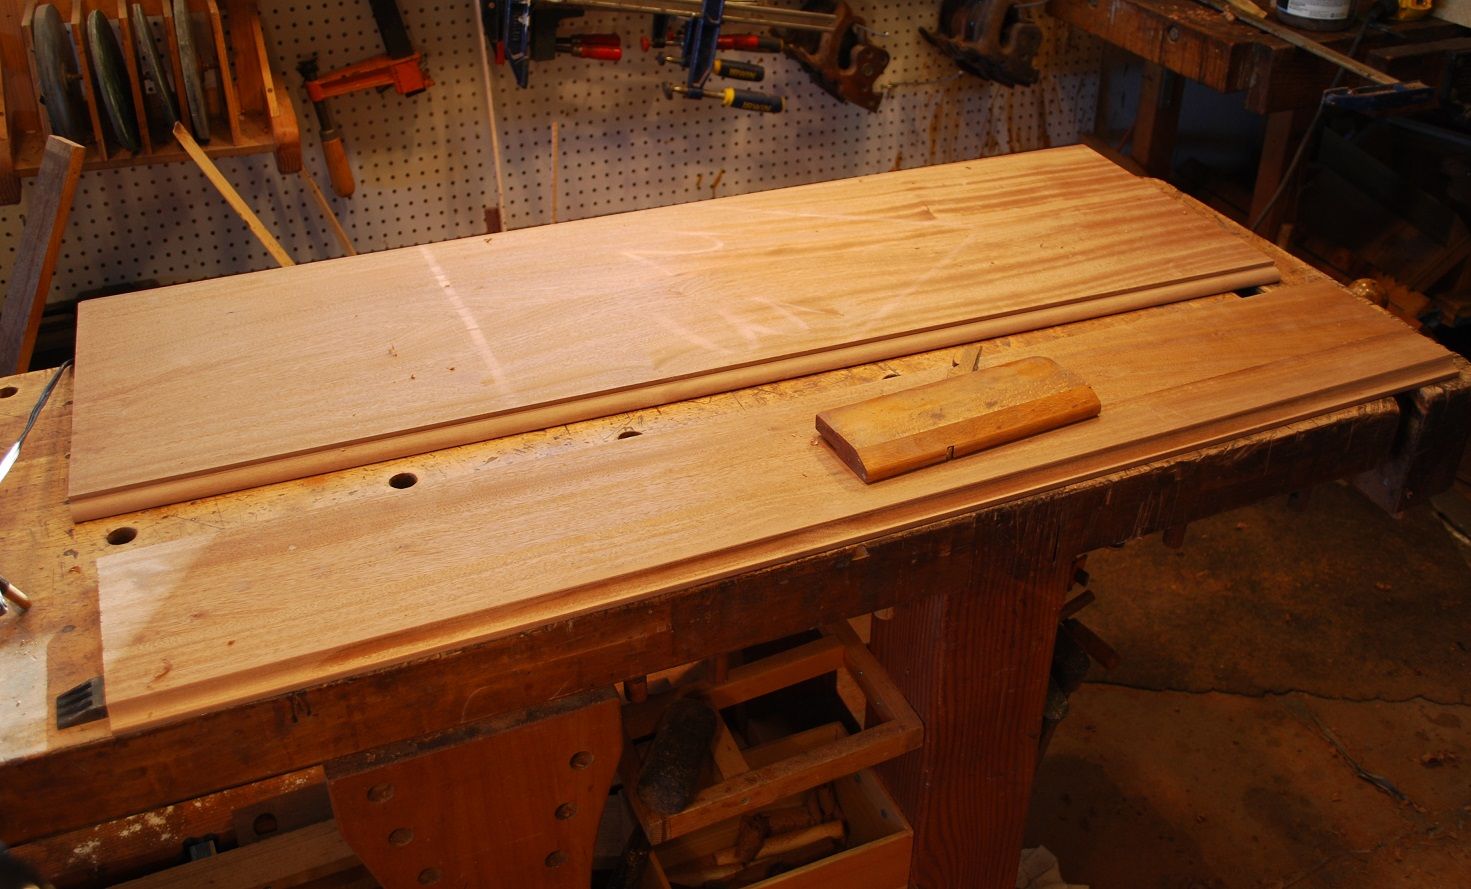
Top is 4/4. To get a decent symmetrical figure match from the approximately 11 wide boards, I did some ripping and re-gluing to the overall tabletop dimension. After a quick preliminary planing to clean up glue squeeze out/roughly level the glued up panel, I cut the top to final dimensions with hand saws. I like to saw to final dimension after the preliminary planing because cross grain plane strokes (which worked great for me in leveling humps and bumps), usually create spelching on the long grain edges. Dimensioning after planing allows these defects to be removed.
Large, glued up panels like this are too big for my shooting board and I like to smooth the end grain with the panel held in a face vice, which allows me to use gravity to my advantage.
In planning the layout/glue up of the tabletop, I tried to align glue joints with where I plan to rip the panel to create the fold up leaves. My intent was to try and make each leave out of a single board, oriented around the best figure match I could get for the central part of the table. I made the rule joints for the leaves with hand planes; fenced rabbit to establish the gross dimensions and then hollows and rounds to create desired curved surfaces. One of my favorite new tools is rubber sanding blocks with corresponding hollow and round surfaces in uniform dimensions great for sneaking up on uniform curves.


 Reply With Quote