Results 1 to 9 of 9

Thread: Sheraton Table Build – Lots of Pics

  1. #1
    Join Date
    Feb 2011
    Location
    Carlsbad, CA
    Posts
    2,230
    Blog Entries
    2

    Sheraton Table Build – Lots of Pics

    This is a build thread for a Sheraton style breakfast table with 2 fold up leaves. Rough dimensions are ~ 30” wide x 50” long x 29” tall. I plan to use this table as sort of an auxiliary work surface in my office and like the idea of being able to fold the leaves up to create a larger work surface, and also fold them down for storage etc.

    I’m terrible at design so prefer to find finished pieces I like and try and re-create them. This table is a combination of a design features in similar Sheraton and Heppelwhite tables I found in an excellent book with simple measured, line drawings of classic early American furniture types. I don’t have the book handy now but will add the author and title on my next post.
    Lumber is Sapelle, which I’ve never used before. I find it to be an excellent hand tool wood – works just like Caribbean mahogany, without the opposing, rowed grain in African mahogany that for me can create tearout challenges.

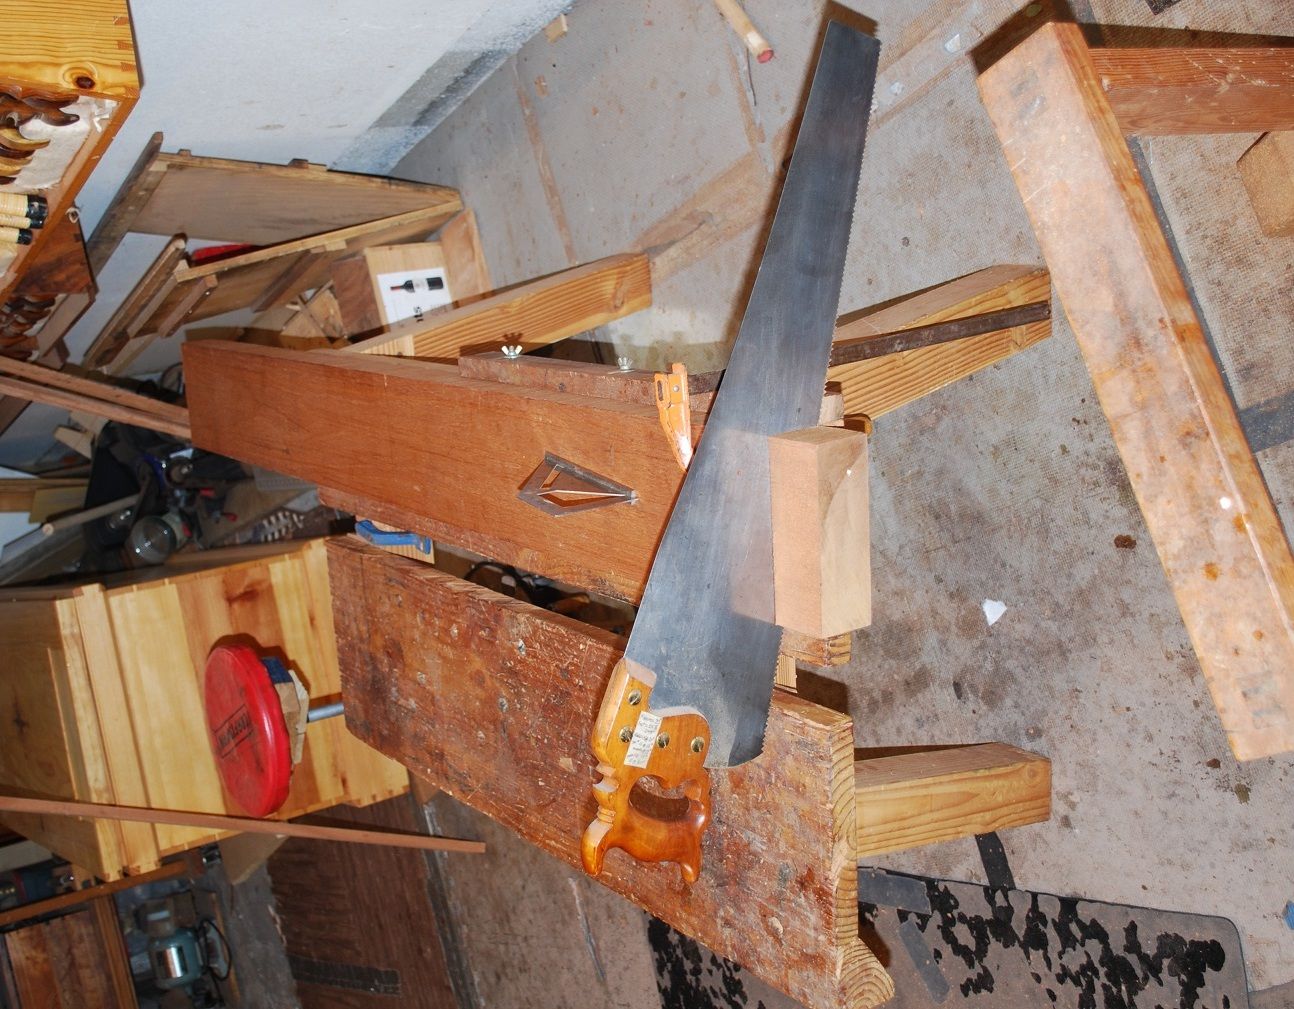
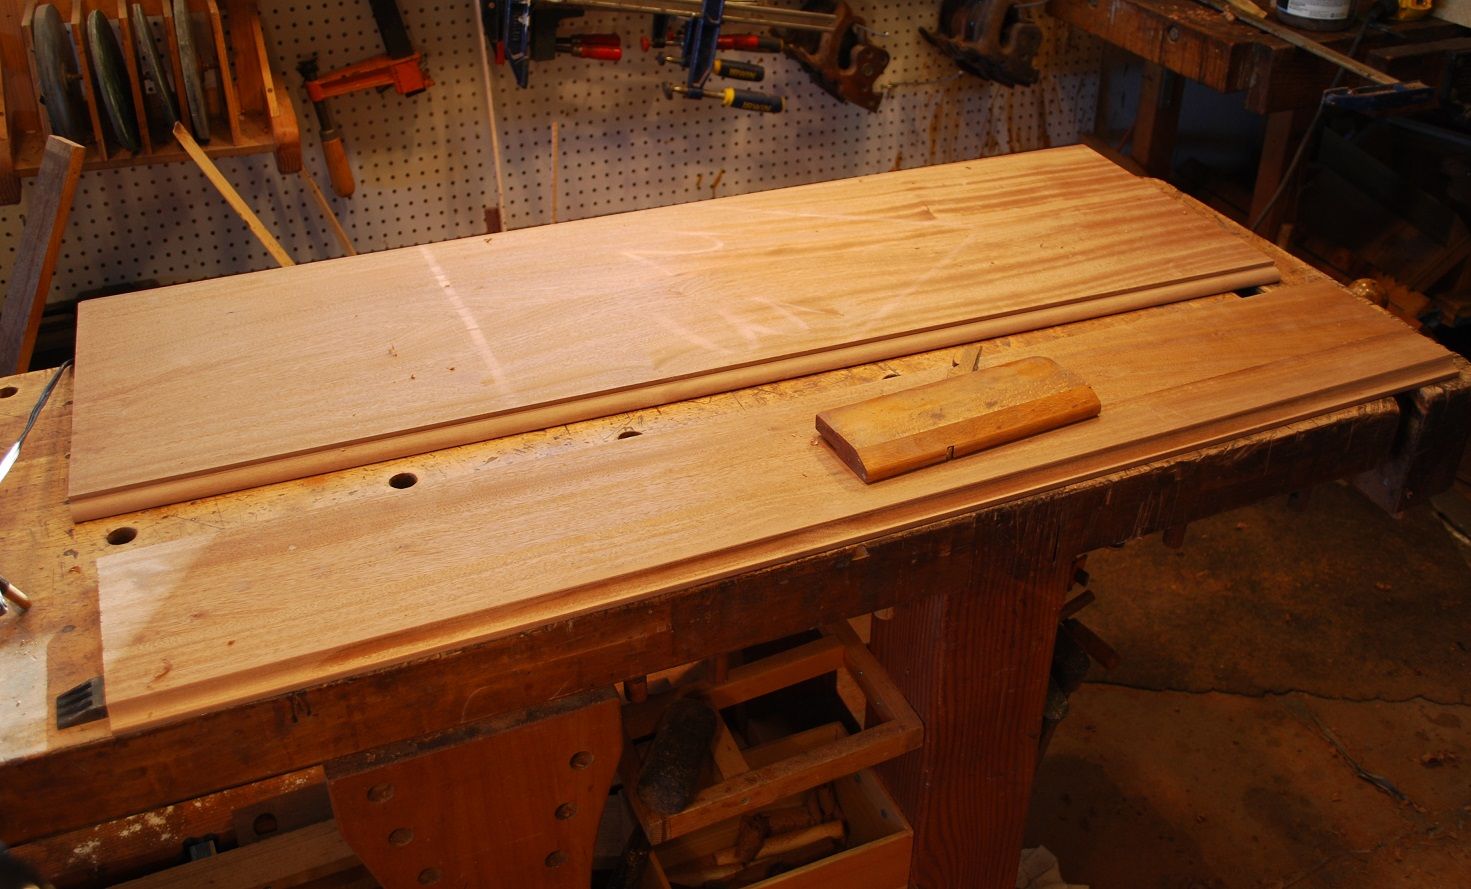
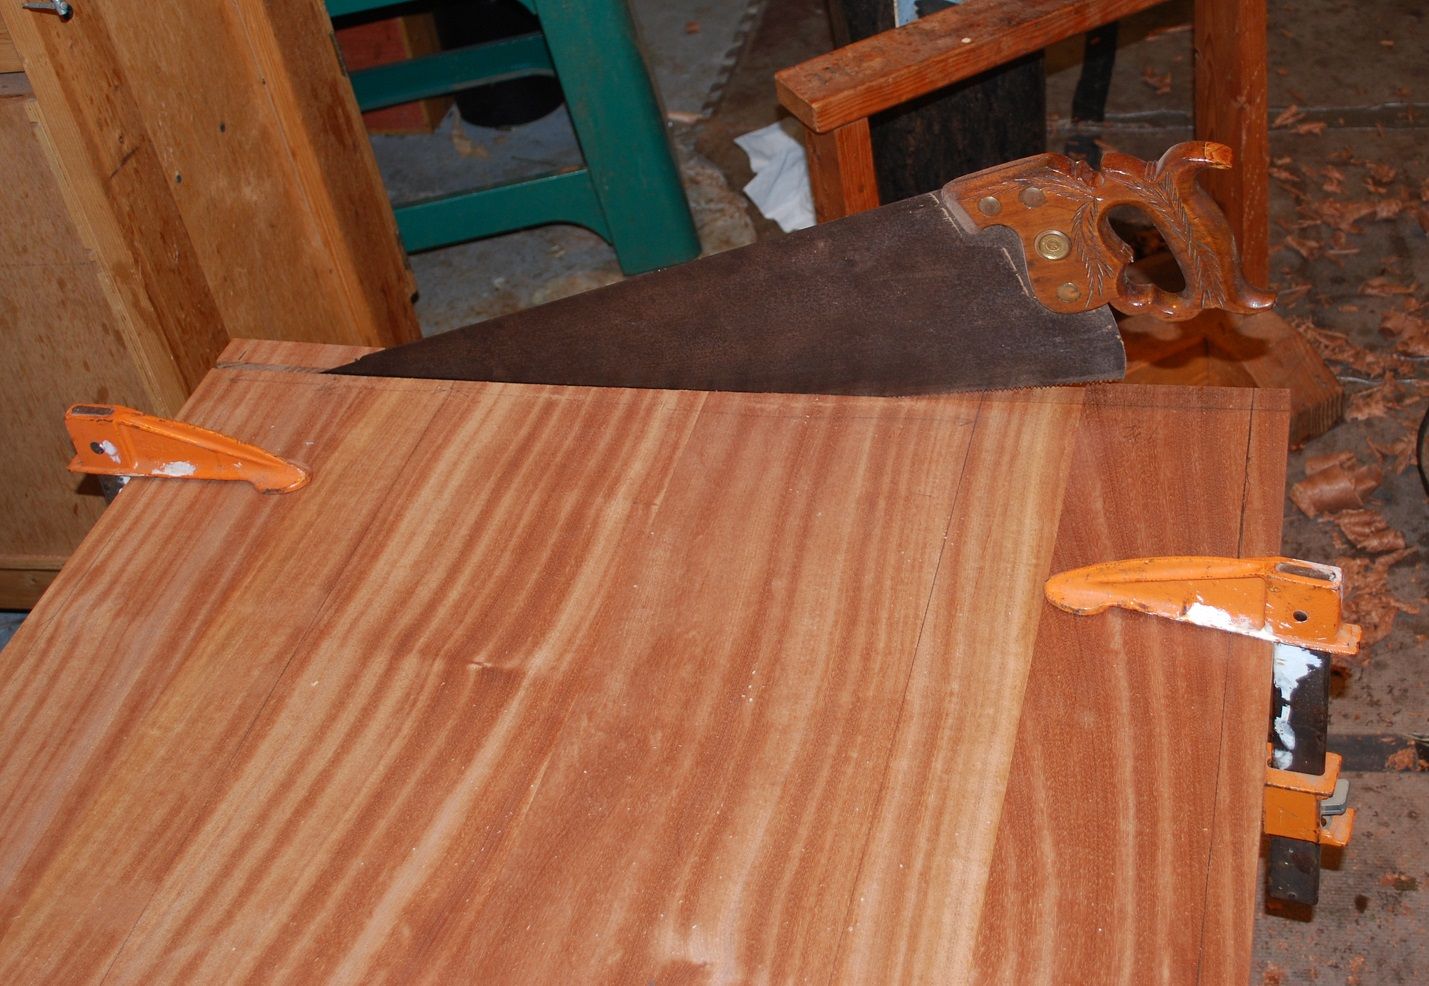
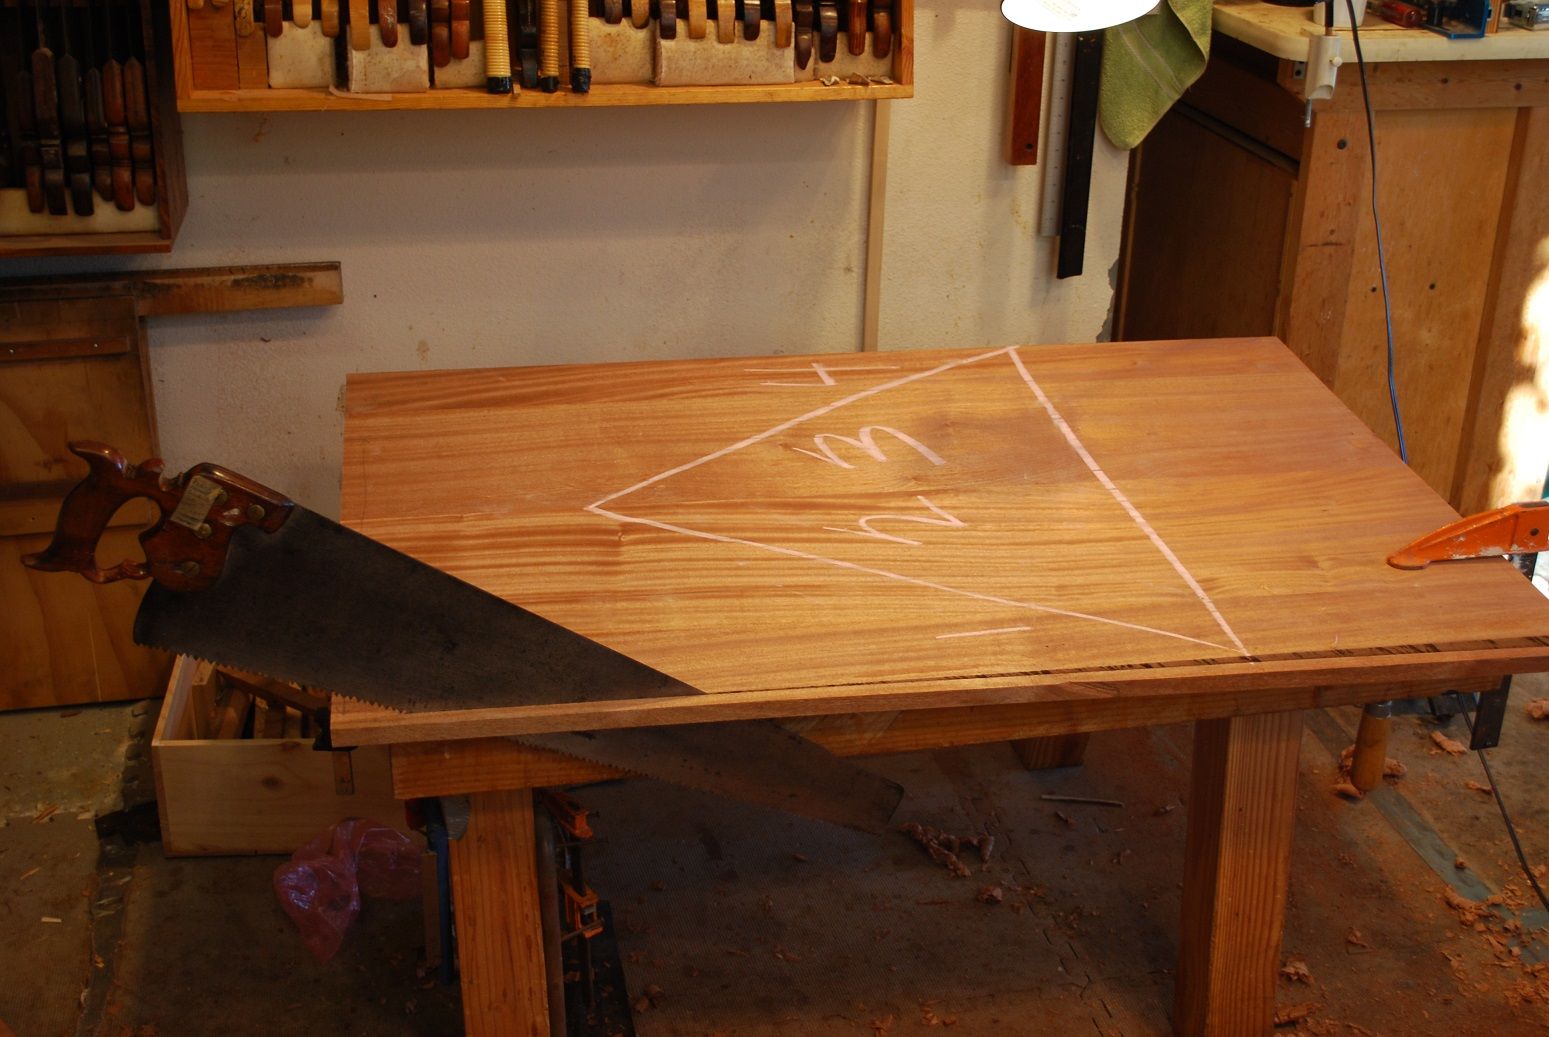
    Top is 4/4. To get a decent symmetrical figure match from the approximately 11” wide boards, I did some ripping and re-gluing to the overall tabletop dimension. After a quick preliminary planing to clean up glue squeeze out/roughly level the glued up panel, I cut the top to final dimensions with hand saws. I like to saw to final dimension after the preliminary planing because cross grain plane strokes (which worked great for me in leveling humps and bumps), usually create spelching on the long grain edges. Dimensioning after planing allows these defects to be removed.


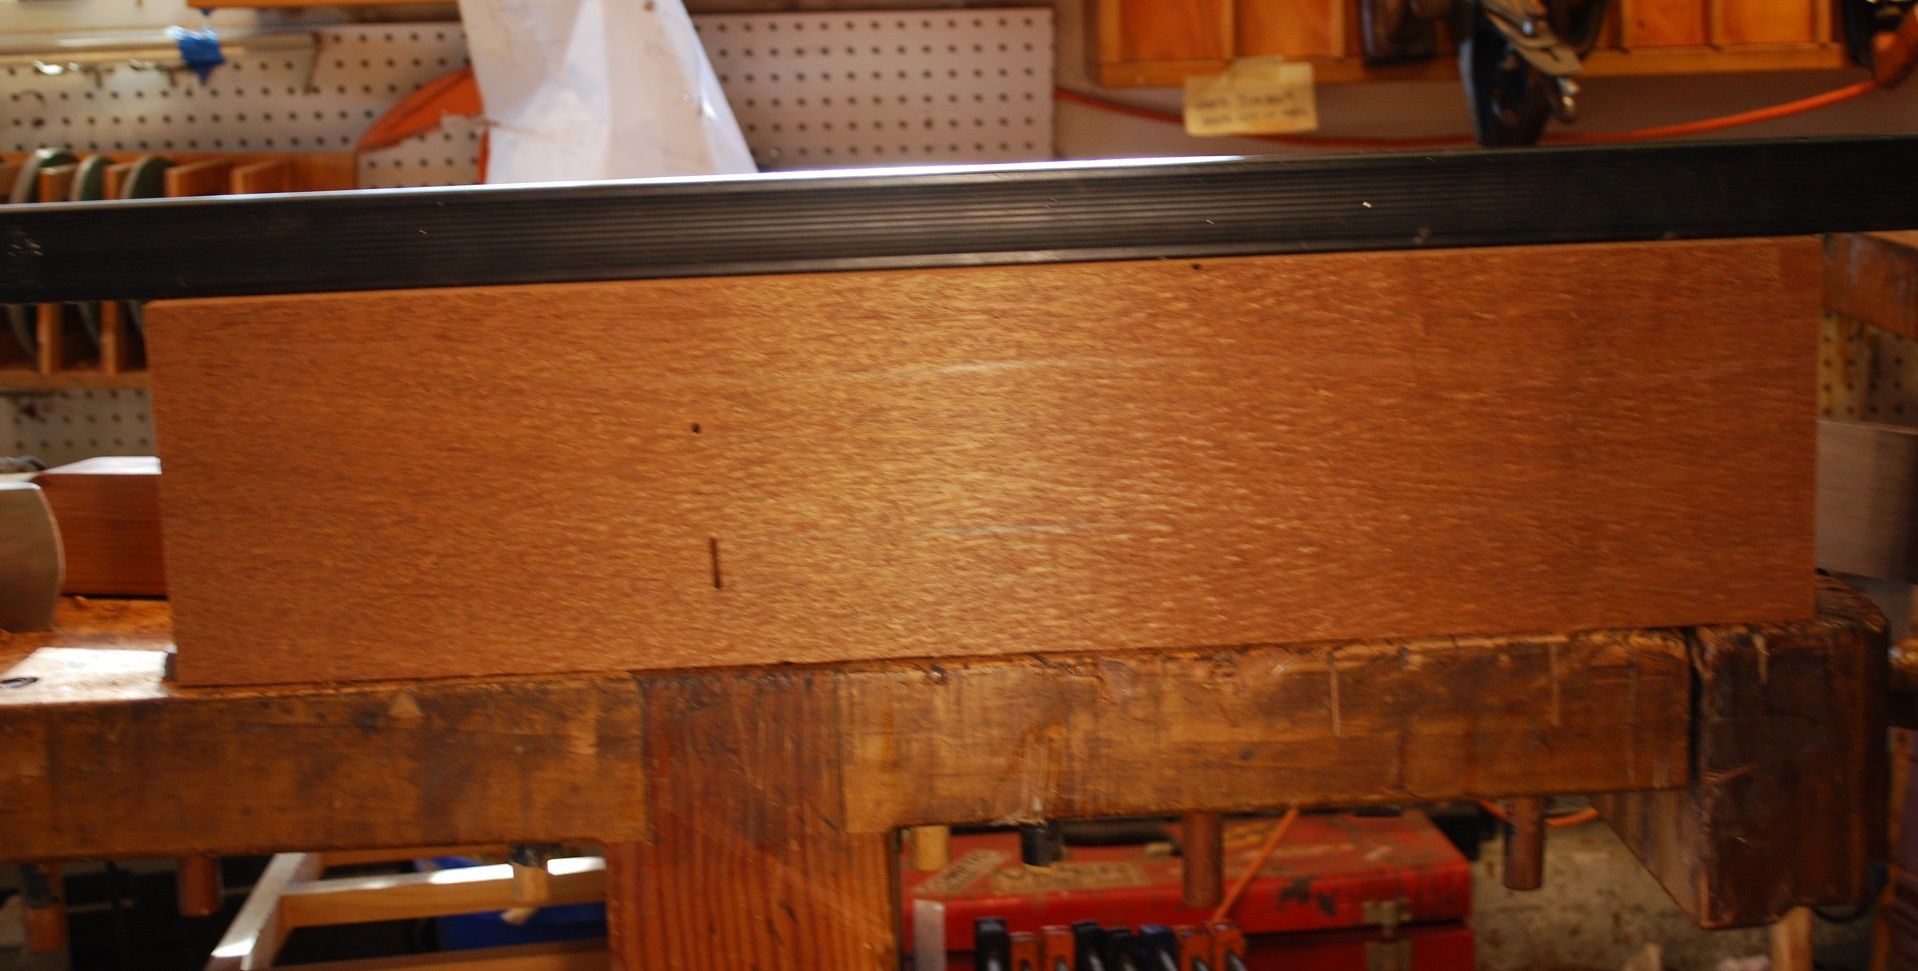
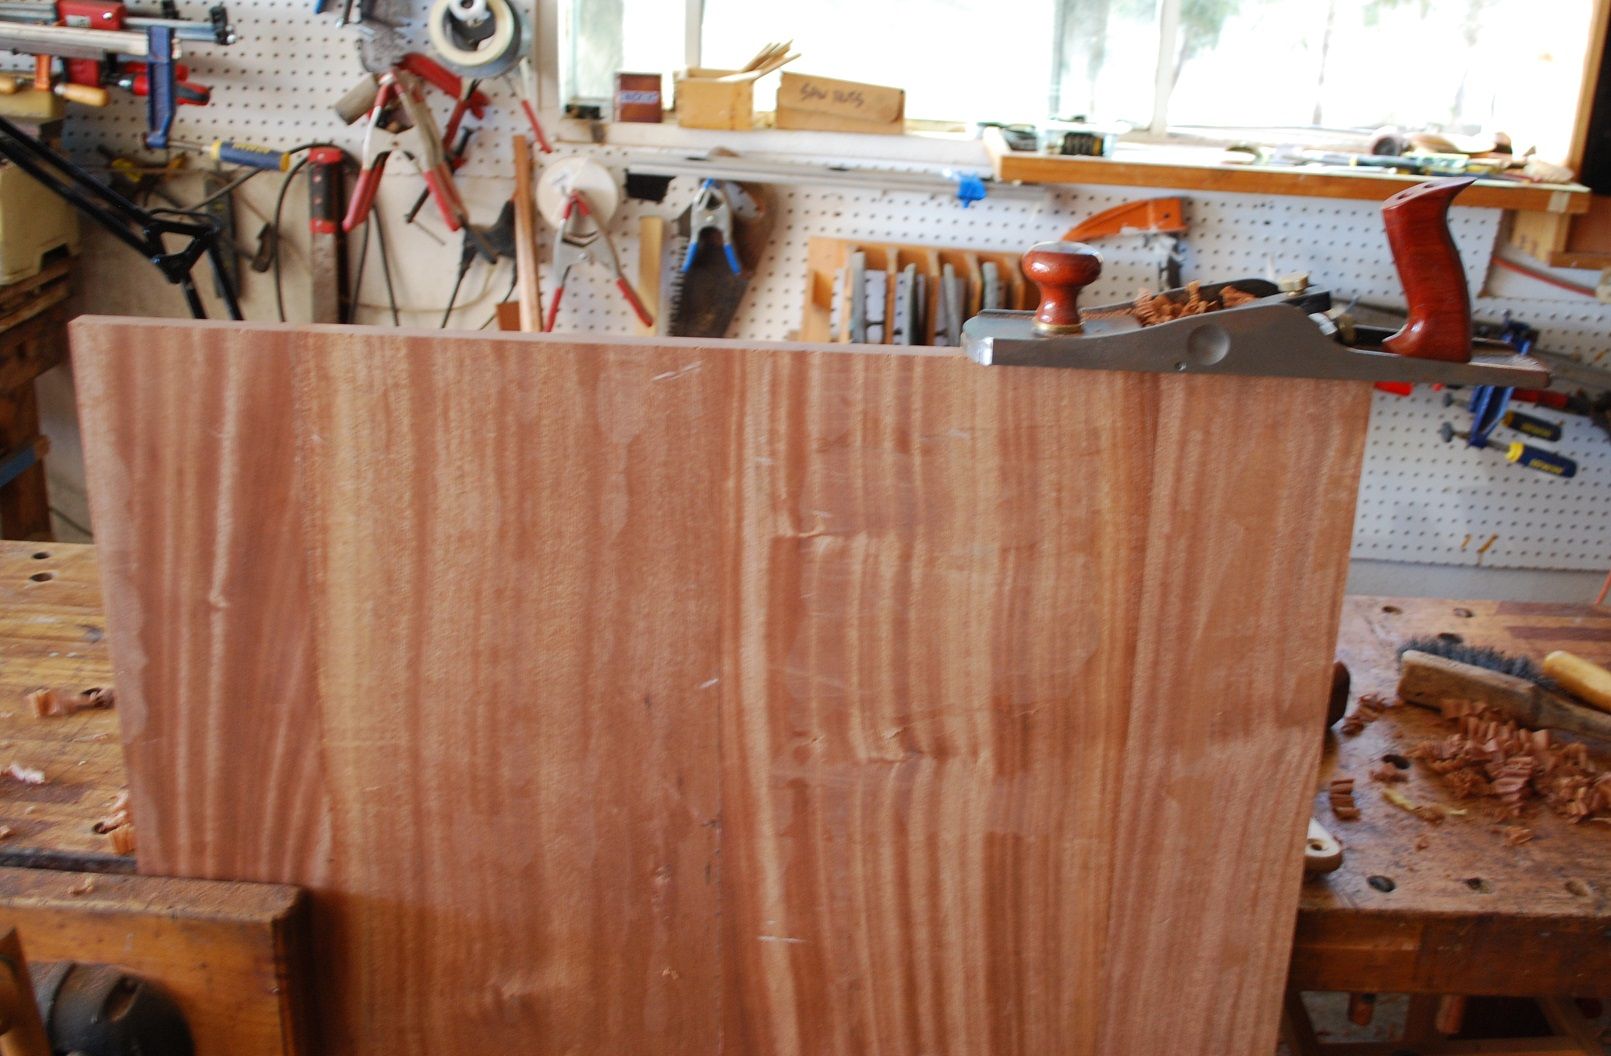
    Large, glued up panels like this are too big for my shooting board and I like to smooth the end grain with the panel held in a face vice, which allows me to use gravity to my advantage.


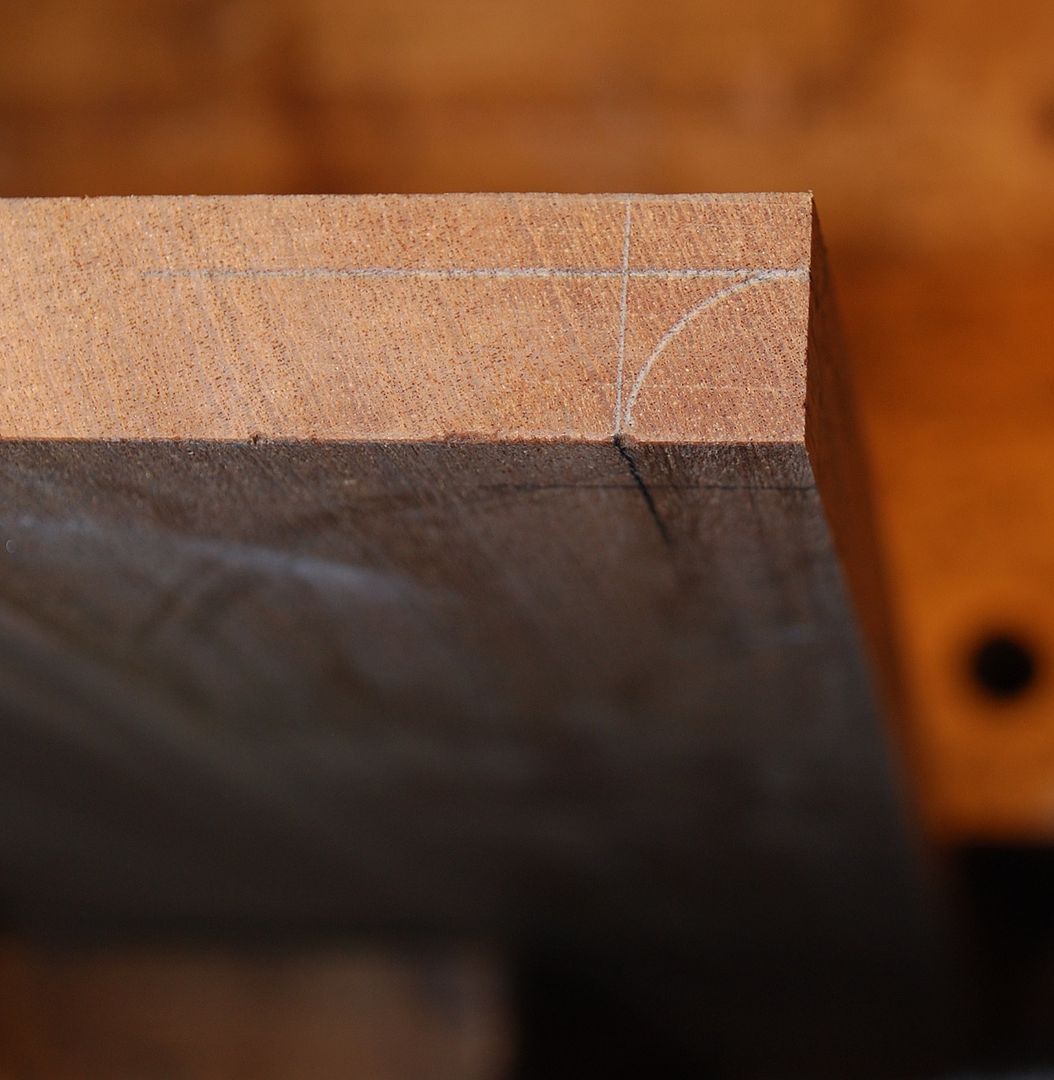
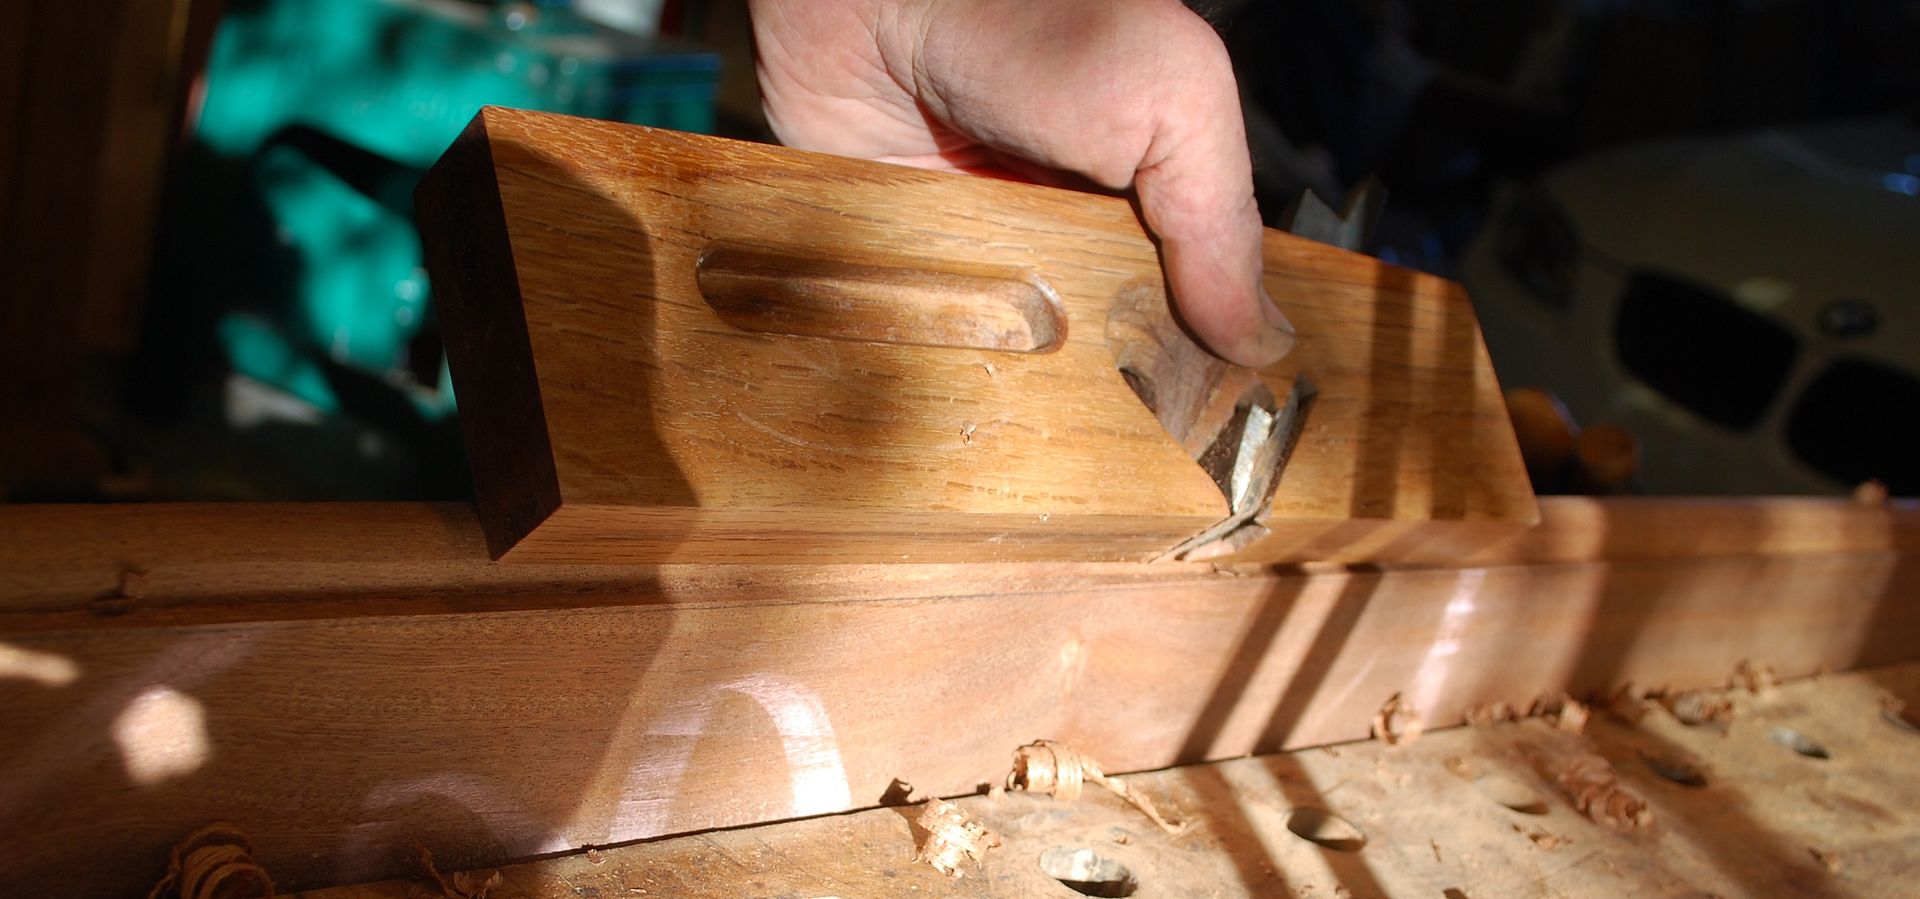
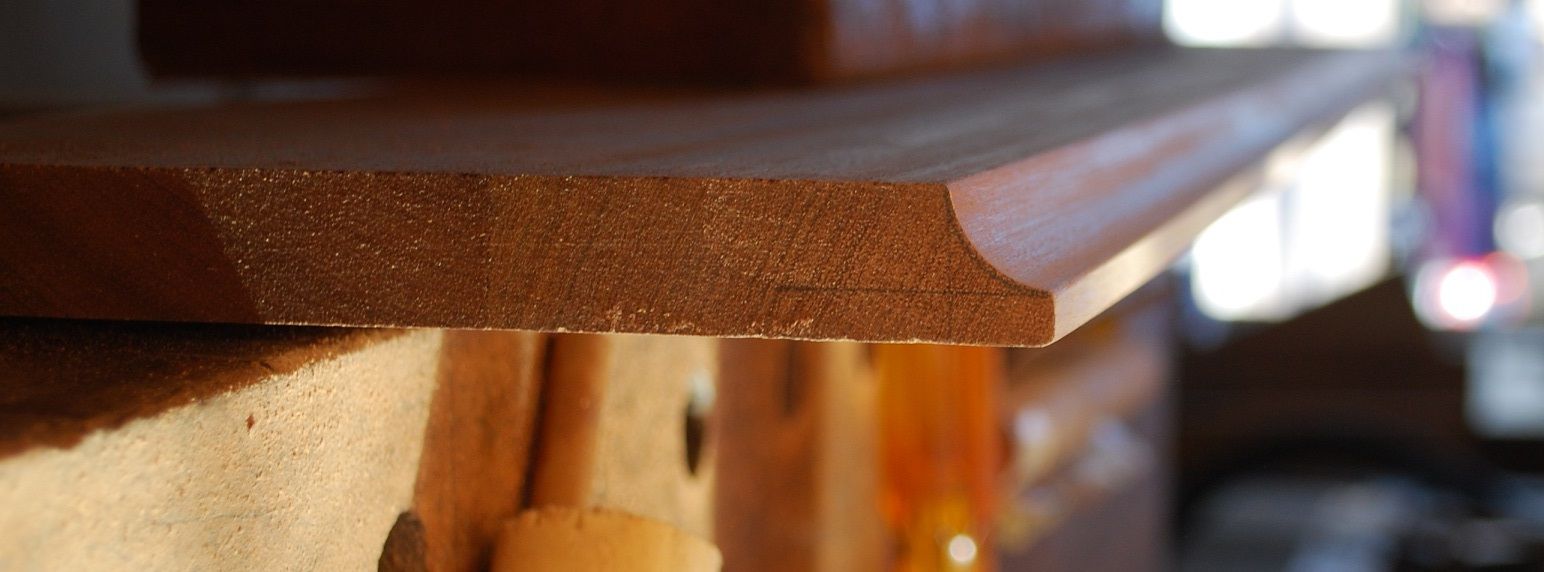
    In planning the layout/glue up of the tabletop, I tried to align glue joints with where I plan to rip the panel to create the fold up leaves. My intent was to try and make each leave out of a single board, oriented around the best figure match I could get for the central part of the table. I made the rule joints for the leaves with hand planes; fenced rabbit to establish the gross dimensions and then hollows and rounds to create desired curved surfaces. One of my favorite new tools is rubber sanding blocks with corresponding hollow and round surfaces in uniform dimensions – great for sneaking up on uniform curves.



  2. #2
    Join Date
    Feb 2011
    Location
    Carlsbad, CA
    Posts
    2,230
    Blog Entries
    2
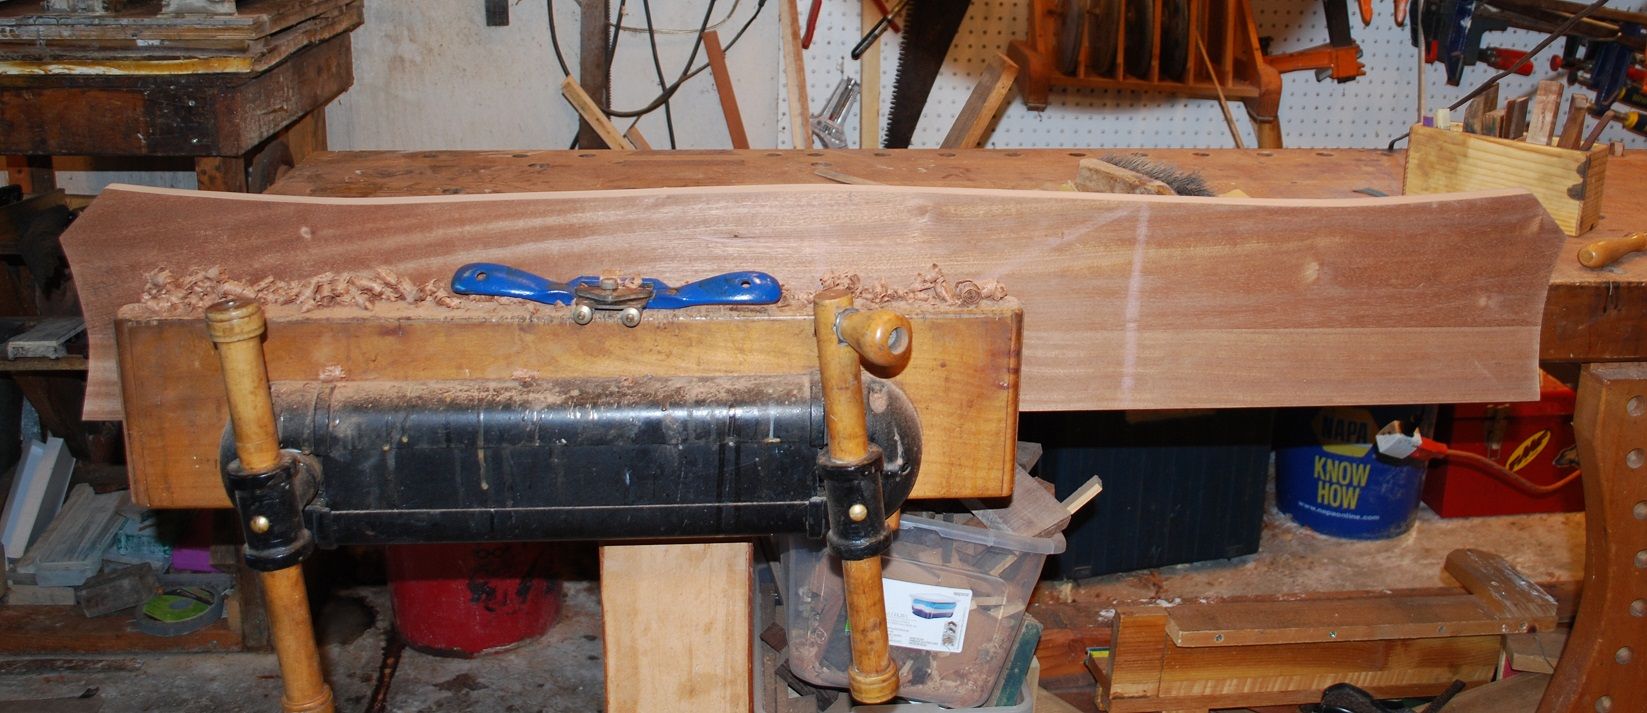
    Creating the curved edges of the tabletop with spoke shave.


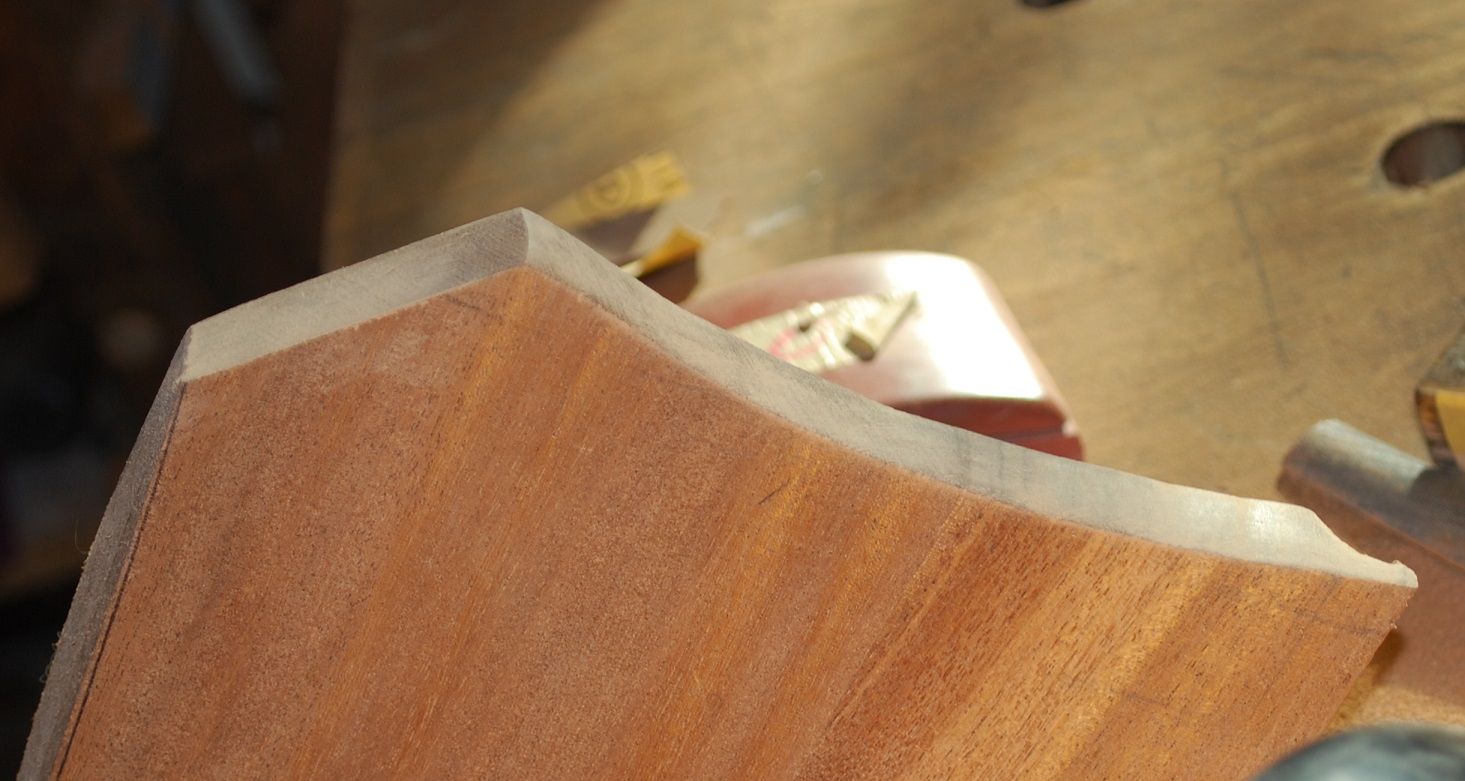
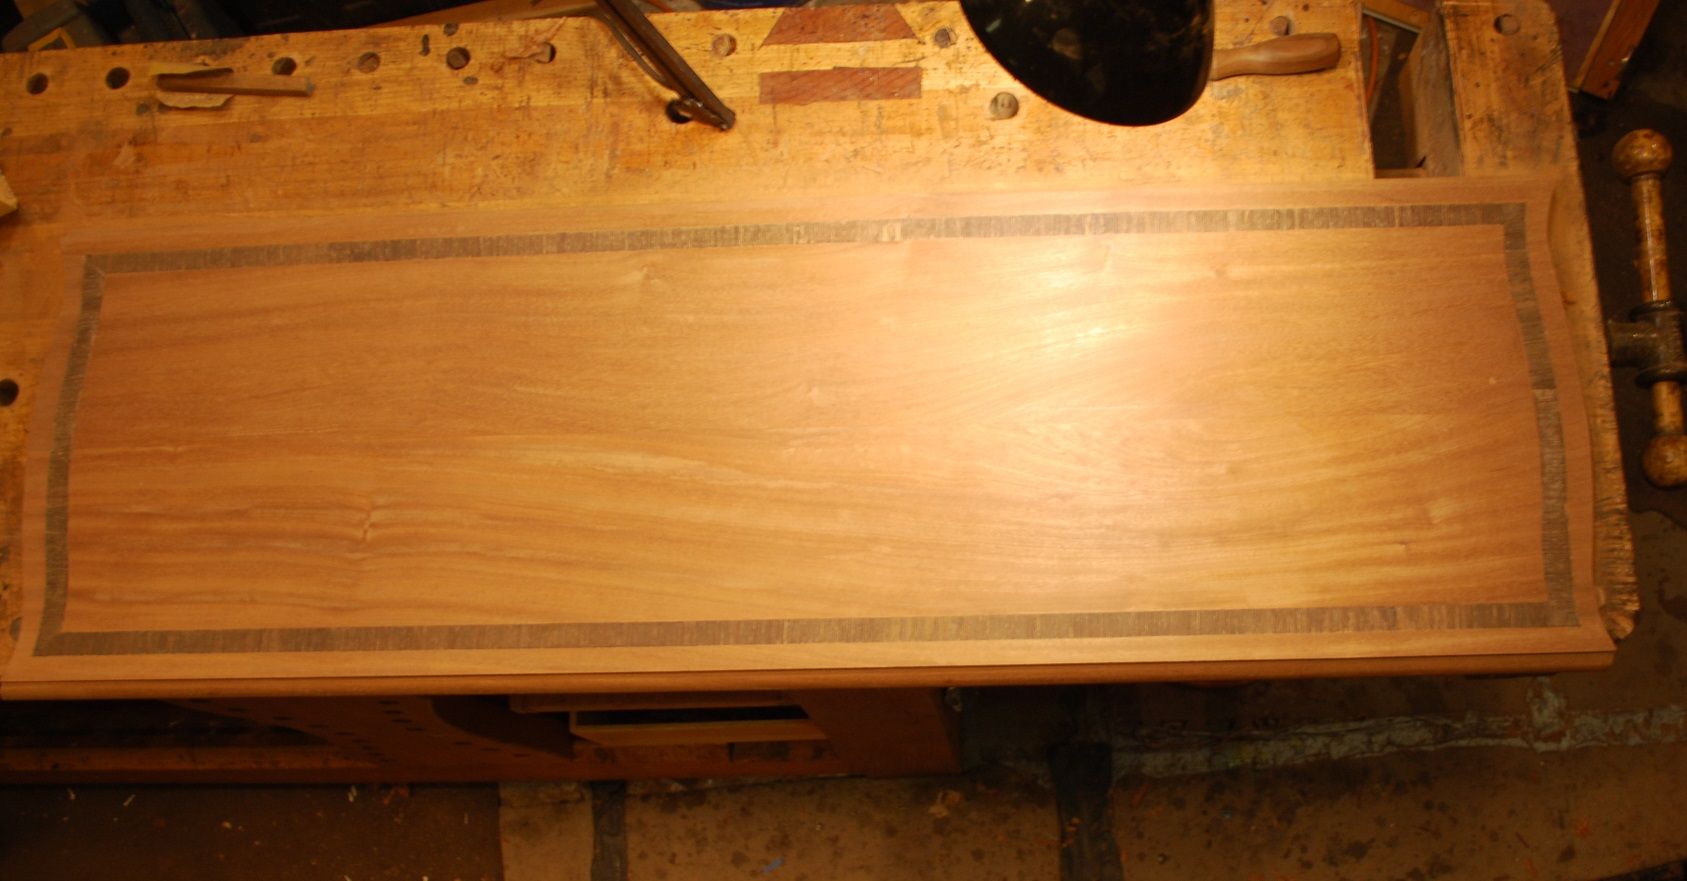
    Next was using an electric router to create ½” wide recess that runs along the outer edges of both the leaves and central portion of the table for contrasting, cross grain inlay. This was the most “white knuckle” part of the build to date – to get a consistent width, I wanted to cut the groove in a single pass with ½” router bit. Any screw up here would be tough to recover from.
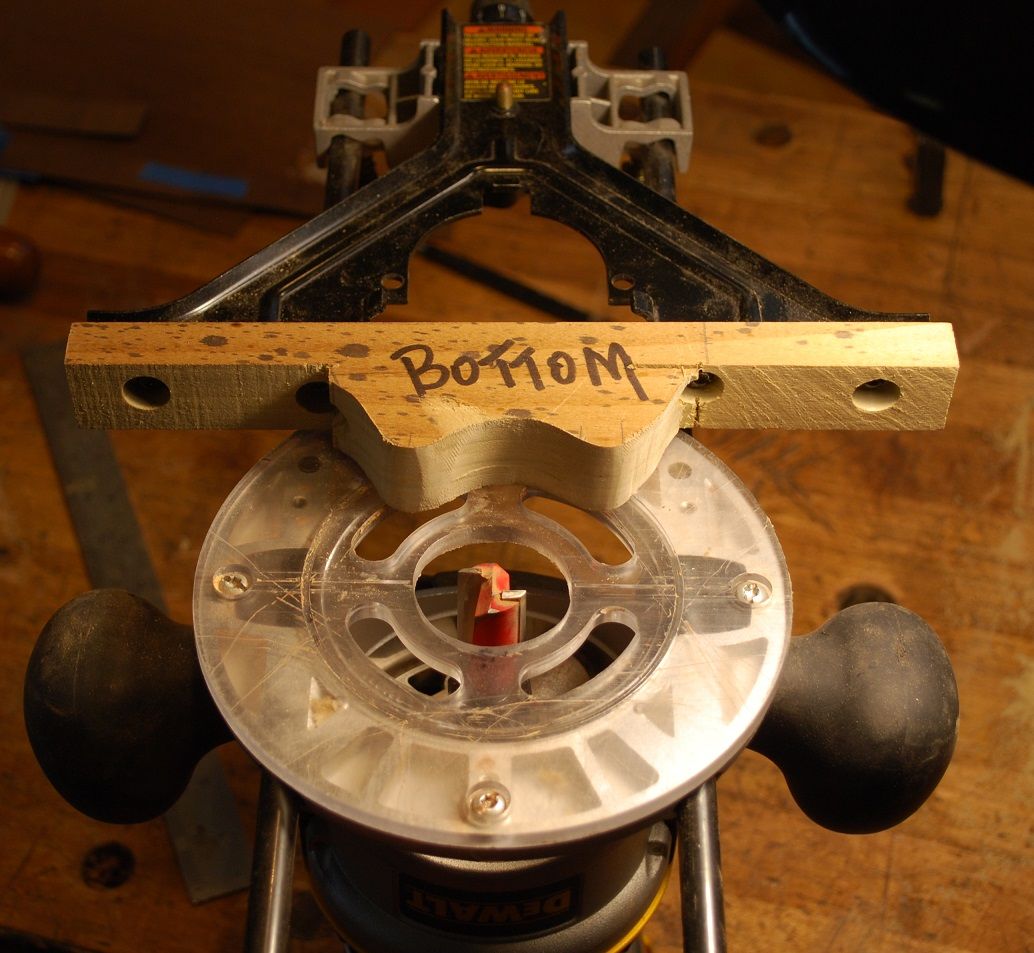
    Using a fence with the router for the straight dimensions was fairly easy, however for the curved edges of the tabletop, I built a “two-point” router fence to reference off curved edges of tabletop. In the end it turned out okay.


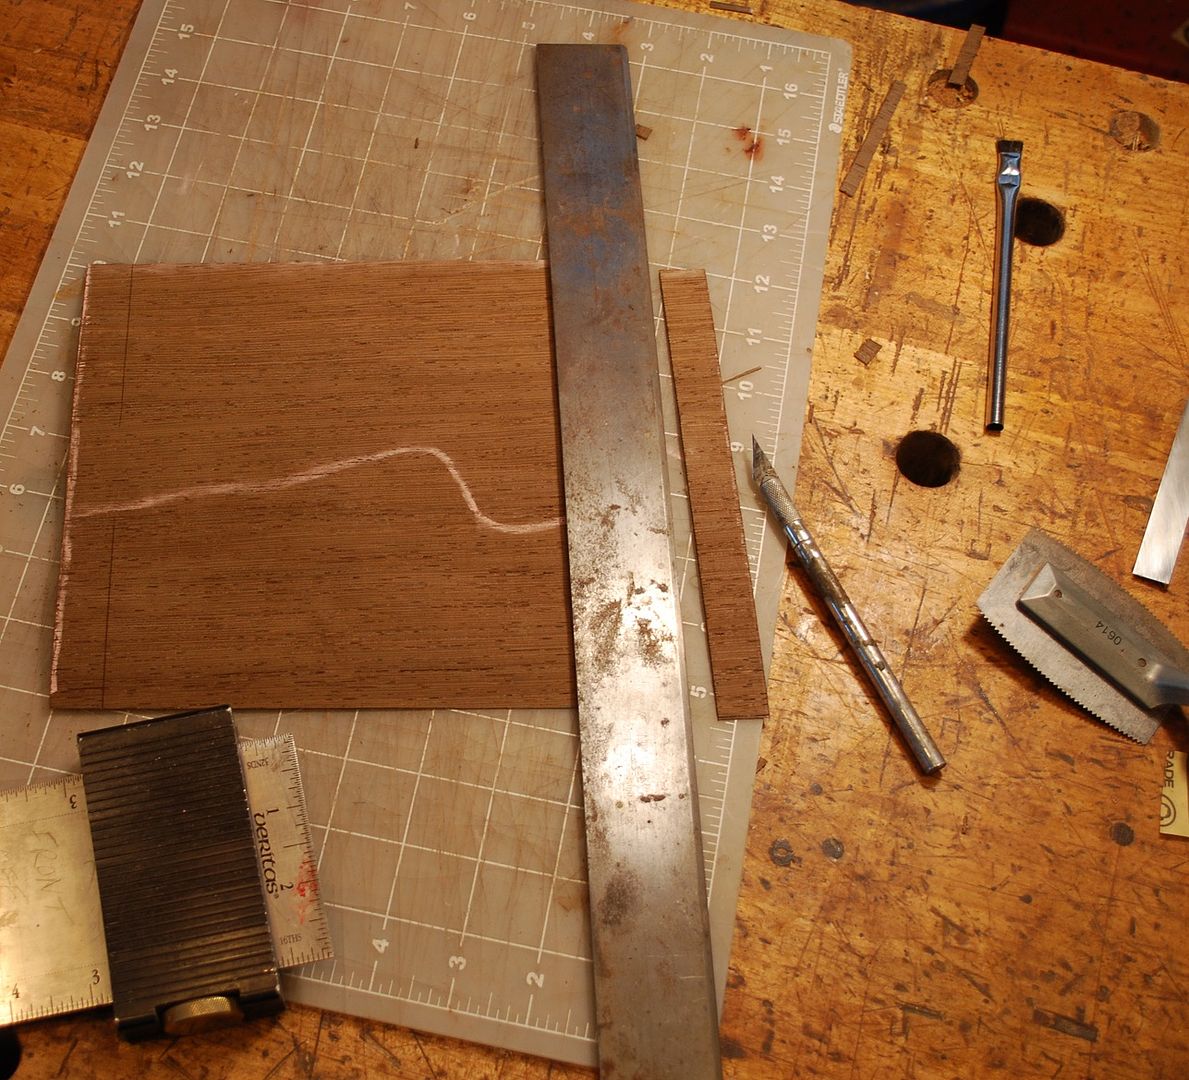
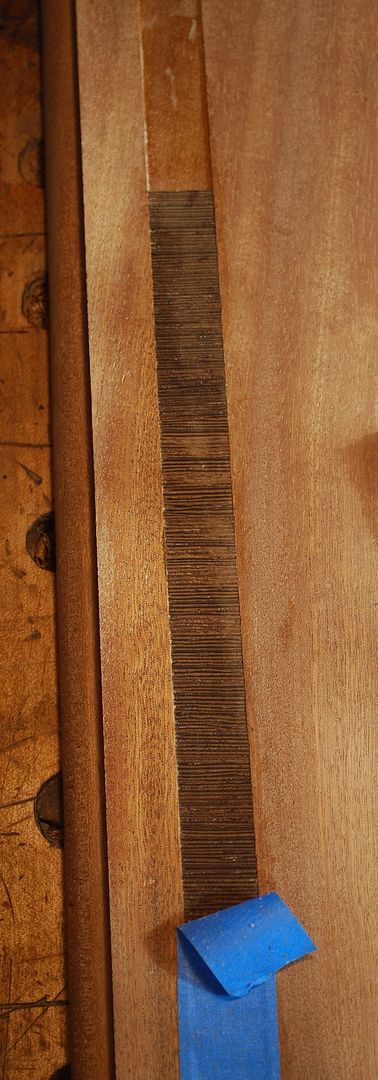
    I made the cross grained banding out of a dark, coarse-grained tropical veneer (don’t know species). Critically important was cutting banding to precisely match width of recess. One of the layout tools I use most often is this one from LV, which is a simple reference edge with adjustable measuring blade (sorry I don’t know what they call it, but I have 2 of them) – great for marking parallel lines in all kinds of applications. After a little trial and error, I found the setting that resulted in good fit of banding/recess.


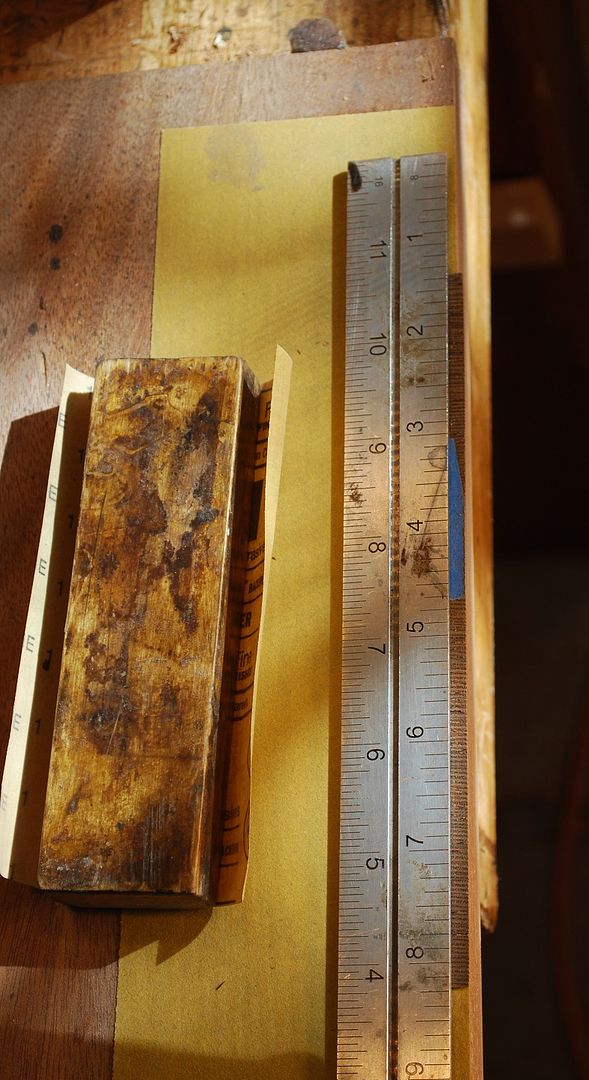
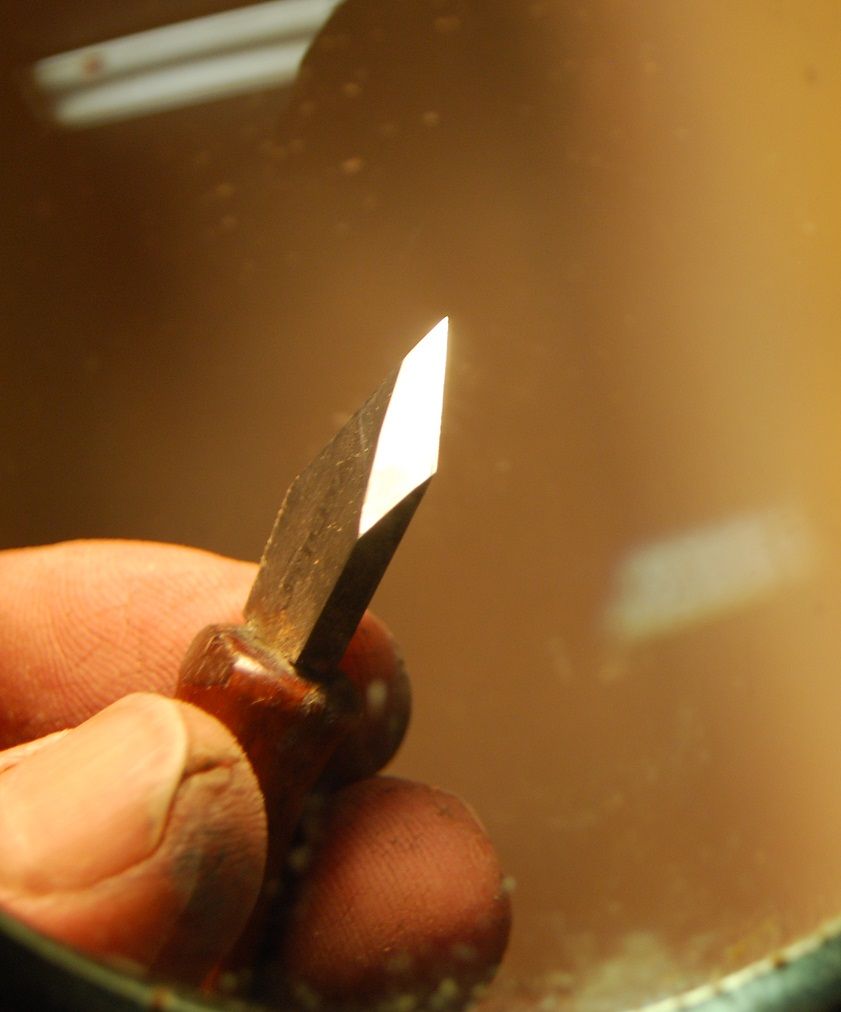
    To get the final width of the banding correct, it was important to “joint” cross grain reference edge of banding with straight edge/sanding block prior to cutting to final width. Although veneer saw was fastest method, the cleanest margins came from straight edge and sharp marking knives.


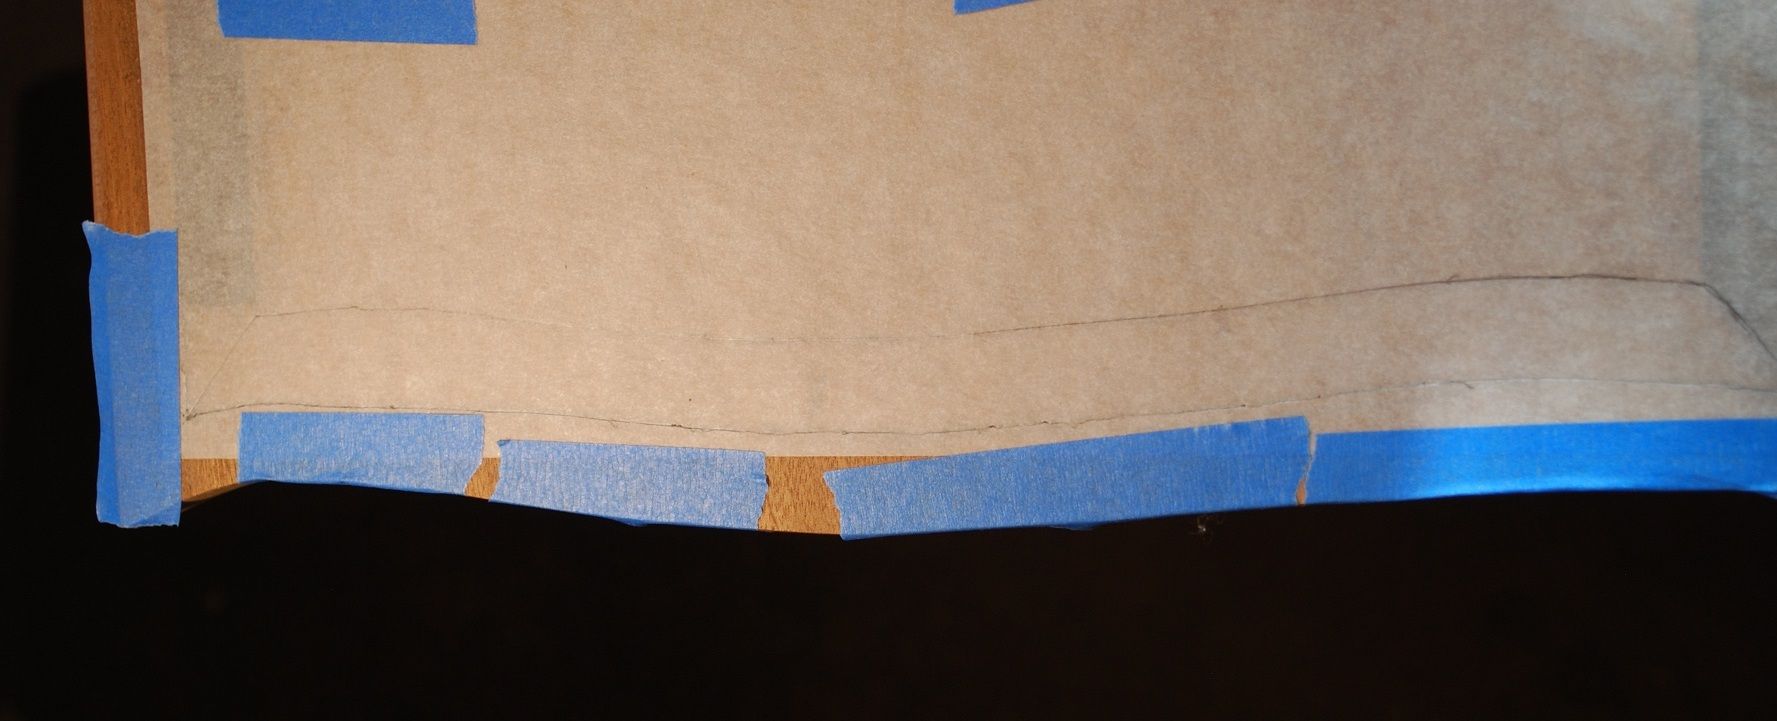
    To layout the curved banding I traced the curves from the recesses and then transfer those lines to the banding with a sharp knife freehand. This technique required some trial and error sanding/checking/sanding again, etc. but ultimately worked out okay. There is probably a better way you’re supposed to do this.


    For me, one of the biggest challenges of working with veneer banding inlay is matching thickness of veneer to, depth of recess so final surfacing doesn’t result in sanding through inlay. Particularly important when using thin, commercial grade veneers. Easier with thicker “shop sawn” veneers. I typically ignore the advice about “making a test piece first”, which pretty much always bites me in the butt. In this case I highly recommend the test piece.


  3. #3
    Join Date
    Feb 2011
    Location
    Carlsbad, CA
    Posts
    2,230
    Blog Entries
    2


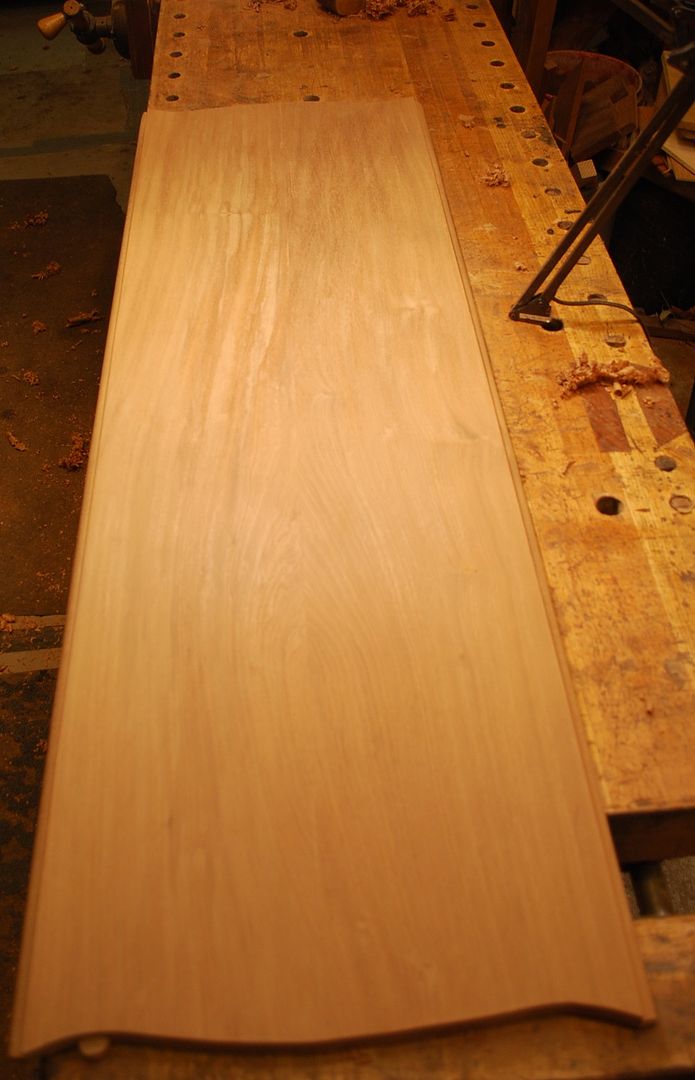
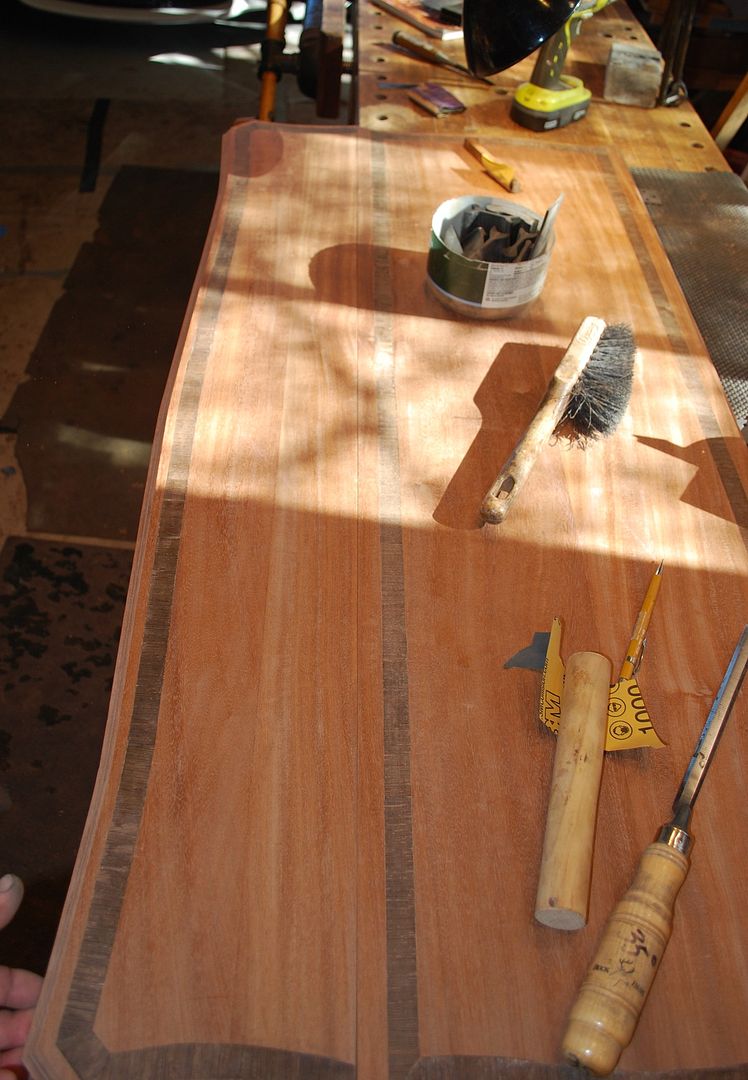
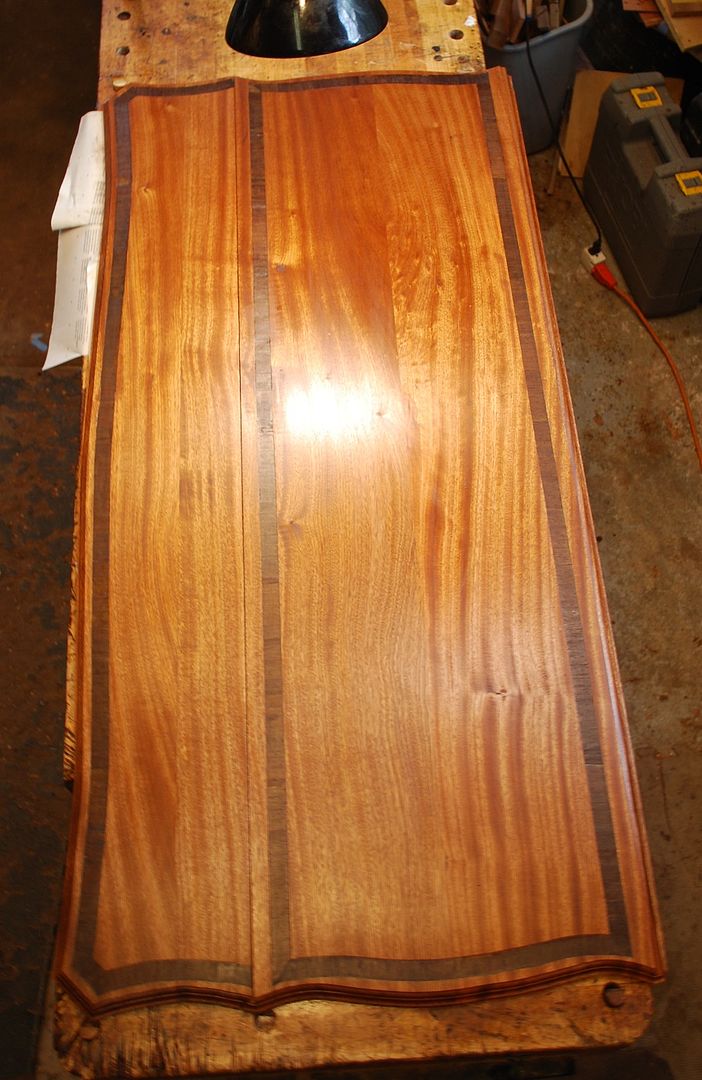
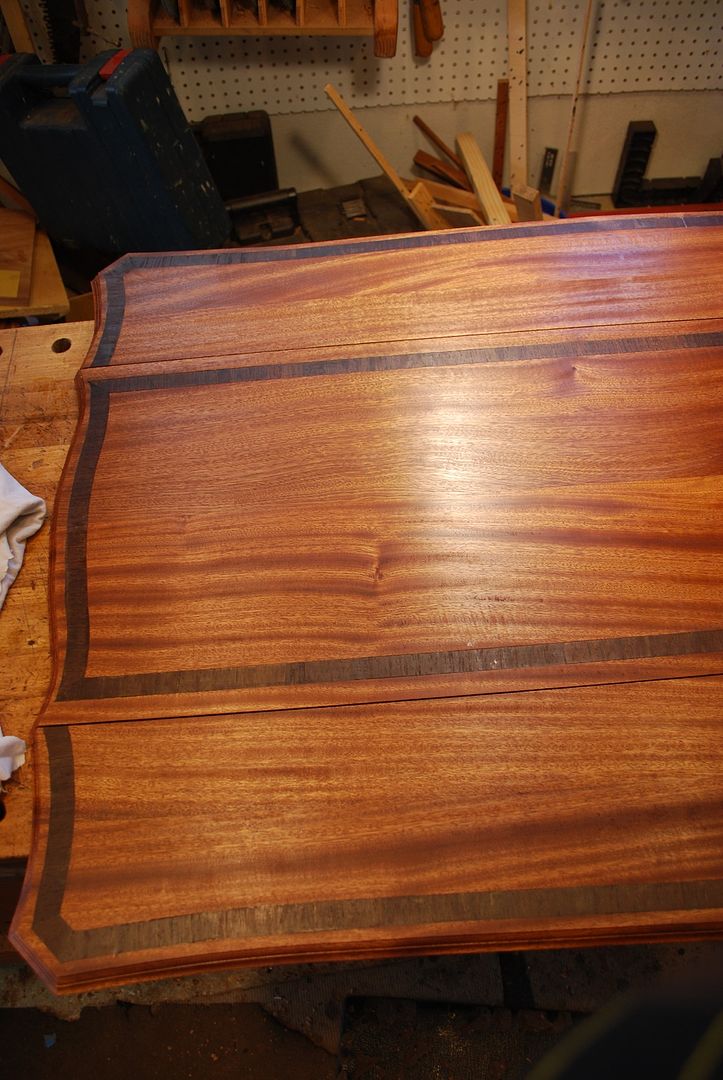
    When possible, I like to apply at least a first coat of finish immediately after “final surfacing”. In my shop, the idea of doing a final surfacing and then setting that piece aside for finishing at a later date rarely works. There are inevitable dings/dents that appear and consequently the work piece need to be resurfaced before finish can be applied. That’s why I decided to apply first part of finish the tabletop while I’m working on the rest of the project. Here’s some pics of tabletop after initial coat of Watco oil/varnish. I wet sand with 600 grit. My understanding is this helps “fill the open pores” and wood like mahogany. I have no idea if that’s correct, but it sort of works for me.


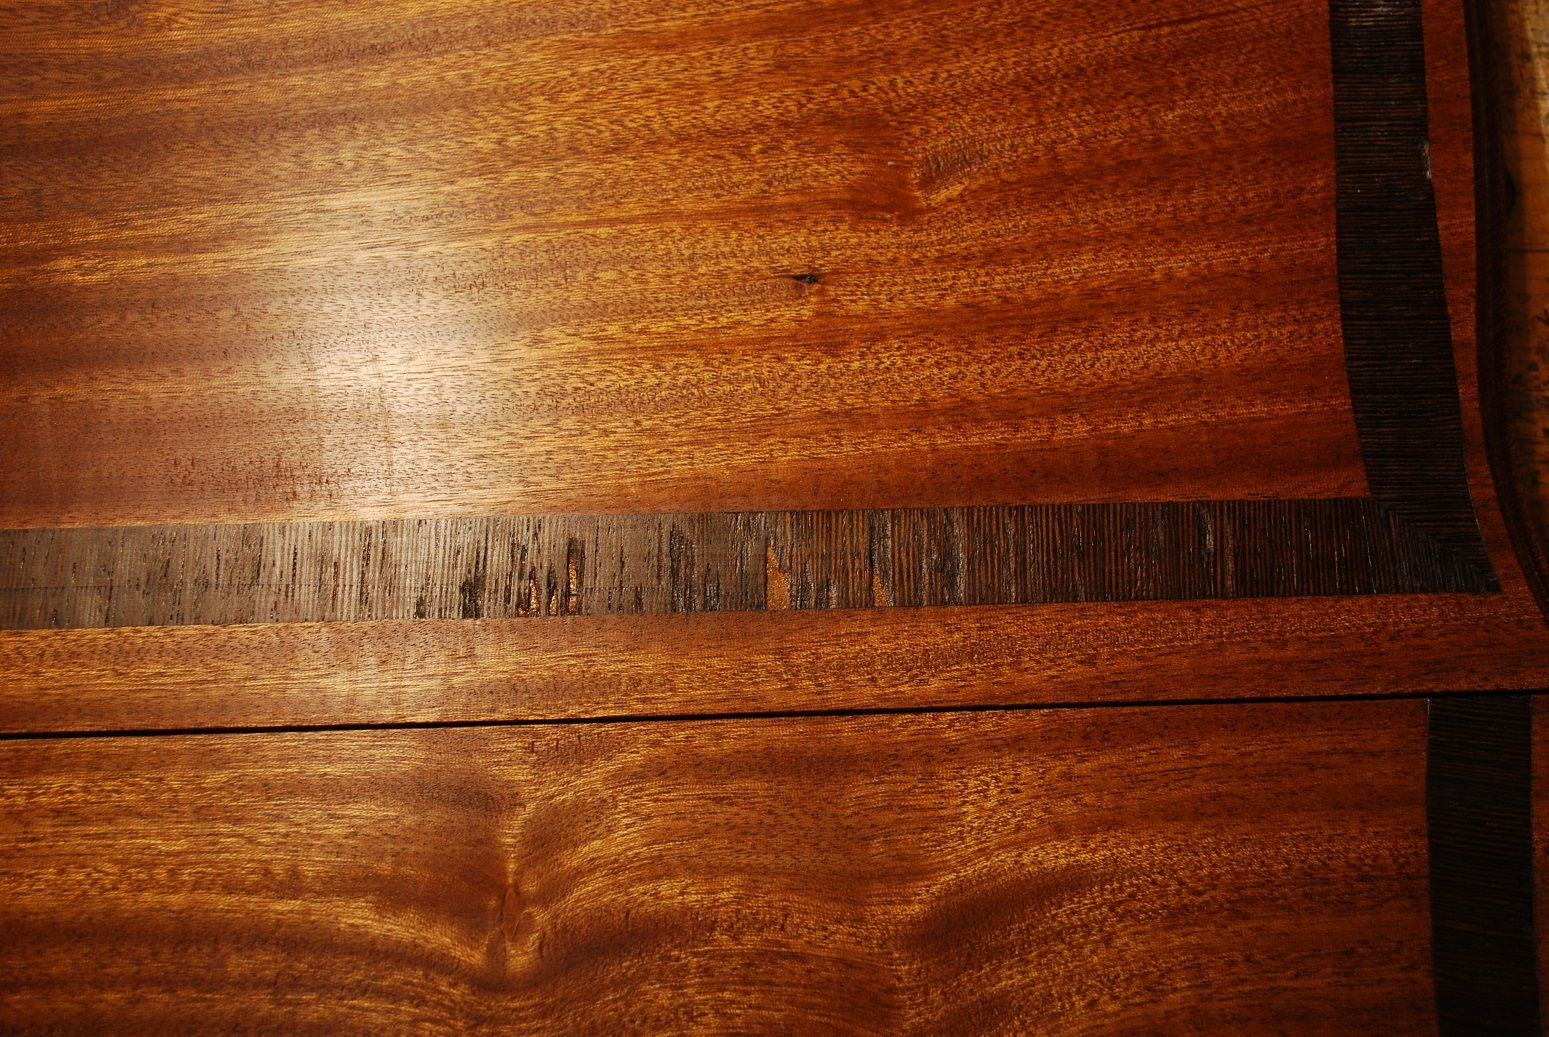
    This didn't work out so well – example of where I sanded through banding and had to replace. No matter how much I think I'm getting better in planning a.k.a. Ed etc., would it comes inlay seems like there's always several places that need to be repaired/replaced.


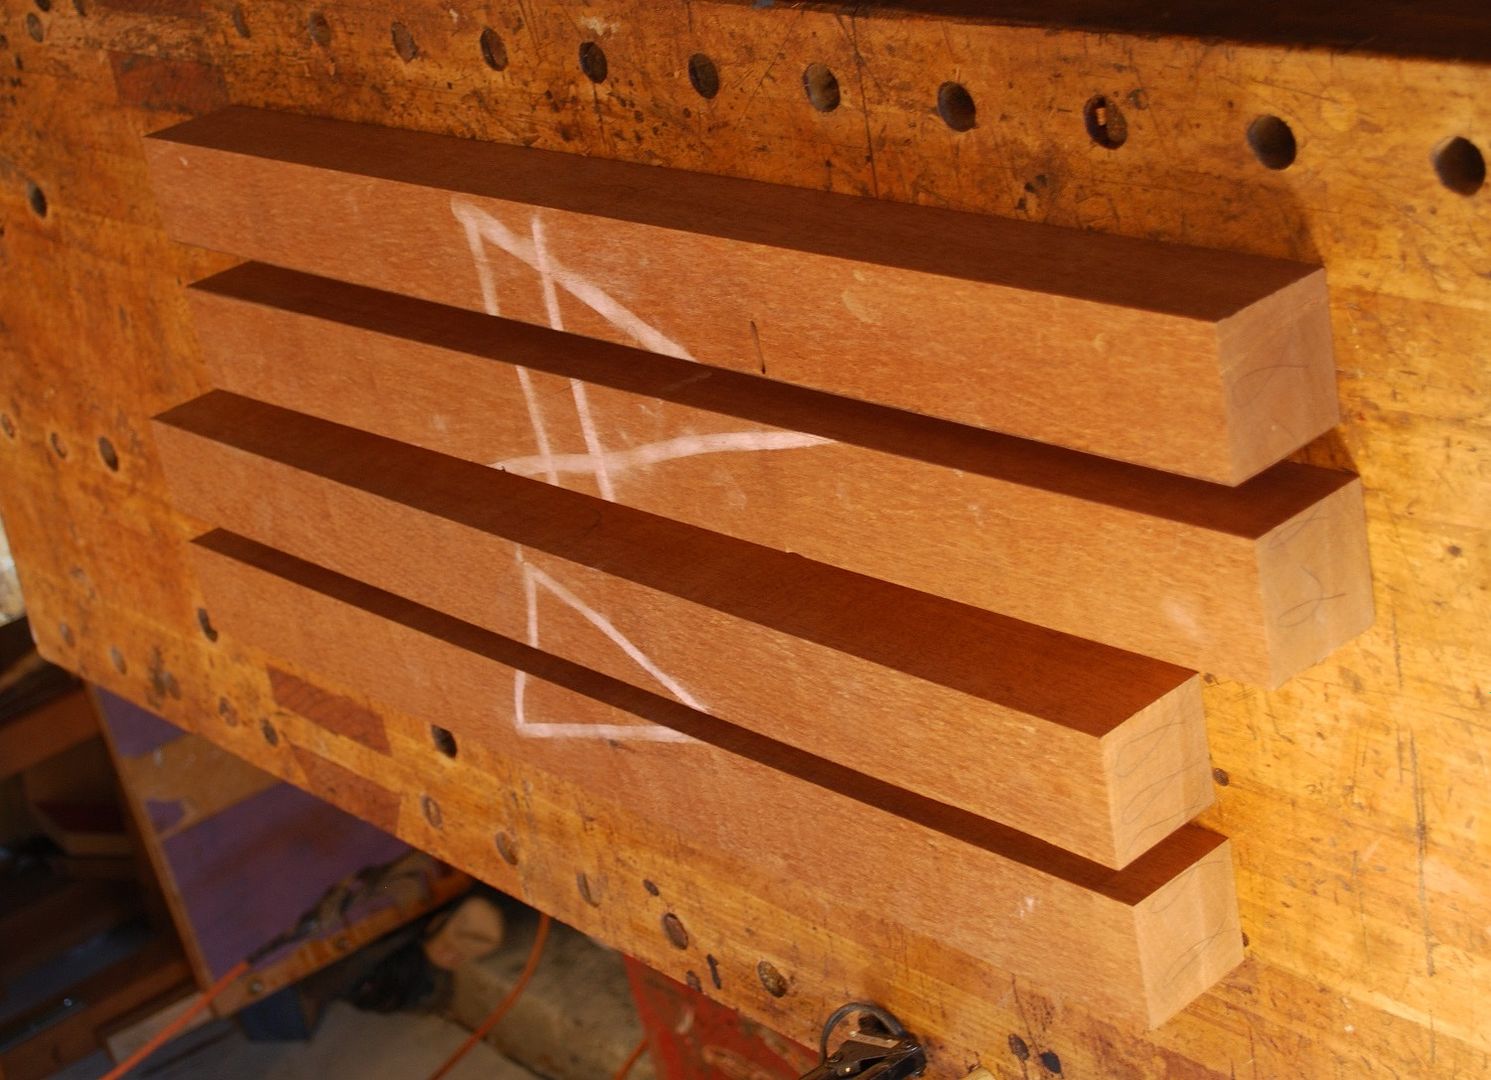
    With tabletop completed, next was dimensioning table legs - roughly 2 ¼ “square. The table legs represent the bulk of the work in this project as I’m hoping to do some carving and string inlay.


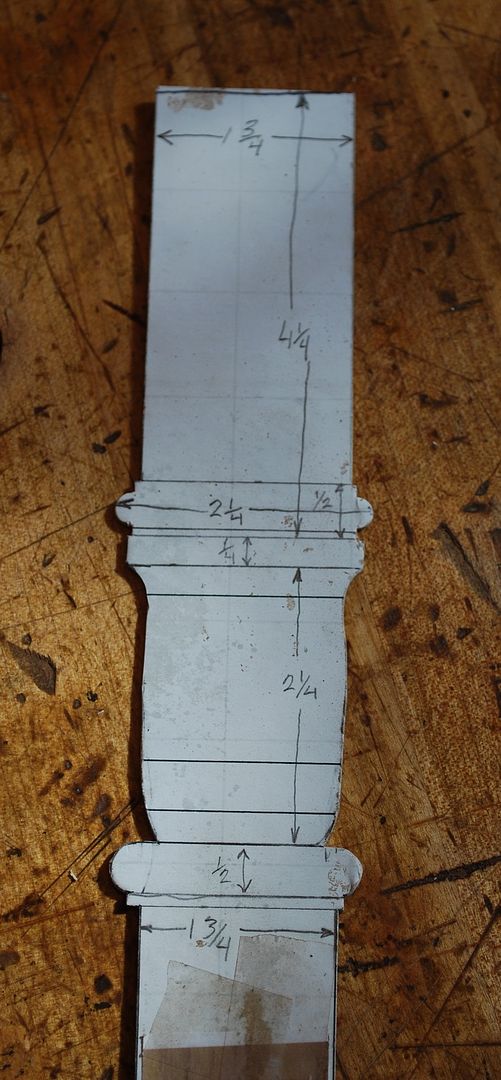
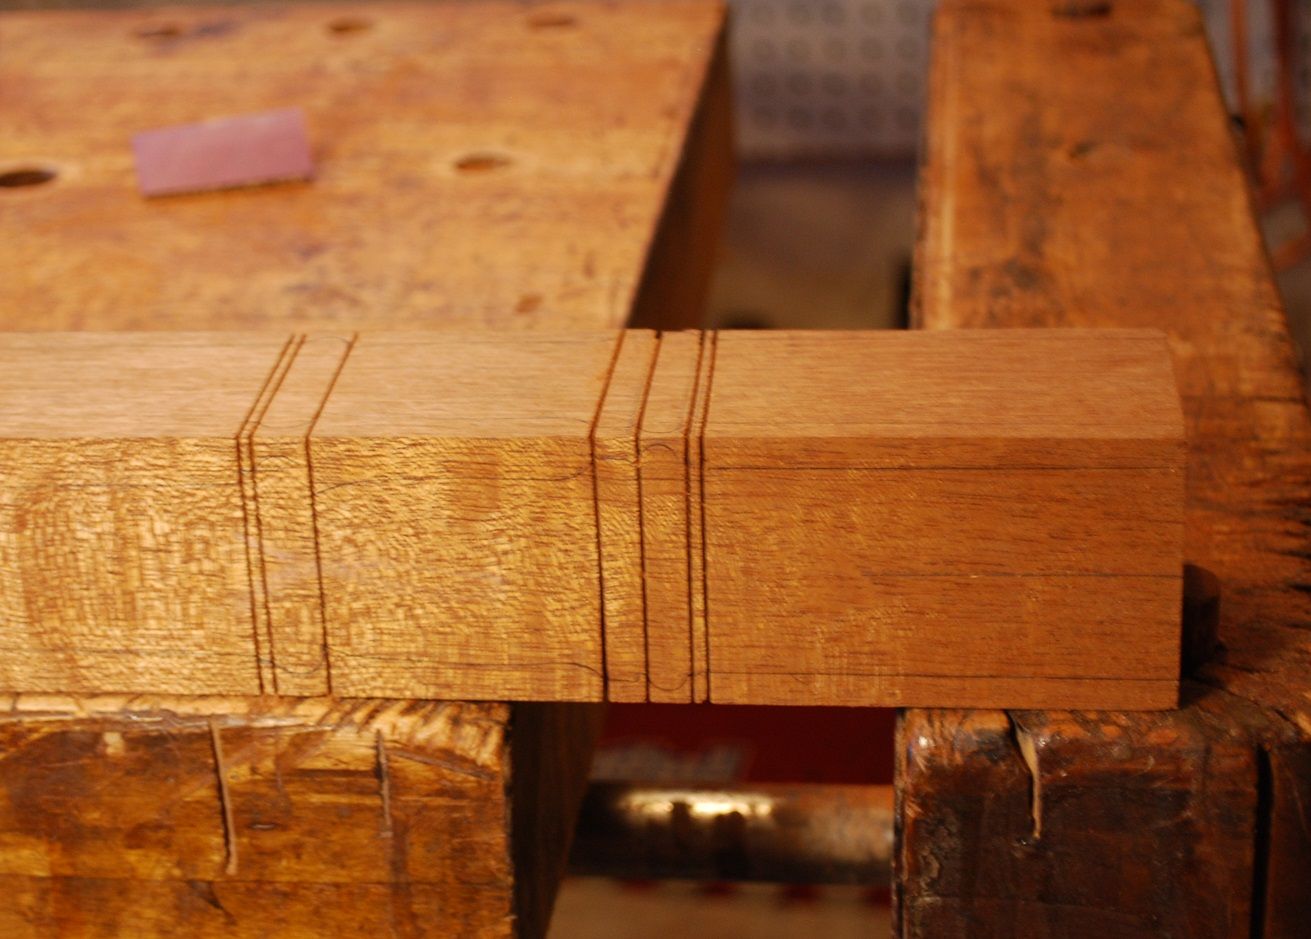
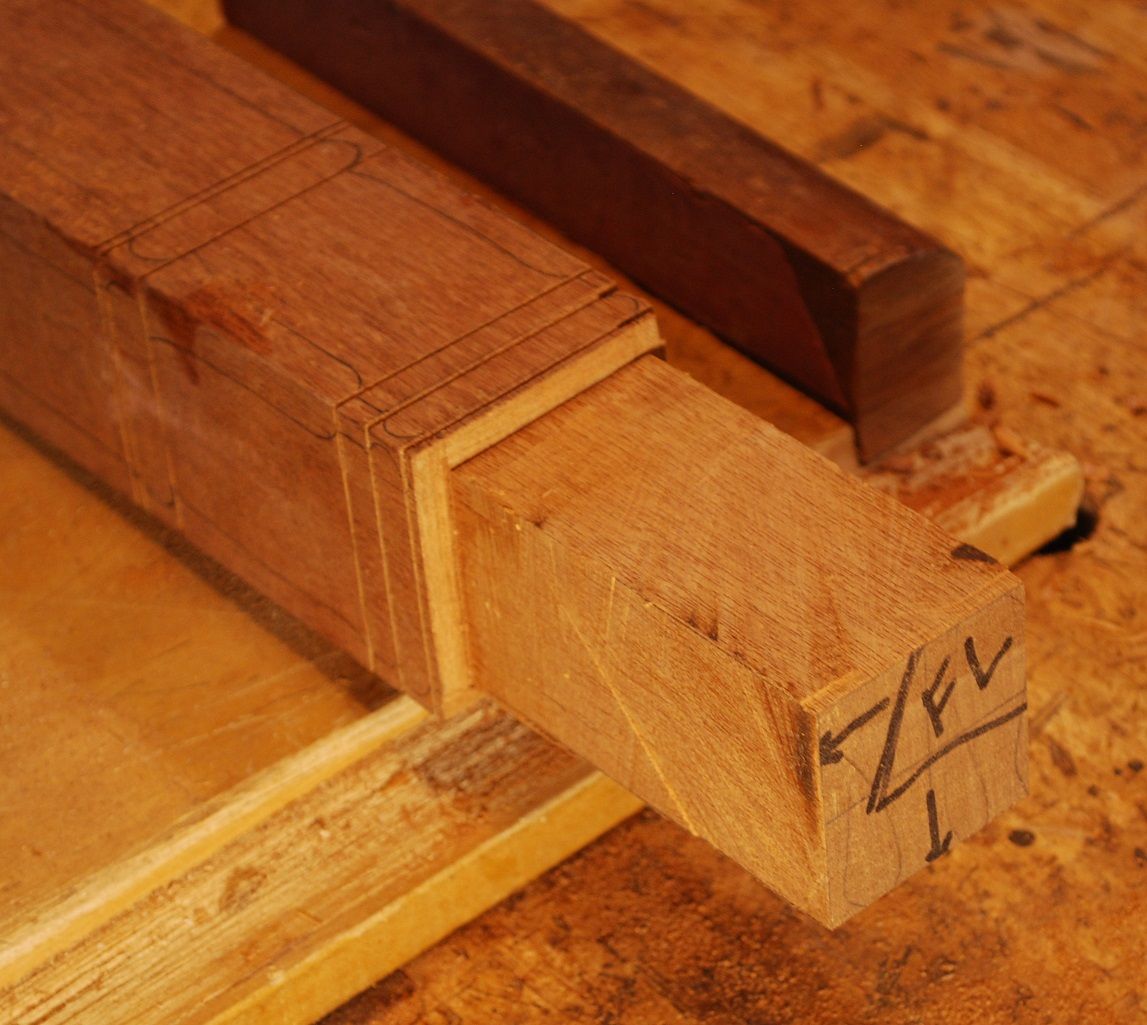
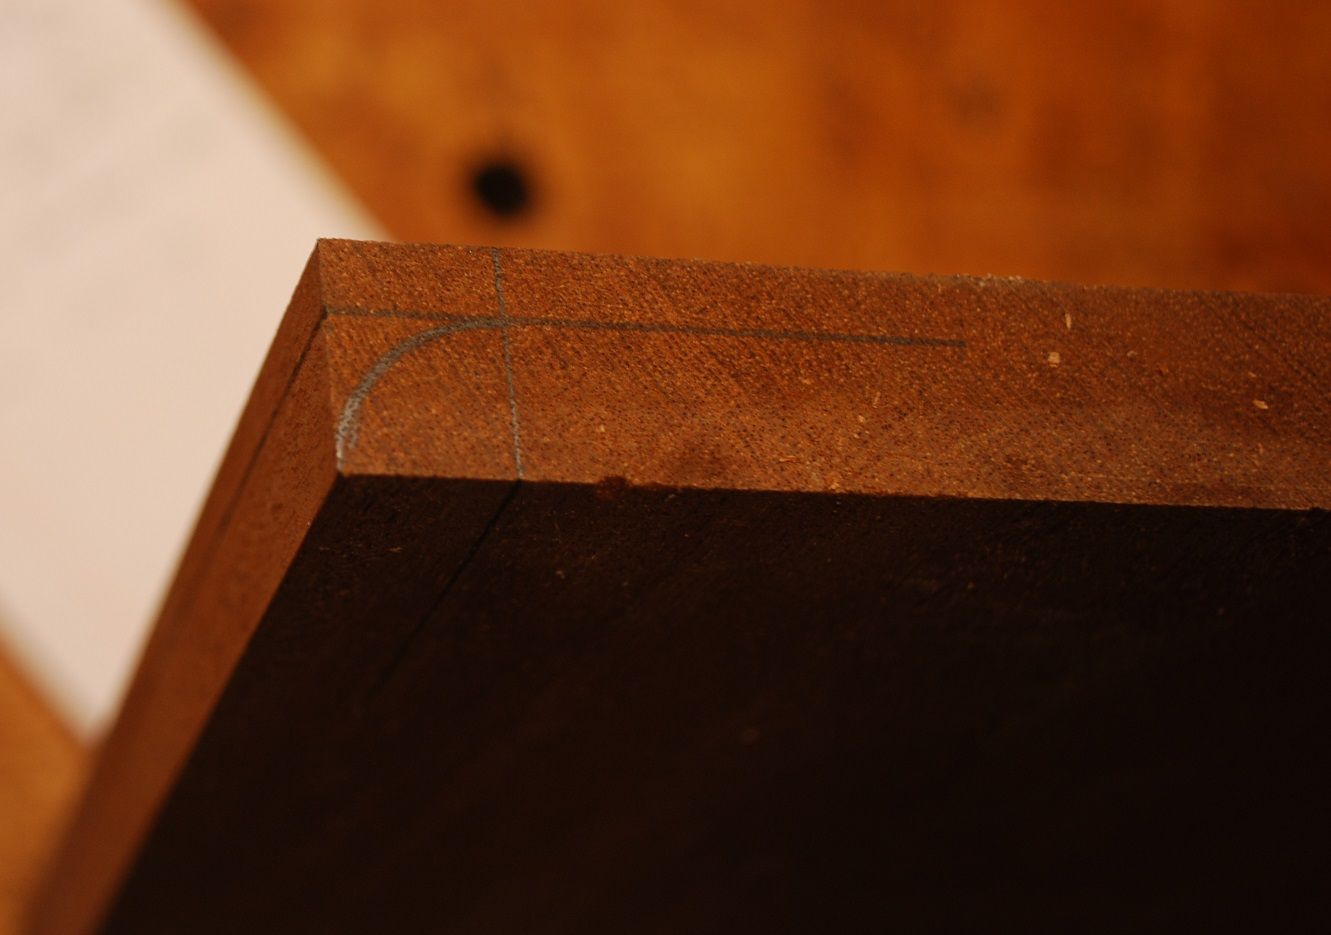
    Here’s the template I made out of “presentation paper” for the profile of the legs, which have a lot of small details. I like “presentation paper” (I get mine from Office Depot), because it’s fairly easy to cut with an X-Acto knife, but still holds up reasonably well to wear. I use the template to draw the design on the leg blanks. A suggestion I find helpful is spend the time to carefully locate centerlines of all 4 surfaces on blanks and also the template and use these for aligning the template for layout. This helps avoid any potential errors arising from hand thickness stock that likely isn’t perfectly uniform in thickness.


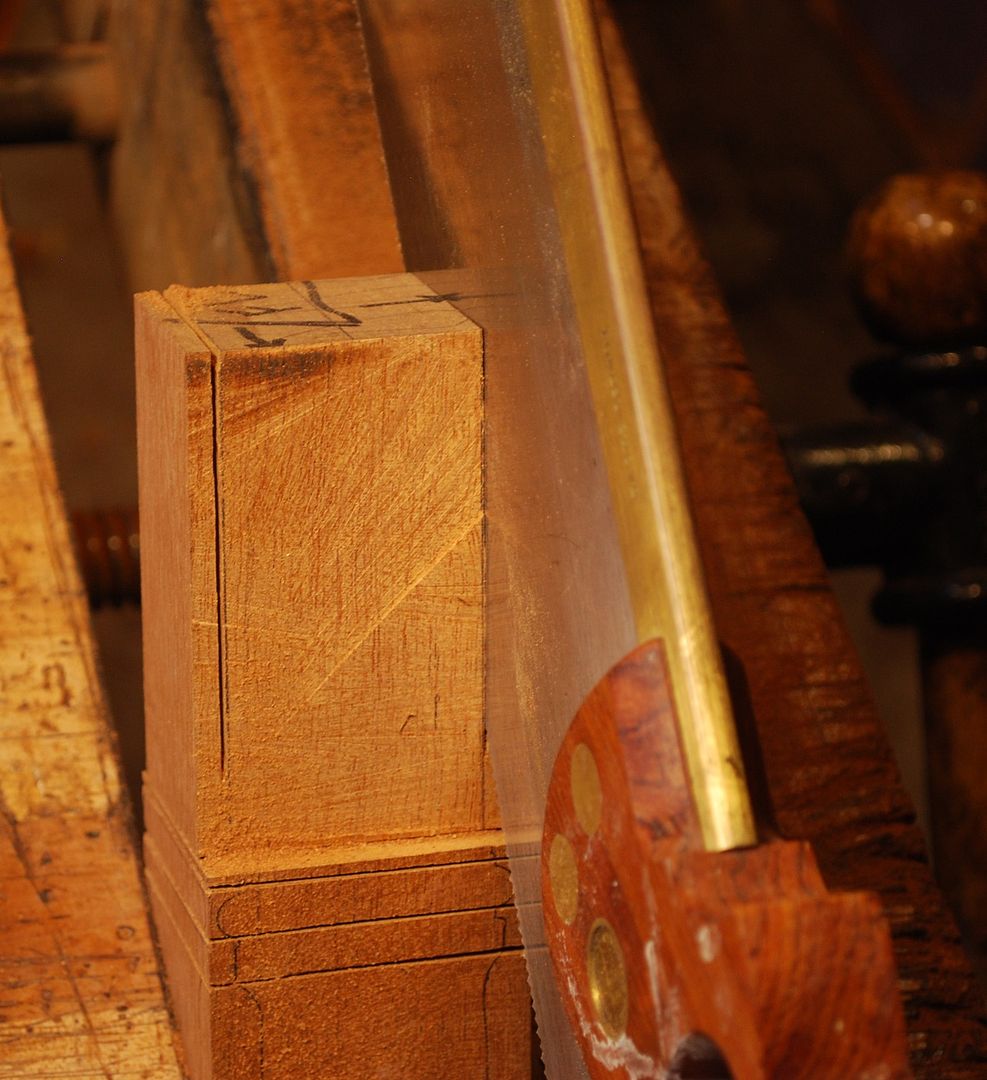
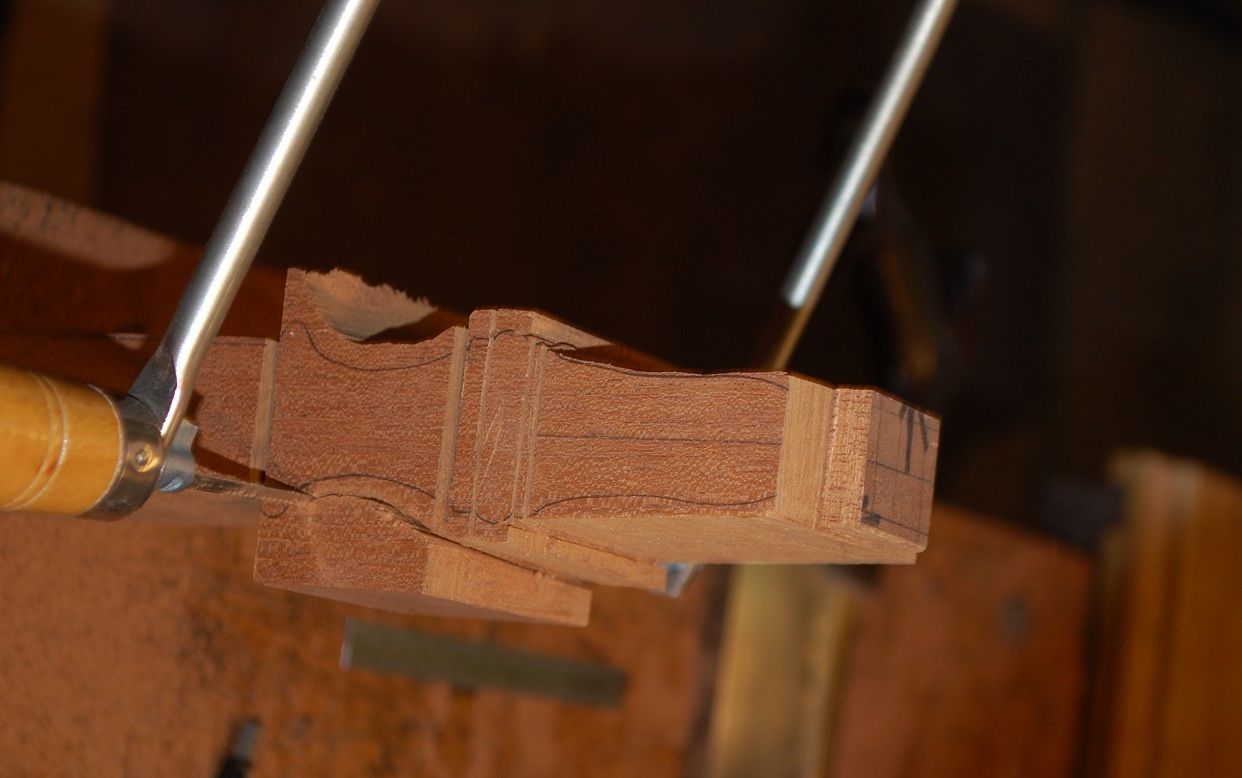
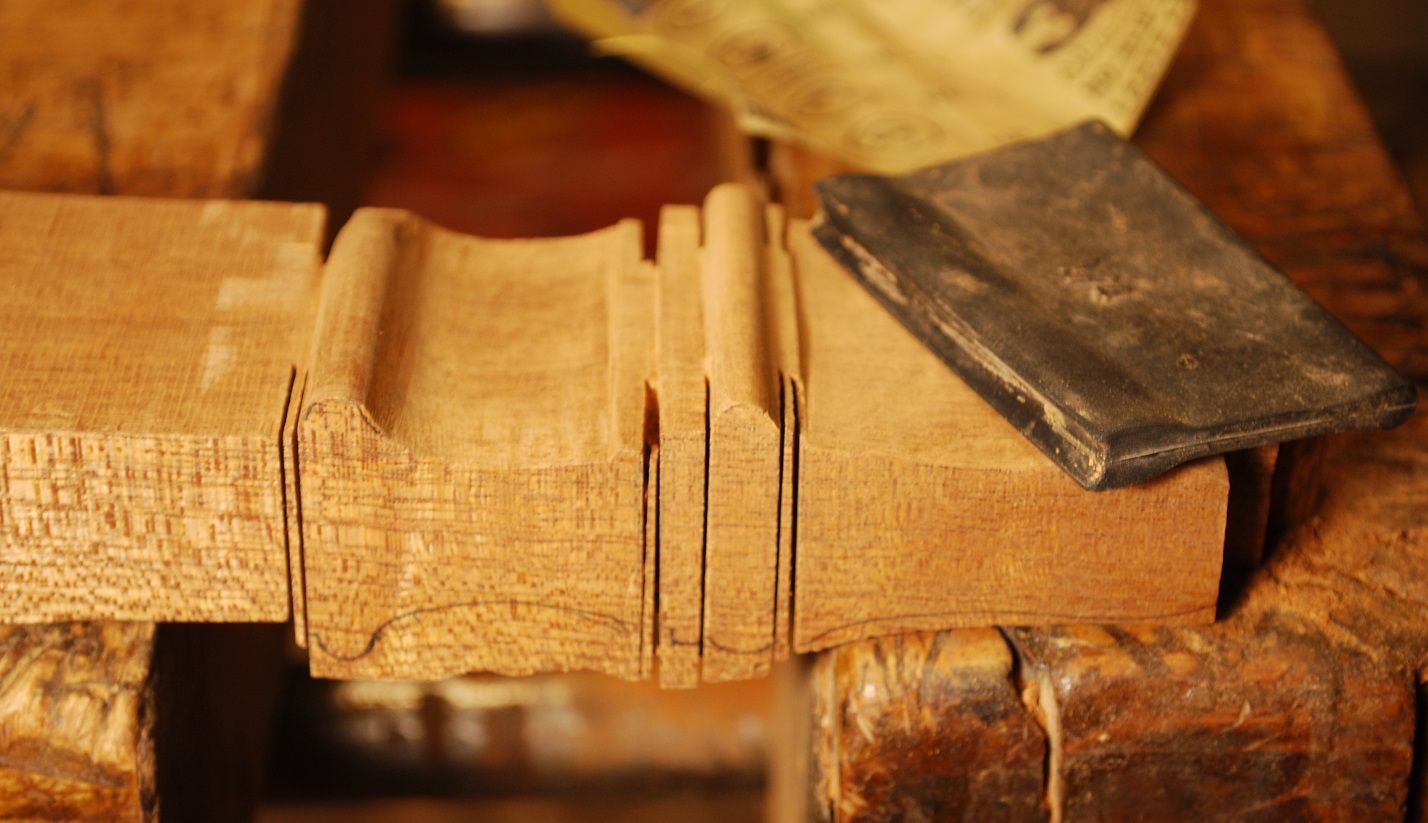
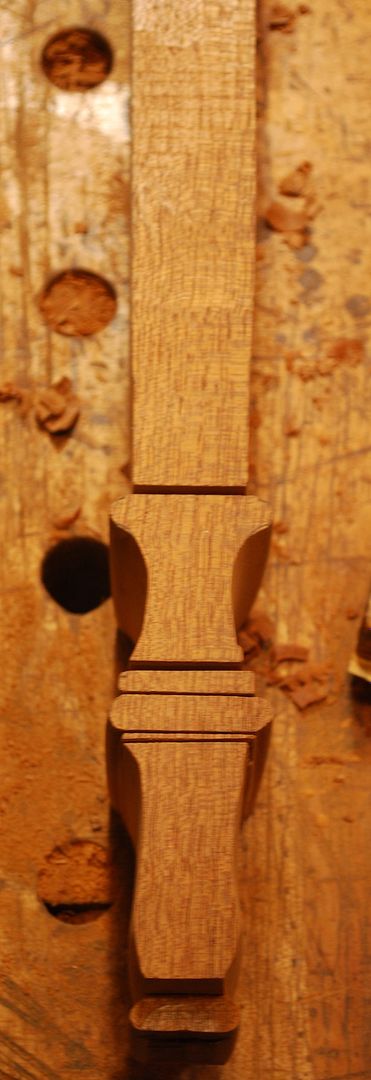
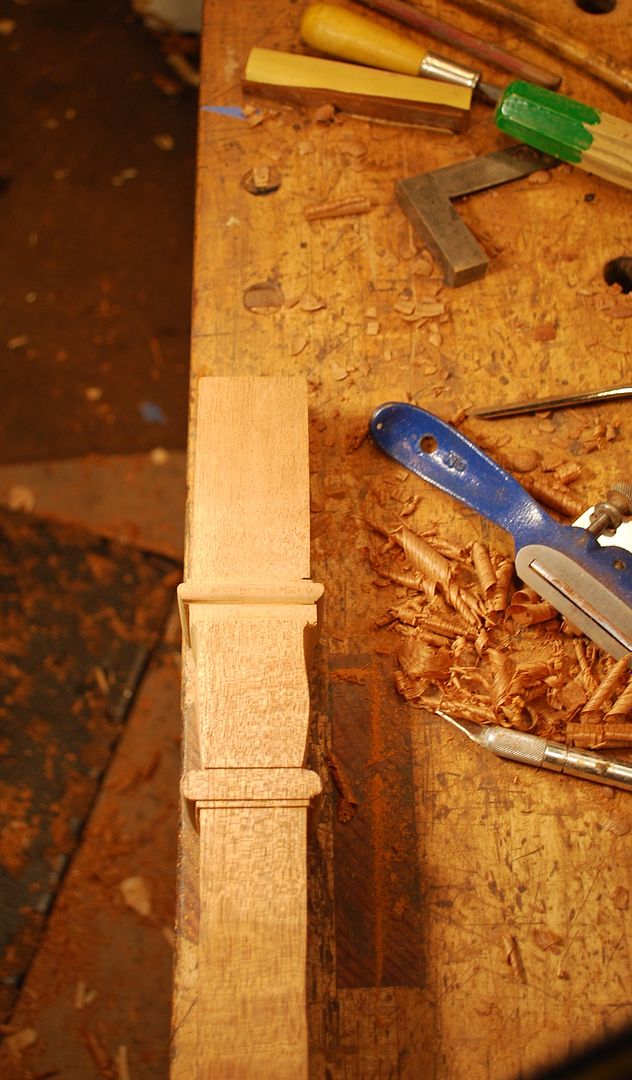
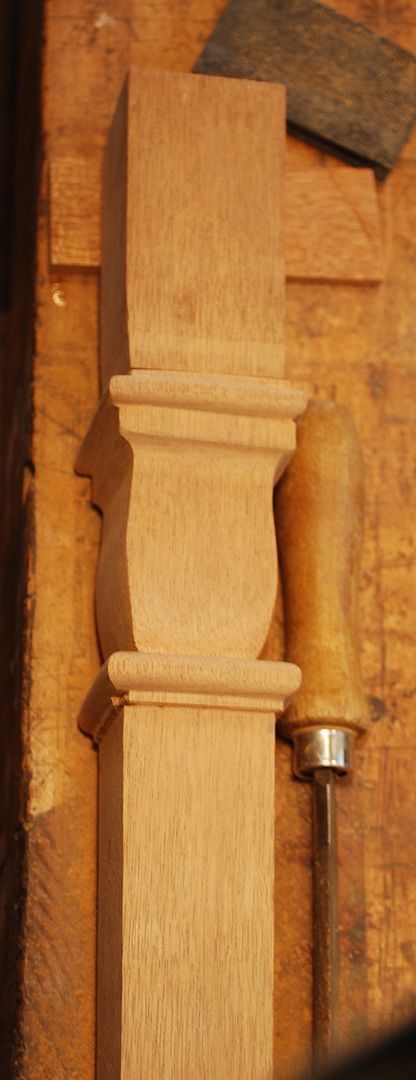
    I am a rank novice Carver and have no idea what the “correct” way is to carve these legs. Because I have 0 artistic ability, I try and use an “engineering-oriented” approach to at least get key features of carving on all 4 surfaces roughly aligned/in the same place. Accordingly, my approach is to use crosscut tenon saw to saw all 4 surfaces of blank to capture prominent sections of the carving at least in the same plane. Use the template to layout profile in front and back surface, cross cut down to layout lines carve to remove waste, and once these 2 opposing surfaces are done, repeat the process for other 2 opposing surfaces.


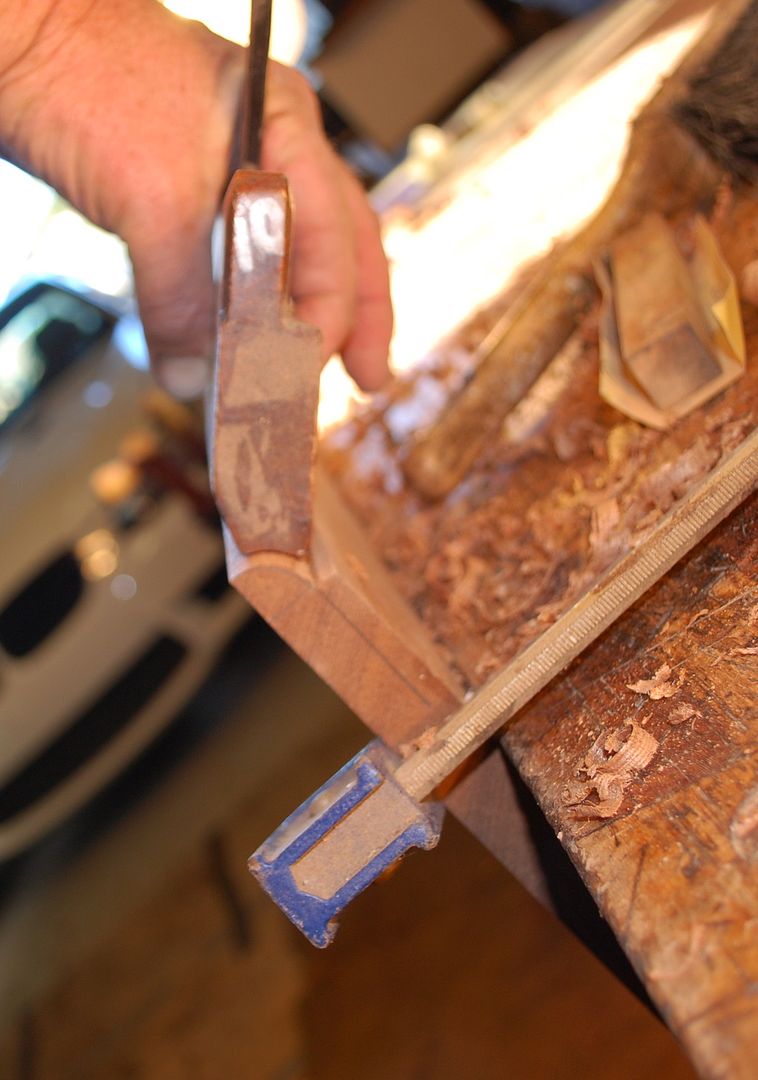
    Here’s some pictures of sawing the square surfaces the top of the legs that will join 2 table aprons and using a coping saw to remove bulk of the waste.


  4. #4
    Join Date
    Feb 2011
    Location
    Carlsbad, CA
    Posts
    2,230
    Blog Entries
    2
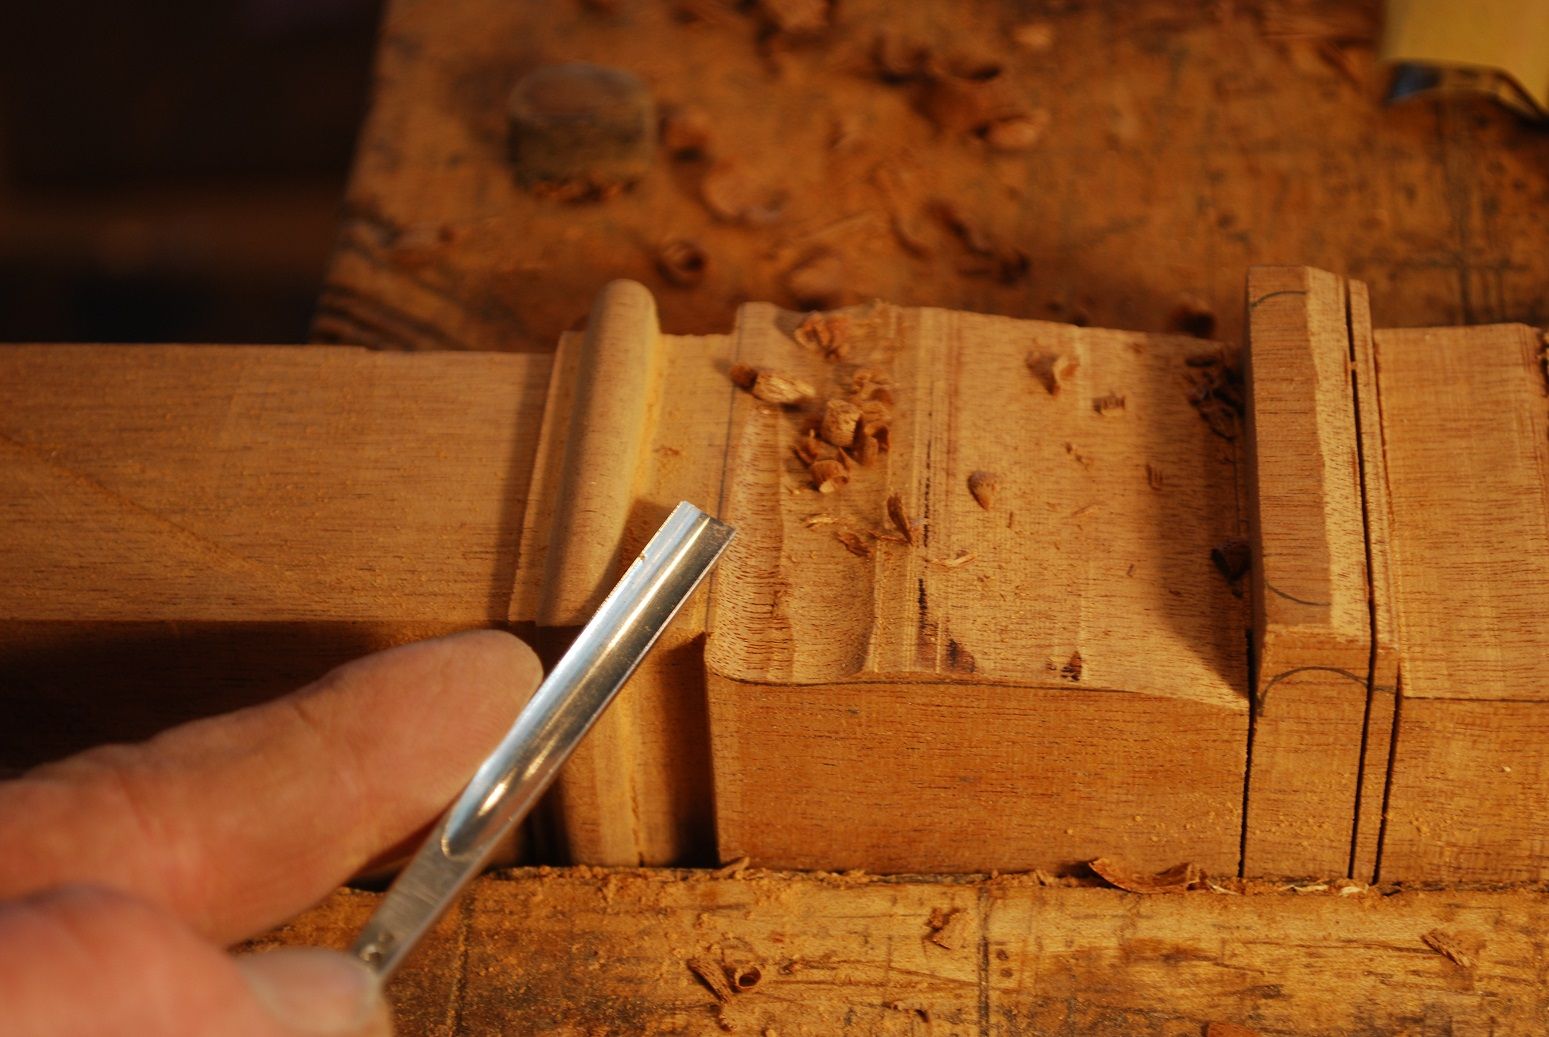
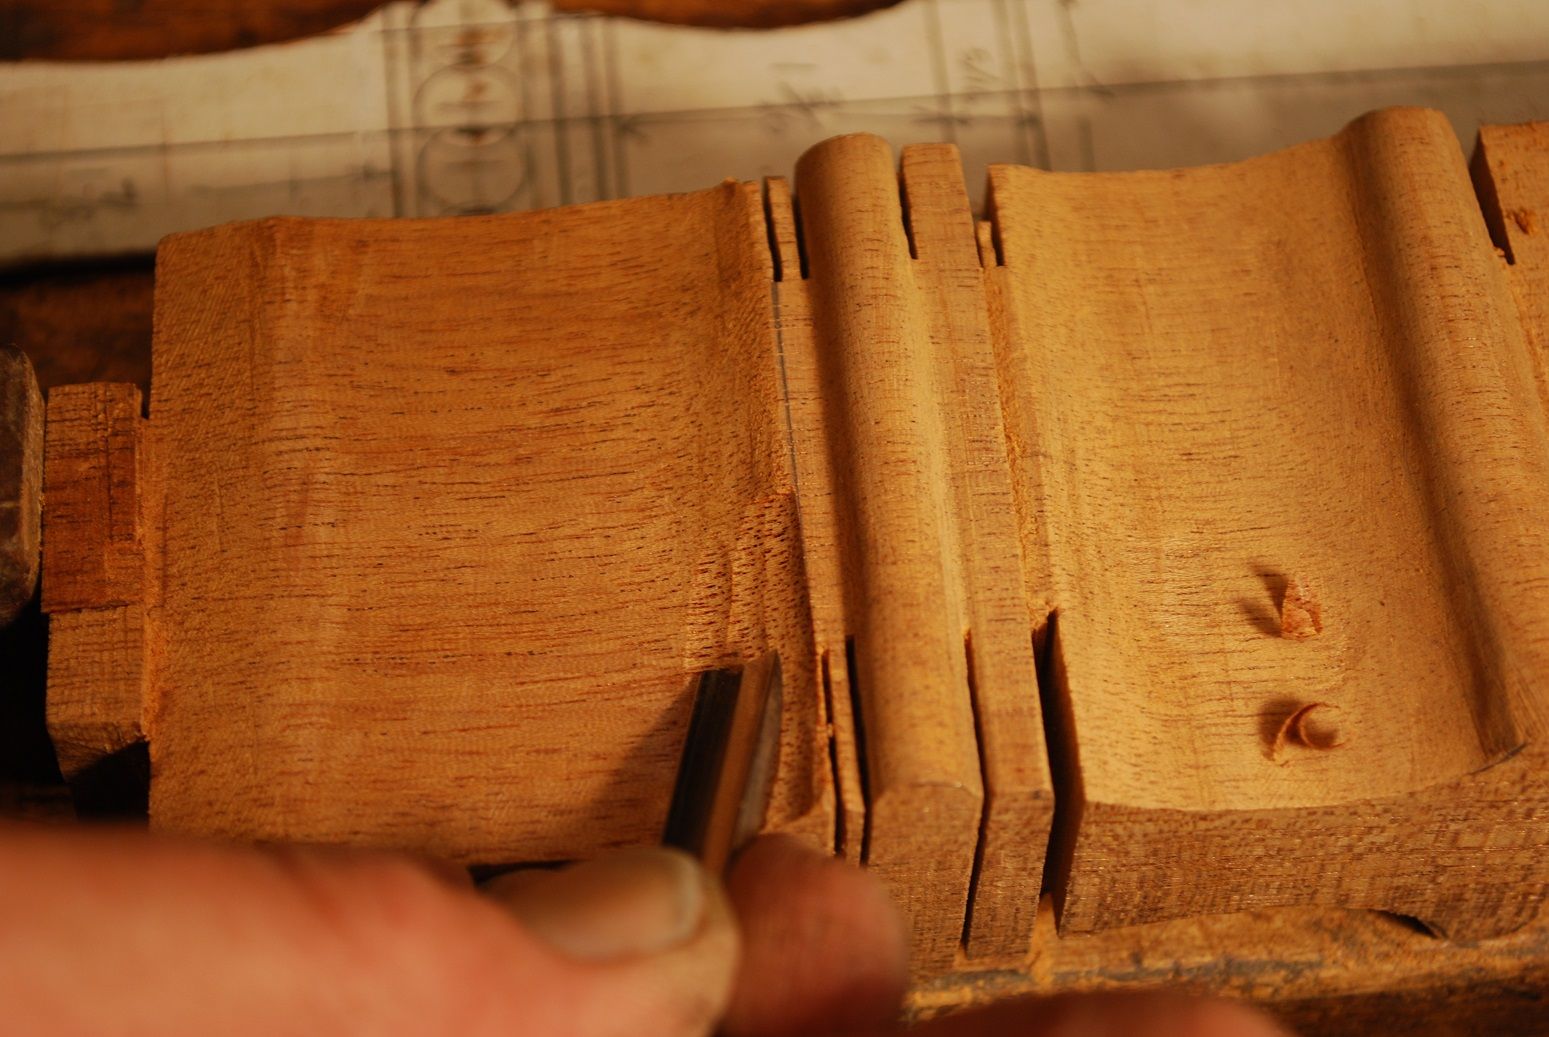
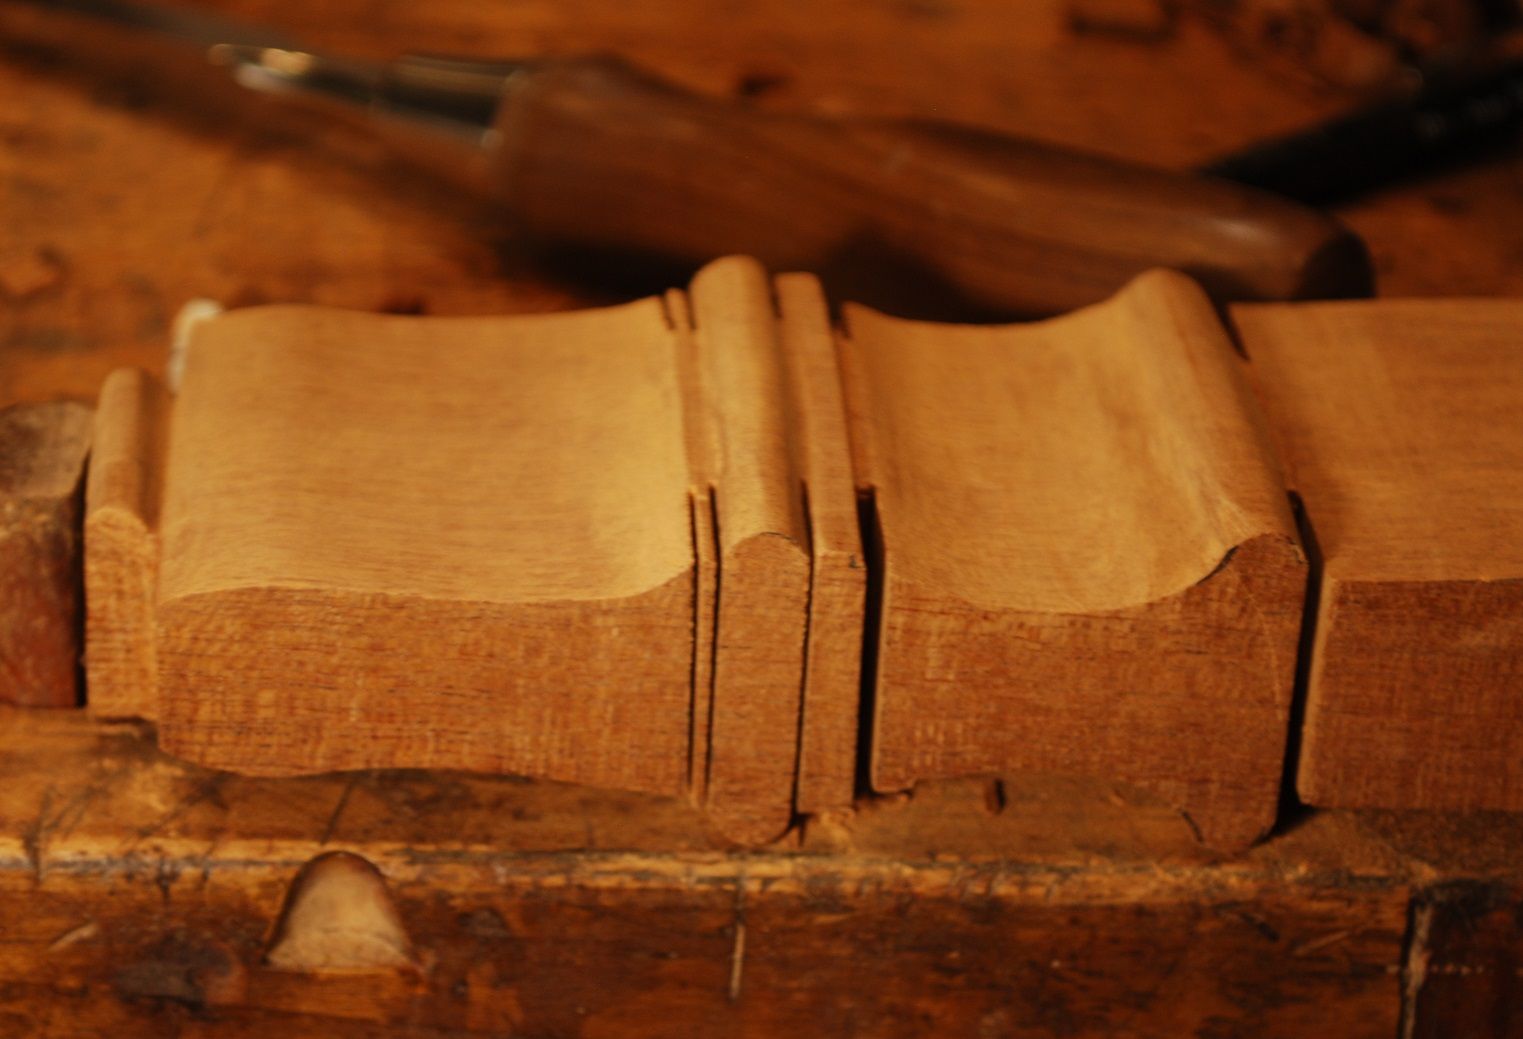
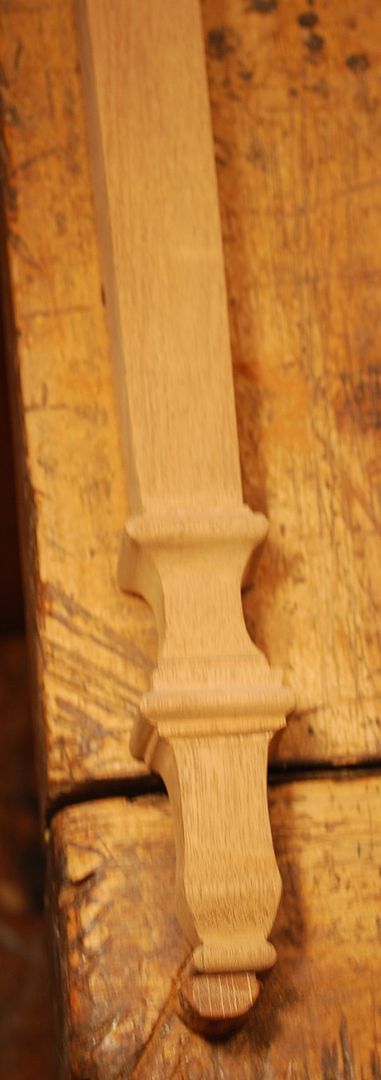
    Here are some pics of using carving tools cross grain to remove bulk of the waste. As I mentioned, I’m not much of a Carver but I have to say this work is really fun! This wood takes edge tools extremely well (probably a reason why all those early American, ball and claw feet in the great museums are all in mahogany). I enjoyed it so much, I made a series of shaped strops, sharpening guides corresponding to the curvature of my carving gouges.


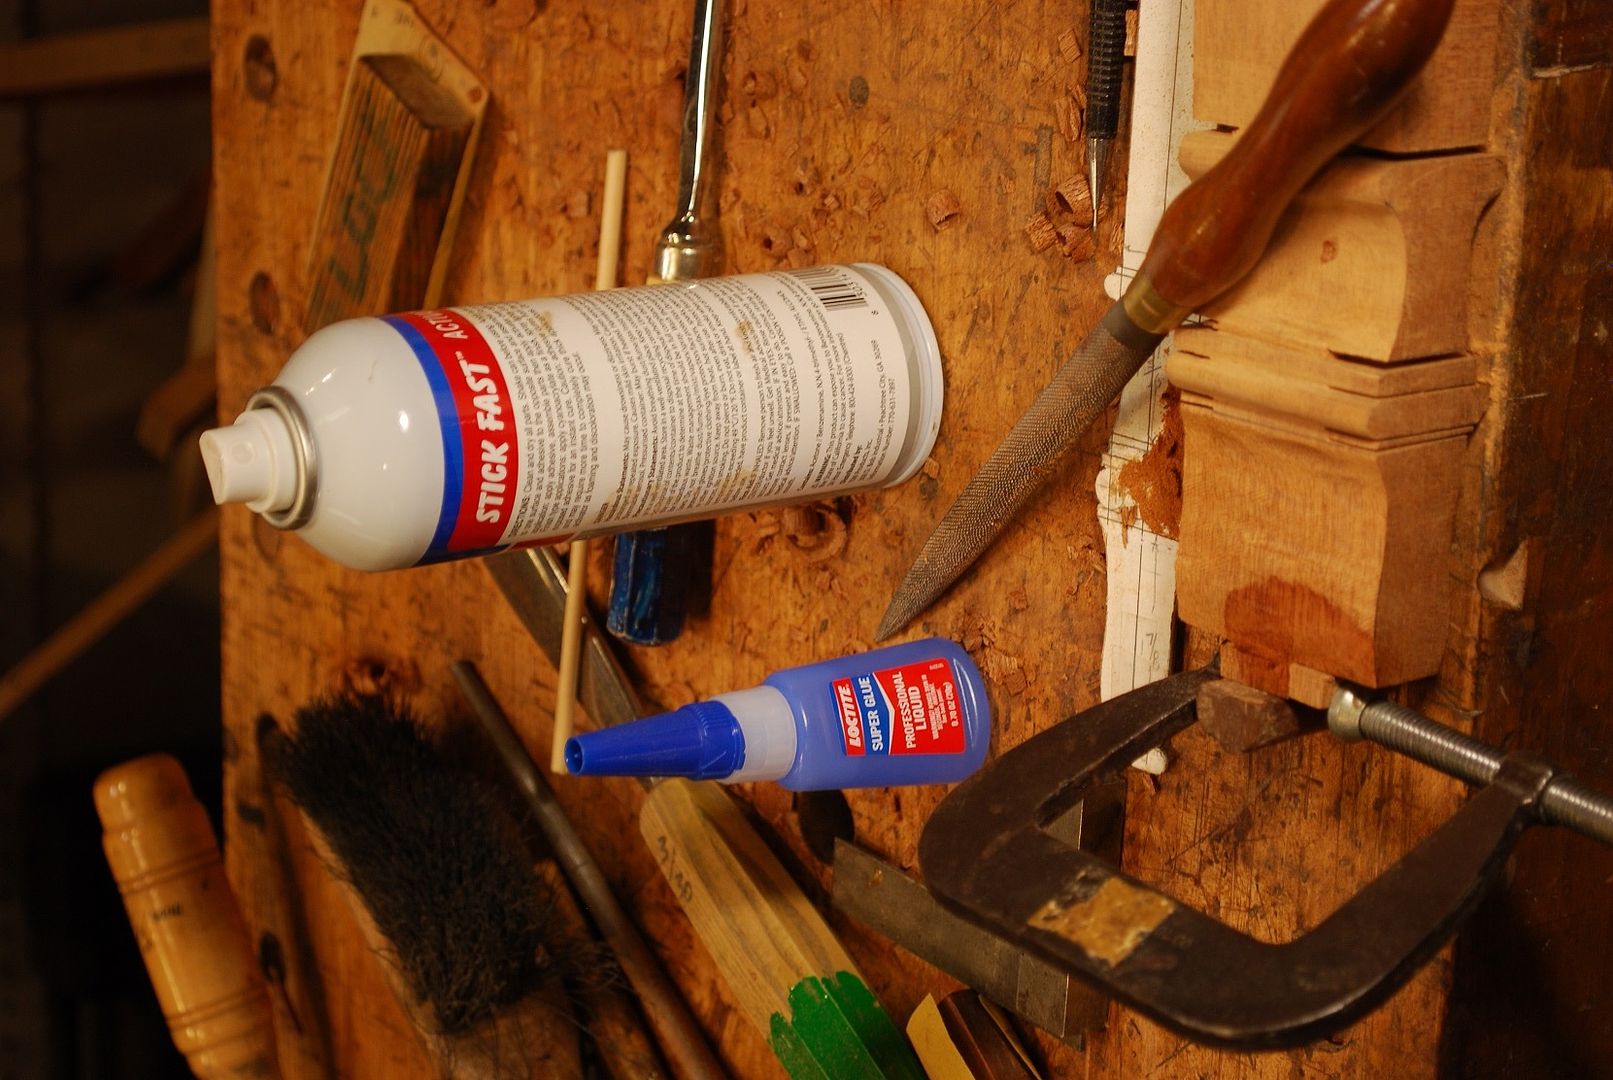
    Carving, especially cross grain, I get overly enthusiastic and breakout pieces – superglue is essential "carving tool" for correcting disasters.


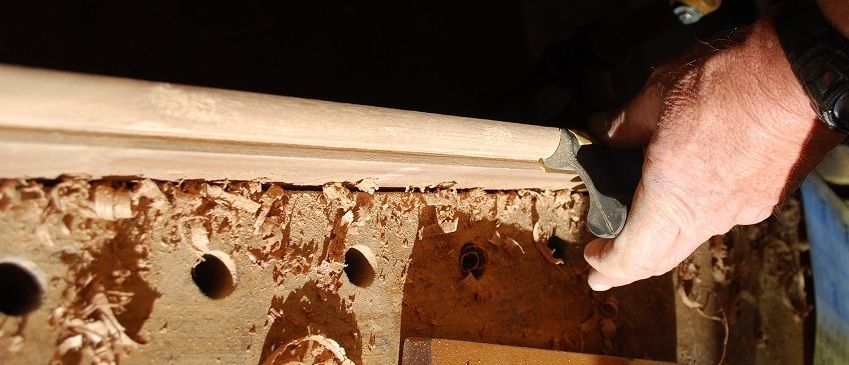
    For what it’s worth, the other thing I’ve learned in my limited carving experience is when it comes to flat, planer surfaces, it can be really tough to get a smooth surface straight up a carving tool. For me, I’ve had good luck with final smoothing/surfacing using half round rasps, files, card scraper and sandpaper. Probably not the way you’re supposed to do it, but has worked out okay for me – YMMV.


    Sorry – I probably overdid it with the pictures, I have to confess curving turned out better than I expected – at least so far!

    Now the rough profile of the legs has been established, next steps will be doing some ornamental carving and adding the string inlay. I’m planning to use the approach described in a recent issue of fine woodworking. We’ll see how it goes!

    Thanks for looking, all the best,
    Mike

  5. #5
    Join Date
    Mar 2015
    Location
    SE Michigan
    Posts
    3,225
    Wow, Mike, outstanding. The work on the legs is really nice. Inspiring as always. I’ve done a bit of veneer, banding, and stringing work myself, and there is nothing more troubling than sanding as carefully as you can and then seeing the sub surface start to appear. You’re not alone, by any means. I guess we can at least feel good about the fact that we’ve become experienced in fixing those kinds of things. Look forward to the rest of the build.

  6. #6
    Mike, you the man. Damn guy, you are going to make me go to making bird houses and profiles of little boys peeing. I have to hide this thread from MsBubba or she will look at the next project of mine with the skank eye.

    Beautiful work Mike, thanks for sharing,

    ken

  7. #7
    Join Date
    Sep 2008
    Location
    N. Idaho
    Posts
    1,621
    Mike,

    Great to see another fine project in progress in your shop. Always inspiring!

    Best,
    Chris
    "You can observe a lot just by watching."
    --Yogi Berra

  8. #8
    Join Date
    Aug 2012
    Location
    Missouri
    Posts
    2,152
    That's a beauty Mike. All the attention you give to grain direction and matching makes all the difference. The carving is looking great. That thin store bought veneer is a real challenge. It's great that you show the difficulties you have with tasks. It helps us to know the challenges.
    Jim

  9. #9
    Join Date
    Feb 2011
    Location
    Carlsbad, CA
    Posts
    2,230
    Blog Entries
    2
    Thanks guys for the feedback. I'm still chugging along carving the legs – takes about a full day per leg. I thought it might get a little faster with practice but all the small fillets really can't be rushed. I'll be glad when the carvings done and I get back to a little old-fashioned M and T joinery for the leg/aprons.

    Thanks for looking – all the best.
    Mike

Posting Permissions

  • You may not post new threads
  • You may not post replies
  • You may not post attachments
  • You may not edit your posts
  •