Results 1 to 14 of 14

Thread: Needed a 12" miter saw.

  1. #1
    Join Date
    May 2005
    Location
    Highland MI
    Posts
    4,521
    Blog Entries
    11

    Needed a 12" miter saw.

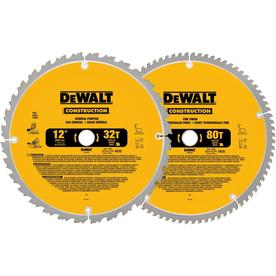
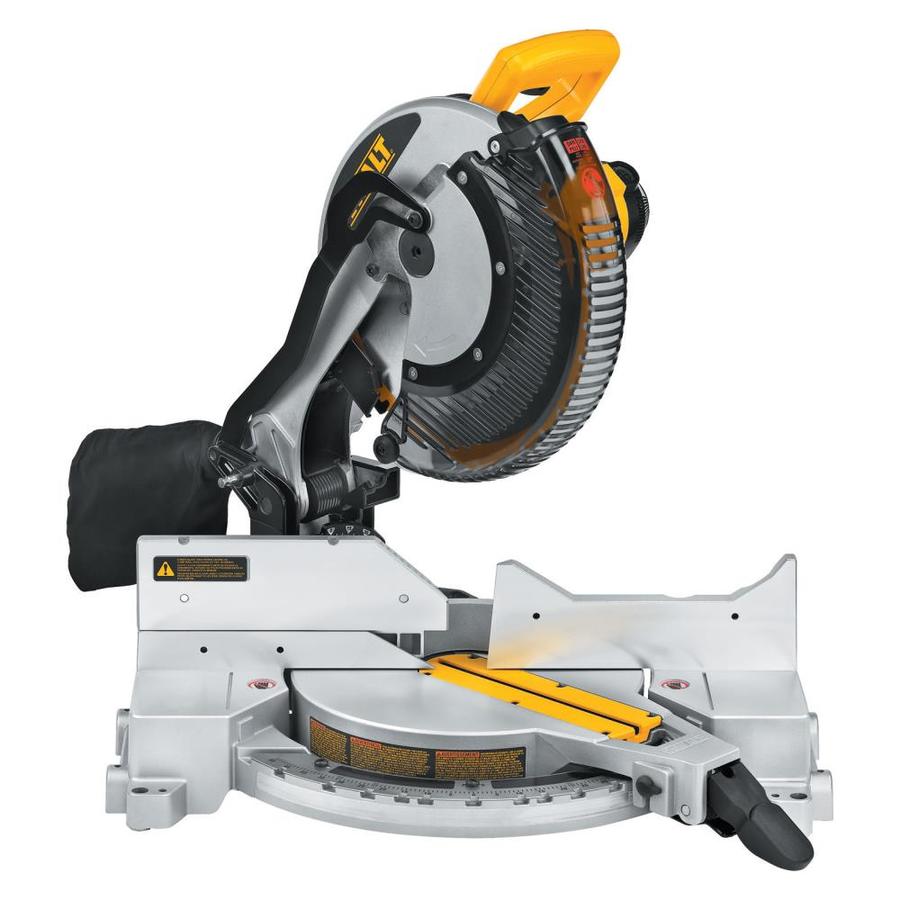
    Helping my son trim out his new house, we have something like 350 lf of 6" base that needs to be trimmed. We both have 10" miter saws, but they won't do a 45 on 5.5" trim standing up against the fence. So a 12" saw is in order. Didn't want to spend a bunch so I was looking at HF. Then I stumbled across a 12" Dewalt DW715 on sale at Lowe's for $179.00. It is a single compound miter saw, but came with a 32 tooth blade. I added their combo pack of 32/80 tooth "construction" blades for $45. Not a bad deal. Not a slick slider, but I would have trouble fitting a slider in my miter saw station. Only downside I see so far is the goofy 1 5/8" OD dust collection chute. His Ridgid MS fit the Ridgid 2" ID hose nicely. Nothing a roll of masking tape can't fix.
    Last edited by Ole Anderson; 12-11-2018 at 12:08 PM.
    NOW you tell me...

  2. #2
    Join Date
    Mar 2016
    Location
    Exeter, CA
    Posts
    693
    I've been using this same saw for over 15 years now, love it. As you said, not a slider but also have a Unisaw and a Dewalt Radial Arm Saw. Had my first for about 10 years and found its exact replacement (see above) for $180 on sale, so bought new one and gave 10 year old to my son (a firefighter) for his projects. I run a full kerf series 20, 96 tooth Dewalt blade on it. Very happy with combo. Randy

  3. #3
    Join Date
    Mar 2018
    Location
    Piercefield, NY
    Posts
    1,693
    I have a 705 that I bought used and have really worked hard for 10 years or so now. It's been a good saw, and if it dies I'd get a 715, they look the same except for the miter lock being a lever instead of a knob.
    Zach

  4. #4
    Join Date
    May 2005
    Location
    Highland MI
    Posts
    4,521
    Blog Entries
    11
    House is now trimmed out, caulked and ready for paint. Most enjoyable making all of those cuts. Kept it simple with 3.5" x 1/2" flat primed MDF door and window trim and 5.5" x 3/4" flat primed MDF base. Had it hooked to a Ridgid shop vac with an auto turn on switch, Good dust collection with the board vertical, not so good with it laying flat. Also used it for a bit of crown molding on a bathroom cabinet. Based on how many missed cuts I made, I am not sure I want to tackle the crown in the kitchen.
    NOW you tell me...

  5. #5
    Join Date
    Feb 2014
    Location
    Lake Gaston, Henrico, NC
    Posts
    9,030
    Check and see if Dewalt make crown molding fences for it. Their ones for my old slider work perfectly. I would think they would fit on that saw too. If there is a female threaded hole on the ends of the table, that's what they're for.

    edited to add: I googled it, and they do. I cut a gauge block to set them with for the perfect distance you want off the fence.
    https://www.dewalt.com/products/acce...-dws780/dw7084
    Last edited by Tom M King; 01-03-2019 at 4:18 PM.

  6. #6
    Join Date
    Mar 2003
    Location
    Upland CA
    Posts
    5,564
    Does that model have a light that shows the cut?
    Rick Potter

    DIY journeyman,
    FWW wannabe.
    AKA Village Idiot.

  7. #7
    Join Date
    Apr 2013
    Location
    Cedar Park, TX (NW Austin)
    Posts
    578
    No laser, Rick.

  8. #8
    Join Date
    Feb 2003
    Location
    Griswold Connecticut
    Posts
    6,931
    Nice looking Miter saw, and yes it does look my DeWalt705. The finish looks a little more refined on the newer model.
    I've had my 705 since the early 90's and still like it.
    "The first thing you need to know, will likely be the last thing you learn." (Unknown)

  9. #9
    Join Date
    May 2005
    Location
    Highland MI
    Posts
    4,521
    Blog Entries
    11
    I can hold the molding fine, but the jig would help. Even always holding it upside down against the fence, I still get messed up which way to cut the 45 as everything seems backward. And marking where to cut is another issue. I am sure there are a ton of YouTube videos out there on cutting crown molding, is there a definitive one? No odd angles as these are just for cabinet tops, but there are some jogs, so both inside and outside cuts. I had a pro do the crown in my house at the same time he was here to do the hickory crown in my kitchen.

    Edit: I just ordered the crown stops from Amazon, arriving Sunday. "Let's do this!"
    Last edited by Ole Anderson; 01-04-2019 at 8:41 AM.
    NOW you tell me...

  10. #10
    Join Date
    Feb 2014
    Location
    Lake Gaston, Henrico, NC
    Posts
    9,030
    Cope the inside corner first, then hold it in place to mark the bottom of the outside corner miter. Use a sharp pencil. I use a no. 4. The stops will help a lot. It's almost not possible to hold every piece exactly the same to a line drawn on the table. Cut a gauge block to set the stops on both sides exactly the same off the fence.

  11. #11
    Join Date
    Sep 2009
    Location
    Medina Ohio
    Posts
    4,532
    I have 2 705 saws that I bought in 1990 and both are still going strong. Back then I was cutting extruded aluminum trim for Revco stores and they traveled all over the country with me and another crew.

  12. #12
    Join Date
    Feb 2014
    Location
    Lake Gaston, Henrico, NC
    Posts
    9,030
    Also cut a gauge block to mark where the bottom of the crown molding goes on the wall, or cabinet. It's the same as the height of the upside down molding against the fence. There is no leaving out any step of consistency, and getting good results. A hair too high or low in setting, and it's just a mess.

  13. #13
    Join Date
    May 2005
    Location
    Highland MI
    Posts
    4,521
    Blog Entries
    11
    After watching this video I made my crown stops with scrap wood, including the wood fence and plate so I can better see exactly where the cut will be. Will likely be returning the Dewalt stops I got yesterday. As suggested I used gauge blocks to set the stops. https://www.youtube.com/watch?time_c...&v=lT65t5ANBac

    The pre-finished crown I am using is from the cabinet manufacturer and includes a nesting pre-finished 1" riser that goes on top of the cabinet.
    Last edited by Ole Anderson; 01-07-2019 at 8:22 AM.
    NOW you tell me...

  14. #14
    Join Date
    May 2005
    Location
    Highland MI
    Posts
    4,521
    Blog Entries
    11
    Here is what I made up using scrap base:

    crown stops.jpg
    NOW you tell me...

Posting Permissions

  • You may not post new threads
  • You may not post replies
  • You may not post attachments
  • You may not edit your posts
  •