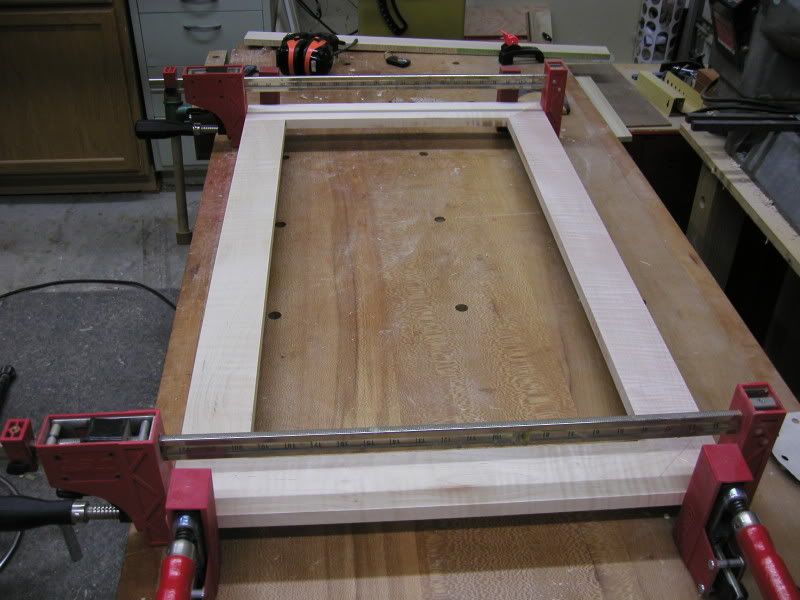
Hey guys, I have had so many people request that I post the highboy tutorial I put together I am going to give a tutorial one more shot. Based on how much interest there is we can go from there. This is enough info to make about a 250 page book (several hundred photos and 25-30 pages of text) so it will take a little while to get everything up. I do want to get a little feedback on the format. I would like to get a consensus on if you want me to just keep updating this of start new posts for each. Both have benefits and drawbacks.
I also want to touch a little on my building style. I love to use hand tools. That being said I also need to make a living so hand tools arent always the smartest way for me to do things. In some cases hand tools are faster and in others there is just no substitute. I build everything as close to period correct as I can but sometimes use untraditional methods to create the end result. My methods may not always be the best way to do things but it is how I have become efficient at doing them.
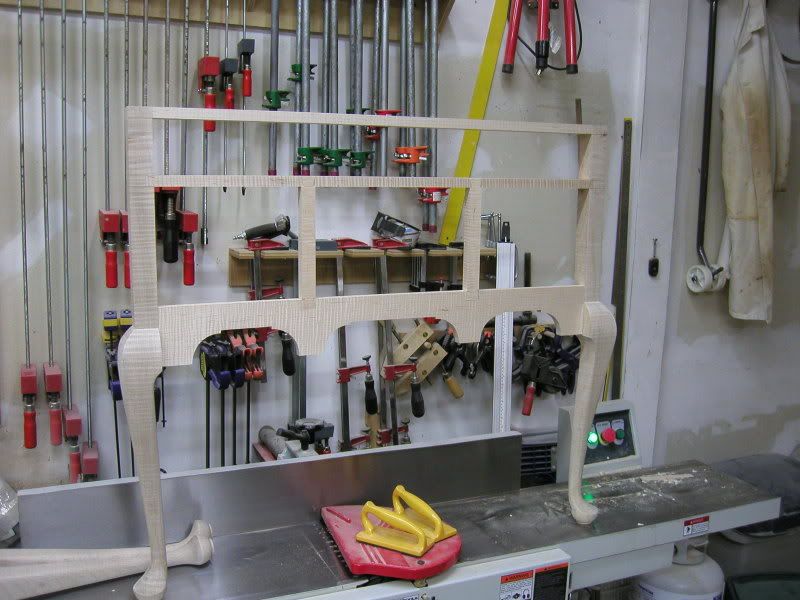
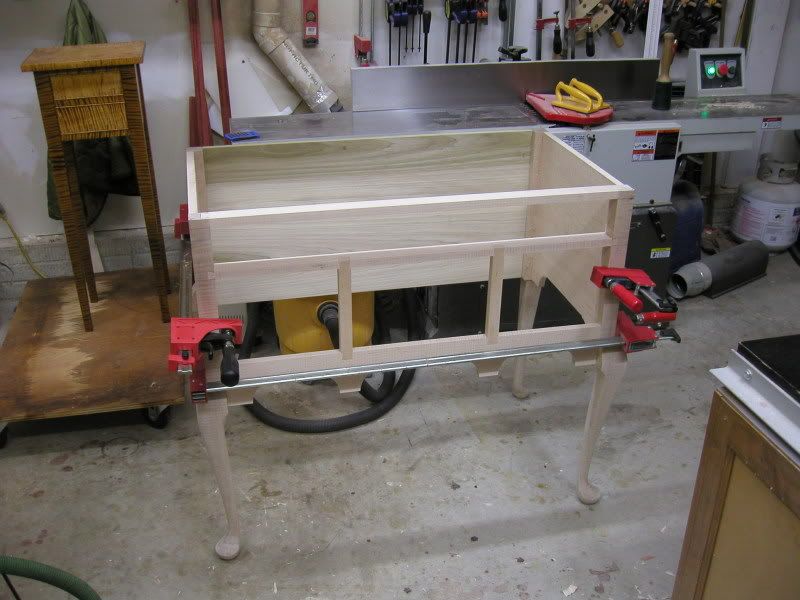
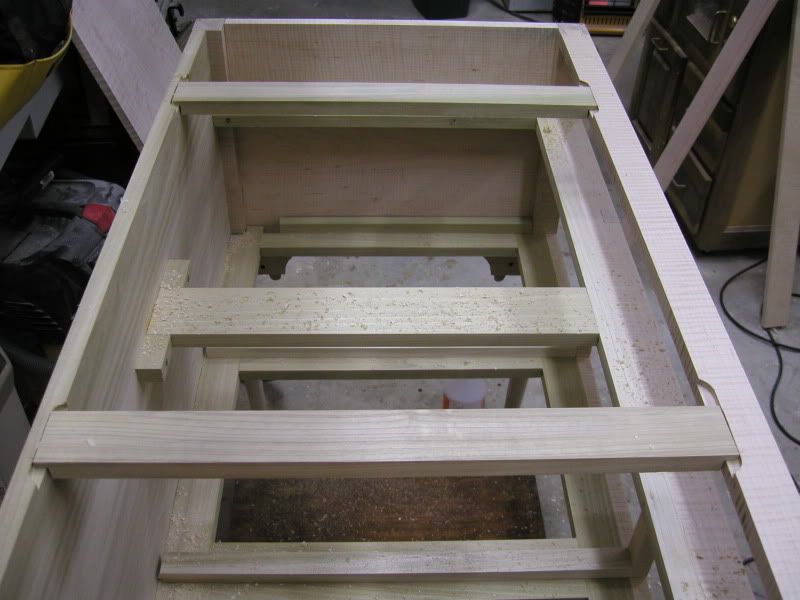
Looking at this project as a whole can be a little intimidating but it can be simplified when you break it down into its smaller parts. In its smaller parts the piece starts to look much less complex. I also want to point out that you dont need a huge shop with all the best equipment money can buy to build this piece. I work out of a modestly equipped 20x20 shop. When I think about how these pieces were built in the 1700s I realize how lucky I am.
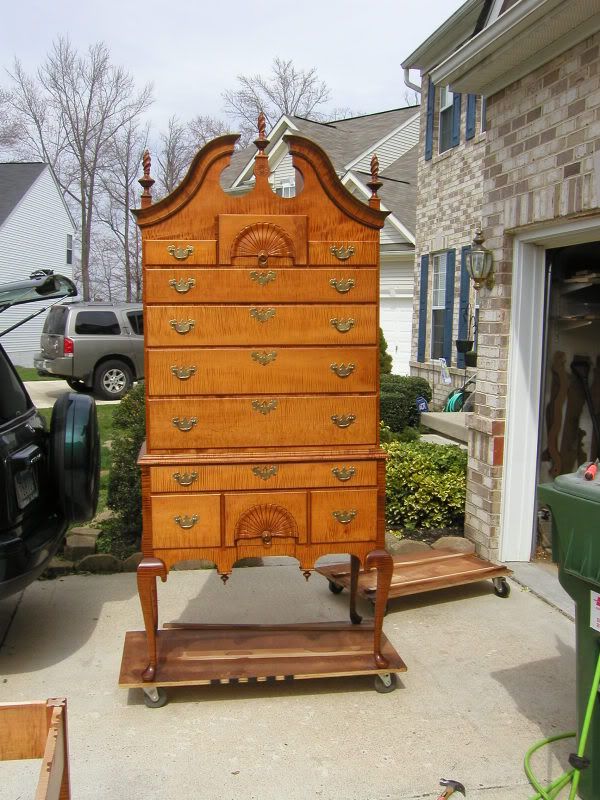
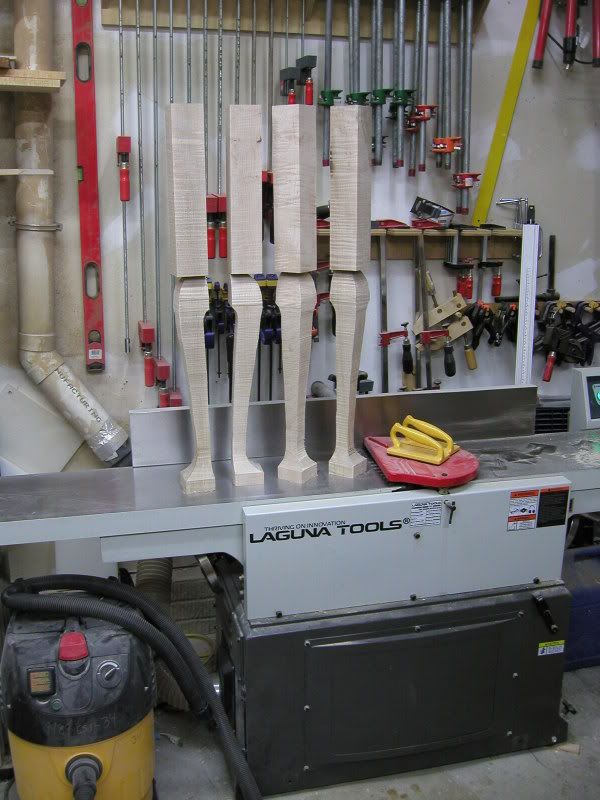
Here is a photo of the piece I will be building. I worked from an original that I had access to but Glen Huey has drawing and cut lists for a very similar piece in his book Building Period furniture
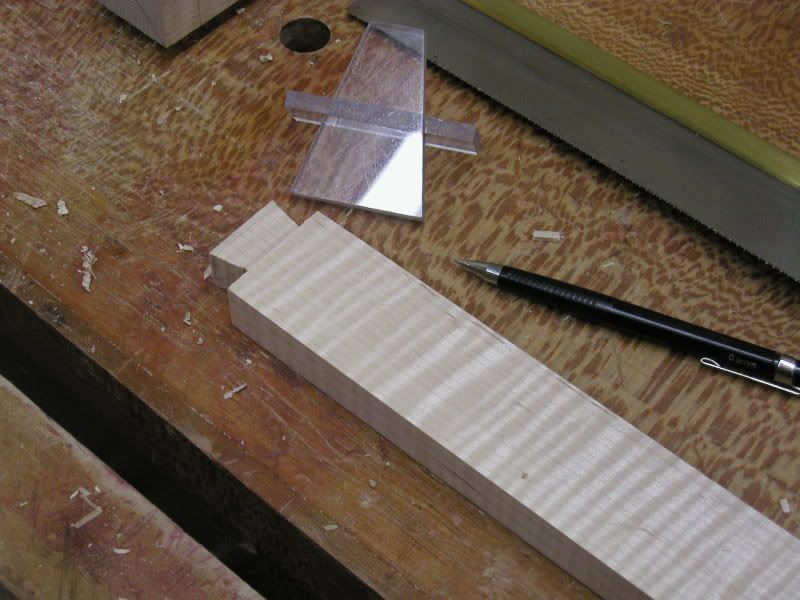
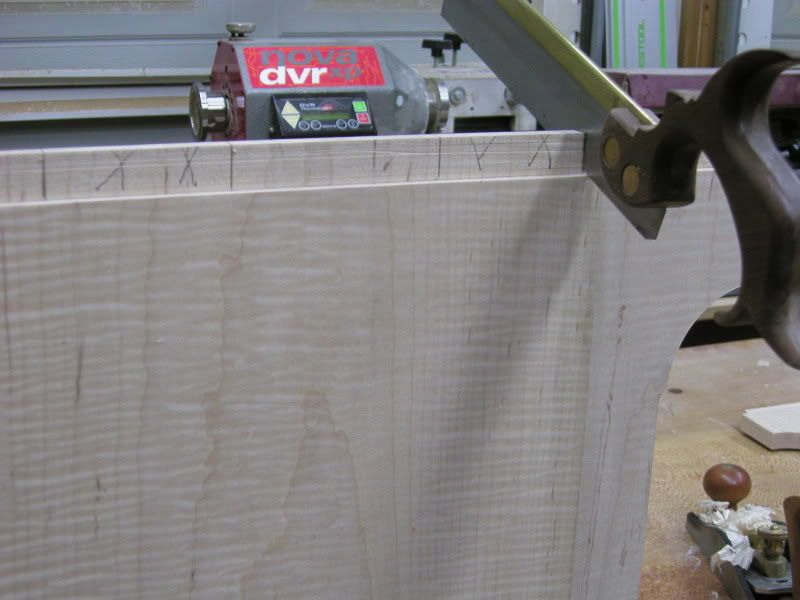
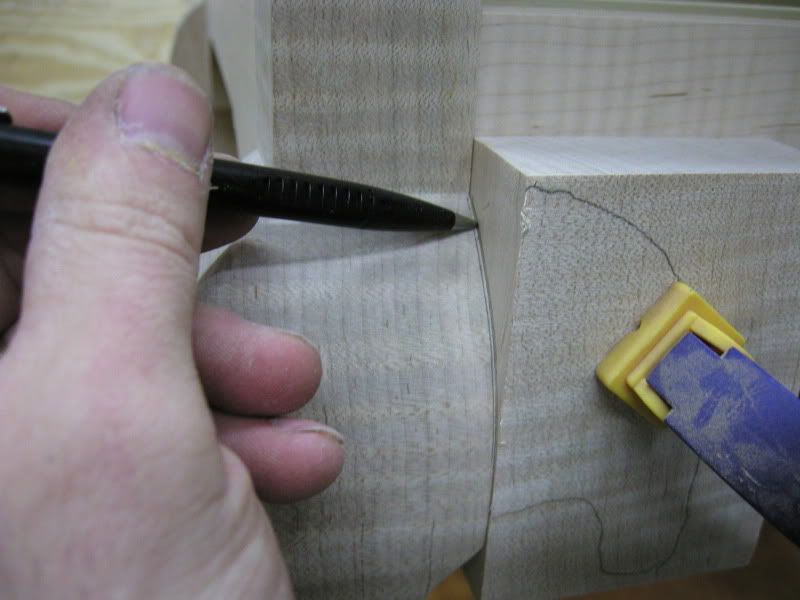
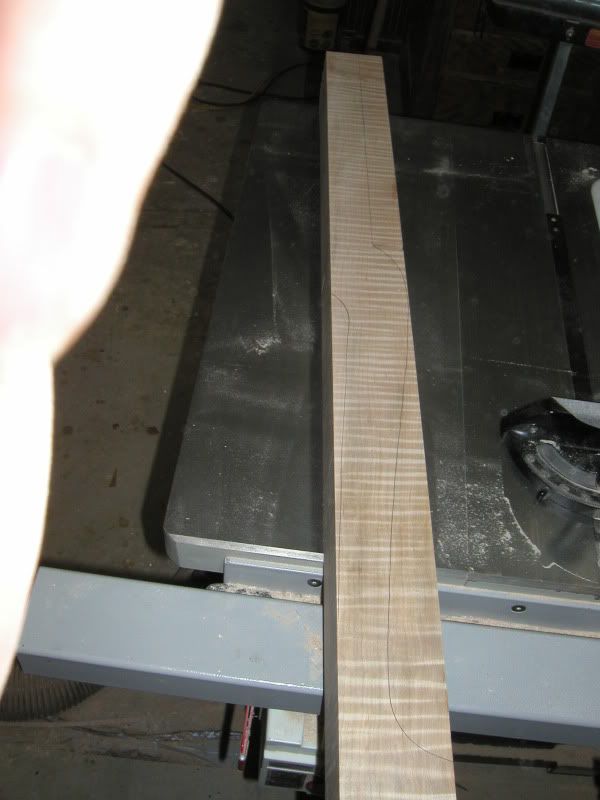
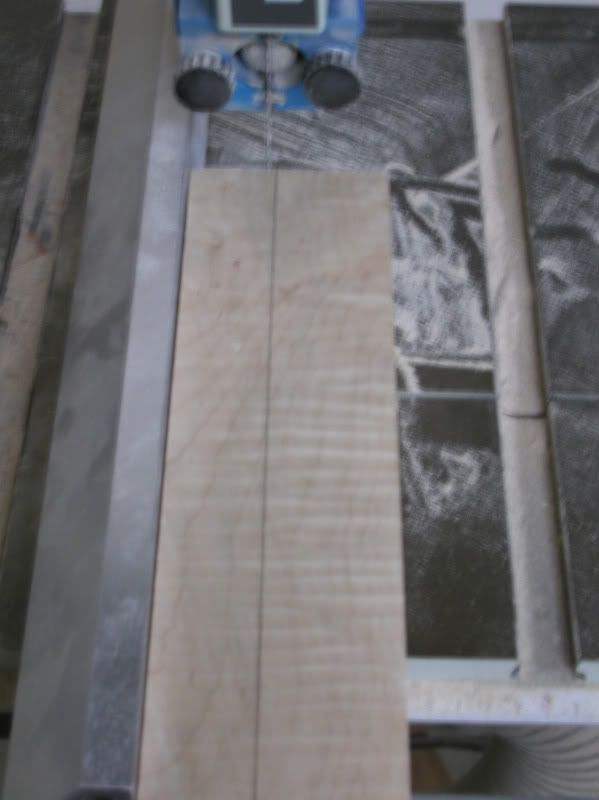
We need to start out with the legs. You will need 12/4 stock milled to 2 7/8 squares I cut these to a finished length of 35 1/2. Once the legs are milled and cut to size you will need to lay out your pattern. There are tons of places to get patterns but I prefer to work directly from a photograph of an original. One thing to pay close attention to is the grain orientation of the legs when you lay them out. I like to have the QS grain on the knee. If you oriented the grain the other way you will end up with a bulls eye formed by the grain on your knee which is I dont like. Once again this is just a personal preference and the main thing you need to pay attention to is that the grain orientation on your legs are the same on the front and sides. In the photos below you can see how layout the pattern.
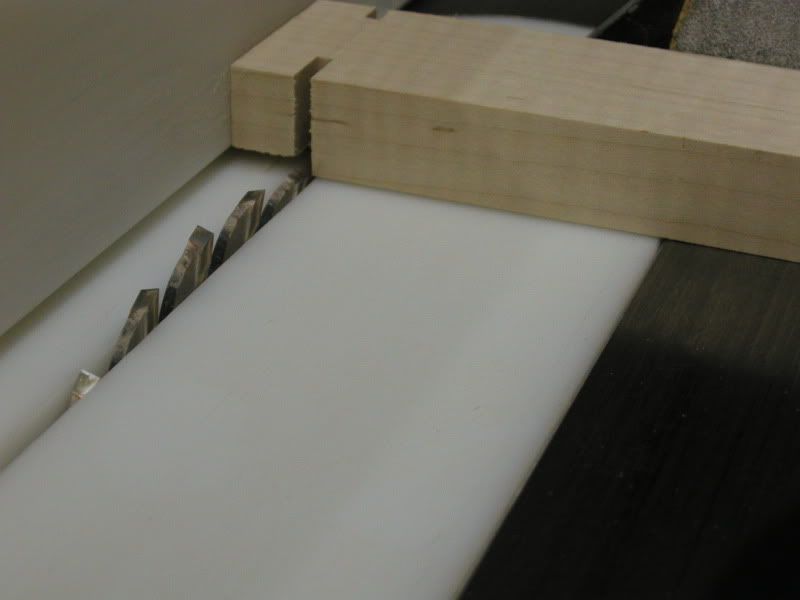
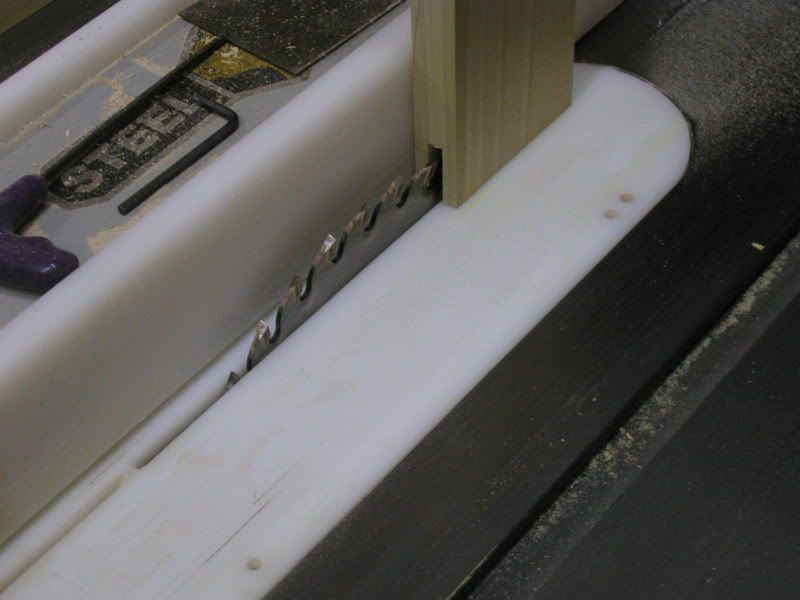
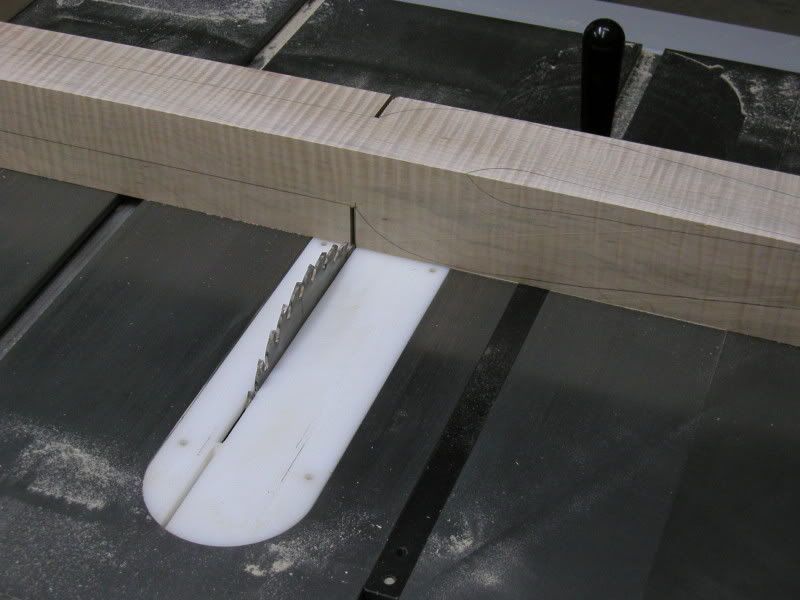
Now you will need to define the knees. For this you will need to set the depth on your tablesaw blade and set up a stop so they are all cut the same.
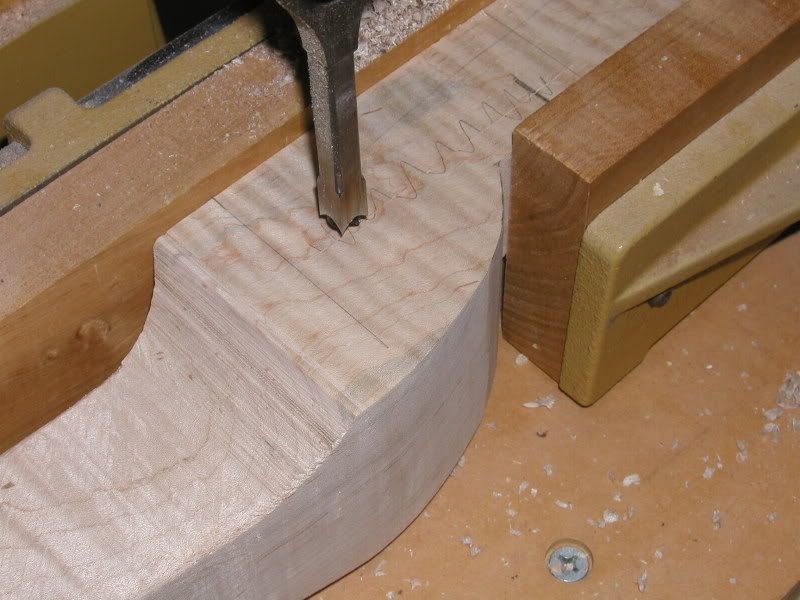
Once you have the pattern transferred and the knees defined you will need to move to the band saw and rough them out. Notice that when I cut I don cut the piece all the way off. You can but if you do it will be necessary to reattach the piece with hot glue or tape and this is just a lot faster.
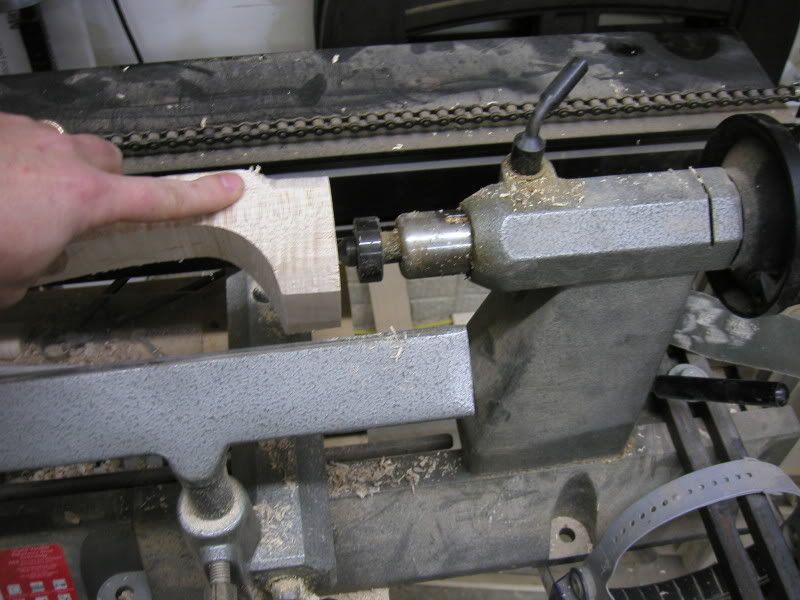
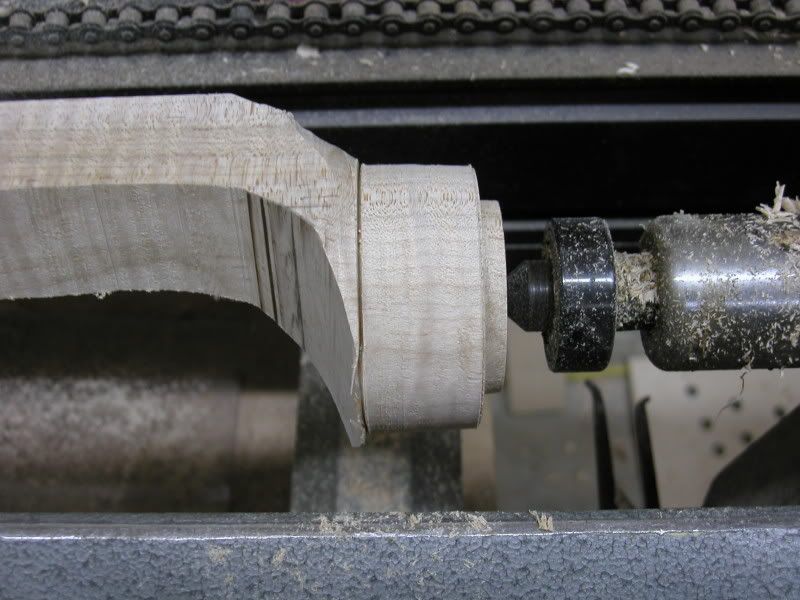
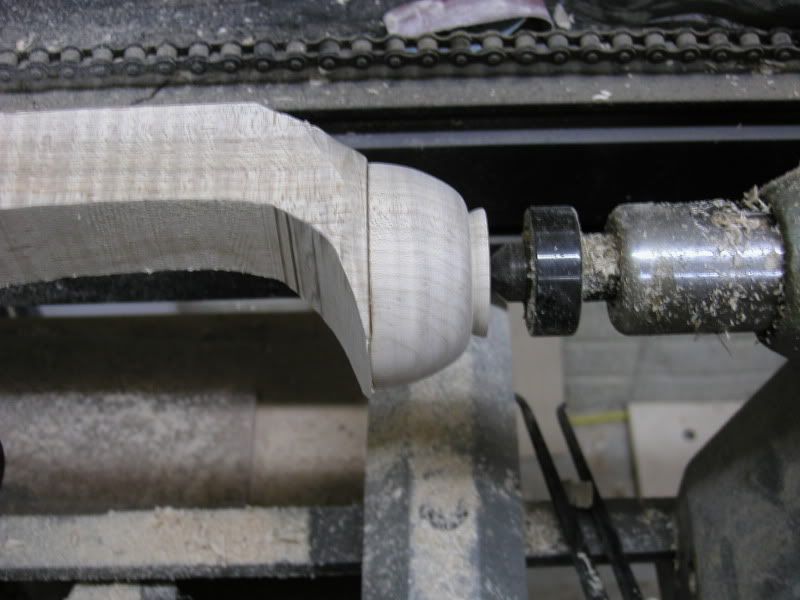
Once all the legs are roughed out you will need to move to turning the feet if you are doing pad feet. This can be done by hand also but is much faster on a lathe. You will need to chisel away the area on the back of the ankle as you are turning to keep it out of the way.
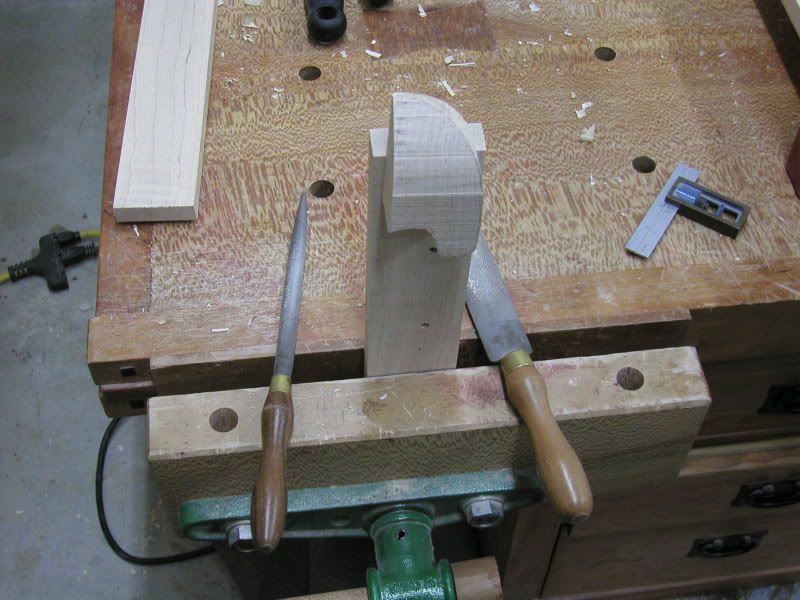
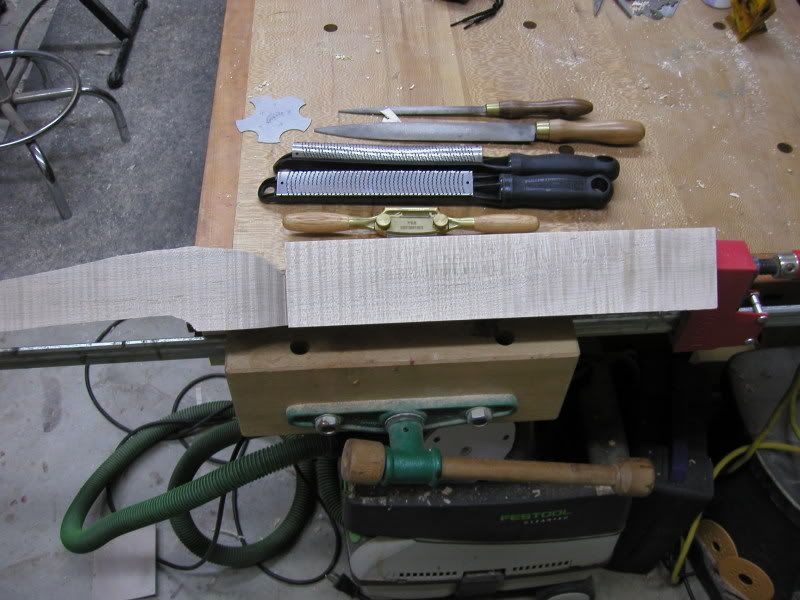
Now that the feet are turned its time to start shaping the leg. There are two ways I have found to hold the leg that work for me the first is using a clamp (a pipe clamp works best). The second is to just clamp the block into the vice.
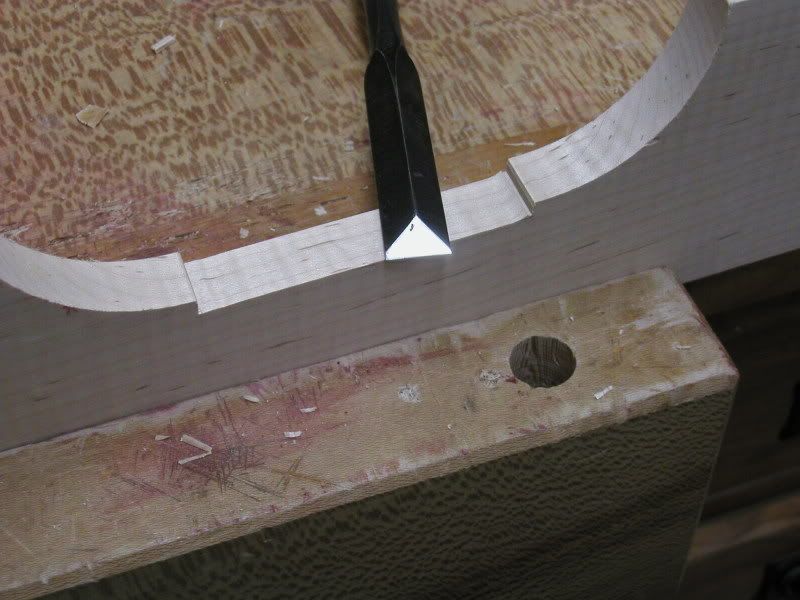
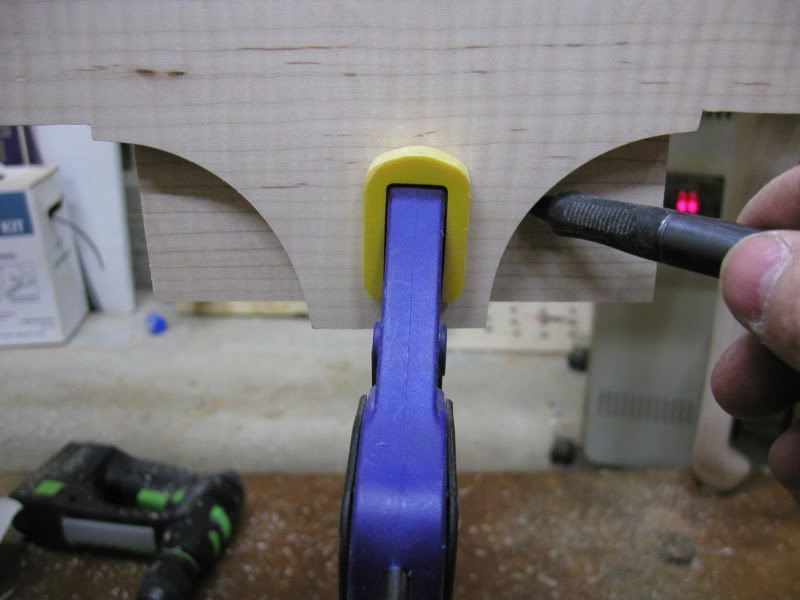
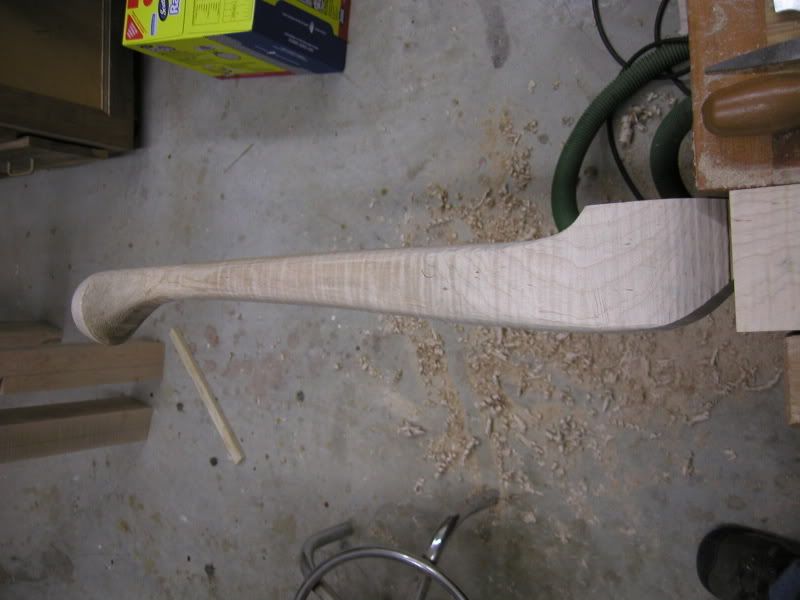
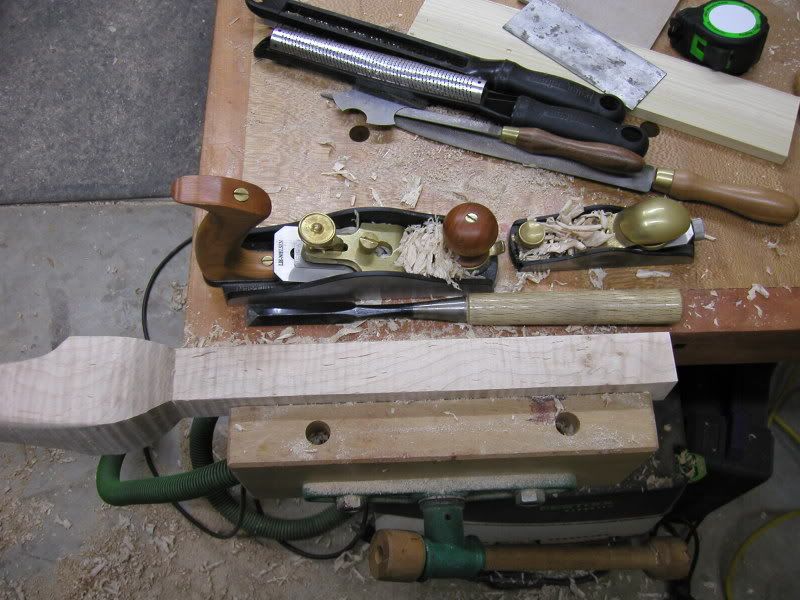
Once you get your leg clamped you will need to start working the leg into shape. This is done using a combination of rasps, a spoke shave and a hand plane. Start working the ankle round and smoothing from the top down. You will want the ankle to be about 1 diameter when you finish. Pay close attention to the knee area. Be very careful not to remove any material where your knee block will glue. It is also important to pay close attention to the direction you remove the material so you dont end up with blow out where the knee block will attach. Work you way around the leg until the shape is uniform.
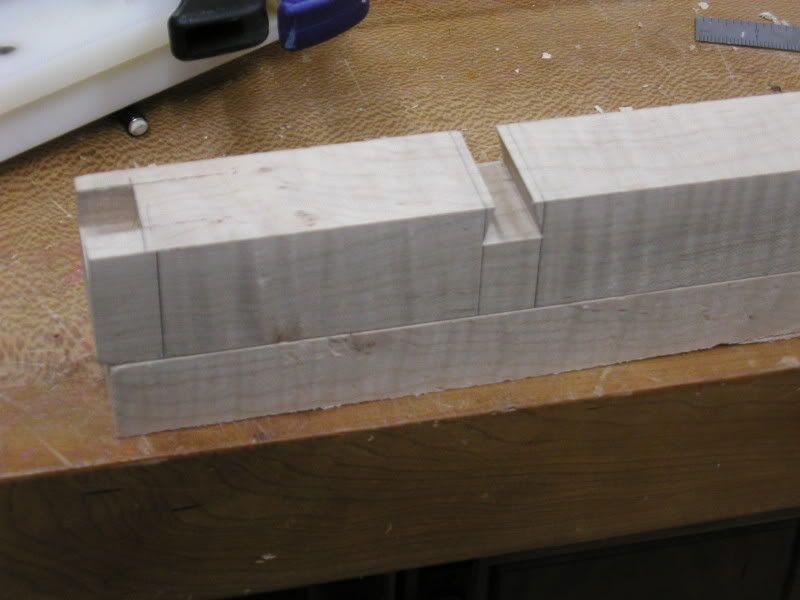
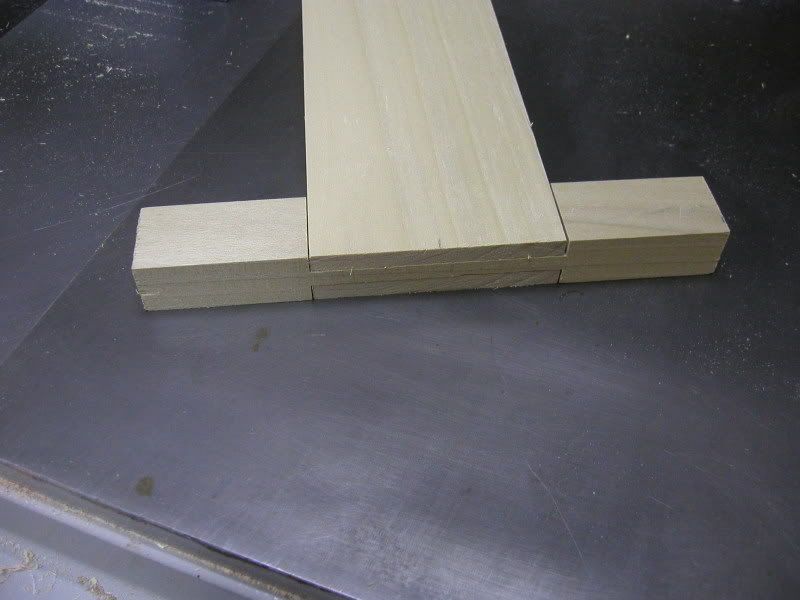
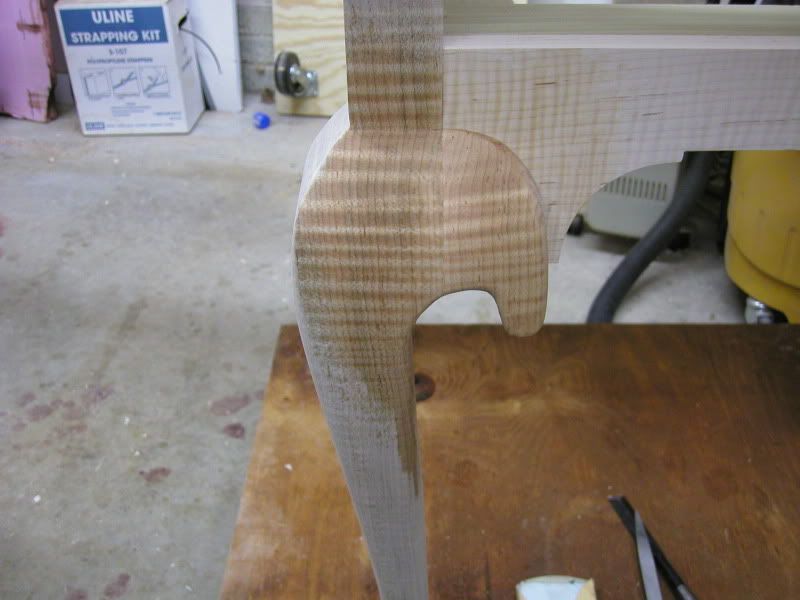
Now that the leg is shaped you will need to cut the upper leg to size. Be sure to keep these cut-offs because they will be used later for your knee blocks. Once the excess is cut off it will just take a little work with a sharp hand plane to clean up the top. You will also need to go back and clean up the knee. Once one leg is complete use that as a visual guide to shape the remaining three.


 Reply With Quote
 Please help support the Creek.