Page 1 of 2 12 LastLast
Results 1 to 15 of 20

Thread: Total length of 1x12 for small DTC

  1. #1
    Join Date
    Jun 2012
    Location
    Lubbock, Tx
    Posts
    1,490

    Total length of 1x12 for small DTC

    Another Dutch Tool chest question...

    Before I get too far in, I want to make sure I have enough lumber to complete my Dutch Tool Chest. I plan to use the 1x12 from the PWW article. In fact I’ve had it for a while but I’ve used a bit along the way. How many feet of the 1x12 does it take to compel the small size?

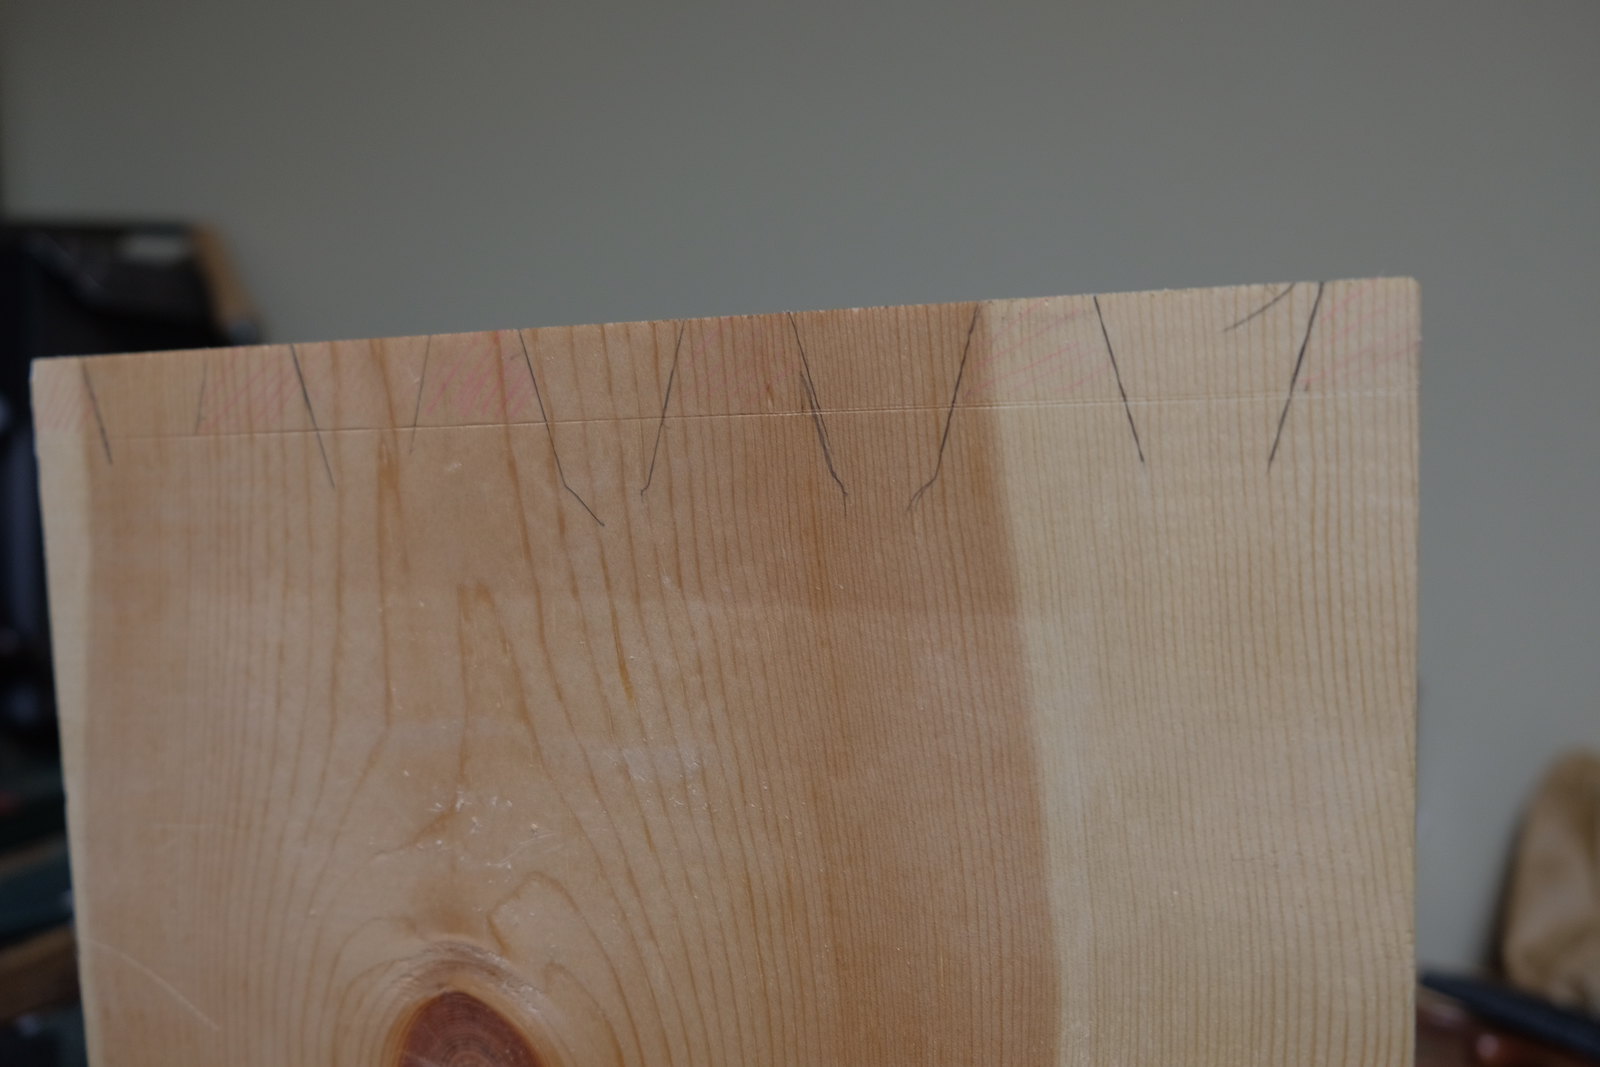
    Bonus question: if one was to cut the sides at angle from one board, how many inches would that board need to be to get the 24” sides?

  2. #2
    Join Date
    Aug 2010
    Location
    USA
    Posts
    5,582
    Not sure about total length needed but pretty certain you will need more than a single 1x12 board. I'm surprised the PW plan doesn't detail the materials needed. Also, not sure what you mean by angled cuts.

  3. #3
    Join Date
    Jun 2012
    Location
    Lubbock, Tx
    Posts
    1,490
    Quote Originally Posted by Pat Barry View Post
    Not sure about total length needed but pretty certain you will need more than a single 1x12 board. I'm surprised the PW plan doesn't detail the materials needed. Also, not sure what you mean by angled cuts.
    Re angled cuts: the 30* cuts on top of the sides and cutting them from one board alá the Roy Underhill episode.

    The give a cut list and I have a rough idea in my head. However, I was looking for confirmation from someone who built it.

  4. #4
    Join Date
    Jun 2010
    Location
    twomiles from the "peak of Ohio
    Posts
    12,169
    Grab a 1 x 12, mark out the cut line angle....then measure what is left above and below the line...do not cut the board, just yet. Line is to figure the length you will need.....also, allow for the saw kerf in the line.

  5. #5
    Join Date
    Dec 2010
    Location
    San Bernardino
    Posts
    203
    The easiest way to figure these things out is to lay them out full scale. For a 1x12 (3/4x11 1/4) the rise at 30 degrees is 6 1/2 inches with a run of 11 1/4 inches.

    So the math goes something like this. To get two sides out of one 1x12 you would need 2 times the total length of one side (24") minus 6 1/2" plus the kerf. You would need a board somewhere in the neighborhood of 41 5/8 inches.

    But, it is always better and safer to layout all of your lumber. Not all 1x12s are exactly 11 1/4" and I would never rely on someone else telling me how long a board needed to be. Because, if I make a mistake I don't want to be mad at someone else and myself, only myself.

    I hope this help. It looks like a great project.

  6. #6
    Join Date
    Jun 2012
    Location
    Lubbock, Tx
    Posts
    1,490
    Quote Originally Posted by Lonnie Gallaher View Post
    The easiest way to figure these things out is to lay them out full scale. For a 1x12 (3/4x11 1/4) the rise at 30 degrees is 6 1/2 inches with a run of 11 1/4 inches.

    So the math goes something like this. To get two sides out of one 1x12 you would need 2 times the total length of one side (24") minus 6 1/2" plus the kerf. You would need a board somewhere in the neighborhood of 41 5/8 inches.

    But, it is always better and safer to layout all of your lumber. Not all 1x12s are exactly 11 1/4" and I would never rely on someone else telling me how long a board needed to be. Because, if I make a mistake I don't want to be mad at someone else and myself, only myself.

    I hope this help. It looks like a great project.
    Thanks for that. That is exactly what I got. Part of my consideration is cutting to get in She who must be obeyed’s SUV.

  7. #7
    Join Date
    Aug 2014
    Location
    Silicon Valley, CA
    Posts
    1,048
    I'm not sure a single number is useful to you, since the DTC is more a form than a specific size chest. If you make it a little wider, or narrower, or taller, etc. you change the calculation. I'd suggest you want to allocate the lengths to the size boards you're buying. (What car? Say 6', with a hatchback or sedan you can fold the seats and connect the trunk & passenger compartment. Unless you're willing to do rough sizing in the parking lot, of course.) A lot also depends on how you're getting your narrower boards, are you ripping them from 1x12 or buying narrower stock?

    Given your other thread (on workbenches) you may to check out the DTC design at Fair Woodworking Blog: Going Dutch... and his follow up: ... One Year Later

    He built a two piece version so each part can be moved independently. (Going for portable, instead of transportable.) I'm guessing that may fit your situation too.

    Good luck!

  8. #8
    Join Date
    Jun 2012
    Location
    Lubbock, Tx
    Posts
    1,490
    Quote Originally Posted by David Bassett View Post
    I'm not sure a single number is useful to you, since the DTC is more a form than a specific size chest. If you make it a little wider, or narrower, or taller, etc. you change the calculation. I'd suggest you want to allocate the lengths to the size boards you're buying. (What car? Say 6', with a hatchback or sedan you can fold the seats and connect the trunk & passenger compartment. Unless you're willing to do rough sizing in the parking lot, of course.) A lot also depends on how you're getting your narrower boards, are you ripping them from 1x12 or buying narrower stock?

    Given your other thread (on workbenches) you may to check out the DTC design at Fair Woodworking Blog: Going Dutch... and his follow up: ... One Year Later

    He built a two piece version so each part can be moved independently. (Going for portable, instead of transportable.) I'm guessing that may fit your situation too.

    Good luck!
    Interesting links. I’m open to better solutions. However, at some point I have to just bite the bullet and build something.

  9. #9
    Join Date
    Jun 2012
    Location
    Lubbock, Tx
    Posts
    1,490
    Worked on it some today and marked out the dovetails. Looks crooked but didn’t in real life. Hopefully it’s the camera angle but I’ll double check tomorrow.

    8D2FB0F4-A134-4C1A-836F-9223B2D89974 by Tony, on Flickr

  10. #10
    Join Date
    Jul 2015
    Location
    Southwest Virginia
    Posts
    277
    You may have already seen this, but he provides a cut list:

    https://blog.lostartpress.com/2014/0...-cutting-list/

  11. #11
    Join Date
    Jun 2012
    Location
    Lubbock, Tx
    Posts
    1,490
    Quote Originally Posted by Jason Lester View Post
    You may have already seen this, but he provides a cut list:

    https://blog.lostartpress.com/2014/0...-cutting-list/
    I saw the list in the original magazine article. This one has some additional info. Thanks for the link.

    Went out while I took a brake from sports and gathered up the 1x12 I had around. I had a 28” that will work perfectly for the bottom (originally I cut for the shelf) and then an about 6’ board that I’ll cut the other side out of I guess. Then I’ve got some too short pieces I’m not sure I can use on this project.

  12. #12
    Join Date
    Jun 2012
    Location
    Lubbock, Tx
    Posts
    1,490
    Cut the second aside out of the 1x12. Cut out the dovetails and tried gang cutting for the first time. Overall went pretty well. Haven’t started out on the wate yet. Before I do, thoughts on the 140 trick?

    I know somewhere, someone recommended not doing it because it’s just another aspect that can go wrong. Anyone think that it’s benefits outweigh the risks?

  13. #13
    Join Date
    Nov 2008
    Location
    Lewisville, Tx
    Posts
    158
    Do it without and see how things go.

    I've done it both ways, and didn't find it made a difference. The gaps I have had to deal with were because of other things.

  14. #14
    Join Date
    Jun 2012
    Location
    Lubbock, Tx
    Posts
    1,490
    I’m leaning towards not doing it.

    Another question: my tail boards are a bit cupped, best way to mark out the pins?

  15. #15
    Join Date
    Nov 2008
    Location
    Lewisville, Tx
    Posts
    158
    Quote Originally Posted by Tony Wilkins View Post
    I’m leaning towards not doing it.

    Another question: my tail boards are a bit cupped, best way to mark out the pins?
    Clamp a board across the width.

    Heck, clamp the board flush with your baseline and you've done the 140 trick without the 140.

    And word to the wise: mark your faces. Mark your faces. Mark your faces. And don't forget to mark your faces.

Posting Permissions

  • You may not post new threads
  • You may not post replies
  • You may not post attachments
  • You may not edit your posts
  •