Great color choices...it will fit right in!


 Moderator
Great color choices...it will fit right in!
--
The most expensive tool is the one you buy "cheaply" and often...
 [OP]
Contributor
[OP]
Contributor
Thanks Jim!
I've been trying to save as much as possible on this machine, the original parts are just gorgeously made. Such quality, I've yet to find a void in any of the castings or a cheap piece of hardware anywhere.
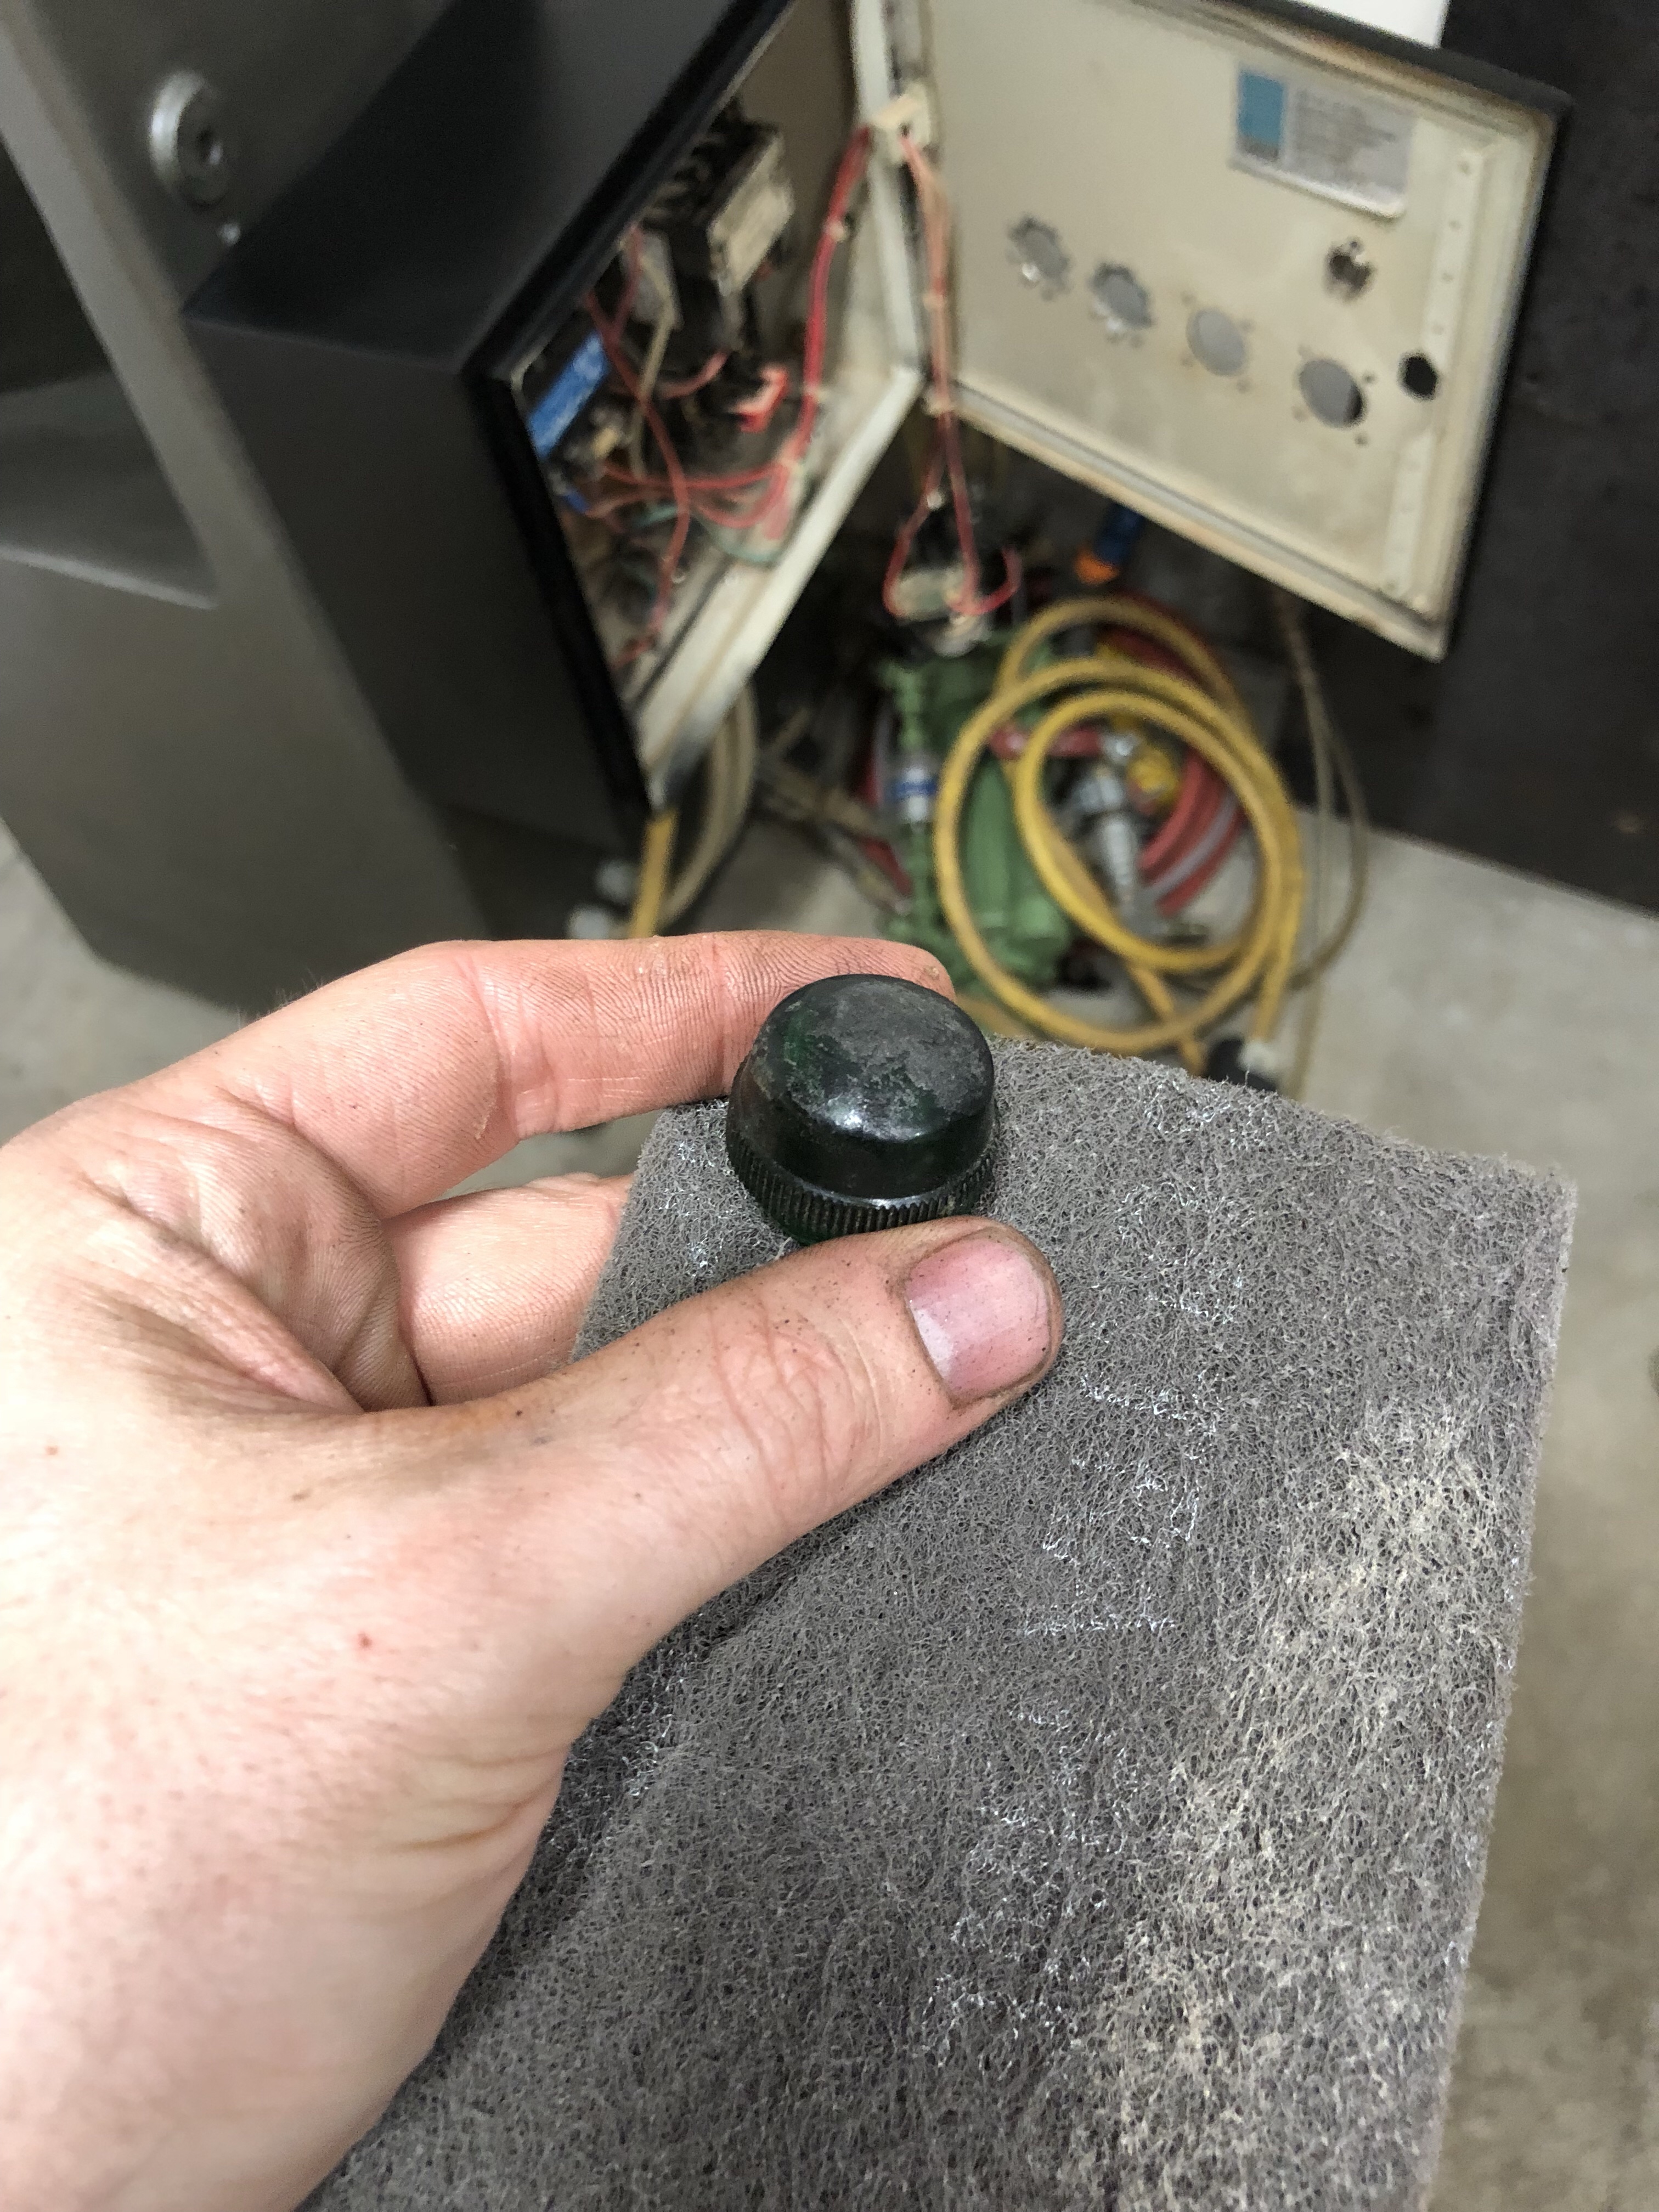
I came across this, beat to death from years of scuffing and whatnot. Decided to try my hand at polishing it up;
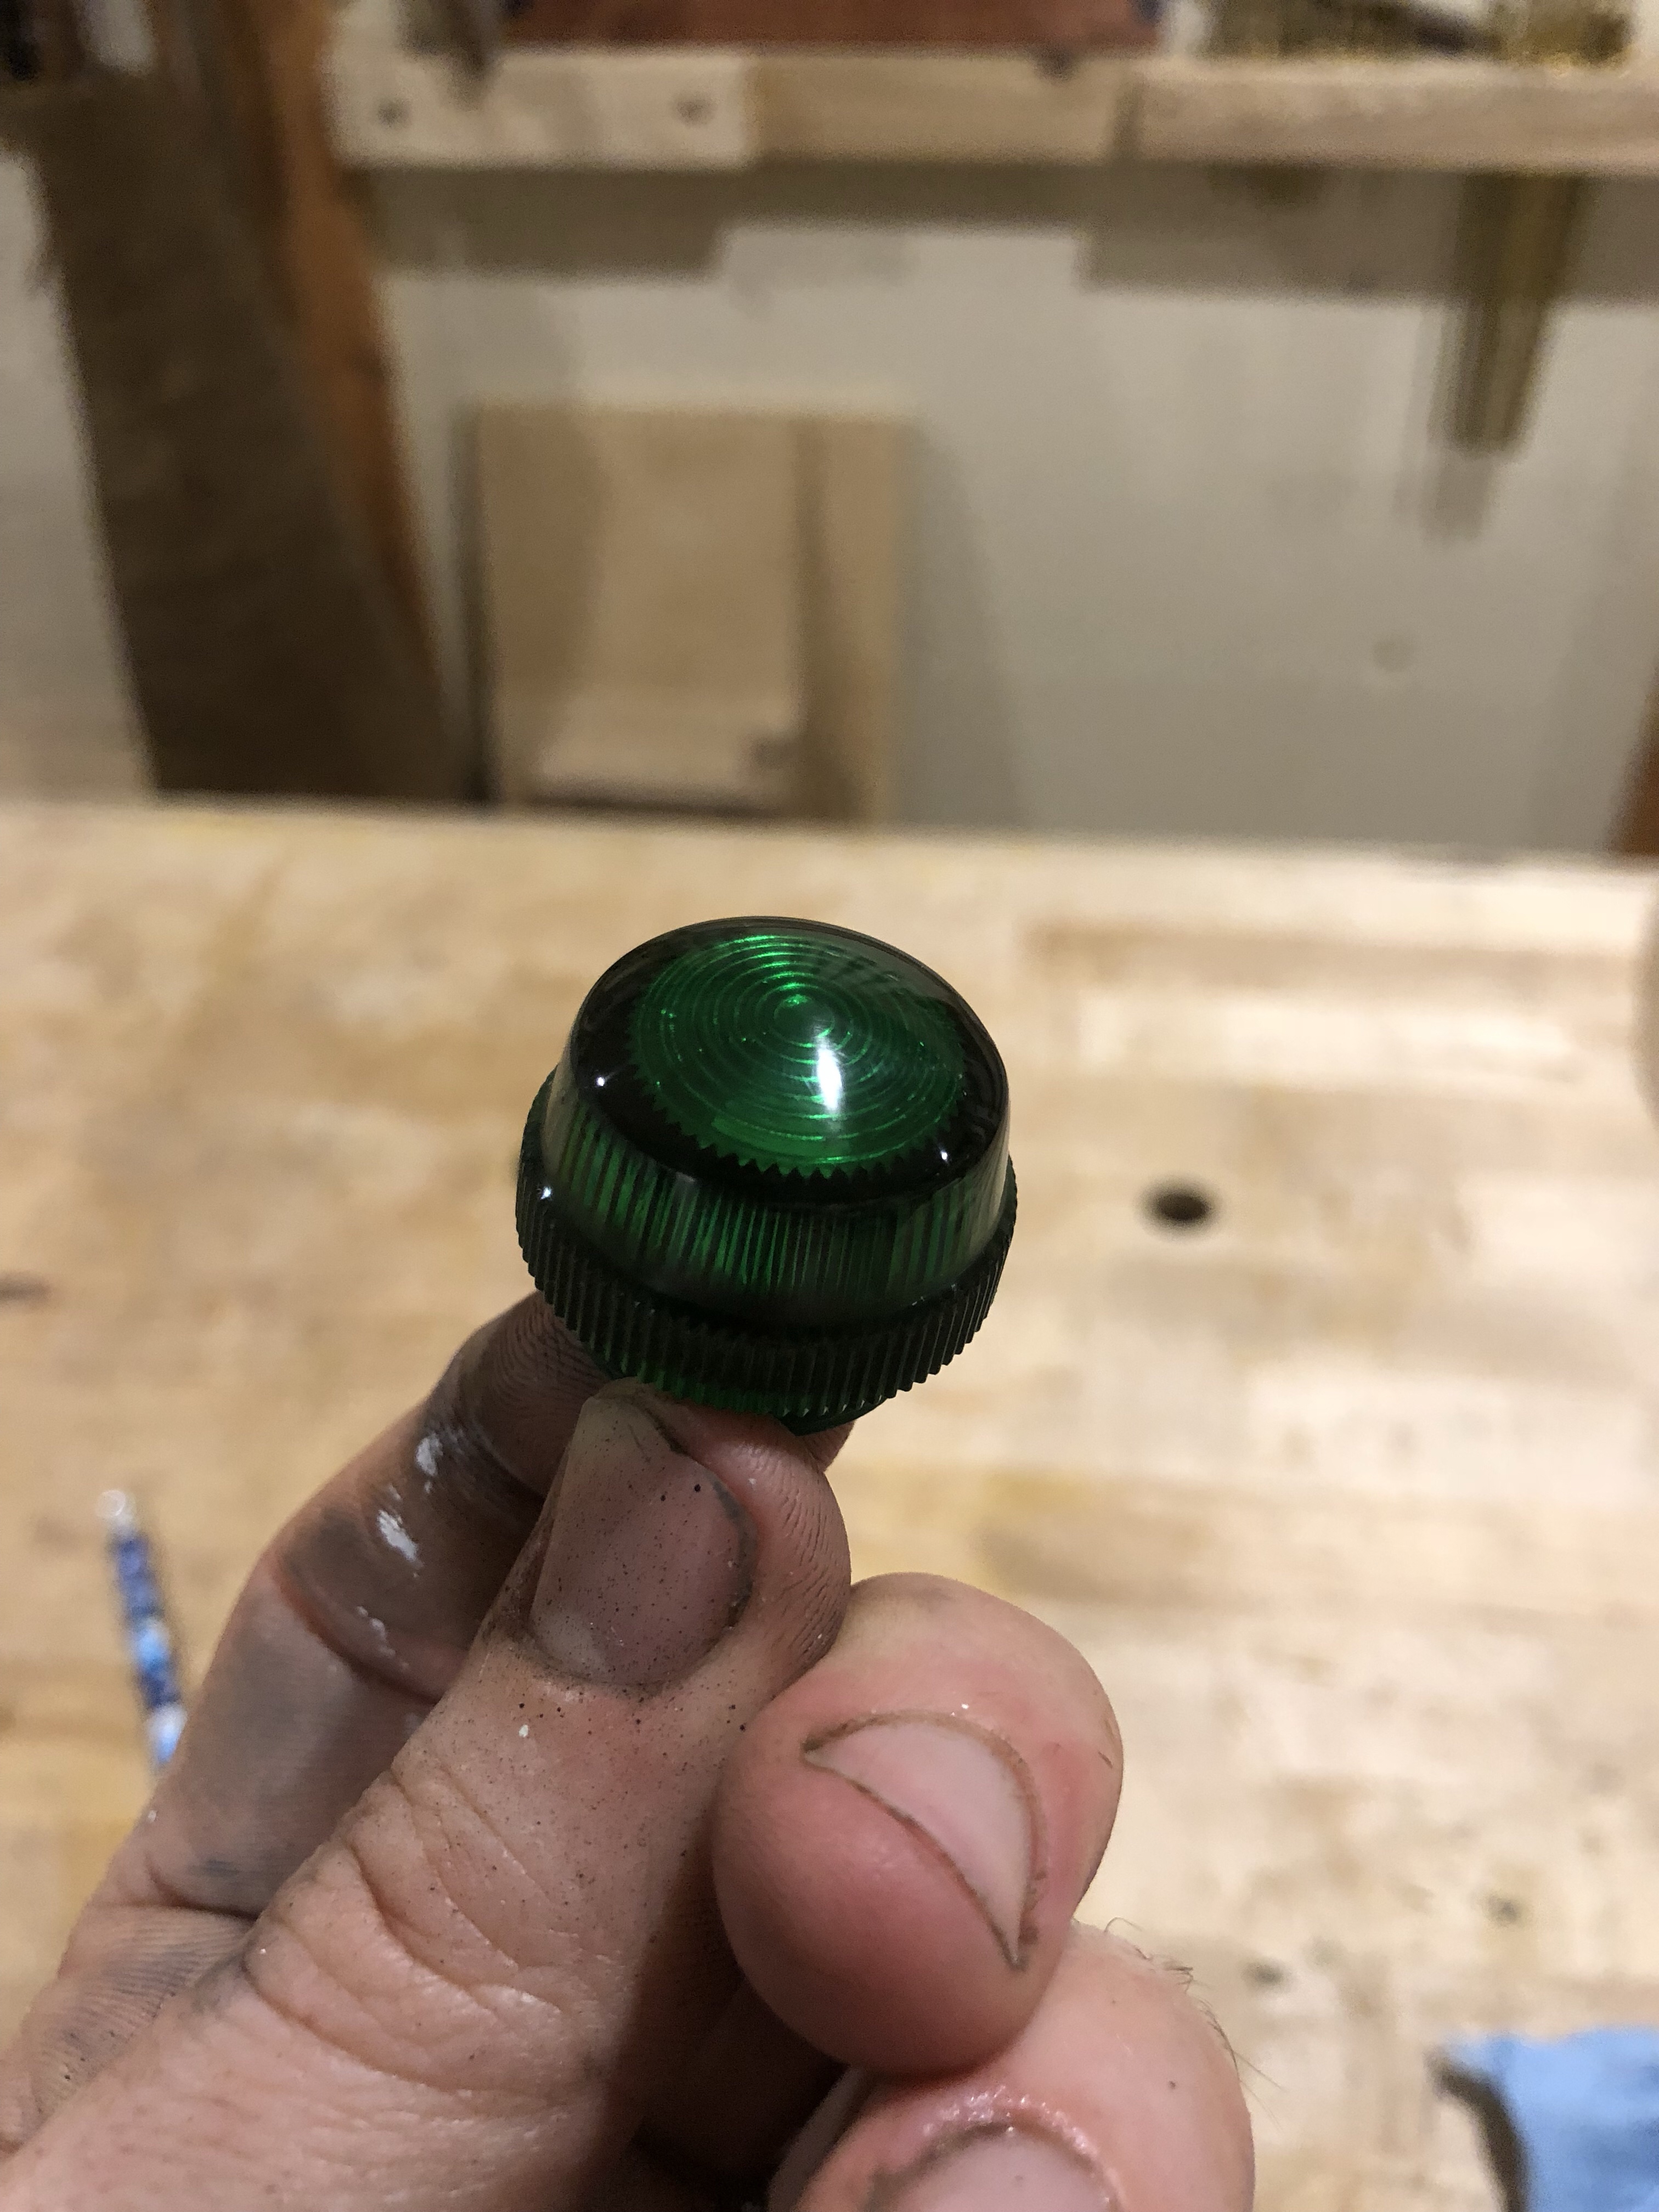
Success:
Installed:
The cable was really high quality and featured a Hubbell plug, so I decided to clean those up as well. Scotch bright and gunk-remover work really well.
Bumbling forward into the unknown.
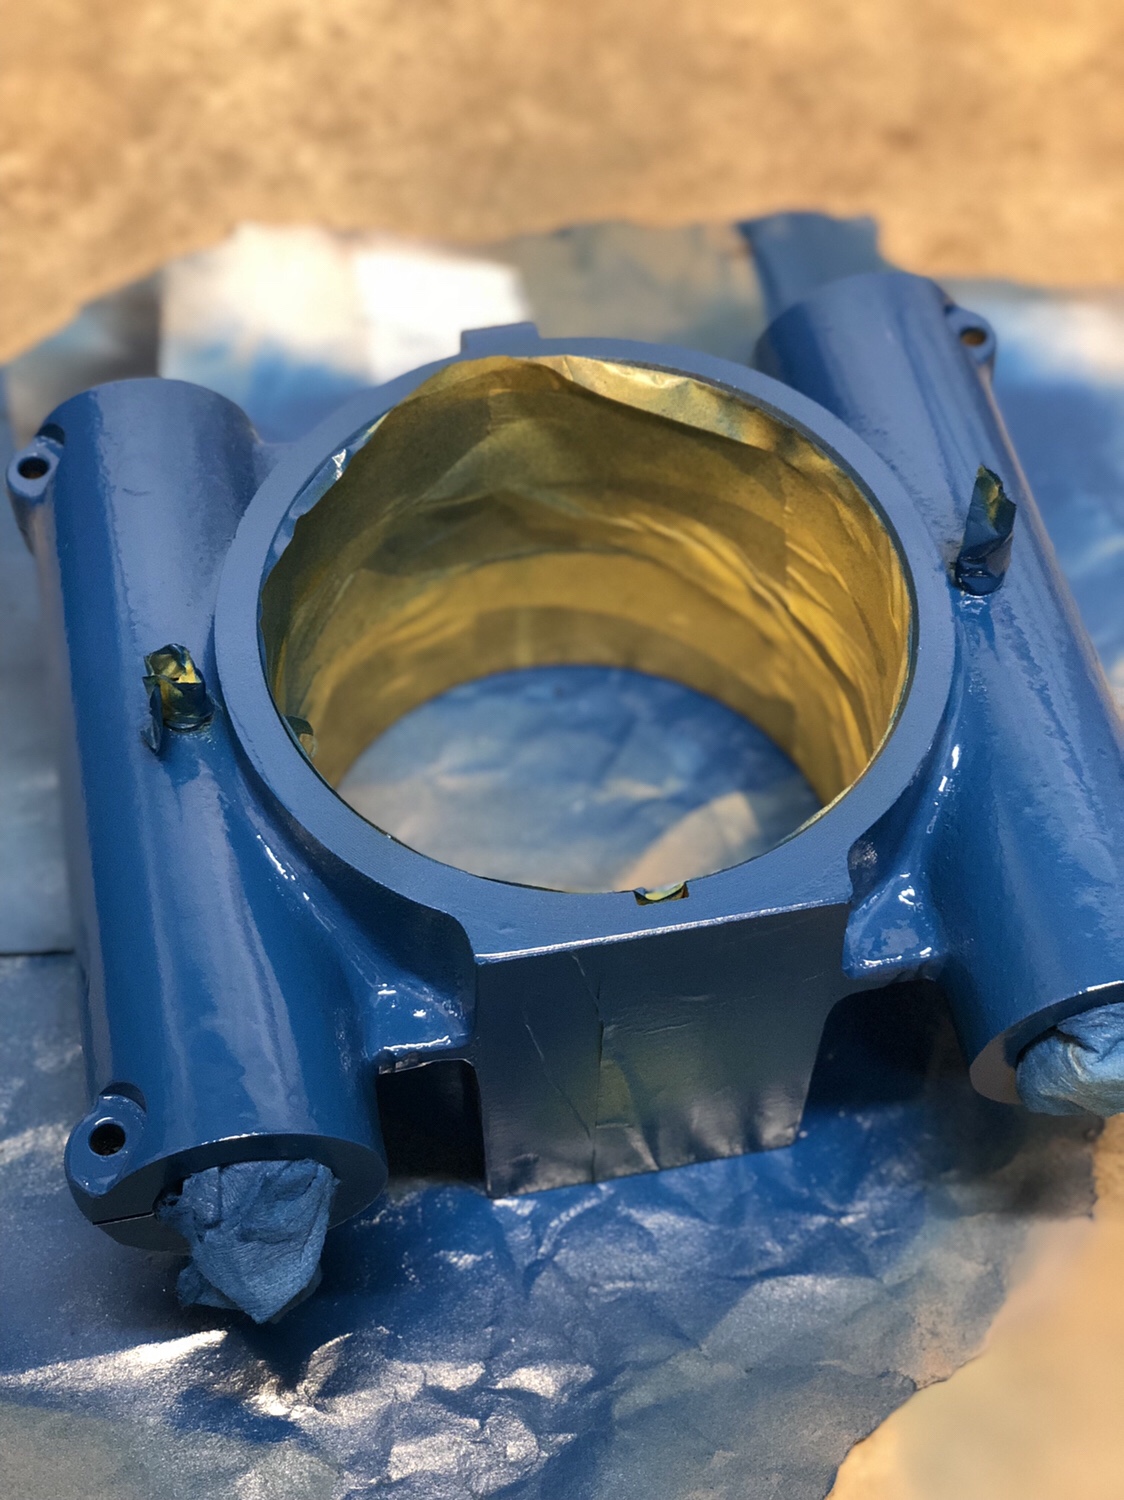
Wow.....that casting looks amazing.Originally Posted by Brian Holcombe

Contributor
Brian, what type of filler did you use and how did you polish the glass ( plastic ). Buffing compound? Dave
[OP]
Contributor
Thanks gents! David, I only filled where there was a big chip in the original paint, otherwise I simply sanded. The filler was steel filled epoxy, worked quite nicely and dries extremely hard.
On the plastic I sanded the scars out with 150grit, then worked through 220, 320 then switched to wet for 400, 800 and 1500 and finished it with blitz silver polishing compound.
Bumbling forward into the unknown.
 Contributor

It's Looking really nice Brian.
Contributor
Is the epoxy similar to JB weld and how hard is it to work with vs a body filler or glazing compound? What type of paint? Sprayed? Dave
[OP]
Contributor
Thanks Mark!
David, it's JB weld putty type. I prepped the area by sanding and removing anything loose, then mixed and applied. Very easy to use. In most cases I left it to setup for about 30 minutes then shaved the top off with a sharp knife. A bit rough on the knife but easier than sanding it down.
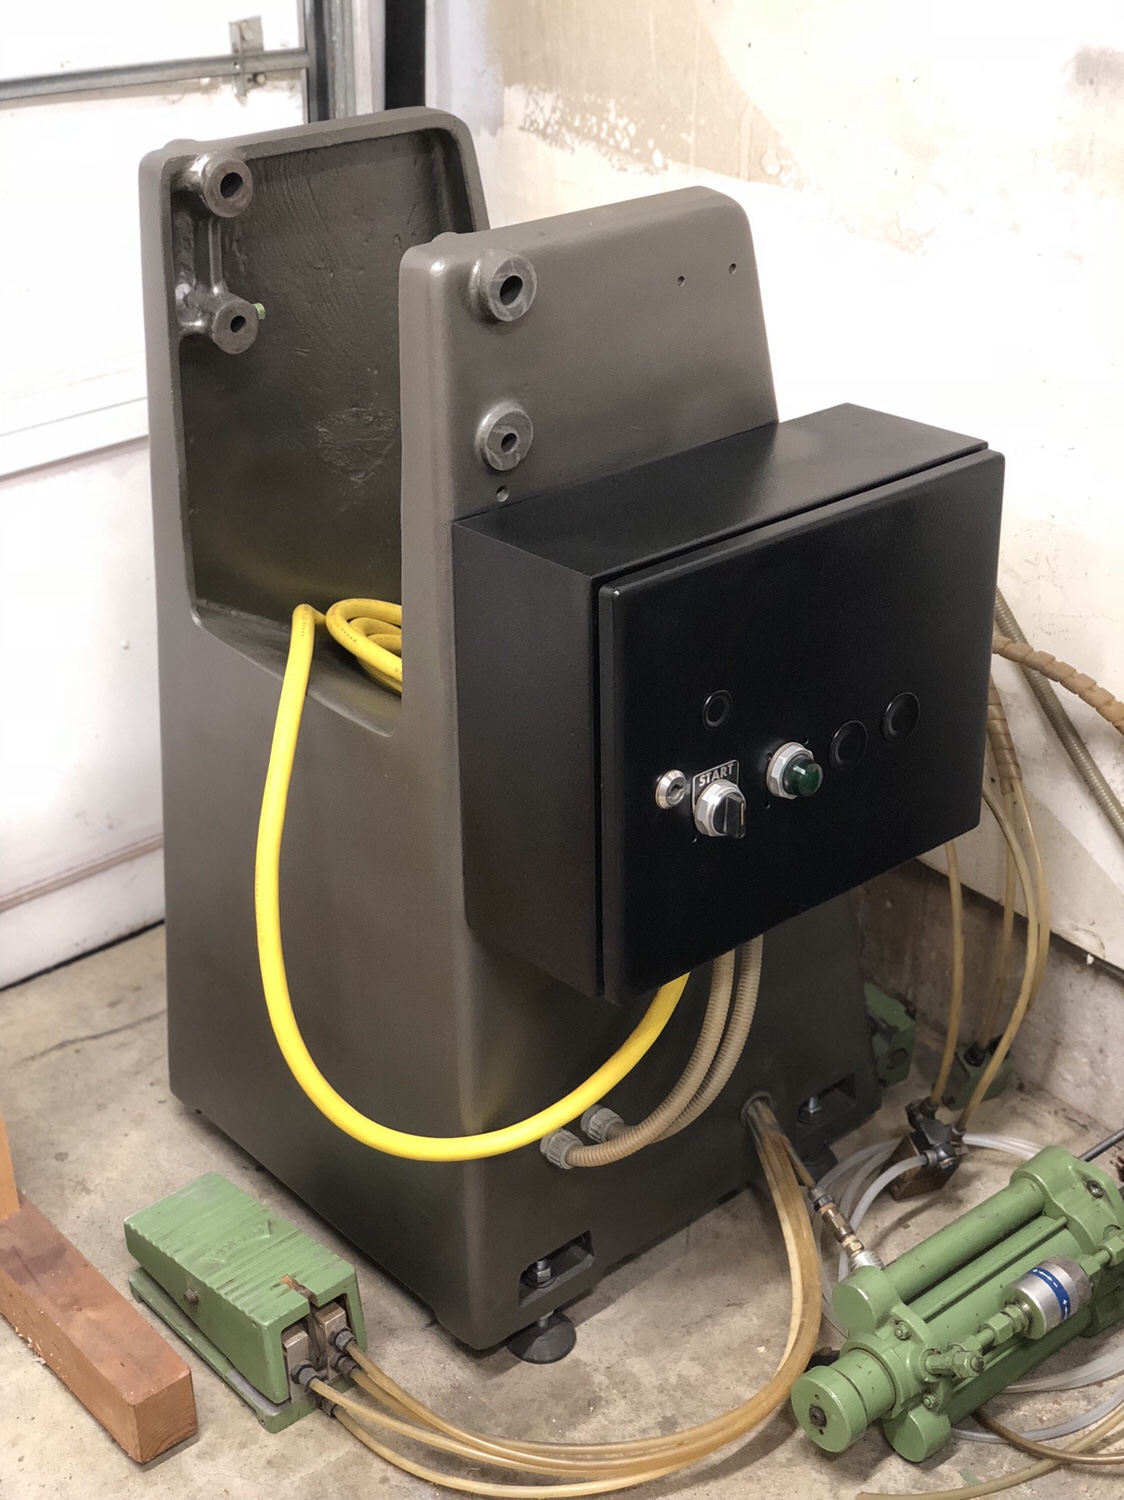
Dupli-color rattle-can. I used brake caliper paint for the electrical box (for no reason other than it's tough and offered the matte finish I wanted) the other stuff is Dupli-color's equivalent of 'Cast-blast' which is just a cast iron color. I used Duplicolor because it lays on a bit thicker in appearance than true cast blast, where cast blast really looks like cast iron. It's a high temp ceramic based engine paint, I figure it'll do well here given it's intended application.
Bumbling forward into the unknown.
Contributor
If I have a machine that will see grease and oil, I top off with SprayMax clearcoat. It is a two part spray can and even acetone won't remove it. I find that painting goes well or goes awful. Some parts are easy and some bubble and crack. Likely I got careless with prep. Dave
[OP]
Contributor
Thanks David! I'll put that suggestion to use.
Some parts are really easy, some I've been able to just wash off and everything is perfect others require the full battery of options.
Next I need to remove all of the original paint from the bolts and restore their oxide coatings.
Some bolts aren't original and need replacing since someone ran the nearest size standard bolt through the metric threads...on key areas like the part that holds the cutter. That area is a mess at current.
So I'll be cutting threads out of the table and blade holder then installing threaded inserts.
Bumbling forward into the unknown.
Contributor
Brian, The work you're doing looks great. It's saving a great machine.
I used a Maka SM6-P for a few years.
One weak point in the design you should be aware of is the motor shut off rod. When the head goes up, a metal tab on a rod hits a button that disconnects electric power to the motor. There is a small set screw on that rod which can loosen up, allowing the tab to slip, and the motor will unexpectedly start up, even if the head is fully retracted. The machine should be treated as running whenever the switch is on.
[OP]
Contributor
Mine is different, there is an on/off for the cutter and the pneumatics operate separately. I don’t know if someone specifically changed the wiring because of this issue or not but the wiring was played with, so I assume so.
In any case, thank you for mentioning that, certainly a worrisome thing.
Bumbling forward into the unknown.
[OP]
Contributor
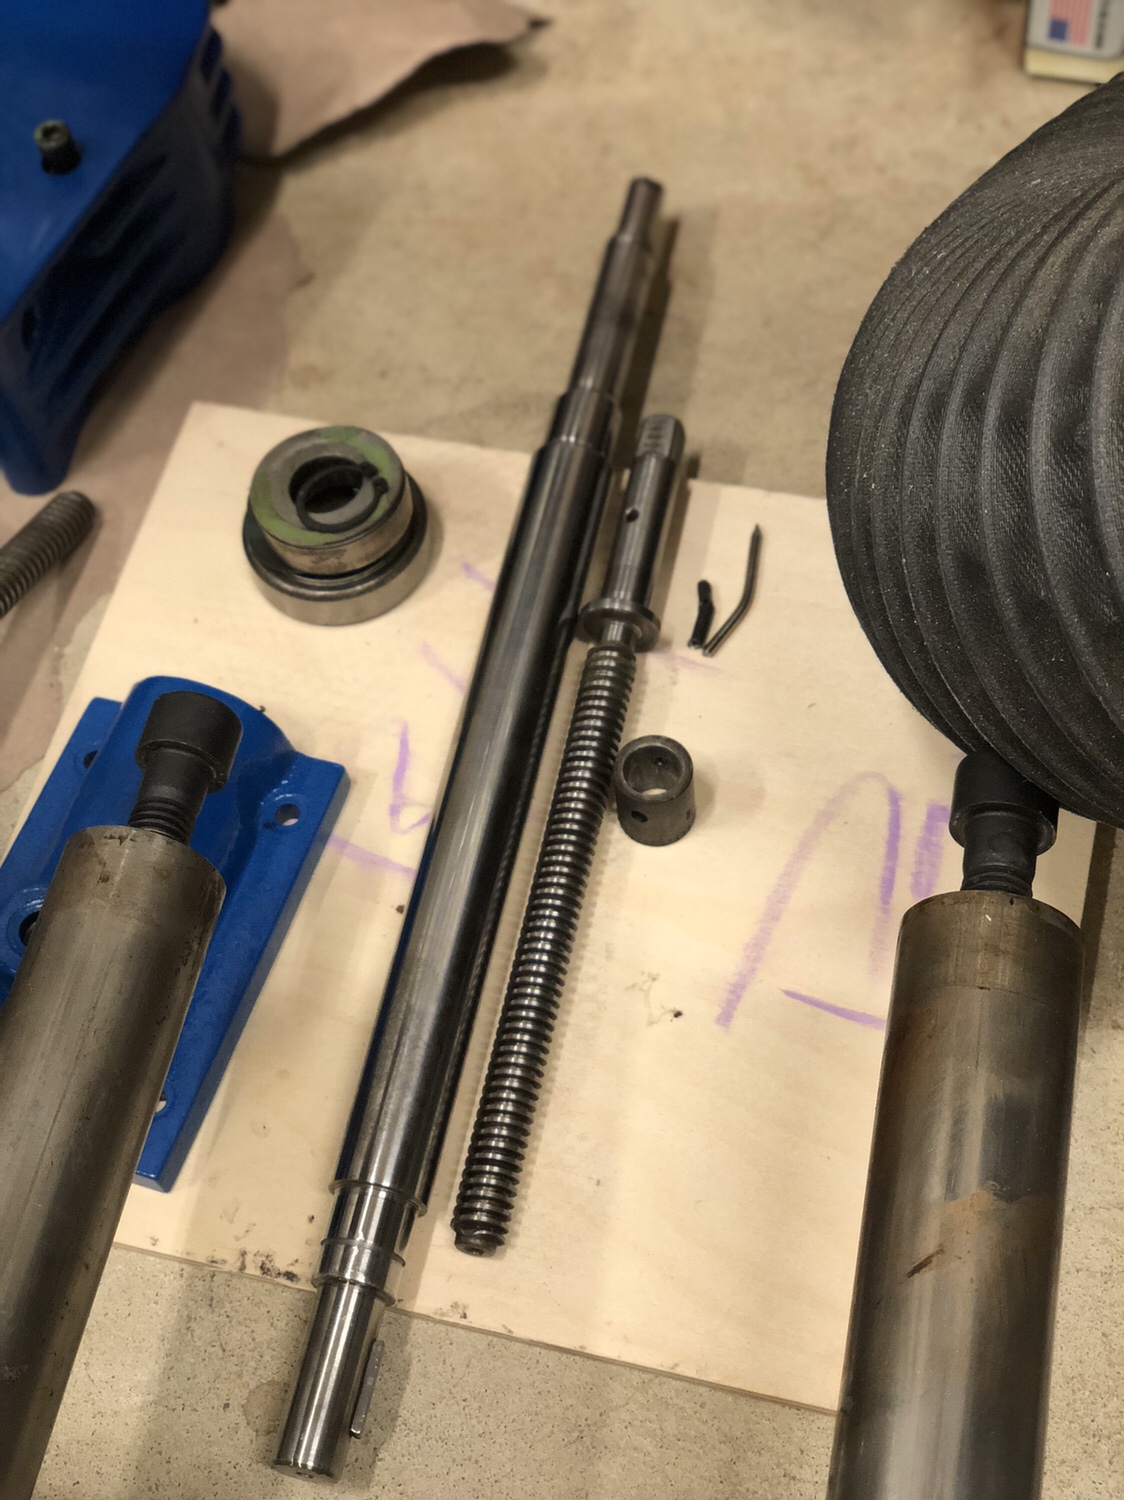
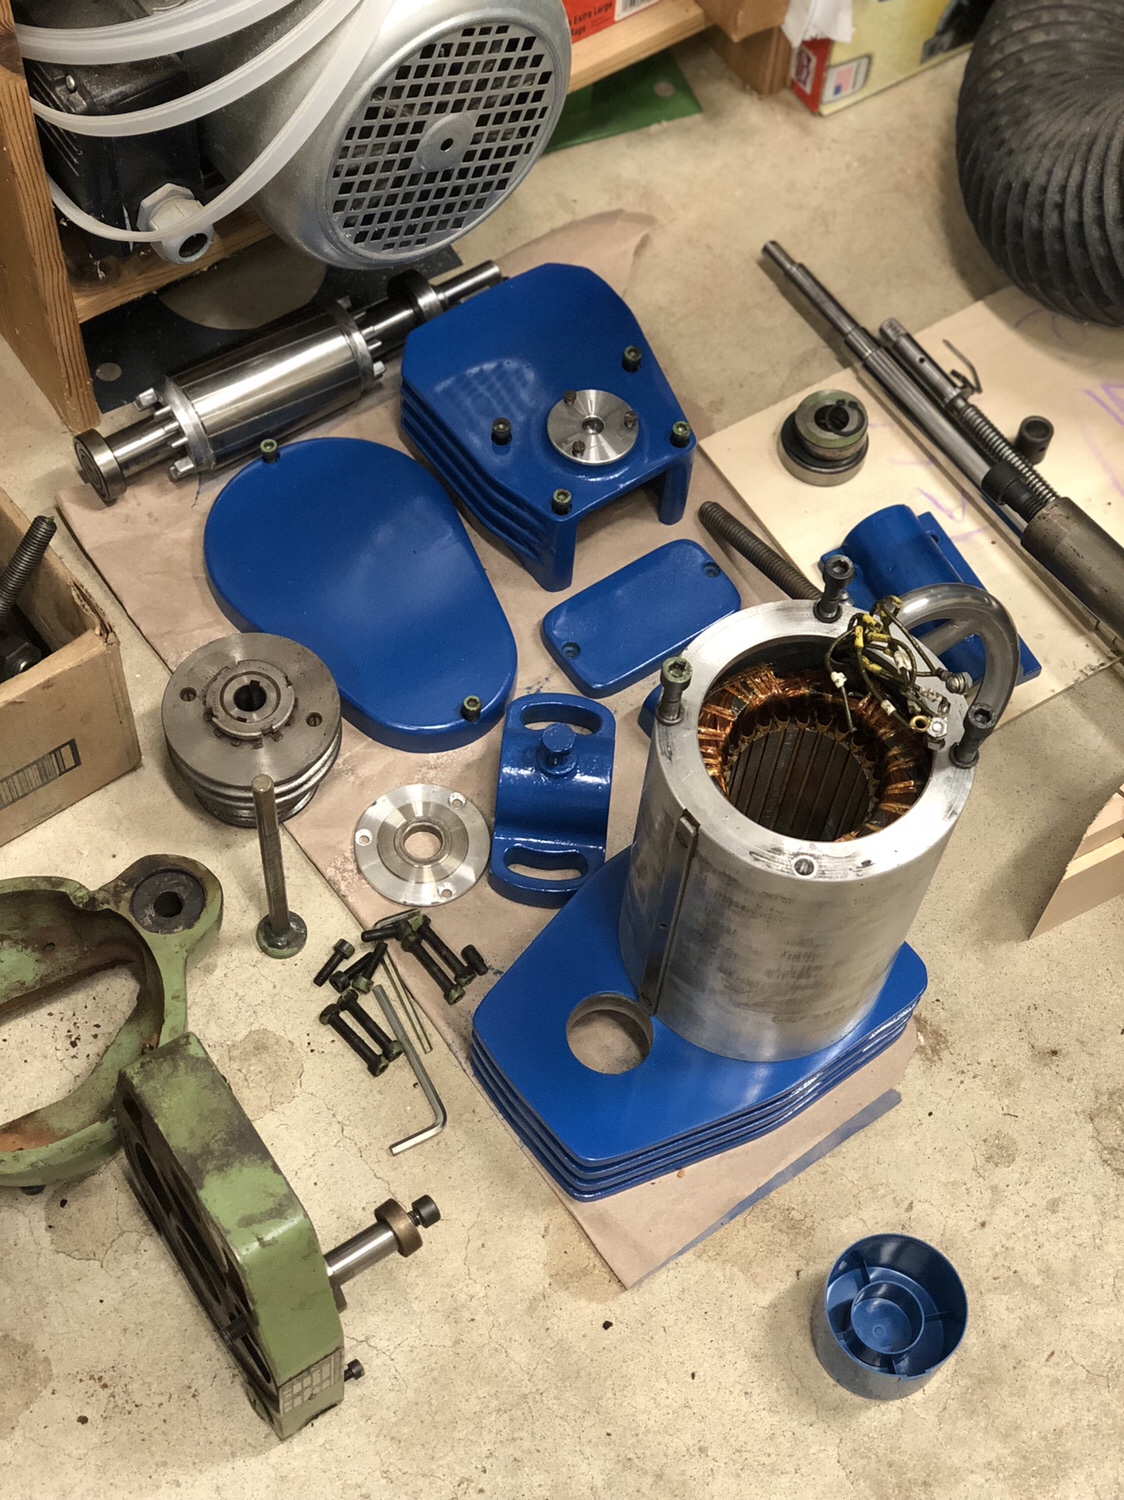
Cleaning, polishing and painting.
The shaft is straight, knocked the rust and grime off. Cleaned up some minor scarring around the eccentric.
The motor body I cleaned but couldn’t spin it up to polish. Also I did not want to change the dimension by sanding.
Bumbling forward into the unknown.
[OP]
Contributor
Bearings arrive today but I need more variety if greases. Electric motor grease, anti-galling moly grease, anti-seize bolt grease.
Also, planning to remove the paint from the bolt heads, painted hardware is a weird pet peeve of mine, all the mangled hardware gets replaced as well.
Bumbling forward into the unknown.
Contributor
Looking nice Brian! And moving along quickly.
do you have the info on sharpening from Maka? If not I can take a picture from my manual.
 Posting Permissions

 Reply With Quote