Thank you! Definitely, the ultimate goal here is ROI.


 [OP]
Contributor
[OP]
Contributor
Thank you! Definitely, the ultimate goal here is ROI.
Bumbling forward into the unknown.
[OP]
Contributor
Mark, thanks again for your help. Your method for bleeding the air out worked beautifully. It's now silky smooth down to a creep and still functions neatly below 6 bar, actually still functioning pretty decently down to 5 bar.
Still chasing leaks around the copper washers in other parts of the system, but almost ready for the live-fire test. I dialed in most of my settings, save for length of stroke.
Bumbling forward into the unknown.
[OP]
Contributor
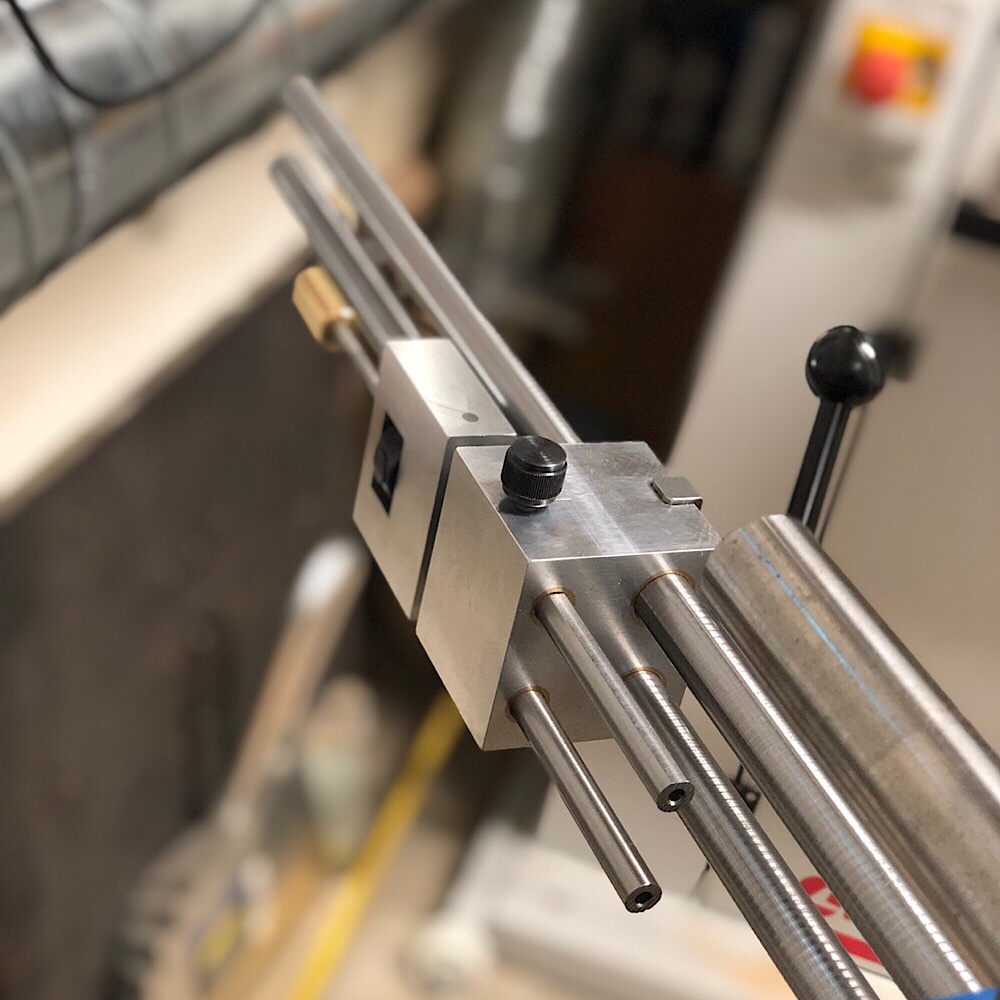
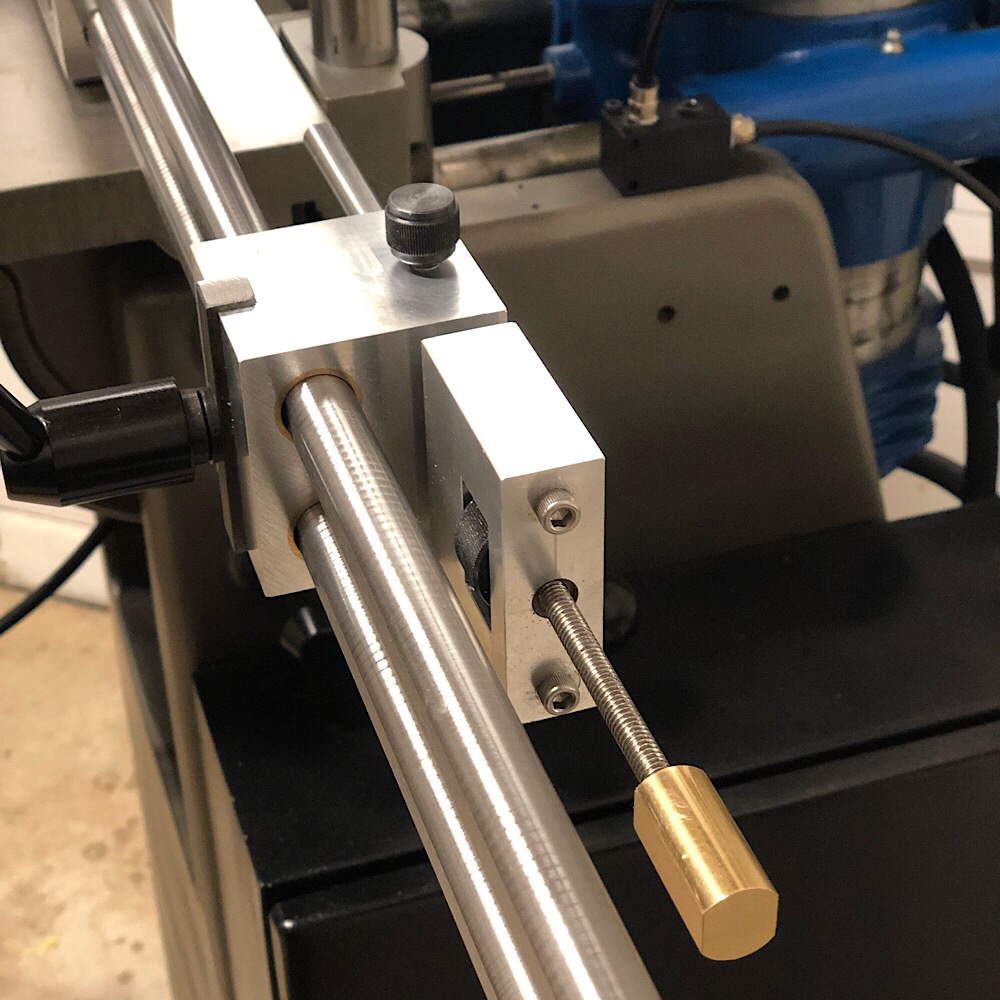
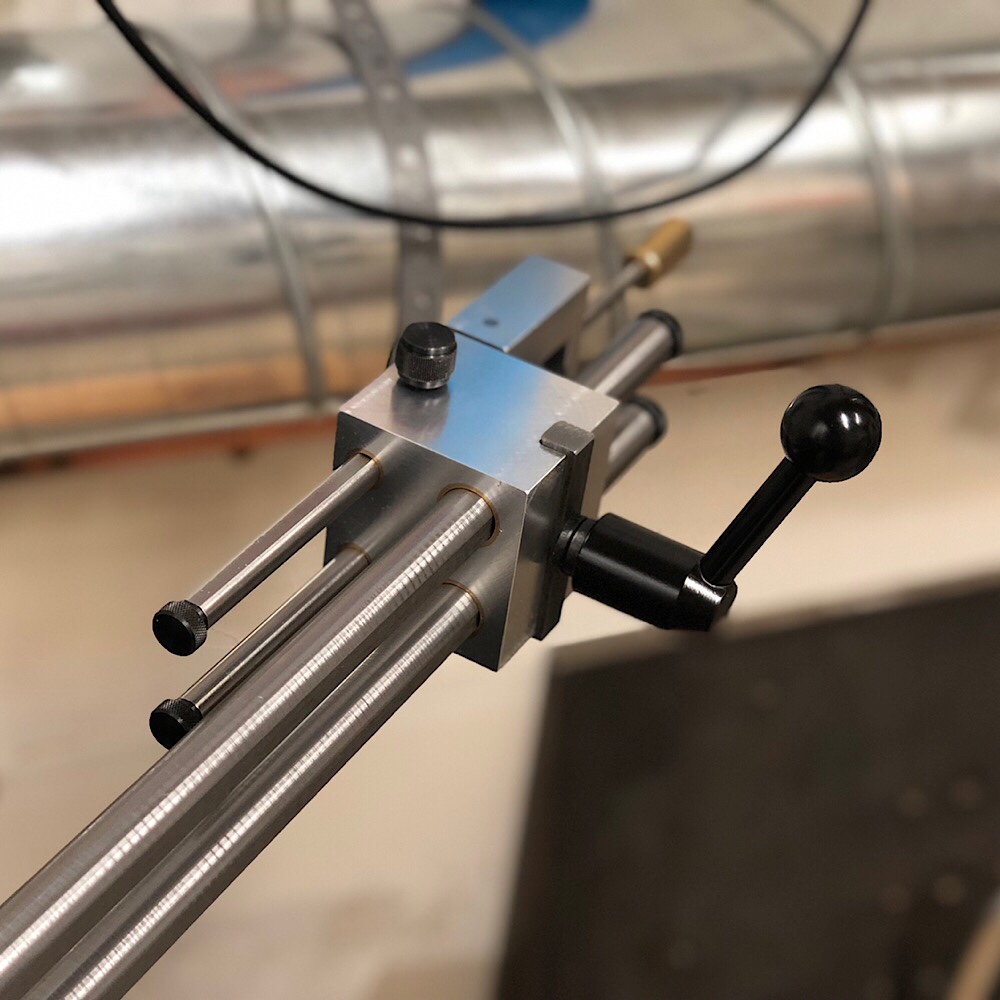
Got the fence stop 99% complete.
This sums up the feeling of today;

Bumbling forward into the unknown.
[OP]
Contributor
Fence awaits parts which will screw into the ends of the stop bars, but is otherwise complete. I machined all of the surfaces flush to one another yesterday to give a more even result, pinned everything in need of pinning and threaded in the thumb screw lock. So it's mainly complete. I trimmed up the brass part also so it's not such a big blob. I may even blacken it so it blends in a bit. Looks a little overboard given that it's hanging off a 1/4" standard thread stud. I had wanted to go with a heavier fine thread stud, but I could not find a push button speed nut with knurling for that setup. I machined the bars so that they're the exact same length also, so that the wood should contact both of them equally.
The duct is in place, and now the machine has DC, only took 36 years. The port pulls a crazy amount of volume, since it is a straight shot to the DC (no bends) save for two pieces of flex. My reservations about the duct setup may not be warranted.
It's bled, now awaiting a valve to reduce the amount of airflow to the cutter which arrives today and a valve for the air compressor to stop it from bleeding all of the air out at the start (I literally must hold the exhaust closed to allow it to build pressure, makes for a very long winded production run). The machine now functions in a broader range so I can keep the AC controls as they are. Still, I plan to build pressure and make some test cuts without the AC running, I'll just build a tank of air and watch the gauges carefully.
Video of the fence:
All of you awaiting a video of this machine cutting wood are probably being driven nuts by this point, but I like to make sure I have all of the details very well sorted before I wrap up a project. Once I wrap it up a tend to not want to go back and change anything until I reach a point at which I find it very necessary. I want it to be able to be in production mode and working hard without needing much of anything changed.
Bumbling forward into the unknown.
 Moderator
I think the brass knob is like the "diamond"...it adds a splash of color.

--
The most expensive tool is the one you buy "cheaply" and often...
[OP]
Contributor
Hah, thanks Jim!
Bumbling forward into the unknown.
 Contributor

You are very welcome Brian. It is looking sharp.
Originally Posted by Brian Holcombe

[OP]
Contributor
Thanks, Mark! Very glad to read that.
Bumbling forward into the unknown.
 Friend of the Creek
“All of you awaiting a video of this machine cutting wood are probably being driven nuts by this point”
I often subscribe to the notion that wanting is more exciting than having.
The restoration is amazing. When I see the picture of it in your first posts and then now, it doesn’t even seem to be the same machine. Very well done. I can wait a tad longer
[OP]
Contributor
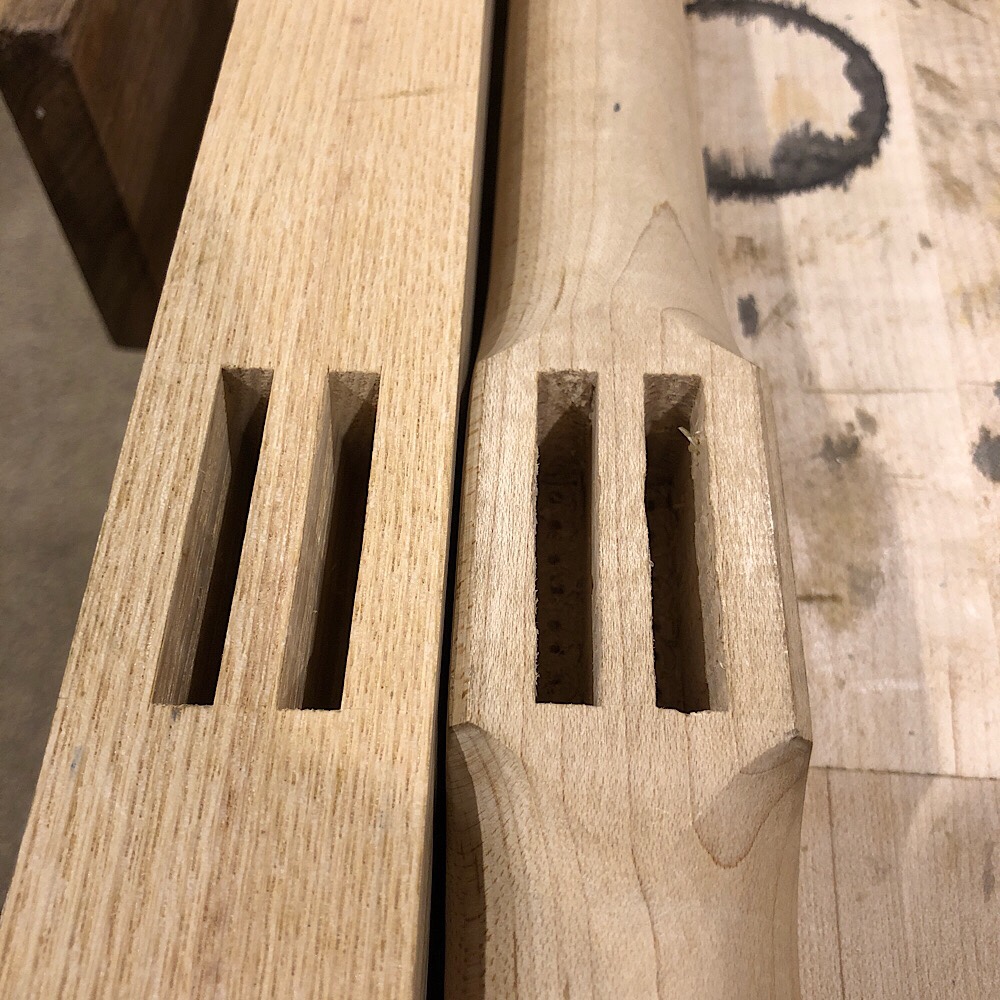
Wait no longer:
I walk through the controls first, electric, air, dust and then cut.
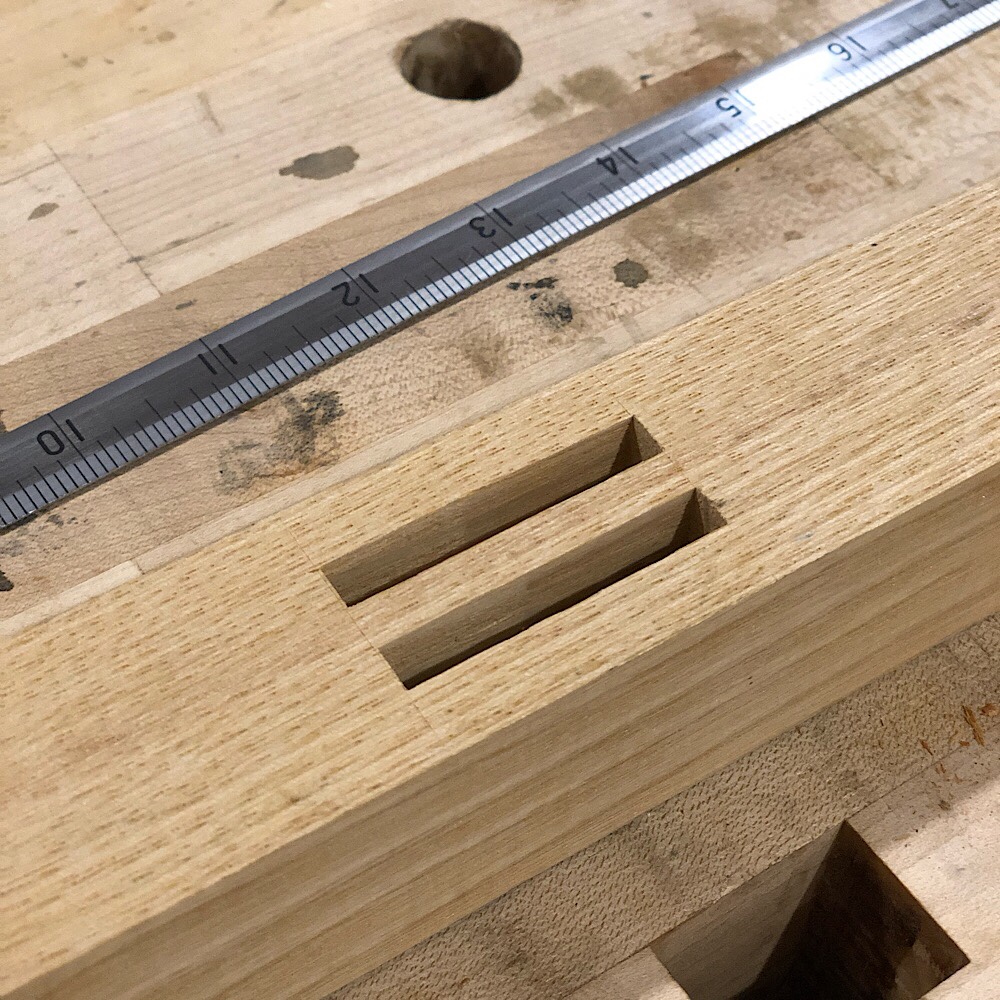
Next to a hollow chisel cutout:
Bumbling forward into the unknown.
[OP]
Contributor
Thanks, Phil!
It is fun to have a look back, I feel much the same way.
Bumbling forward into the unknown.
You've just instilled lust in a vast portion of Creekers.
Moderator
Wow...that comparison photo speaks loudly!
--
The most expensive tool is the one you buy "cheaply" and often...
Contributor
Brian, again simply amazing work and craftsmanship. In awe.
[OP]
Contributor
Thanks gents!
Herr is a photo of the final stop setup;
I learned a lot with this project, so I certainly encourage others to do the same. Funny enough when I considered where I needed to be at the start I thought it would be a long haul of a project and it wasn’t so bad.
I’m very grateful for the help I received here. The value of information provided here is of exceptional quality, thank you all.
Bumbling forward into the unknown.
 Posting Permissions

 Reply With Quote