Page 7 of 21 FirstFirst ... 3456789101117 ... LastLast
Results 91 to 105 of 310

Thread: Maka SM6-Pii

  1. #91
    Join Date
    Aug 2013
    Location
    Princeton, NJ
    Posts
    7,294
    Blog Entries
    7
    Fixing up a few parts. This is the floating dovetail, allows for adjustment in the ways. It was a special mess, I thought I would clean up the reference and the angle but instead it needed all sides trued. Likely I will need to cut slotted holes for the adjustment. I found a twist in it, so I started by cutting a new reference and working from there.


    I trimmed the ends and recut the angle, I will have to take a photo.

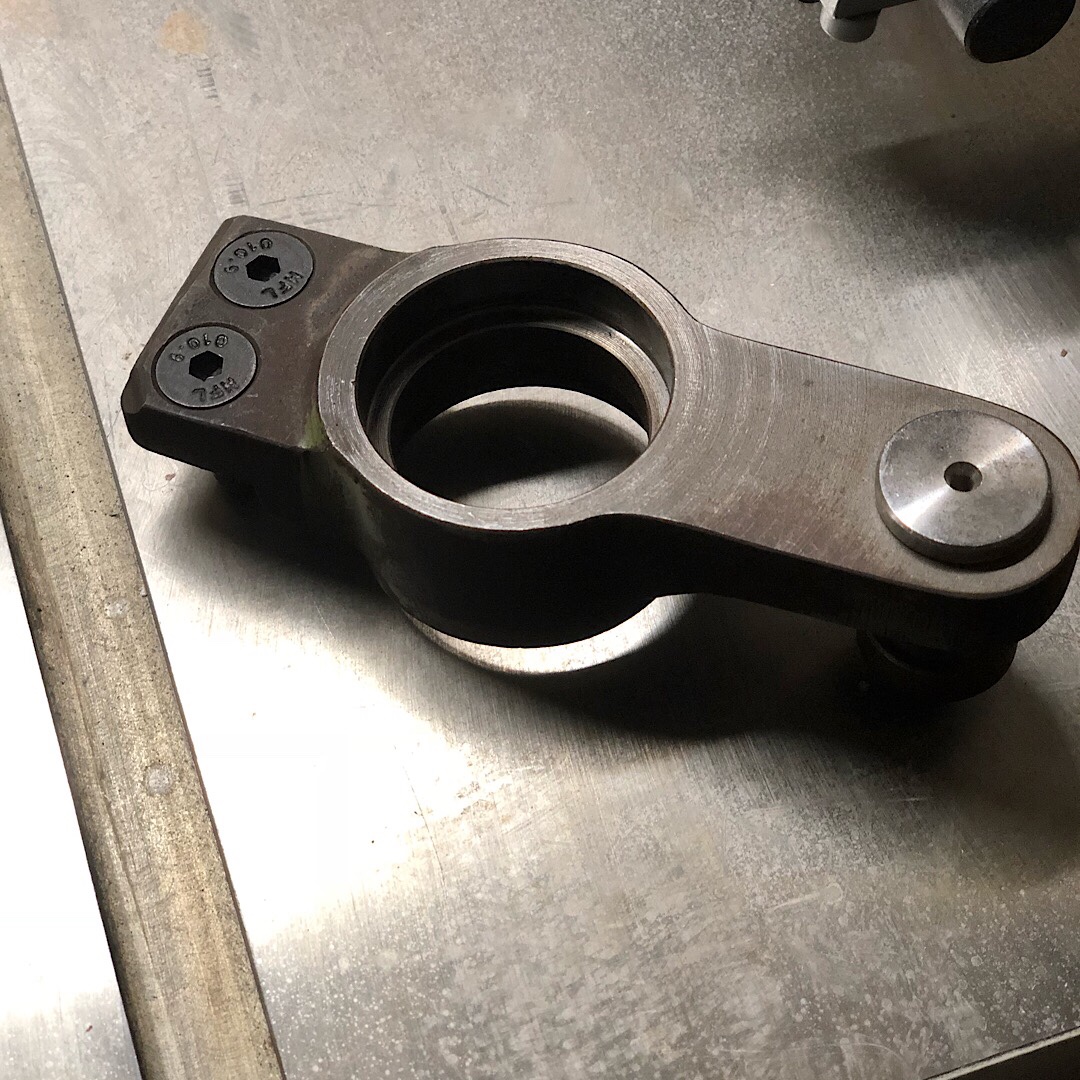
    Onto the chisel holder, needed quite a bit of help. I recut the seat and installed threaded inserts then filed them flush to make them disappear as best as possible.


    Bumbling forward into the unknown.

  2. #92
    Join Date
    Nov 2007
    Location
    Goleta / Santa Barbara
    Posts
    968
    Brian, fascinating to watch. Impressed with the attention to detail - - but not at all surprised!

    Best, Patrick

  3. #93
    Join Date
    Sep 2009
    Location
    Putney, Vermont
    Posts
    1,044
    You have been doing a fine job on the rebuild Brian. Bringing back some memories too. Your gonna be making some really nice projects with the Maka pretty soon.

  4. #94
    Join Date
    Aug 2013
    Location
    Princeton, NJ
    Posts
    7,294
    Blog Entries
    7
    Thanks gents, much appreciated!
    Bumbling forward into the unknown.

  5. #95
    Join Date
    Aug 2013
    Location
    Princeton, NJ
    Posts
    7,294
    Blog Entries
    7
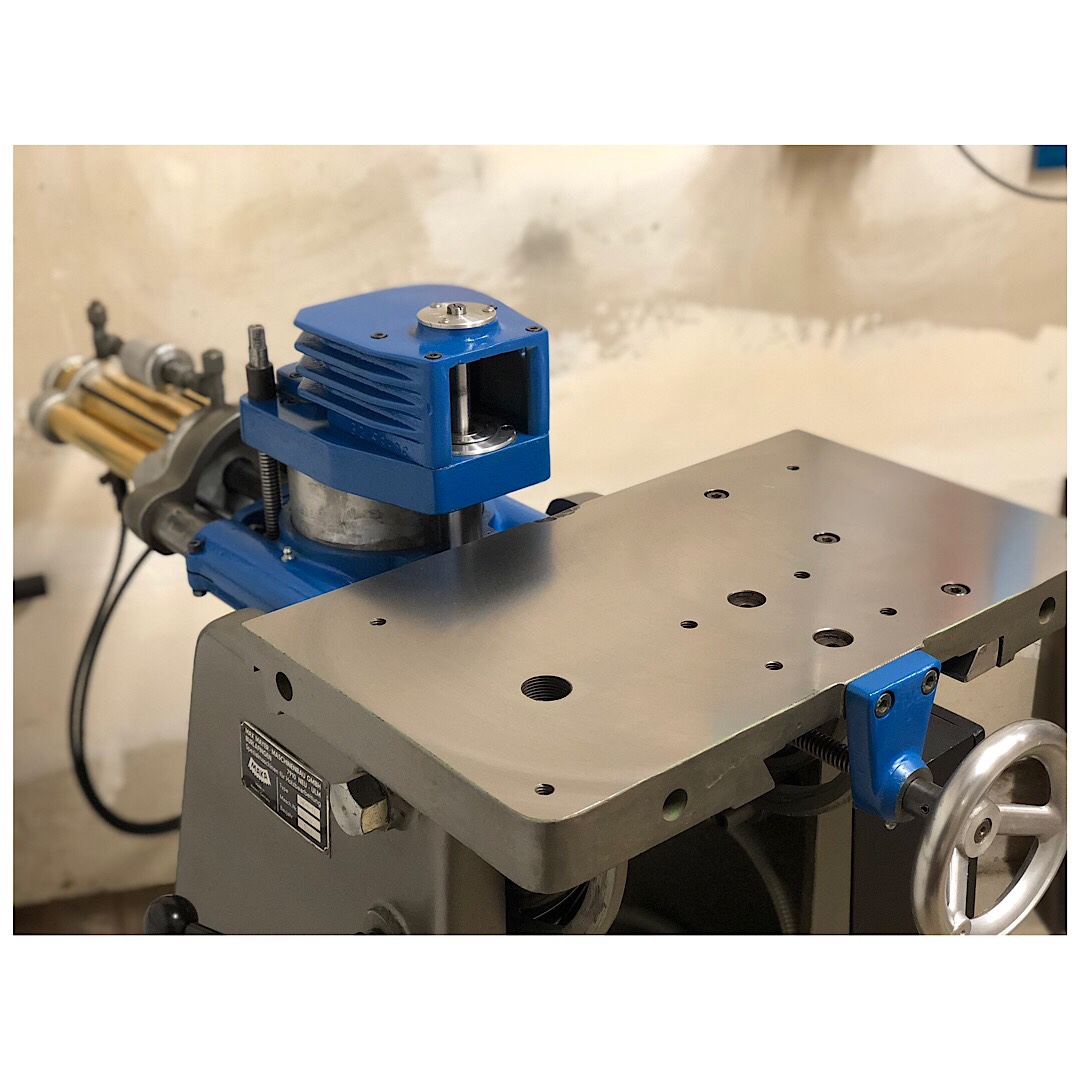
    Received the table back from the shop, I’m very glad that it was machined as The machinist made mention that one corner was low by a few thousandths. Nice to fix that in addition to having a nice surface to look at. The site of the crash could not be completely removed but it was considerably reduced.

    Table back on;


    This is only a mock up, the ways are .030” from closing. There are oversized holes in the table to allow adjustment. I’ve decided to elongate those to allow the remainder of the adjustment and a touch of clearance. The ways need probably a few thou clearance and that is all. So I await sized end mills.

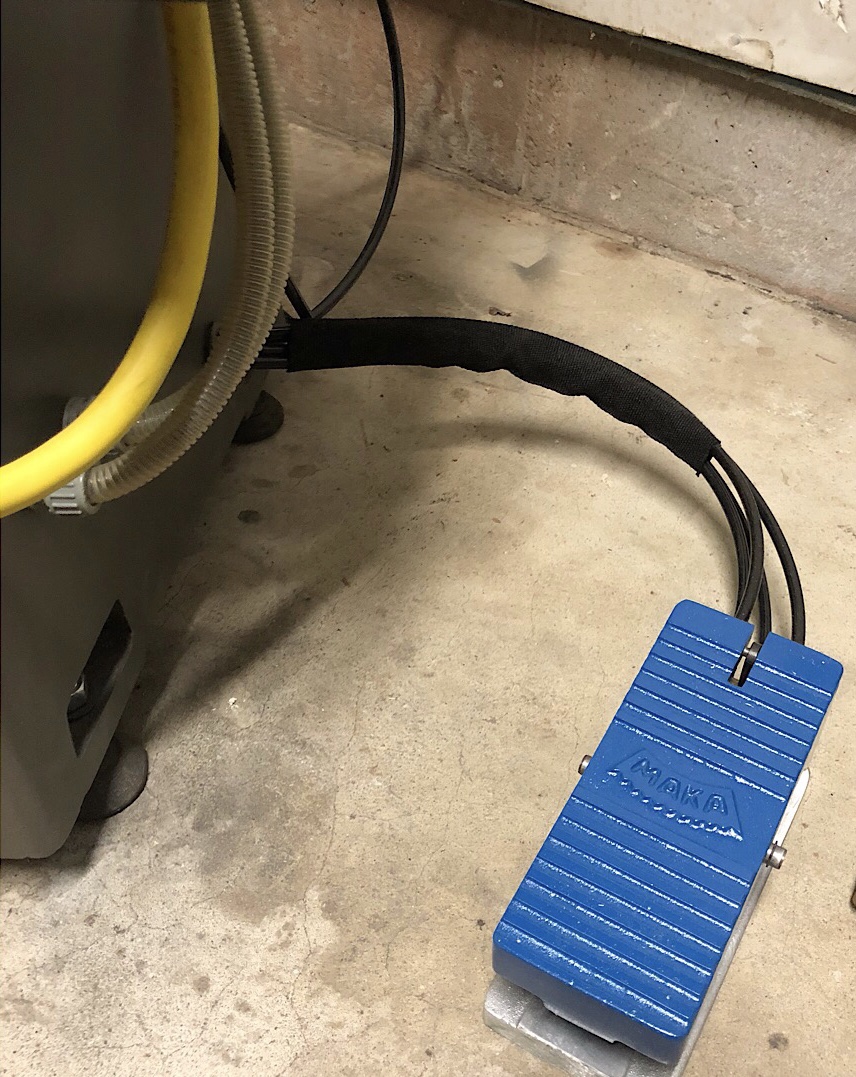
    Covered the air lines


    Finished reinstalling these parts


    Next will be a batch of machine work, I’m currently searching for a boring head for the mill in order to process a fence and some other parts.
    Bumbling forward into the unknown.

  6. #96
    Join Date
    Mar 2003
    Location
    SE PA - Central Bucks County
    Posts
    65,850
    Wow....that re-milled table looks great! (as well as the other stuff, too)
    --

    The most expensive tool is the one you buy "cheaply" and often...

  7. #97
    Join Date
    Feb 2010
    Location
    Woodstock, VA
    Posts
    1,006
    Looking great Brian! What did you use to cover the air lines? It almost looks like tubular nylon webbing, the type used for rock climbing rigs.

  8. #98
    Join Date
    Aug 2013
    Location
    Princeton, NJ
    Posts
    7,294
    Blog Entries
    7
    Thank you both!

    Jeff, that describes it accurately. McMaster describes it as expandable polyester sleeving, this is the first that I’ve used it and I think it works quite well. I sized it to one tube and it expanded to cover both tightly.

    The sleeve around the foot pedal tubing was more of a dense weave, very similar to the material used on welders.

    I ordered a new air piston, and a big hunk of aluminum to make a mount. I matched sizing to the original as best as possible. The piston is 2-1/2” rather than the original which I believe is 60mm. I found some npt to BSPP fittings for that but I may simply recut the thread to accommodate BSPP and have the assembly look factory.

    Given how many different shafts I need to fit im now on the hunt for a boring head for the mill.
    Last edited by Brian Holcombe; 10-28-2018 at 9:35 AM.
    Bumbling forward into the unknown.

  9. #99
    Join Date
    Dec 2008
    Location
    Ouray Colorado
    Posts
    1,400
    The Maka is looking great Brian! Your metal working skills are awesome. Are you spraying the paint and what brand?

  10. #100
    Join Date
    Jul 2007
    Location
    Inkerman, Ontario, Canada
    Posts
    1,403
    Brian, Great work! the Maka should cut crisp, clean accurate joints with how tight you have made it.

  11. #101
    Join Date
    Aug 2013
    Location
    Princeton, NJ
    Posts
    7,294
    Blog Entries
    7
    Thank you, both! I am eagerly awaiting the point where I can begin cutting joints with the Maka. This restoration has been very helpful in my understanding of the machine.

    Joe, the paint is Duplicolor, I’ve been pretty happy with it but I might go back to VHT again at some point to see how they compare.
    Bumbling forward into the unknown.

  12. #102
    Join Date
    Aug 2013
    Location
    Princeton, NJ
    Posts
    7,294
    Blog Entries
    7
    Spotted the adjuster holes slightly. I sprayed wax onto the table previously.


    And finally, I tightened up the ways, it moves nicely.

    I’m now able to move some parts out of my way.


    I replaced the hardware for the fence with shouldered bolts and washers. I’m a bit nutty about hardware, I like heavy washers and washer faced bolts for bridging a gap. The bolts I’m replacing were probably themselves replacements for the originals, they were a hex bolt and washers, two washers which collapsed in on themselves slightly.
    Last edited by Brian Holcombe; 10-31-2018 at 9:56 AM.
    Bumbling forward into the unknown.

  13. #103
    Join Date
    Aug 2013
    Location
    Princeton, NJ
    Posts
    7,294
    Blog Entries
    7
    Air piston arrived; my heart was aflutter. I have not seen the competition, but this looks real fancy. I will build a mount for it next, this will bolt to the mount.


    Im debating my approach now to the air system for blowing out chips, I’ve been thinking to use a solenoid which goes on with the motor and turns on two small spray nozzles (one for each mortise).

    Plumbed some heavy weight copper. Still waiting on a gauge for the regulator. I’m waiting Mainly because I haven’t bought one yet.


    I managed to strip the key for old lock, so I replaced it with this one which just uses an Allen key, and replaced the cord grip.


    Next up, note machining work. I’ve also got to fab some sort of dust hood, I wonder if any of you have photos of the originals.
    Bumbling forward into the unknown.

  14. #104
    Do you have good air dryers keeping the lines dry? Of not I would put a "T" instead of the elbow and a short length below with a quarter turn tap to drain the line if it gets any water in it.

  15. #105
    Join Date
    Mar 2003
    Location
    SE PA - Central Bucks County
    Posts
    65,850
    Quote Originally Posted by Peter Christensen View Post
    Do you have good air dryers keeping the lines dry? Of not I would put a "T" instead of the elbow and a short length below with a quarter turn tap to drain the line if it gets any water in it.
    Agree........
    --

    The most expensive tool is the one you buy "cheaply" and often...

Posting Permissions

  • You may not post new threads
  • You may not post replies
  • You may not post attachments
  • You may not edit your posts
  •