Page 21 of 21 FirstFirst ... 111718192021
Results 301 to 310 of 310

Thread: Maka SM6-Pii

  1. #301
    Join Date
    Feb 2010
    Location
    Woodstock, VA
    Posts
    1,006
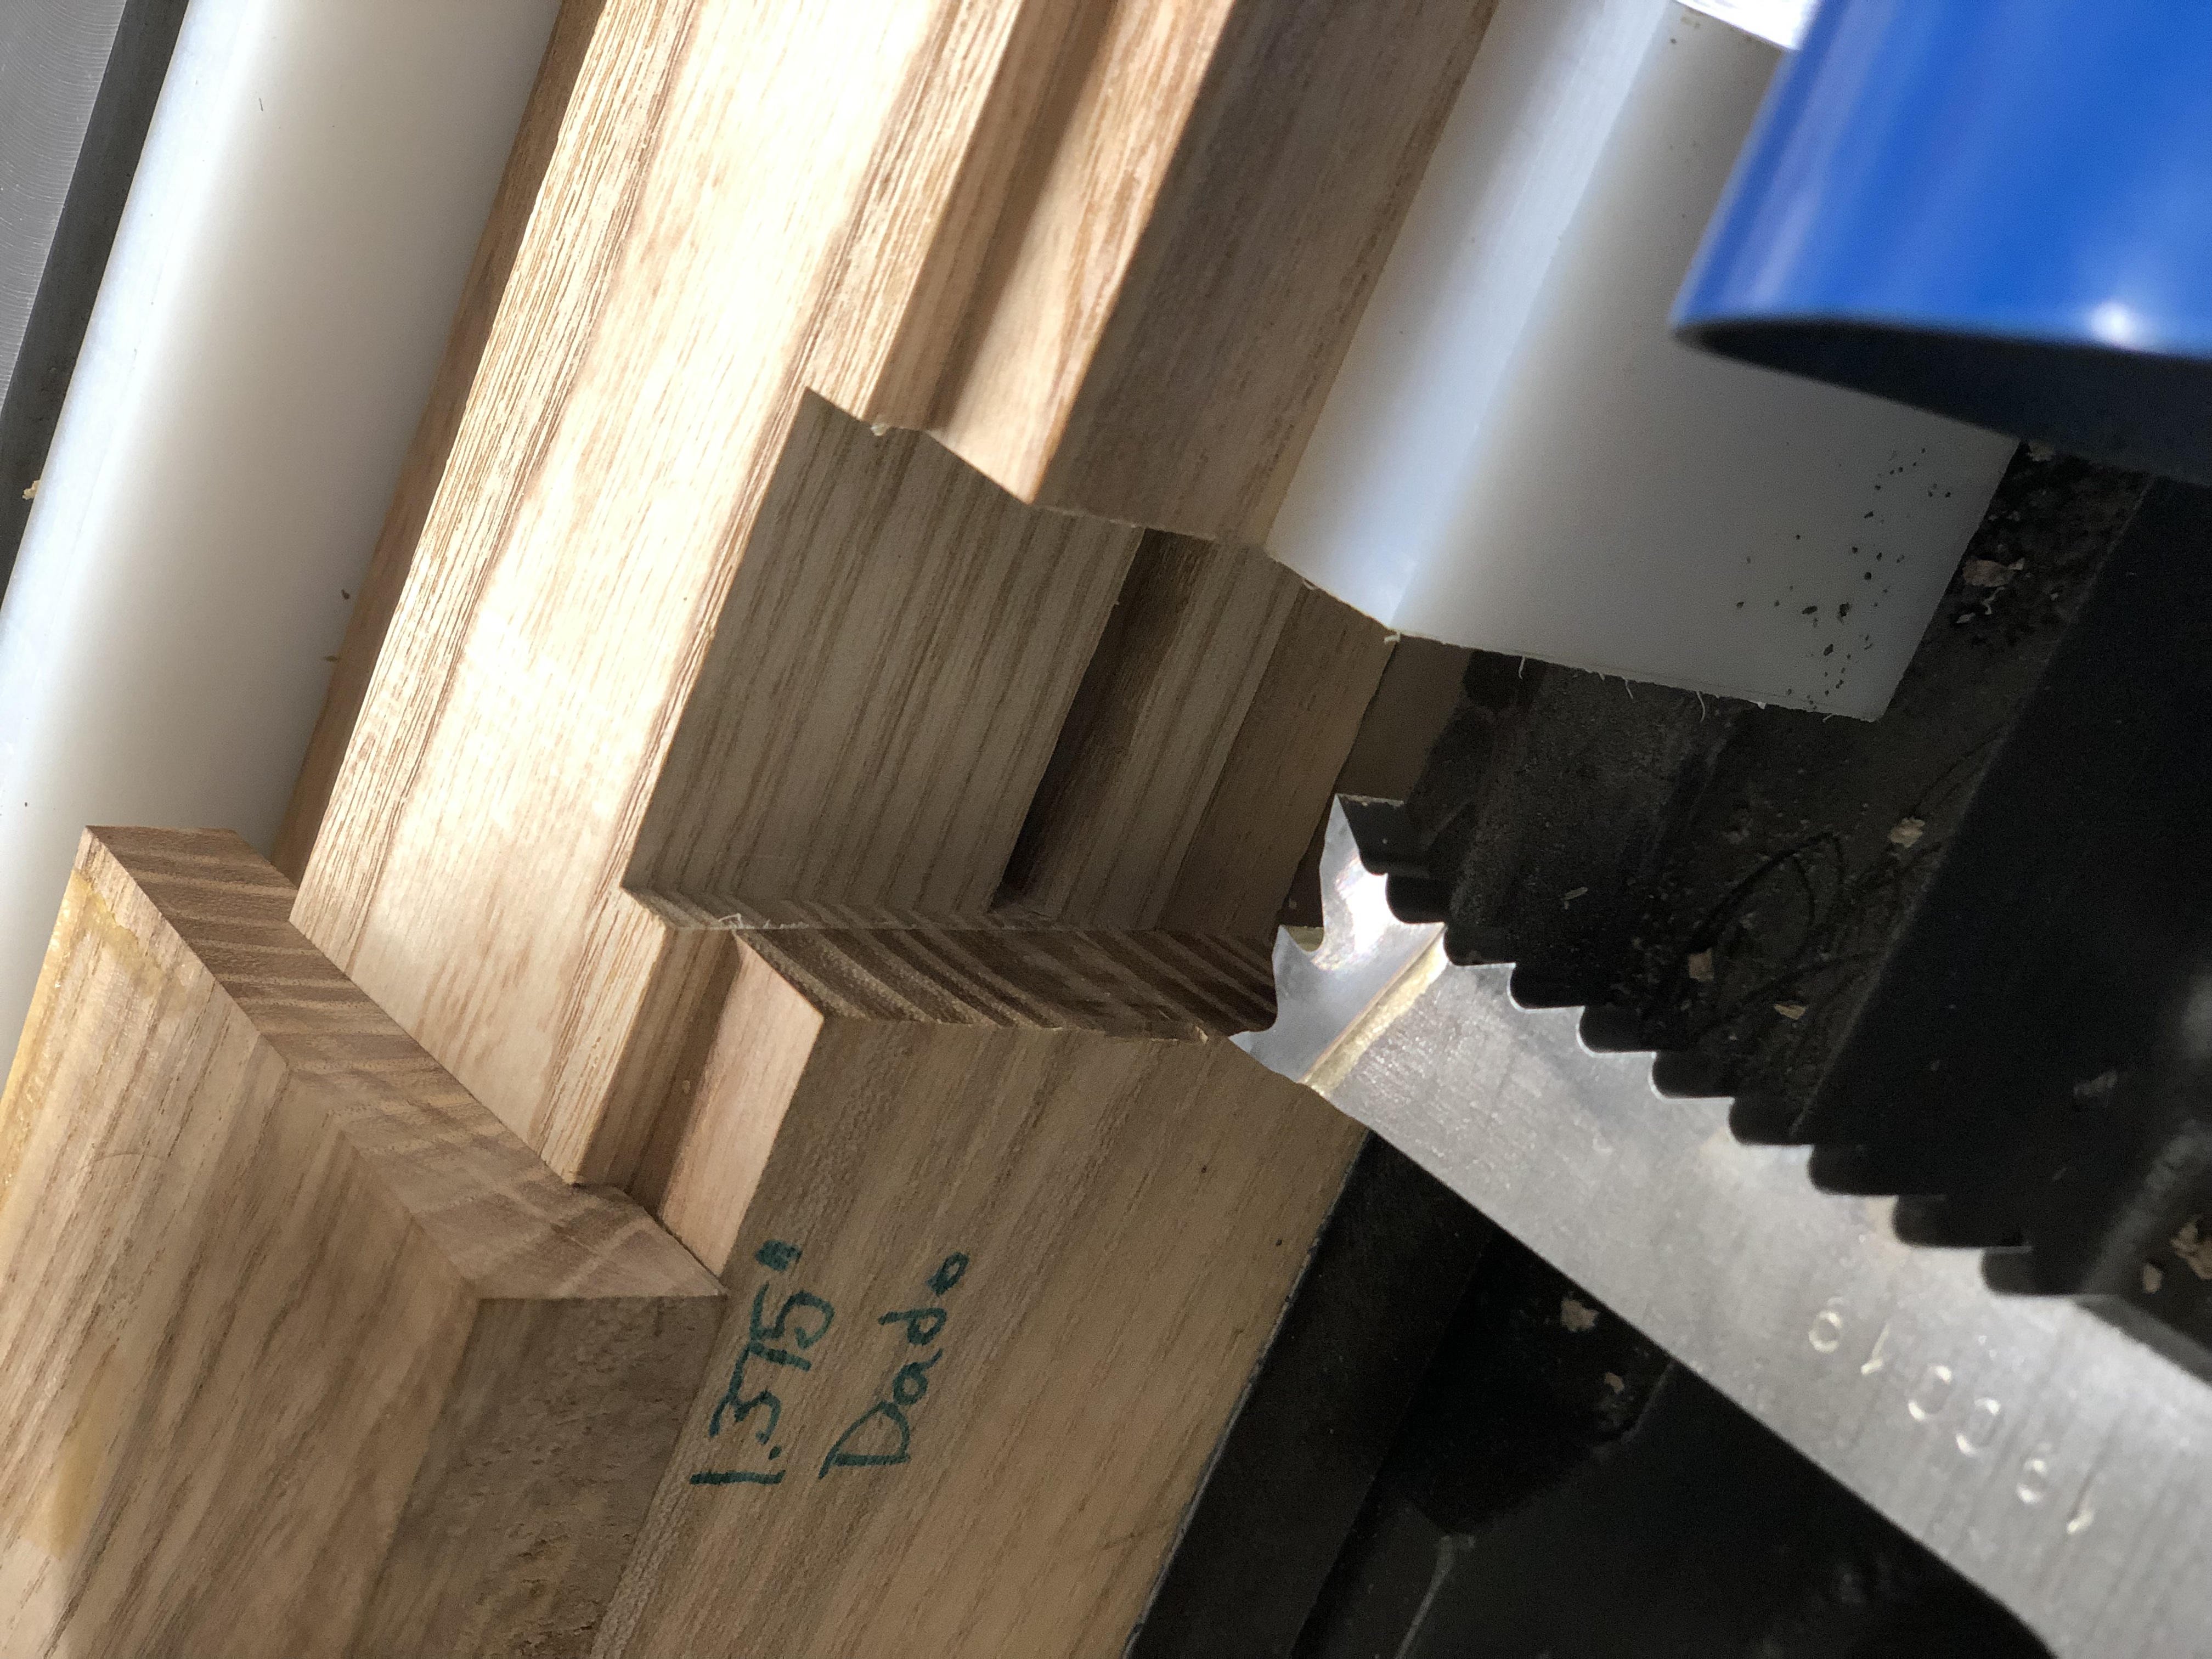
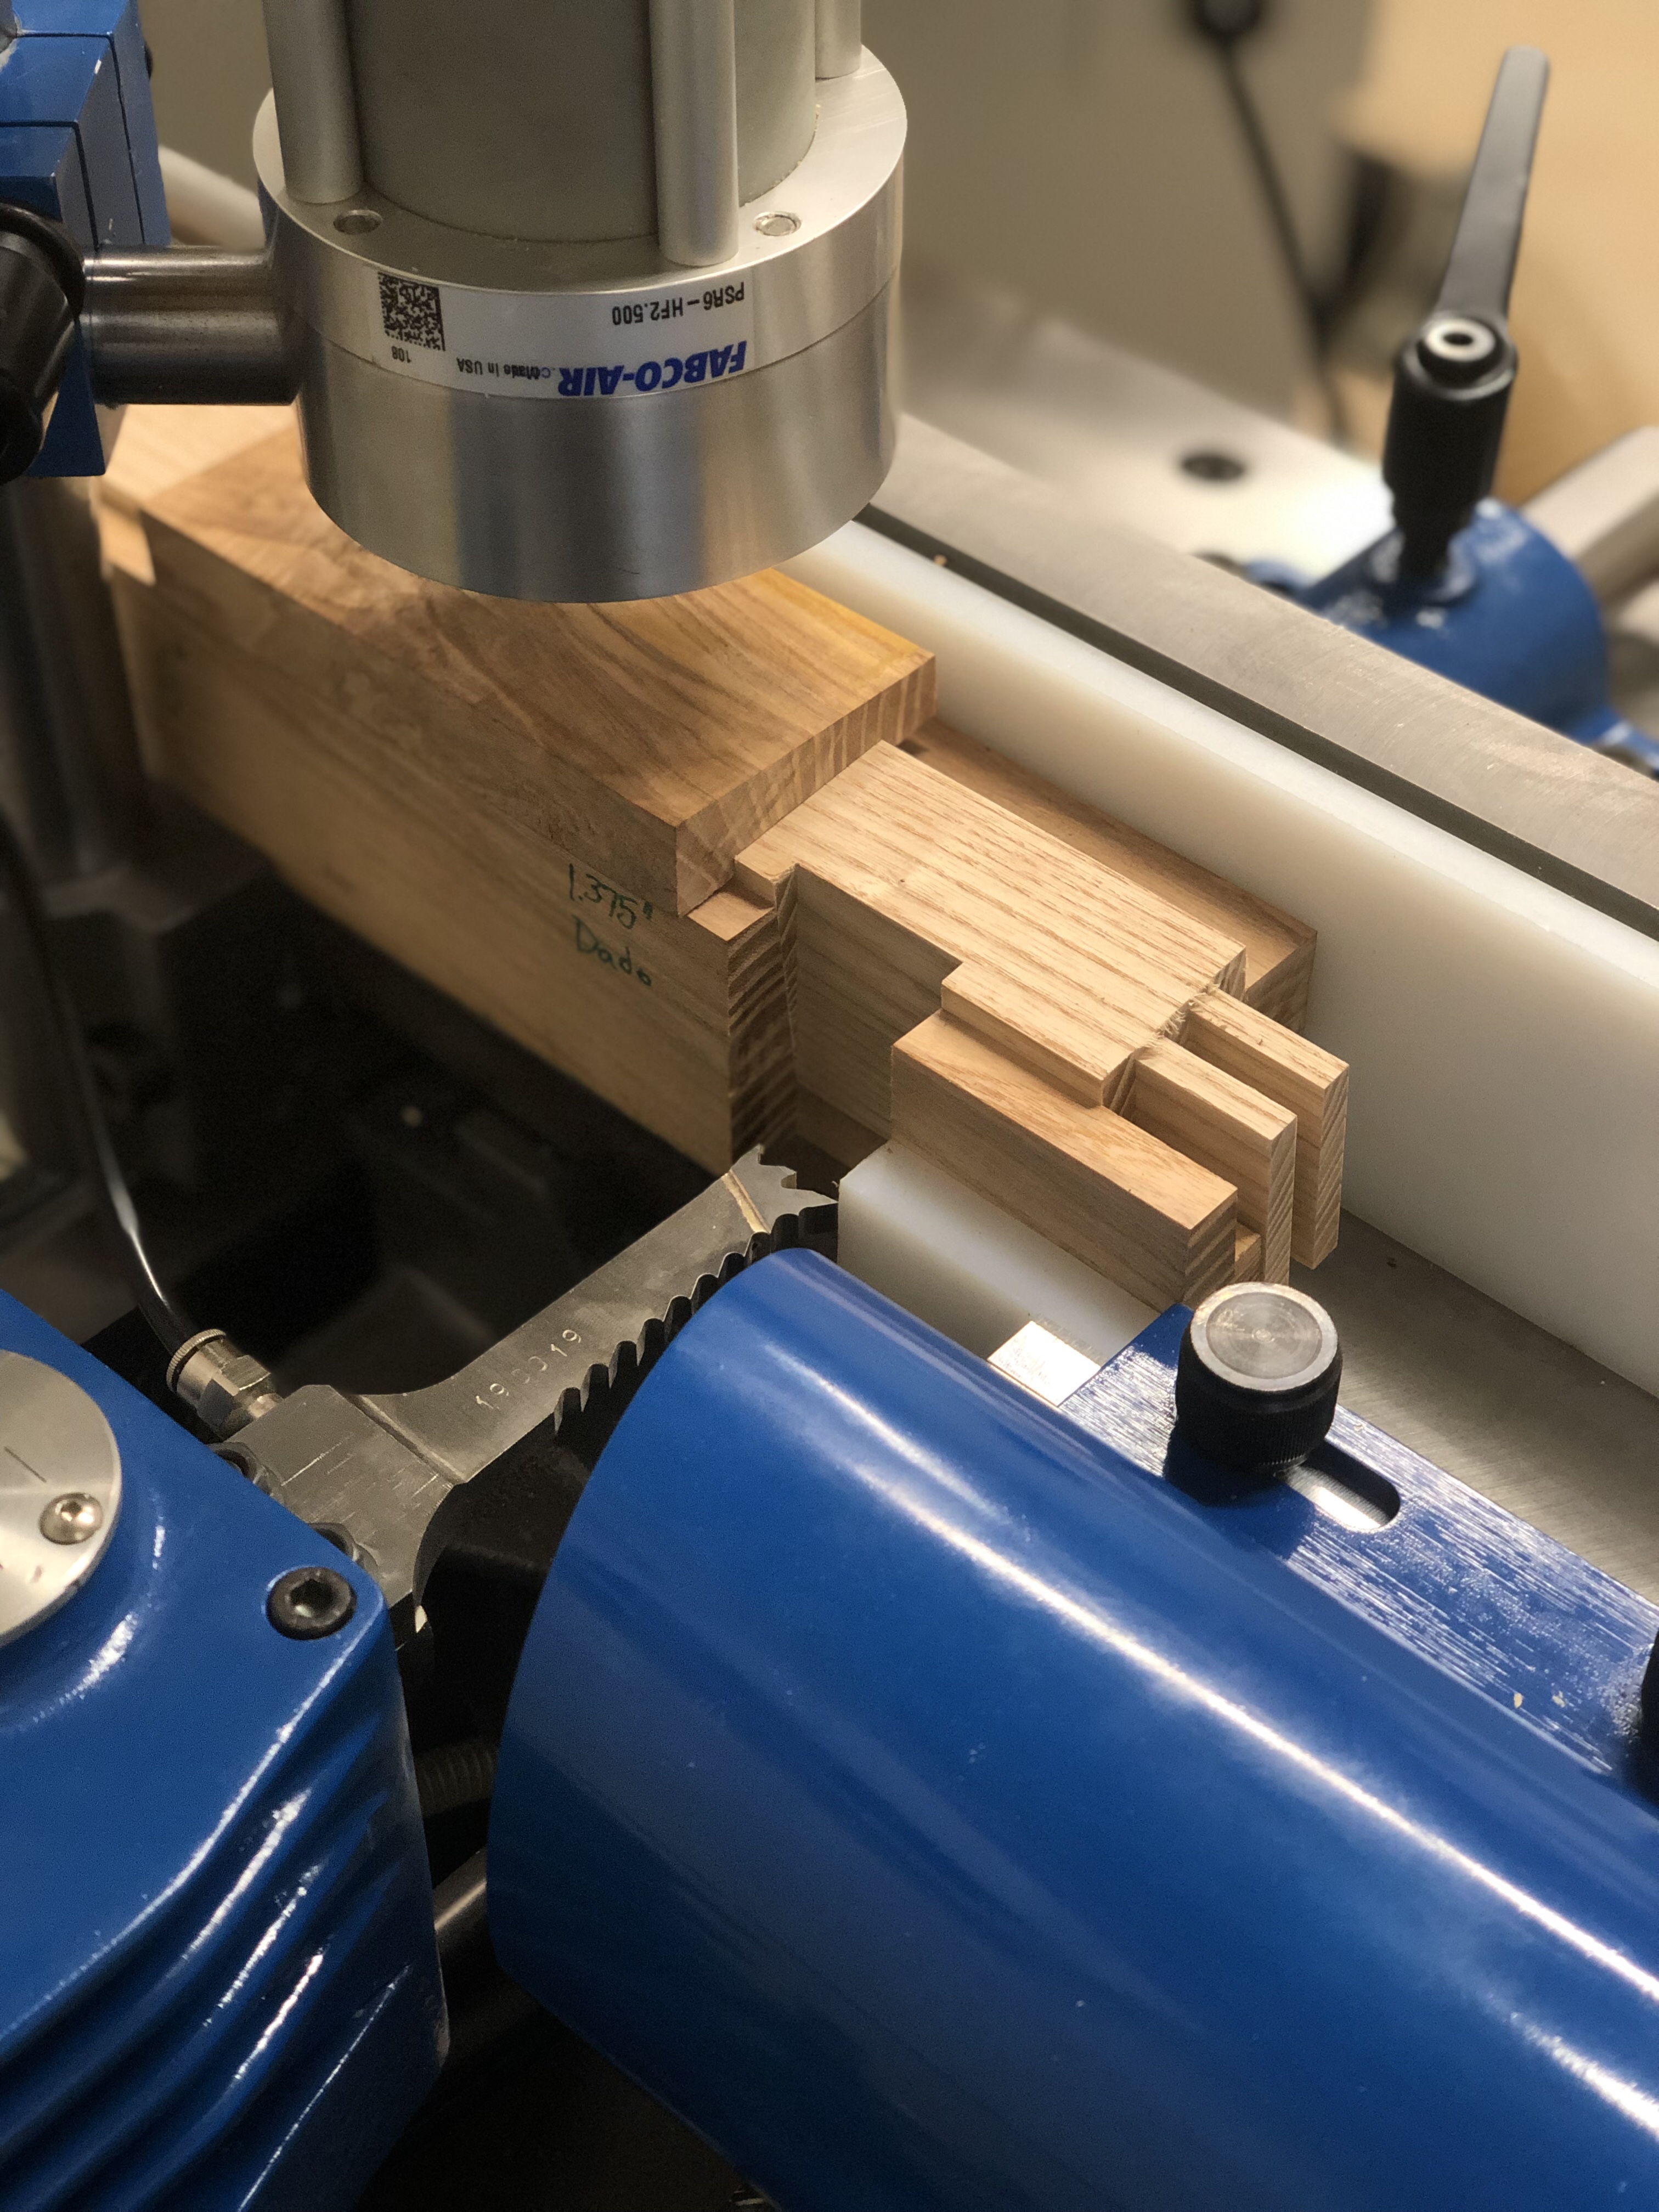
    Everything about this has been exceptional Brian, from the restoration to the fabrication of the stop. That stop is really a beauty!

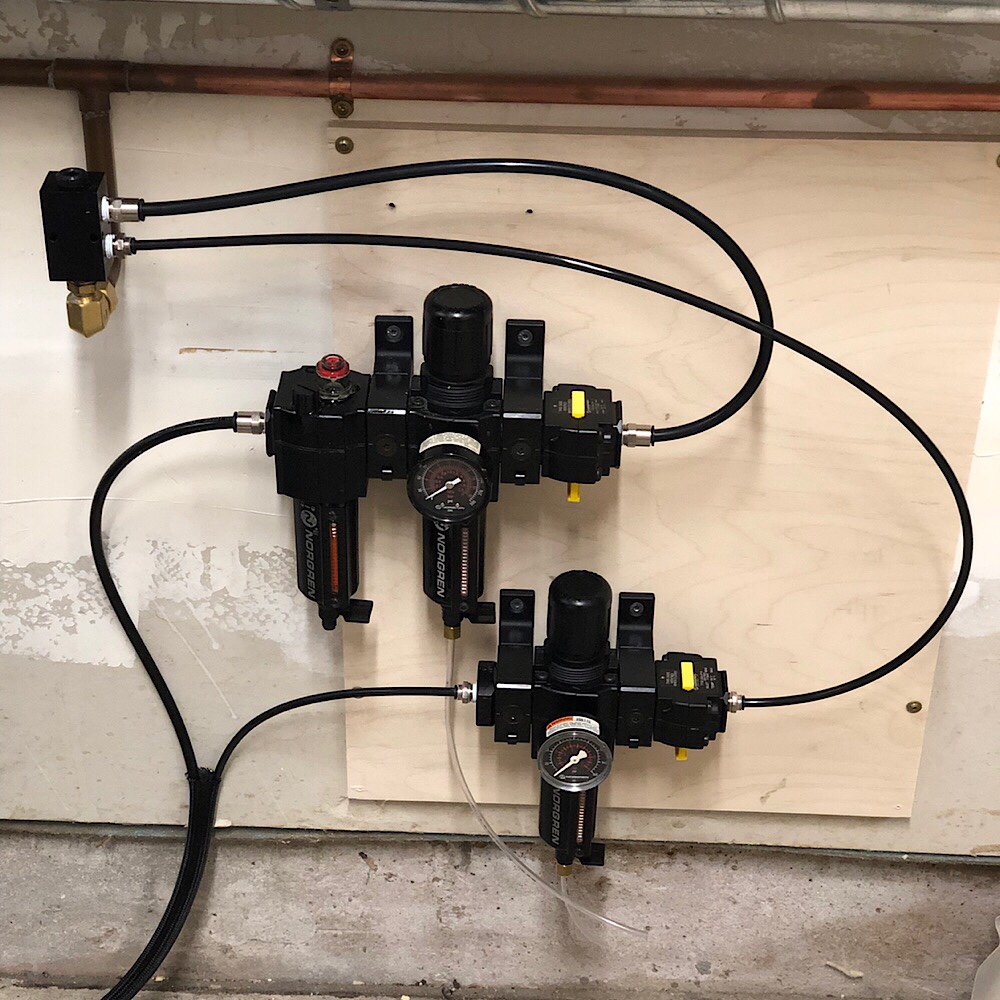
    I've been day dreaming about an auxiliary fence for the Oliver 260 and I keep having this vision of that stop hanging off the end.......

    I'll look forward to seeing if you change anything after putting some hours on it. Maybe some stop collars to keep two settings going at once?

    What an inspiration, thank you!

  2. #302
    Join Date
    Aug 2013
    Location
    Princeton, NJ
    Posts
    7,298
    Blog Entries
    7
    Thanks, Jeff. That is an excellent idea, I think I will add those. Not sure what will change just yet but likely I’ll make some tweaks as time goes on.
    Bumbling forward into the unknown.

  3. #303
    Join Date
    Aug 2013
    Location
    Princeton, NJ
    Posts
    7,298
    Blog Entries
    7
    Changing around the regulator setup a bit so that I can reduce pressure in addition to volume to the chip blowers. Also, adding a lubricator to the main line (not to the blower) to help keep the working parts working.

    The compressor has an on-board cooler and dryer but I thought it couldn't hurt to have in-line vapor separator/filters and a shut-off lock out valve.

    So thee setup will be dual regulators, one with filter/lubricator/shut-off and the other with filter/shut-off.

    More complex than I had originally imagined for this machine, but if it works sweetly than it will be worth the extra effort.
    Bumbling forward into the unknown.

  4. #304
    Join Date
    Aug 2013
    Location
    Princeton, NJ
    Posts
    7,298
    Blog Entries
    7
    Ok, finally getting my act together on the air lines and a weird issue is cropping up. The machine doesn't shut off when air is removed via the pedal, so I'm thinking that my pneumatic switch is not tuned correctly. The switch works in a range of 30-600 PSI with a set/reset of 34 PSI. I'm working through the best way to set this and thinking that if normally the machine ranges between 90-120 PSI than I should set this gauge to be on around 70 PSI and off at 36 PSI, giving me a safe range not to risk having the machine shut-off in the process of cycling.

    So, just wanted to double check myself with the brain trust here to make certain that my thoughts are correct on the assumption about the on-off range.

    Here is the switch in question.

    https://www.mcmaster.com/3427k2

    I setup multiple regulators to operate chisel pressure and cycling pressure separately, also to lubricate the machine internals. This setup also takes any water vapor out that may be in by chance.

    I like the fact that I can vent the line with ease and without draining the compressor tank of air completely, this is a neat setup.

    On very odd thing is that the gauges on these and the gauges on the compressor do not agree, If I open the line from the compressor fully it shows about 10 psi higher than the highest amount I can manage to show on the line regulator. I dont know if that is simply how this type of setup works or if the gauges at the machine are not accurate. I tend to think that they are and something else is up. Admittedly I know very little in this respect since I have not had to investigate air pressure to this degree in previous things.

    I could stand to neaten up the lines a bit, but I thought to get things working properly first.

    This was an eBay special, so I have to go through and change a few of the seals, one of the clamp seals was mushed and the lubricator seal is also leaking lightly.

    Last edited by Brian Holcombe; 05-14-2019 at 9:40 AM.
    Bumbling forward into the unknown.

  5. #305
    Join Date
    Jul 2007
    Location
    Inkerman, Ontario, Canada
    Posts
    1,406
    Hi Brian,

    The foot pedal only operates the feed unit.
    When the pedal is up, the air is directed to the return side of the feed cylinder.
    When the pedal is down the air is directed to the feed side of the feed cylinder.
    When the pedal is in the middle no air goes to either. and the feed will stop.

    The adjustable plunger on the side of the motor mount operates the switch that sends air to the return piston inside the foot switch.
    When the plunger hits this switch it sends air to the foot piston, that snaps the foot switch back to the up position, which redirects the air to the return side of the feed cylinder sending the mortising head back to the start position.

    What operates the motor is the air/electric pressure switch activating the motor contactor.
    That gets air from the air switch tucked in under the base casting that the linear slides are mounted in.
    That switch is operated by stop block on the rod at the bottom of the motor mount.
    So the movement of the motor unit as it feeds, moves the rod and stop block off of the air switch, and releases that switch to send air to the air electric pressure switch, activating the motor contactor and starting the motor.The motor will then run until the head returns to the start position and the rod/ stop-block compresses the air switch shutting off the air to the pressure switch. which cuts power to the motor contactor, and shutting the motor down.

    The photo below is what operates air to your air /electric pressure switch (motor control)


    Brian.jpg

  6. #306
    Join Date
    Aug 2013
    Location
    Princeton, NJ
    Posts
    7,298
    Blog Entries
    7
    Thanks, Mark!

    That part is functioning properly and cutting air supply to the pressure switch when the unit returns. I suppose my adjustment on the switch may simply be so low that it doesn't cut out when it should but the mechanical parts are all working properly at this point.

    I'm suppose I'm thinking out loud via this post and wondering do I adjust the pressure switch until the unit just shuts off, or do I build some margin into it and raise the pressure shut off further into the range?

    Cheers
    Brian
    Bumbling forward into the unknown.

  7. #307
    Join Date
    Jul 2007
    Location
    Inkerman, Ontario, Canada
    Posts
    1,406
    Brian, then i am thinking that maybe you have the wrong air/ electric switch type.

    You want a simple on/ off operated by air pressure. With a minimum operating air pressure to operate.

  8. #308
    Join Date
    Jul 2007
    Location
    Inkerman, Ontario, Canada
    Posts
    1,406
    Brian, I think that you need a simple low pressure switch. with either a fixed pressure rating or adjustable.


    Call us 7 days a week
    1.888.645.0878
    Click to Chat


    0 Items - ($0.00)


    All


    Return to Category ListHome Motors & Power Transmission Factory Automation & Robotics Pressure Sensors PVS Sensors, Pressure Switches, Low Pressure, Brass Housing

    PVS Sensors 151052, Low Pressure Switch APA-2-4M-C-FL, Adjustment range 15-75 PSI

    Email Print
    Item #: T9FB966534
    Usually ships in 10 to 13 days (ships from US)
    0 reviews | Write a review

    Price: $ 35.95


    • Nason LM-2C-90R/WLAT Low Pressure Switches
    • Category: Low Pressure Switches
    • Manufacturer: Nason
    • Electrical Connection: 18" Wire Leads
    • Current Rating (125/250 VAC): 10A
    • Current Rating (30 VDC): 5A
    • Circuit Form: SPDT
    • Set Point: 90 PSI
    • Set Point Tolerance: +/- 1 PSI or 5%
    • Max Operating Pressure: 2000 PSI
    • Media Connection: 1/8" NPT male brass
    • Long-life elastomer diaphragm
    • High-quality snap-action switch
    • Pneumatic and hydraulic applications


  9. #309
    Join Date
    Aug 2013
    Location
    Princeton, NJ
    Posts
    7,298
    Blog Entries
    7
    Ah, I was thinking it would need a range between high and low but I suppose it really doesn't. Sometimes I get lost in the McMaster Catalog, over thinking things. Thanks Mark.
    Bumbling forward into the unknown.

  10. #310
    Join Date
    Aug 2013
    Location
    Princeton, NJ
    Posts
    7,298
    Blog Entries
    7
    Putting in some time on this machine, understanding it’s intricacies is fun.

    I thought I’d share this. It took some efforts to make but I’ve been making these parts routinely.

    Angled mortise which will be double mortises soon.


    Bumbling forward into the unknown.

Posting Permissions

  • You may not post new threads
  • You may not post replies
  • You may not post attachments
  • You may not edit your posts
  •