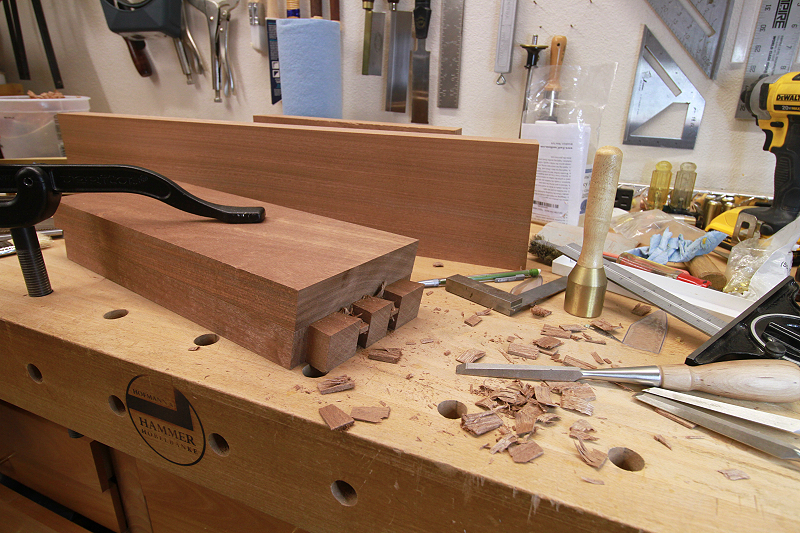
I worked almost 5 hours cutting and chopping out the first of four pin and tail sets and I'm still not done. I'm hoping for some help in making this go a bit easier. FWIW, this is only my second hand cut dovetails.
This is the plan
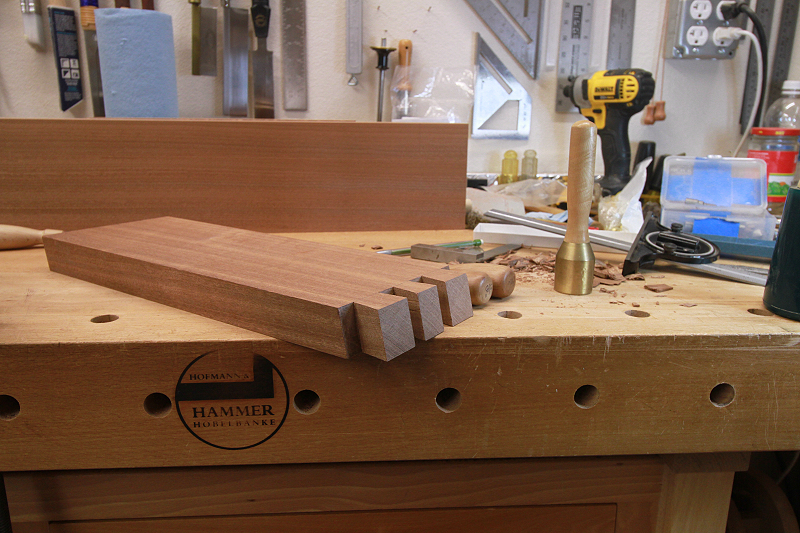
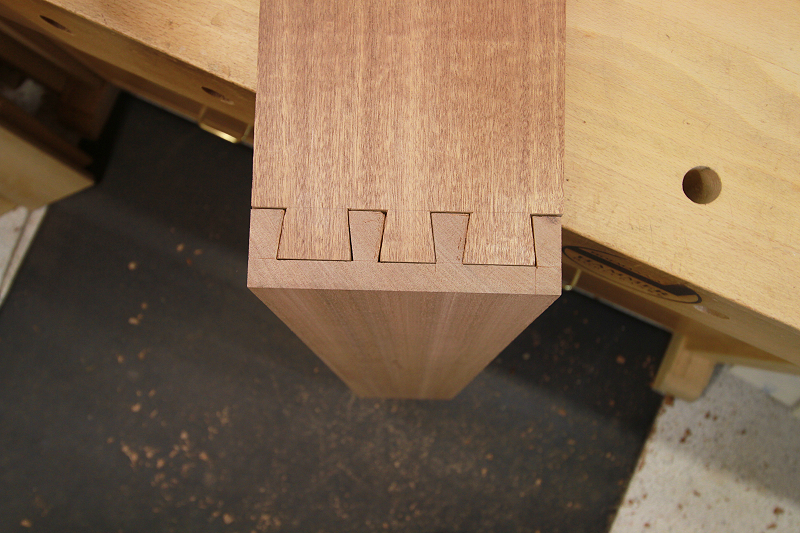
Rather than those classic looking dovetails with the narrow pins, I went with structural strength. The table will have to hold up to being slid around on a laminate floor to clean around it.
The first tail took me about two hours to complete.
But the pins took even longer
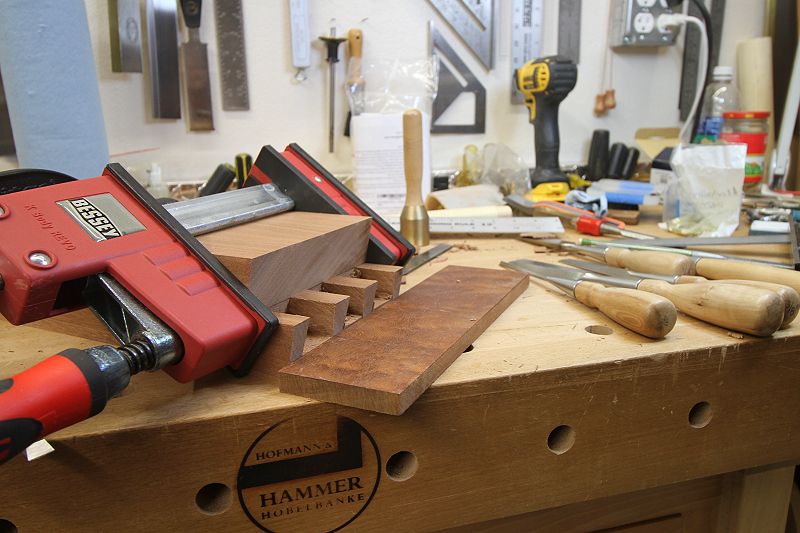
For the next set I plan on using a forstner bit to remove some of the waste. I have a Leigh D4 but it's such a pain to set up I've developed an aversion to using it. Any tips or suggestions?
Thanks.
Julie


 Reply With Quote


")