Page 1 of 2 12 LastLast
Results 1 to 15 of 17

Thread: Apothecary chest - shaping the drawer fronts (1)

  1. #1
    Join Date
    Feb 2004
    Location
    Perth, Australia
    Posts
    9,491

    Apothecary chest - shaping the drawer fronts (1)

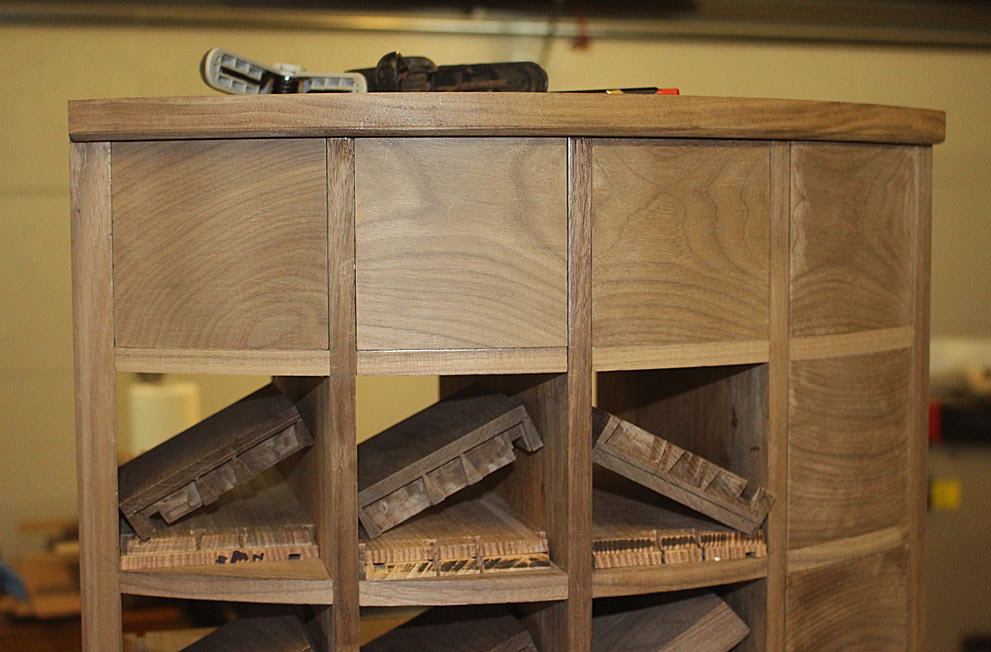
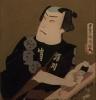
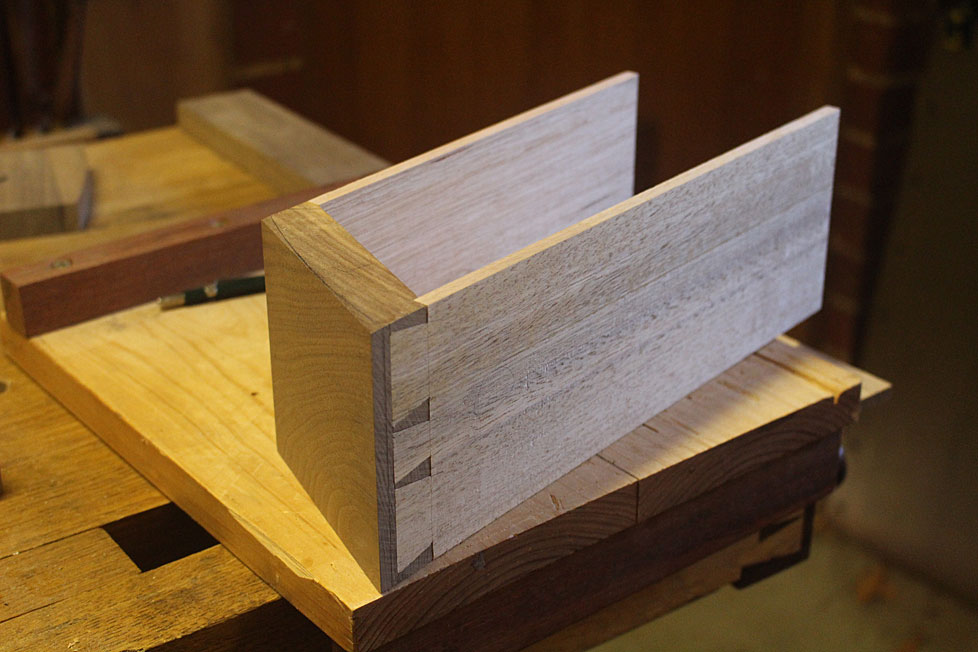
    Having completed the dovetailing of the drawer sides into the drawer fronts, the next step is to shape the outside bow to match the chest.


    This is the drawer to be demonstrated ...


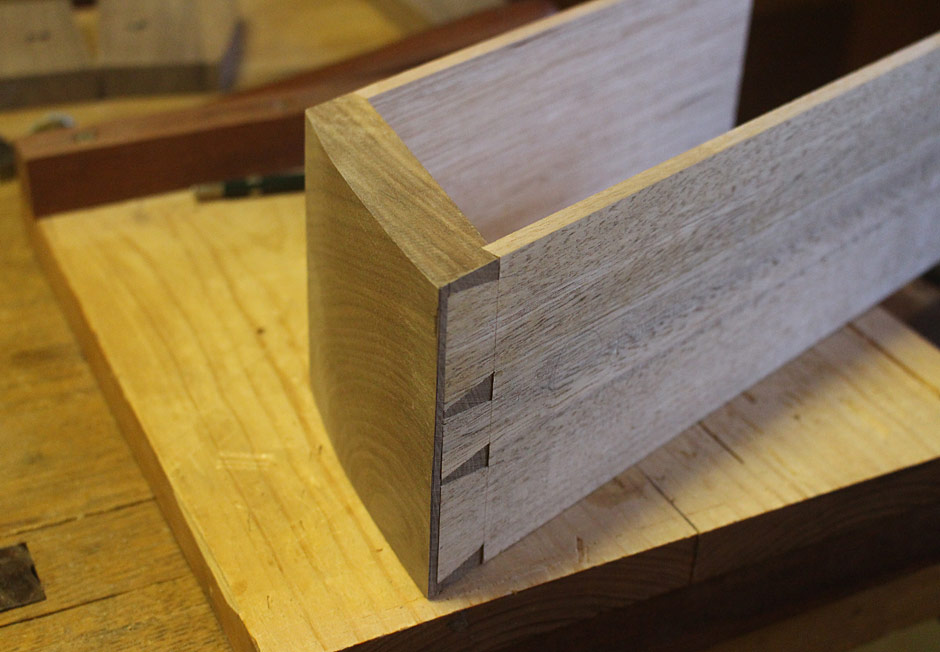
    The drawer blade has been removed, and receives a final tweaking to match a template. Every drawer blade receives the same treatment, and there is a template for each vertical row ...


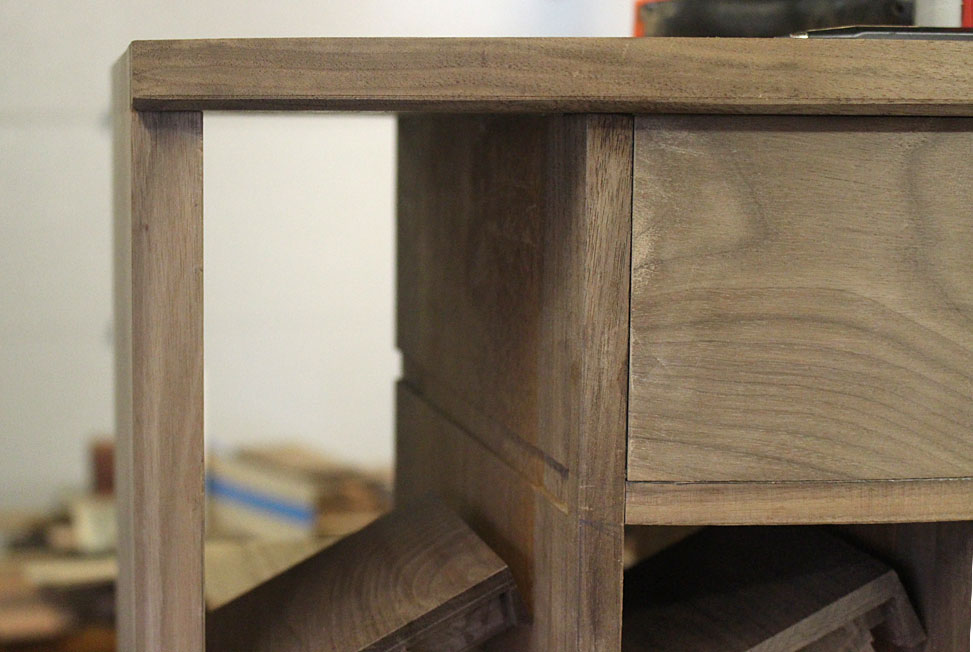
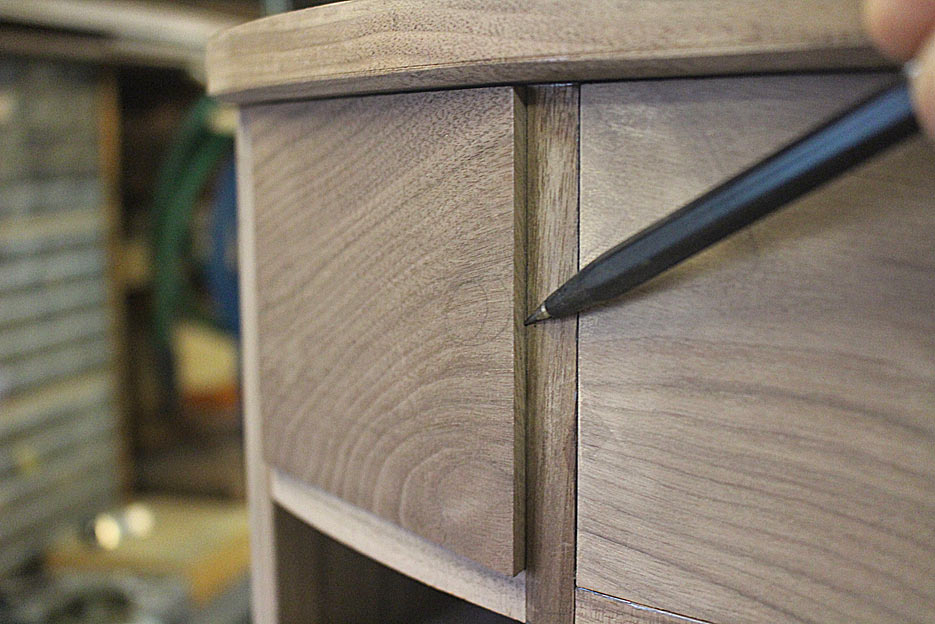
    The drawer blade is returned to the chest, the drawer is fitted, and the profile of the drawer front is traced ...


    Below, the markings may be seen on the drawer front ...


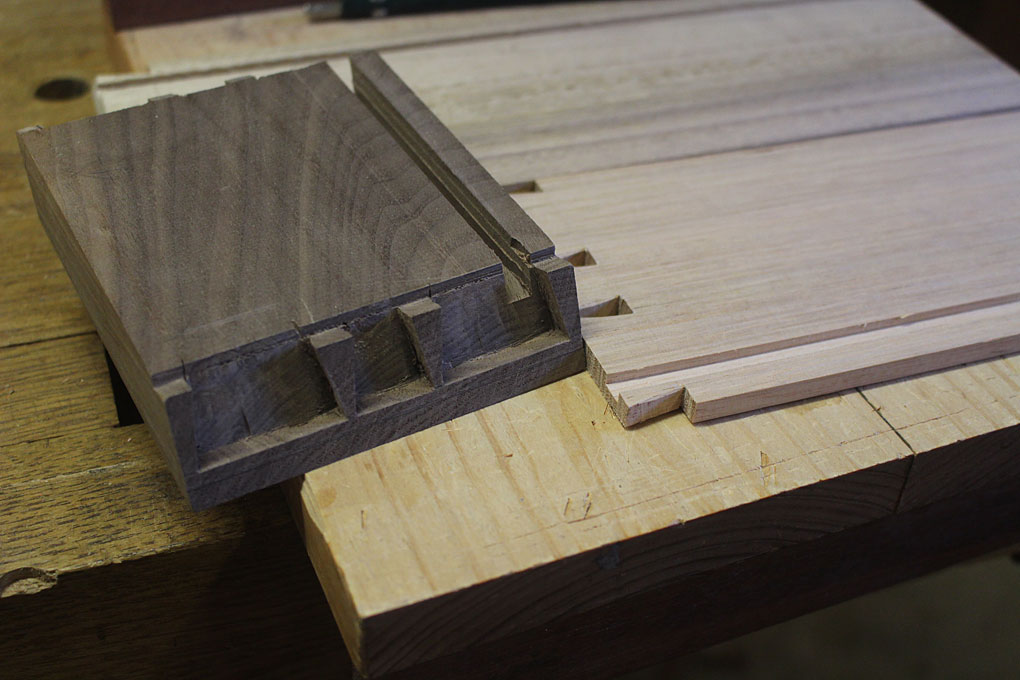
    The drawer is pulled apart. The grooves for the drawer bottom have been completed. The drawer sides received a 3mm deep groove, while the groove for the drawer front is about 8-9mm deep. The extra depth here is to allow for the inner curve to be later shaped, and that this will remove approximately 3-4mm at the centre.


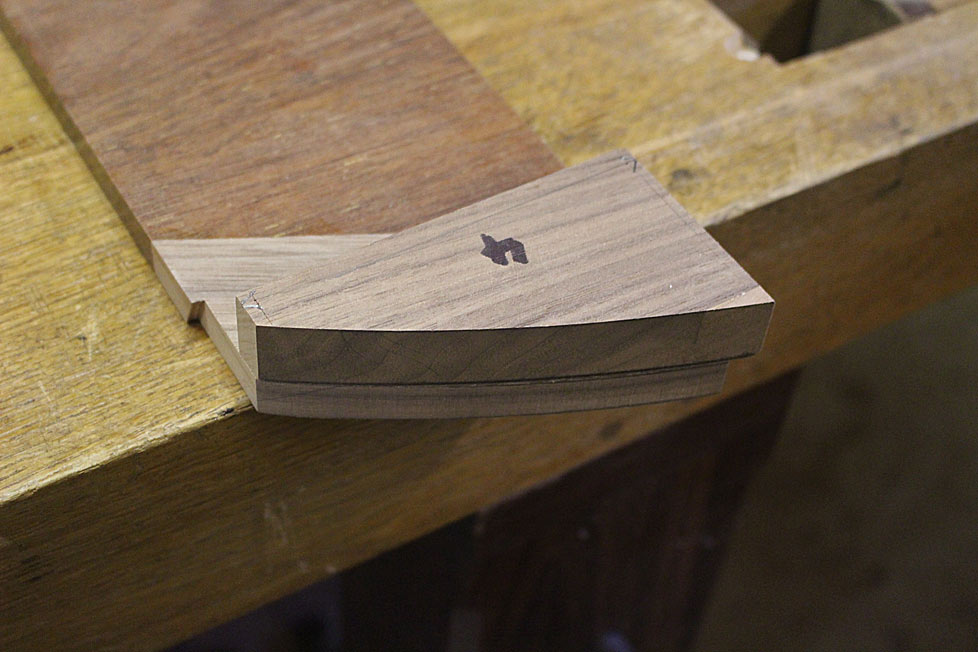
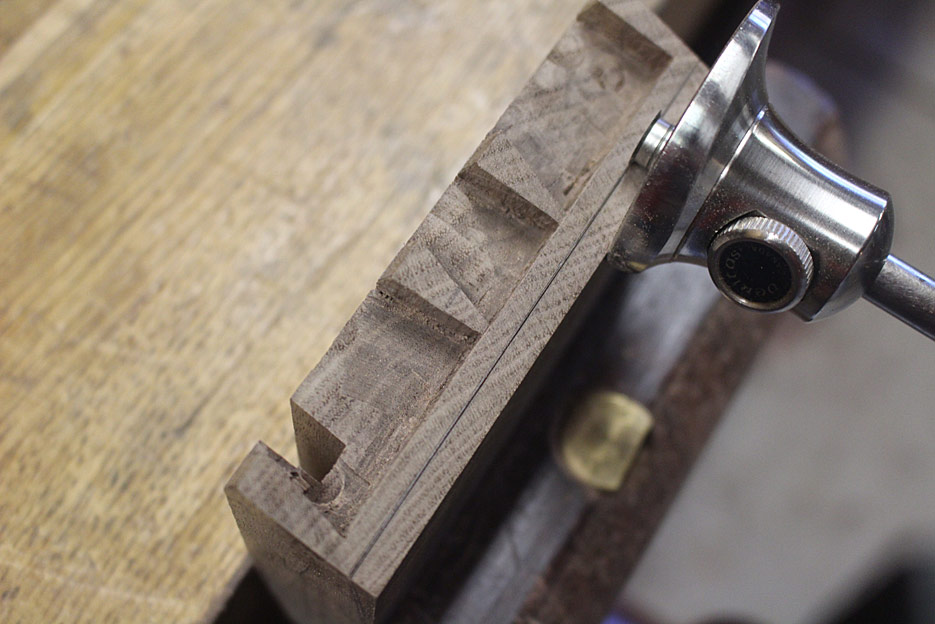
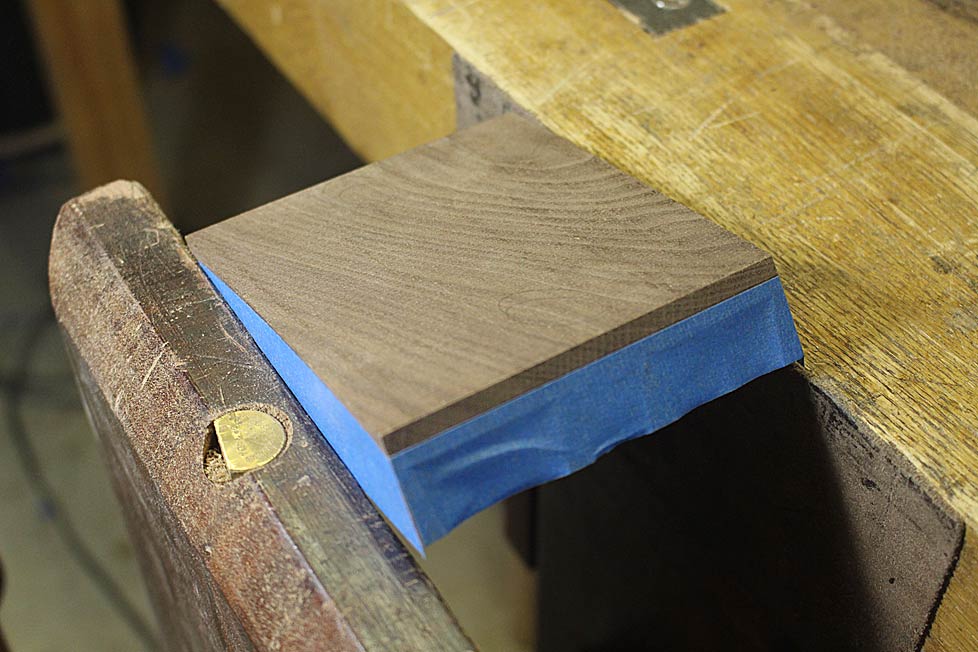
    Now the end of the drawer front is marked ...


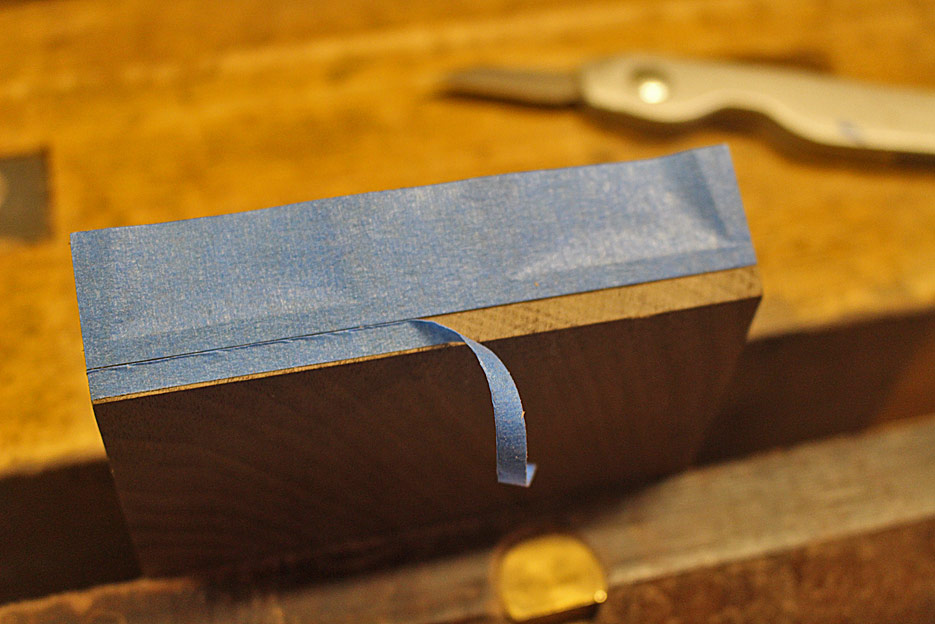
    Blue tape is added, and the excess removed ...


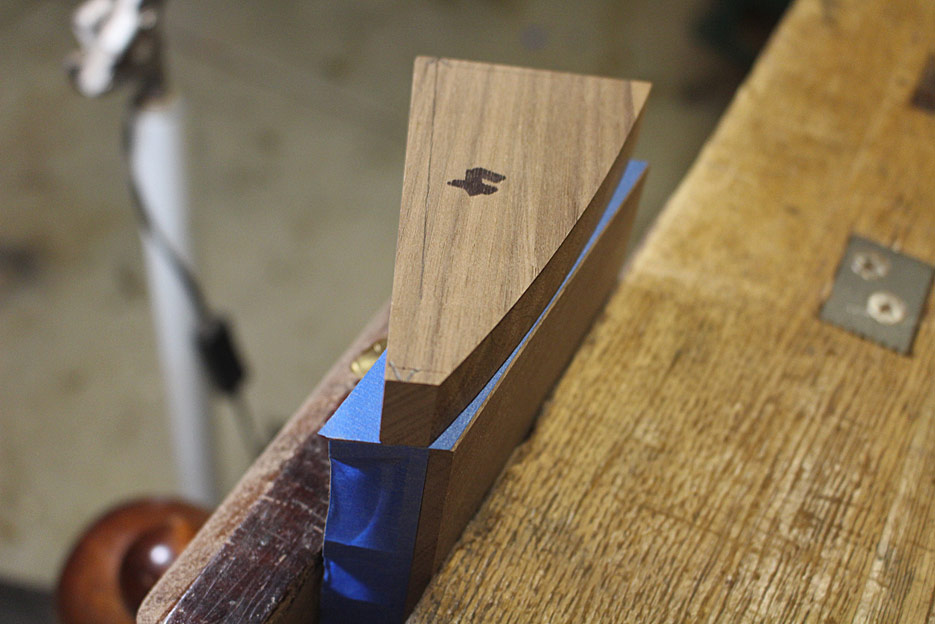
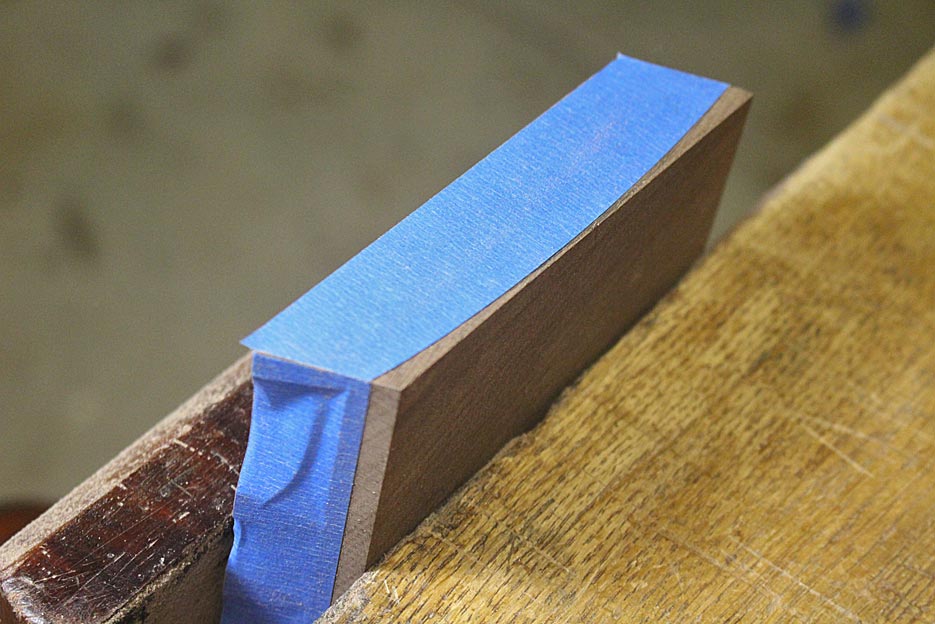
    The tape is added to the upper and lower faces, and the template (from the drawer blade) is now used to mark the curve ...


    Once removed, the cut lines stand out clearly ...


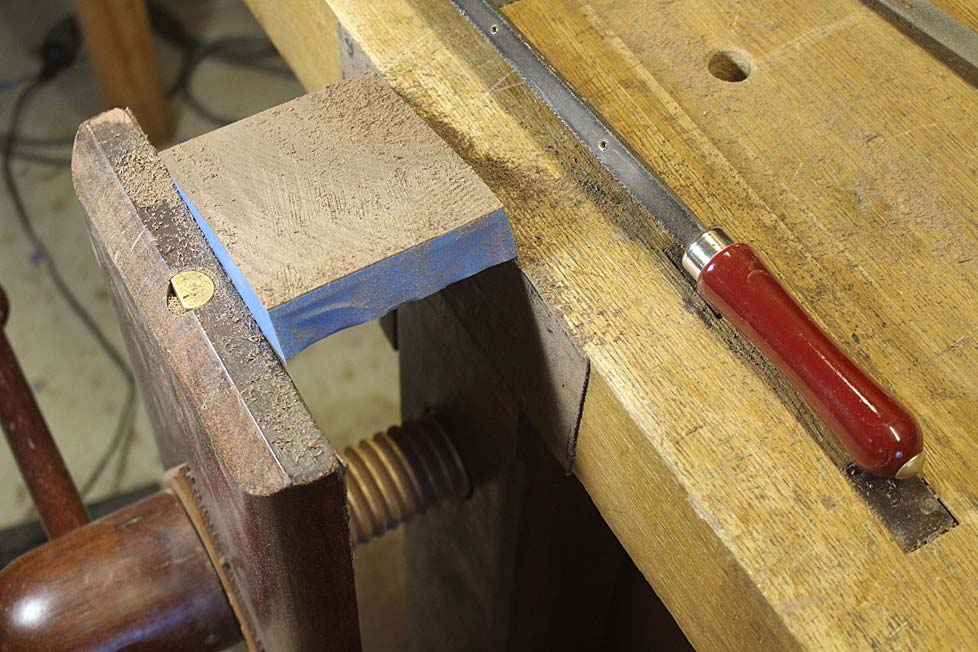
    The rasping may begin. A start is made with a Shinto, which has roughly 10 grain on the coarse side (this is a Japanese rasp made from hacksaw blades. The other side is about 14 grain).


    In turn, after the 10 grain comes the fine side of the Shinto, and then a 13 grain Auriou followed by a second cut file.


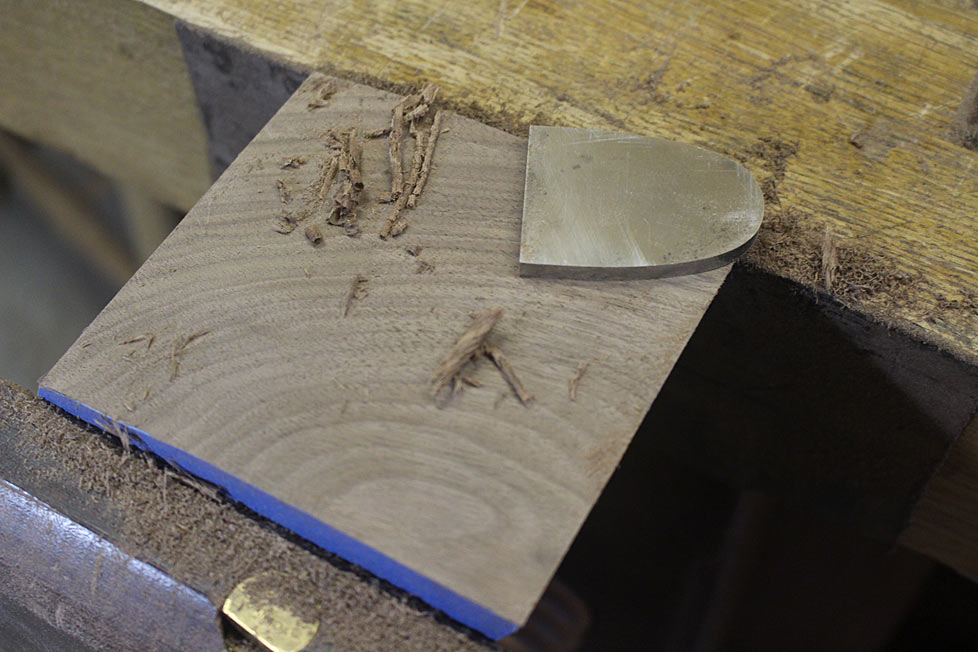
    The surface is refined with a scraper ...


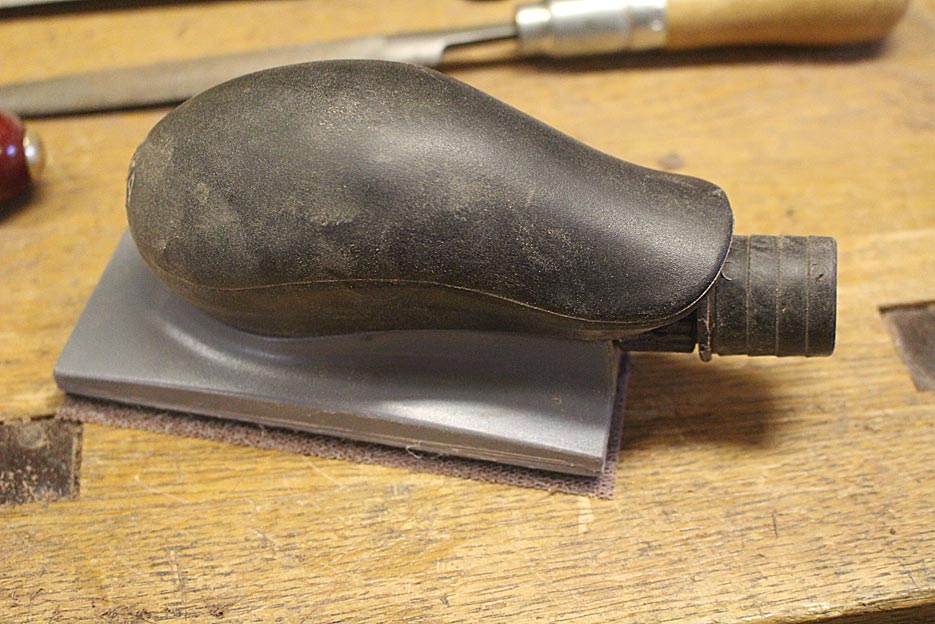
    ... and 120/22/320 Abranet mesh. You will ask why sand after scraping? The reason is that the sanding removes any scratches left by the rasps and scraper, creating a uniform surface. The final result is fairly polished. It is possible that I may go over this with a cabinet scraper prior to finish ...


    This completes the drawer at this stage. The rear of the drawer front will next receive a complimentary curve. I hope to get to this during the week ...


  2. #2
    Join Date
    Feb 2004
    Location
    Perth, Australia
    Posts
    9,491


    The run out from cutting away the ends of the boards is noticeable (to me at any rate) ...


    Regards from Perth


    Derek

  3. #3
    Join Date
    Mar 2006
    Location
    Austin Texas
    Posts
    1,957
    Question: Did you consider using a plane rather than the rasp? At any rate, the end result looks very good from here.
    David

  4. #4
    Join Date
    Feb 2004
    Location
    Perth, Australia
    Posts
    9,491
    Hi David

    The drawer fronts are too small for a plane, as is a spokeshave (they measure 100x100mm). The amount of waste to remove is also too little for a bandsaw, plus the height versus length makes it too awkward to do. The rasp was all that was left to use.

    Regards from Perth

    Derek

  5. #5
    Join Date
    Aug 2012
    Location
    Missouri
    Posts
    2,151
    Looks good Derek. The runout would be noticeable to an experienced eye. However that person would know why. Does it hurt the piece, not in my opinion. For what my opinion is worth. I'd love to have it.
    Jim

  6. #6
    Join Date
    Sep 2007
    Location
    Longview WA
    Posts
    27,427
    Blog Entries
    1
    Like end grain, run out can be a feature in the overall beauty of a piece.

    Once again Derek you have given the rest of us a work of inspiration.

    jtk
    "A pessimist sees the difficulty in every opportunity; an optimist sees the opportunity in every difficulty."
    - Sir Winston Churchill (1874-1965)

  7. #7
    Join Date
    Jul 2015
    Location
    Broadview Heights, OH
    Posts
    714
    Very nice Derek. Also pleased to see you are single handed in keeping Minnesota Mining and Manufacturing in business with your blue tape consumption!

  8. #8
    Join Date
    Aug 2010
    Location
    USA
    Posts
    5,582
    I love the grain flow on your drawer fronts. Very very nice!

  9. #9
    Join Date
    Feb 2004
    Location
    Perth, Australia
    Posts
    9,491
    Quote Originally Posted by Jim Koepke View Post
    Like end grain, run out can be a feature in the overall beauty of a piece.

    Once again Derek you have given the rest of us a work of inspiration.

    jtk
    Thanks Jim. I am very far from finished with this piece. Drawers to complete, then there is a base to build. The drawer handles arrived yesterday ...

    Regards from Perth

    Derek

  10. #10
    Join Date
    Apr 2008
    Location
    Provo, UT
    Posts
    390
    It just keeps getting better and better looking. This has been a real fun project to watch in so many ways.

  11. #11
    Quote Originally Posted by Jeff Ranck View Post
    It just keeps getting better and better looking. This has been a real fun project to watch in so many ways.
    I agree it's been fun to watch. Doing it? Not my cuppa! I'll stick with simpler designs. I'd be tempted if I didn't follow the process.

    Beautiful work.
    Fair winds and following seas,
    Jim Waldron

  12. #12
    Impressive thing allready! The grain runout is noticable indeed, I don't know yet if I like it or not, mixed feelings still.

    It's about 70x50 I guess? That's smaller then I thought it would be. I don't know how I got the impression it was much larger.

  13. #13
    Join Date
    Aug 2013
    Location
    Princeton, NJ
    Posts
    7,293
    Blog Entries
    7
    It's very beautiful work, I think you did a fantastic job.

    I would be tempted to apply quarter sawn veneers (shop cut) to the fronts. The runout actually makes it quite difficult to see that the drawer fronts are matched from single boards and makes it very busy, which along with the dividers makes for a busy cabinet.
    Bumbling forward into the unknown.

  14. #14
    It's not that big, so a bit of busyness wouldn't be too dramatic in a larger room. If it were a wall filling cabinet, it would quickly become an eyesore.

  15. #15
    Join Date
    Jul 2015
    Location
    Broadview Heights, OH
    Posts
    714
    Brian,

    I agree. The regrettable part is he could have used pine and sawed the fronts to match the curve, ditched the difficult angled dovetails and be done by now.

Posting Permissions

  • You may not post new threads
  • You may not post replies
  • You may not post attachments
  • You may not edit your posts
  •