Page 1 of 2 12 LastLast
Results 1 to 15 of 16

Thread: Apothecary chest - beginning the drawers

  1. #1
    Join Date
    Feb 2004
    Location
    Perth, Australia
    Posts
    9,492

    Apothecary chest - beginning the drawers

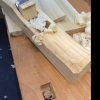
    This is just a taste of what I will be doing for a few more weekends.


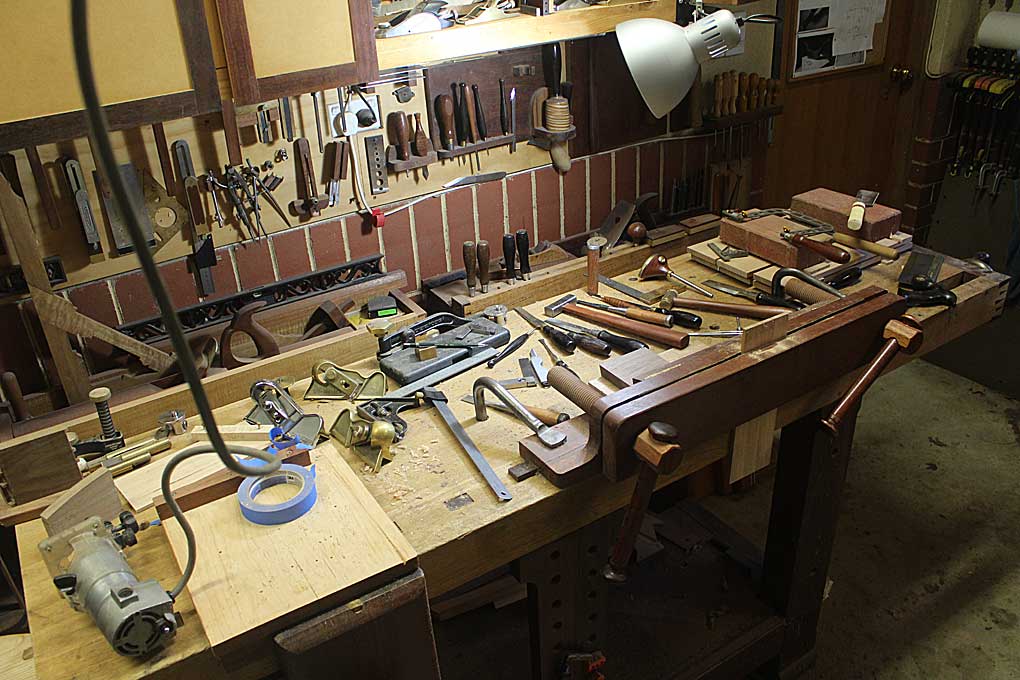
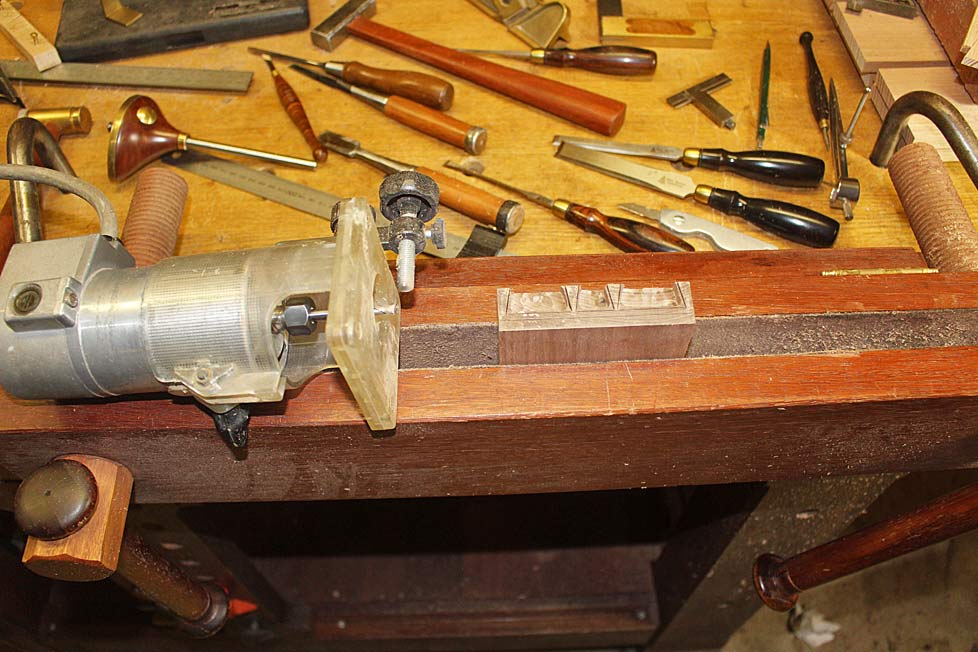
    A bench shot for those that like to see how others work ...


    Below I have a few shots of the dovetailing (again). These are more to show specific strategies used, rather than dovetailing as a procedure.


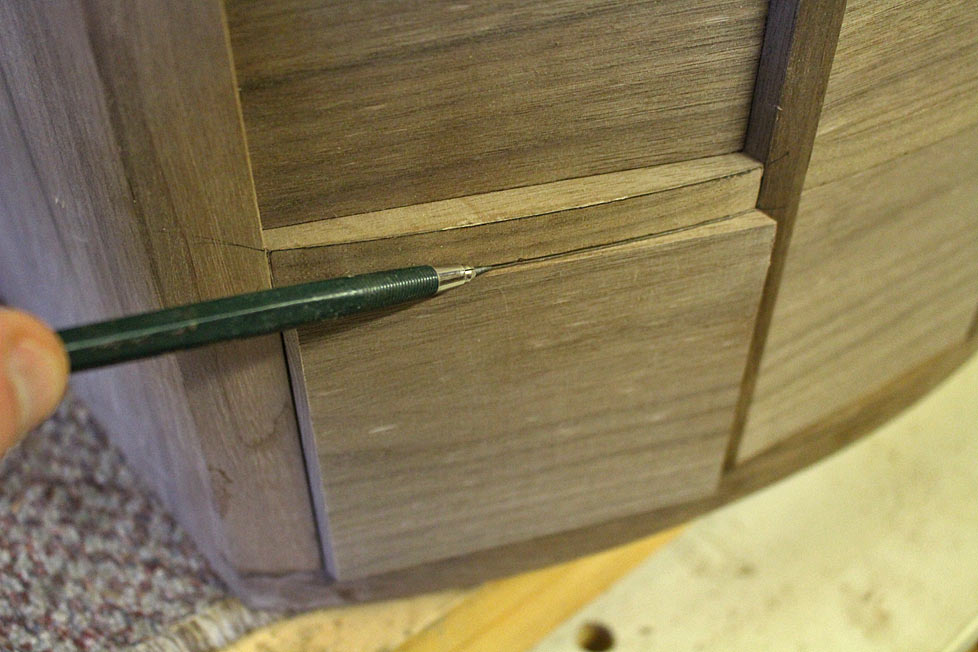
    The drawer fronts are moved a couple of mm past the front of the drawer blades, and marked all round ...


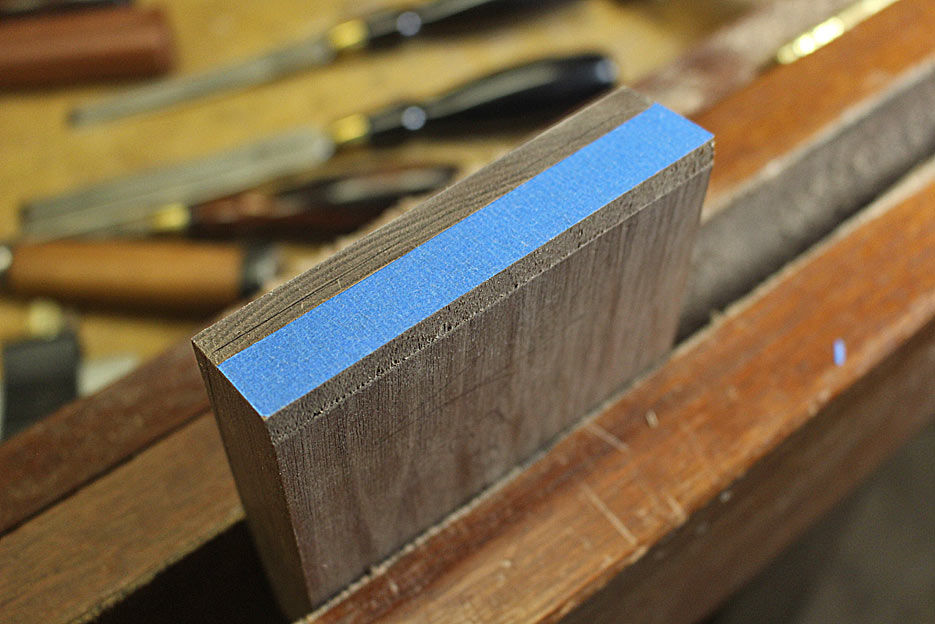
    In an early post I showed how a bevel was formed on the drawer front to create a square junction with the drawer side. The bevel is seen below the blue tape ...


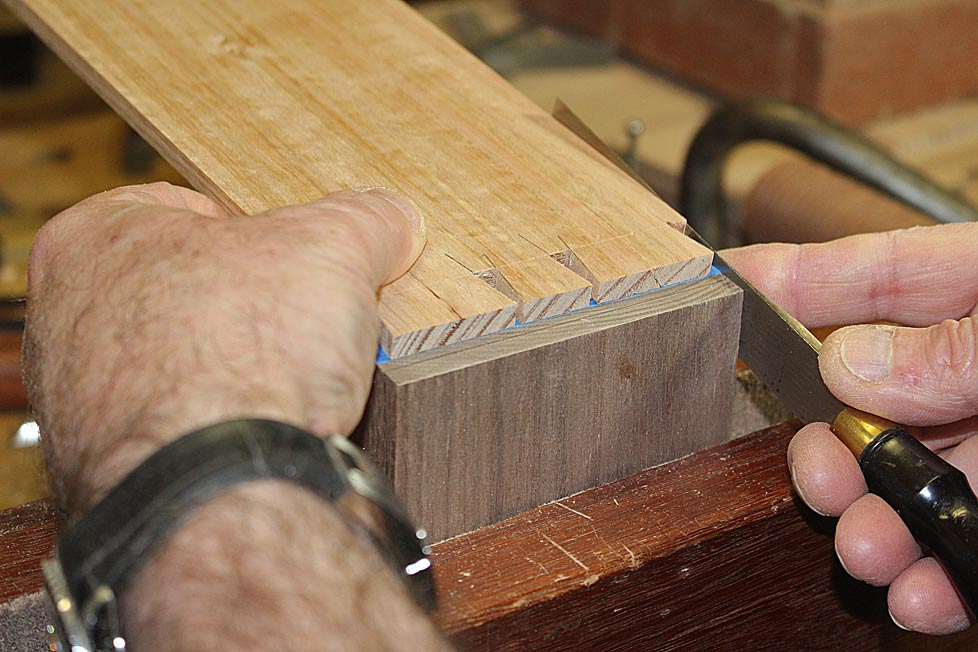
    The ends of the drawer front angle, and it is not possible to use a jig to align it with a side. I never do this anyway, and simply use a wide chisel ...


    It's a bit of a balancing act, but the blue tape acts like a non slip, and the knife only has to make one cutting stroke to sever the layer of tape. This reduces the chance of movement and error ...


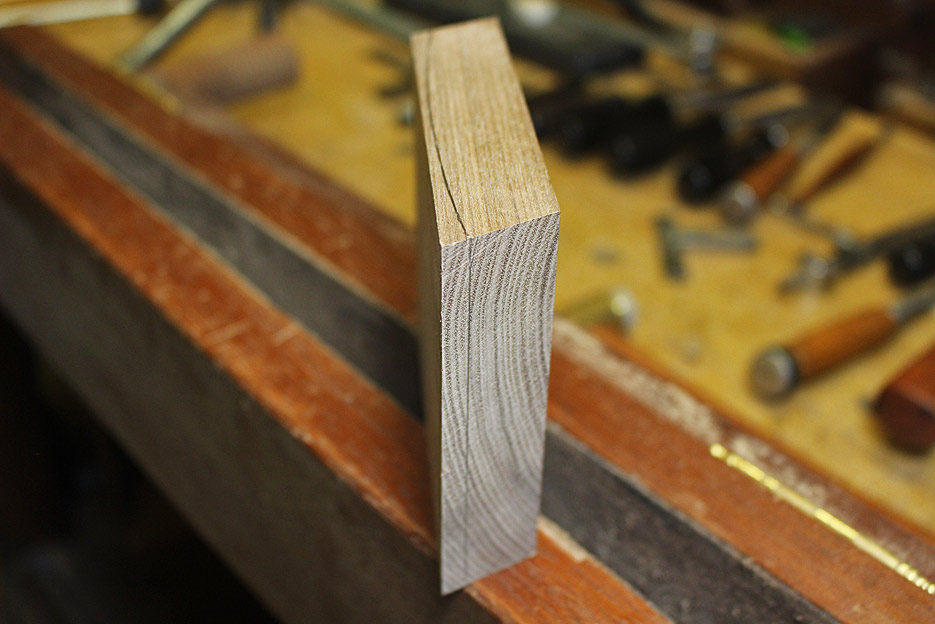
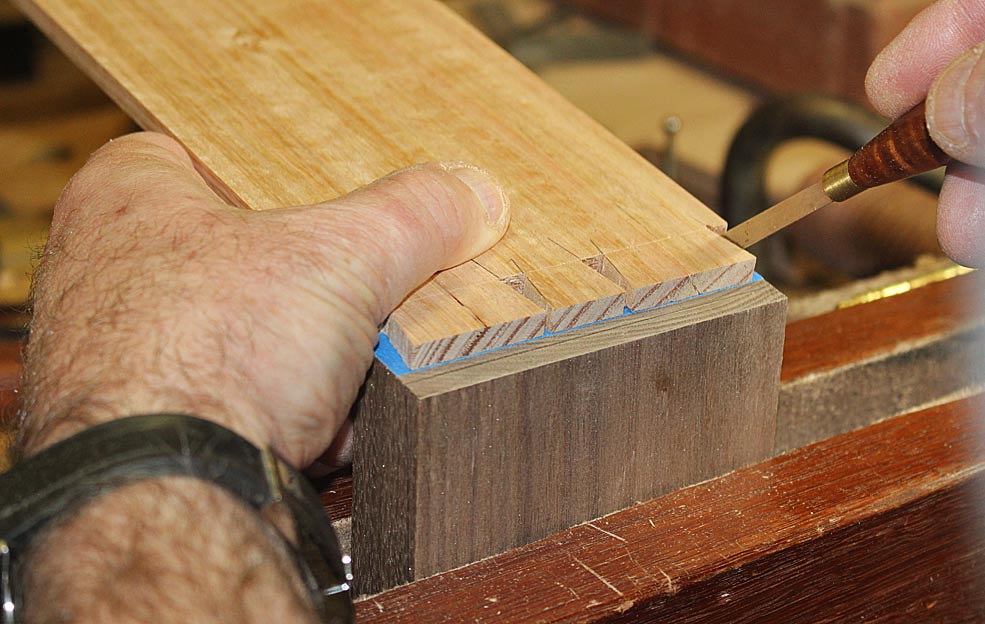
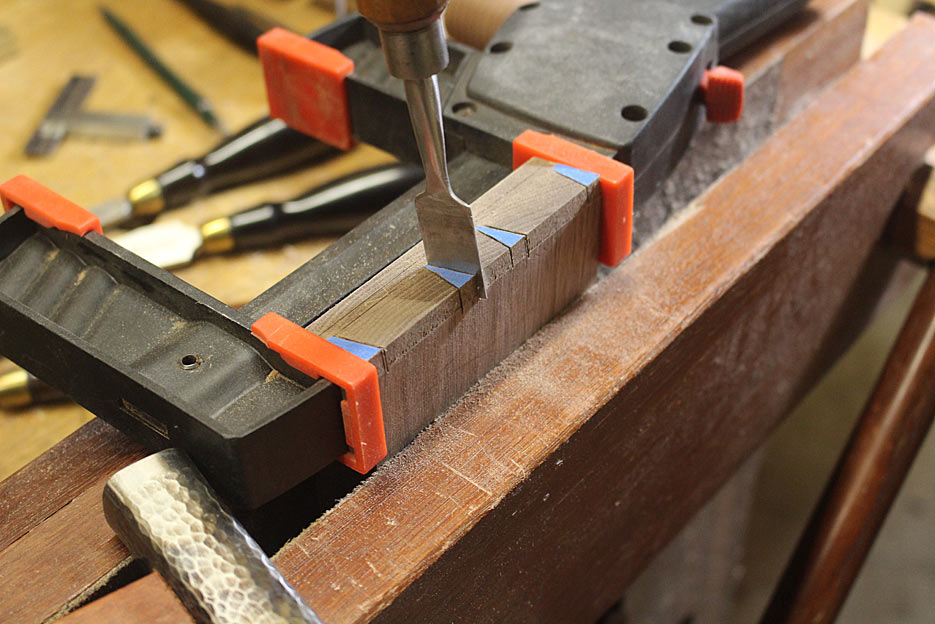
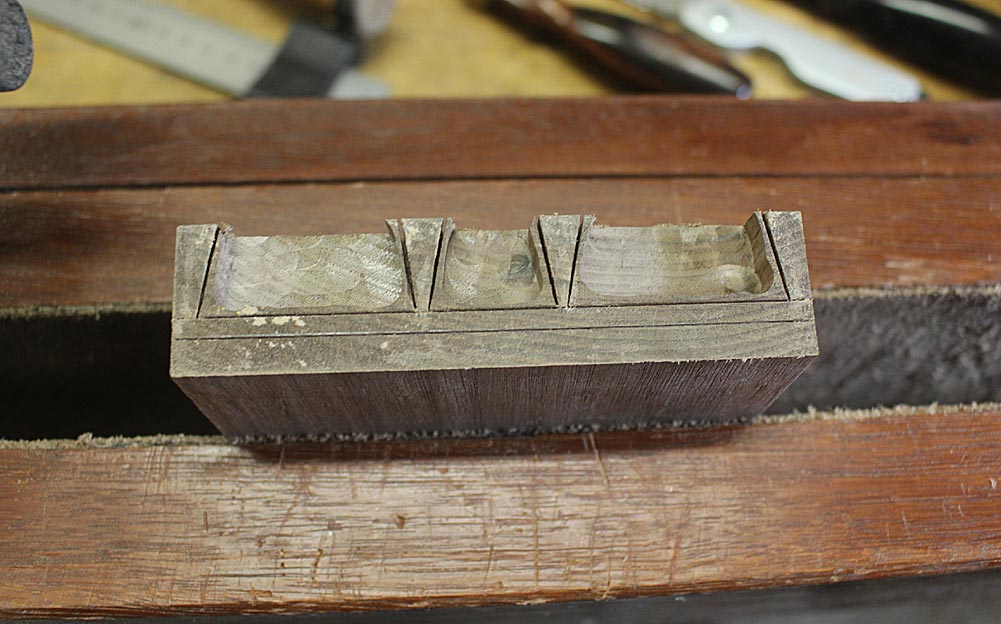
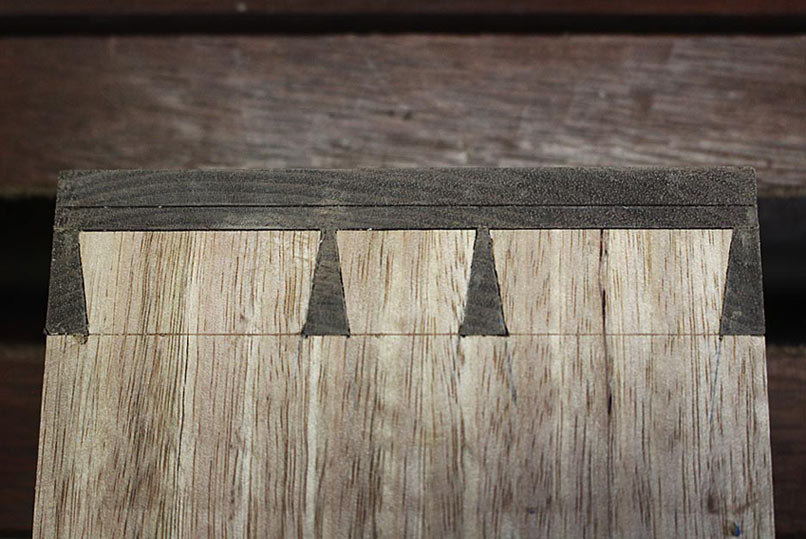
    The kerfs are sawn, and then deepened with a kerfing chisel. Note that the ends of the board are supported by a clamp to prevent splitting ...


    Rather than chop out the waste, I used a trim router to remove move of it. This saved a lot of time ...


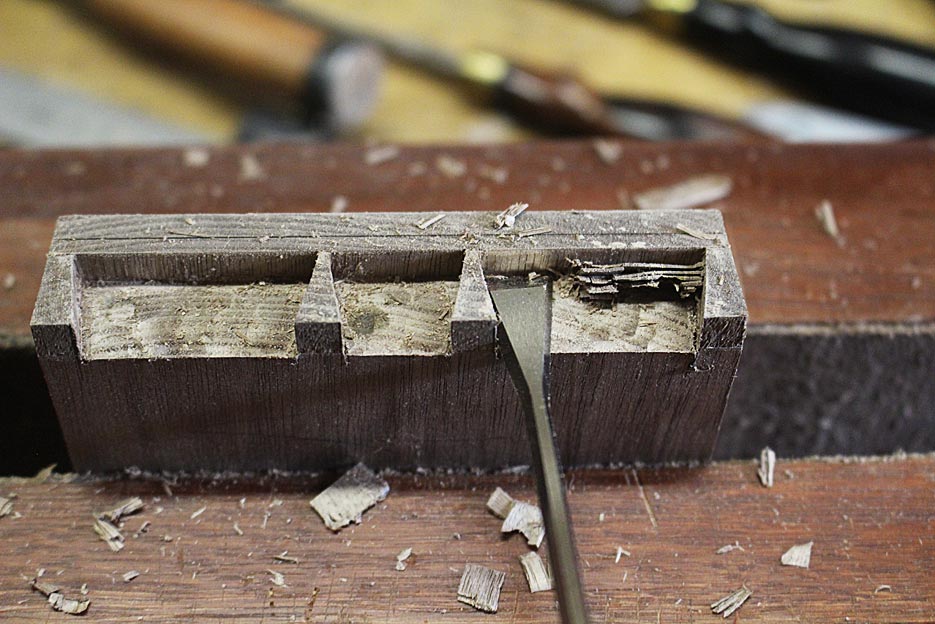
    When removing the remaining waste, I found that the thinner blades of the Blue Spruce "dovetail" chisels worked best to pare away thin slices to the line..


    The Blue Spruce fishtail chisel is my favourite for clearing the corners of sockets ...


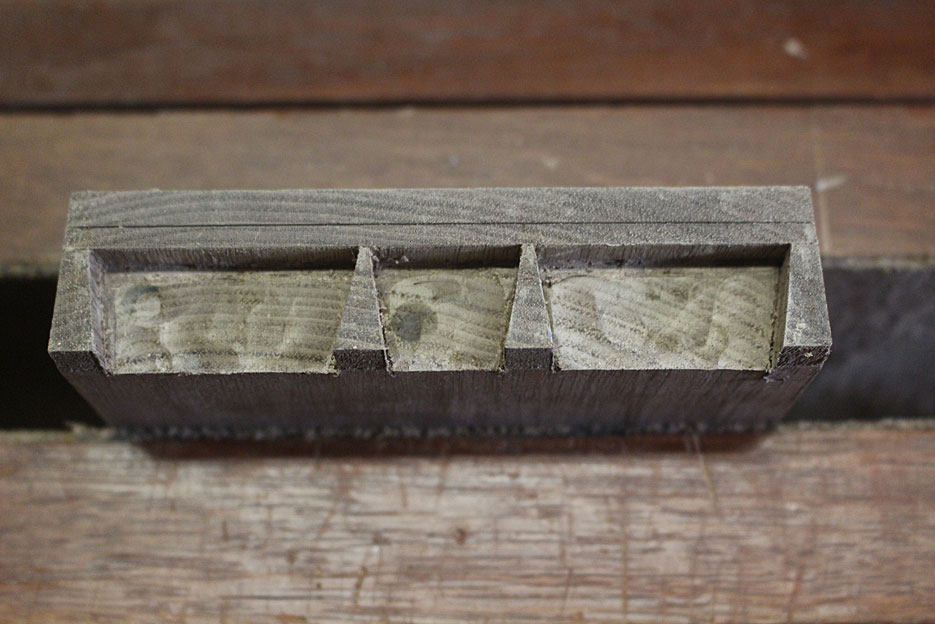
    The completed socket ..


    I counted on the parts going together off the saw, that is, no fine tuning for a fit. There is just not enough time for correcting the fit. This was the last drawer for the weekend. Much the same as the others. Just pushed together - no clean up ...


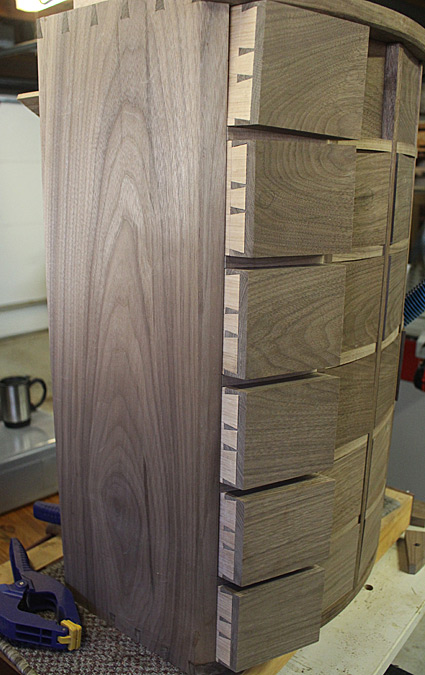
    This was the first row, shown here to get a better view of the design ...


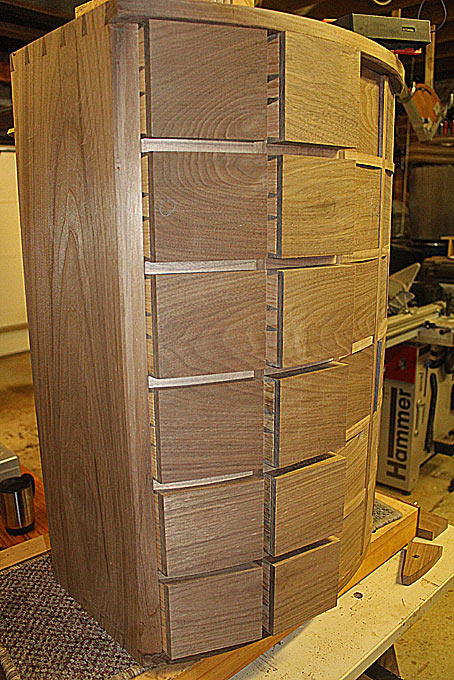
    This is two rows - of drawers dovetailed on one corner only. And these twelve required an average of 1 hour each to complete ...


    The next weekend should see the remaining drawers complete this dovetailed end. I am hoping that I shall find a way to speed the time taken for dovetailing, but I am estimating that it will require a further 3 weekends to complete the drawers.


    Regards from Perth


    Derek
    Last edited by Derek Cohen; 06-19-2018 at 11:26 AM.

  2. #2
    Join Date
    May 2015
    Location
    NJ
    Posts
    1,392
    Derek, pretty awesome stuff. Question: Why are you going so slow? I'm sure you can't 'read' the comedic tone; ie. your pace is pretty fast considering the complexity of the cut and finish off the saw is great so far.
    "The reward of a thing well done is having done it." - Ralph Waldo Emerson

  3. #3
    Join Date
    Feb 2004
    Location
    Perth, Australia
    Posts
    9,492
    Thanks John.

    I should clarify that each hour includes fine tuning the drawer sides for a smooth fit, setting up and clamping the drawer front so that it can be scribed, and marking and bevelling the edge of the drawer front with an edge plane - all this before marking the dovetails on the drawer sides, and following from there ...

    Regards from Perth

    Derek

  4. #4
    Join Date
    May 2015
    Location
    NJ
    Posts
    1,392
    Exactly the reason for my humor, was going over what would need to be done to each drawer in my head.
    "The reward of a thing well done is having done it." - Ralph Waldo Emerson

  5. #5
    Join Date
    Apr 2008
    Location
    Provo, UT
    Posts
    390
    Looking great!

  6. #6
    Join Date
    May 2004
    Location
    N Illinois
    Posts
    4,602
    Great pics...Thank you AND good work!!!!
    Jerry

  7. #7
    Join Date
    Apr 2017
    Location
    Clarks Summit PA
    Posts
    1,744
    Derek, I see two Lie-Nielsen #95 edge trimming planes on your workbench and what looks to be a Veritas #95. I worked with a LN #95 for years, but was frustrated with the 3/4 inch maximum & just picked up the R & L Veritas #95 pair. I have appreciated the extra width ( thickness ) capabilities already

  8. #8
    Join Date
    Mar 2006
    Location
    Austin Texas
    Posts
    1,957
    Clean, clean work Derek. What a nice piece of furniture without any attempt to "jazz" it up somehow with added on moulding, contrasting wood coloration, etc. Just an elegant, well-built, clean looking, functional and beautiful piece. Question - In using your kerfing chisel, do you make a single (full length) chop to depth of the complete kerf or do you make two or three nibbling chops to creep up on the full length of the kerf to be chopped? For some reason, it seems I read somewhere not to attempt to make a single chop, but to make smaller chops for better success. I would like to start using a kerfing chisel of some type on my next project and may end up using a piece of a scraper as the kerf cutter.
    David

  9. #9
    Join Date
    Feb 2004
    Location
    Perth, Australia
    Posts
    9,492
    Thanks for the kind words, David.

    Yes, the kerfing chisel needs to nibble away. Not one chopped stroke. There is a real danger of splitting the board, especially closer to the sides. To prevent this, place a clamp across the ends of the board, and take 3 or even 4 tiny strokes. The outside cut, where the kerf is deepest, can run half the socket. The others are short.

    If you plan to make your own kerfing chisel, ensure that the blade is the same thickness as the saw plate (most scrapers are), and that the end is squared and not bevelled. Any bevel will act like a chisel and encourage the wood to split.

    Regards from Perth

    Derek

  10. #10
    Join Date
    Feb 2004
    Location
    Perth, Australia
    Posts
    9,492
    Quote Originally Posted by Mark Rainey View Post
    Derek, I see two Lie-Nielsen #95 edge trimming planes on your workbench and what looks to be a Veritas #95. I worked with a LN #95 for years, but was frustrated with the 3/4 inch maximum & just picked up the R & L Veritas #95 pair. I have appreciated the extra width ( thickness ) capabilities already
    Mark, I purchased the LN #95 pair many years ago now. Originally I had wanted the Veritas, for the same reason as you found (it is wider). However the Veritas (then) did not come as a right-and left handed set. This is important as the cutting angle is so low. So I came away with the LN, and I have been very happy with them ever since. The other difference between the LN and the Veritas is that the LN uses the original Stanley design, which includes trigger depth adjusters. The Veritas uses a wheel. They both have pros and cons. The trigger is less precise and fiddly. The wheel is less easily accessed than a trigger. Both work exceptionally well.

    Regards from Perth

    Derek

  11. #11
    Join Date
    Nov 2007
    Location
    NW Indiana
    Posts
    3,085
    I enjoy reading your posts and seeing you great hand work. It is amazing and something that I can not do but admire.

    I have to admit I was a bit disillusioned when you brought out and used a power tool. The horrors of this in a Neanderthal thread. What is next....a dovetail router bit? I cringe at the thought.

  12. #12
    Join Date
    Feb 2004
    Location
    Perth, Australia
    Posts
    9,492
    I am sorry to disillusion you, Larry ... although I think that you are teasing - so thanks for the kind words. While I prefer using hand tools - and they are my tool type of choice when it comes to joinery, details and finishing - power tools play an important supportive role. They remove waste and prepare the rough boards with efficiency, saving time and unnecessary effort. There is no romance in and no prizes for doing donkey work.

    In the issue of the socket waste, with 24 drawers, and each of the 48 sides of the drawer fronts at an awkward angle for chopping with a chisel, the trim router makes sense to me. It does not alter the fact that the dovetails are hand sawn.

    Blended woodworking is about the considered use of both power and hand tools. The best woodworkers I know value all their tools.

    Well, that is my opinion ... what do others think?

    Regards from Perth

    Derek
    Last edited by Derek Cohen; 06-21-2018 at 10:35 AM.

  13. #13
    Join Date
    Dec 2008
    Location
    Gibsons British Columbia Canada ( near Vancouver )
    Posts
    693
    Derek:

    Darn it all - some wonderful work there - well done.

    T?he largest project I did had 104 tails - you are going to eclipse that number in two rows of drawers!!

    Personally, I use the ' blended ' approach as well - my time is precious and using machines is a way to decrease the time into a project.

    The bandsaw is a great tool to cut time ( pun intended ) - ripping boards for example, but there is so much satisfaction when using hand tools, where they give superior results and a real sense of accomplishment.

    Keep up the good work.

    Dave B

  14. #14
    Derek,

    The photo of the bench brought a smile, except for your bench being prettier than mine, it could have been a photo of my bench on any mid project.

    ken

  15. #15
    Join Date
    Jun 2018
    Location
    Moscow, Russia
    Posts
    49
    Just WOW! Amazing work, thank you for sharing!

Posting Permissions

  • You may not post new threads
  • You may not post replies
  • You may not post attachments
  • You may not edit your posts
  •