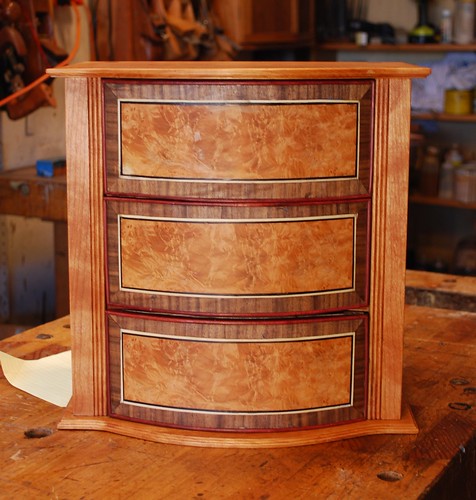
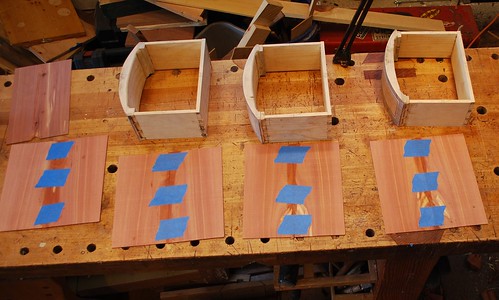
As part of my continuing effort to use up lumber scraps in the shop prior to the “post empty nest” move to a smaller place, I’m building this 12” tall x 12” wide x 9” deep little, 3 drawer chest – might be good as a jewelry cabinet or something.
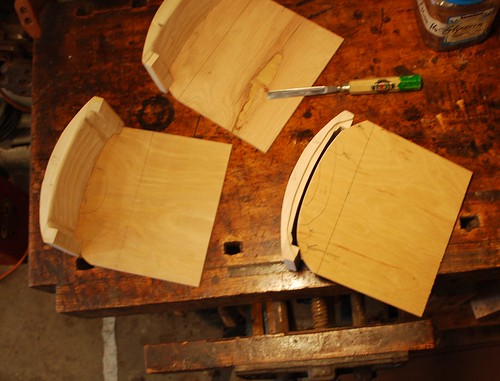
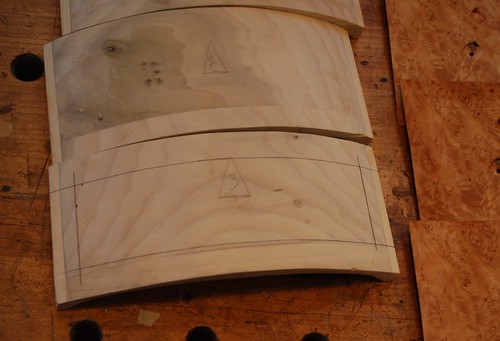
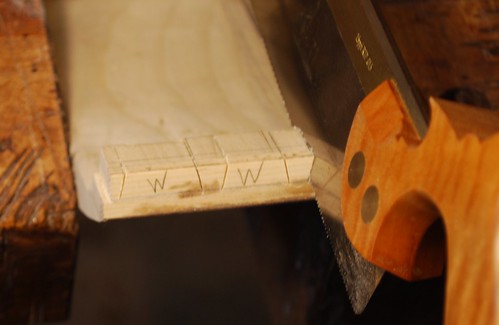
It’s basic frame and panel construction. Here are the 4 vertical posts that will frame the carcass. I went full “belt and suspenders” here – both the triangle Mark and abbreviations to identify their location in the layout. When I’m looking at ¼ of a triangle on the top of the post, I regularly have a hard time picturing where it belongs in space (oh yeah, for sure I have fouled this up multiple times in the past), hence my need to add the letter abbreviations. (Sorry, this pic didn't make it to the post).
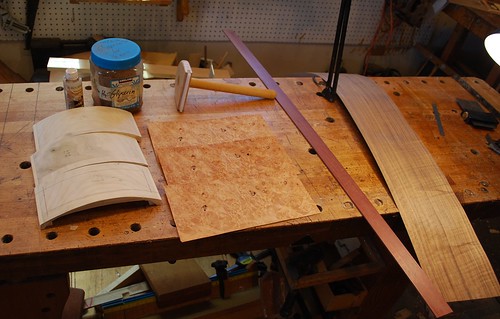
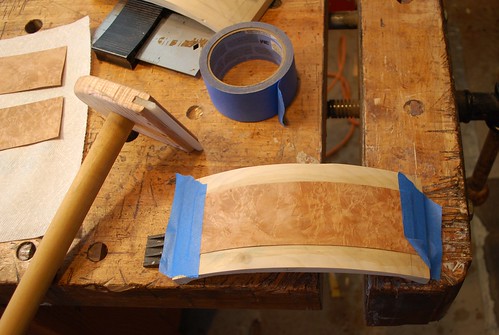
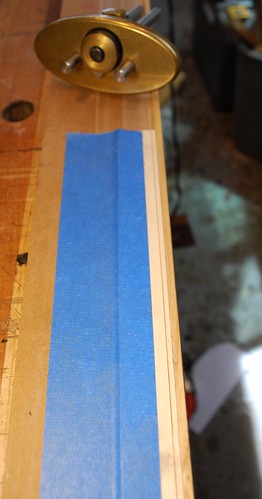
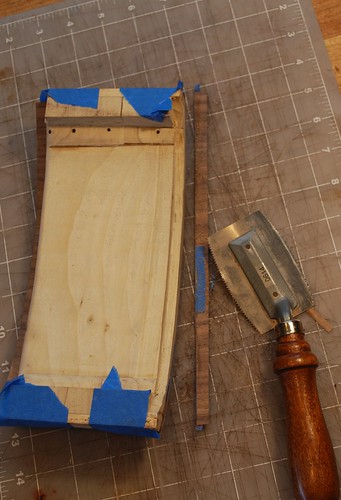
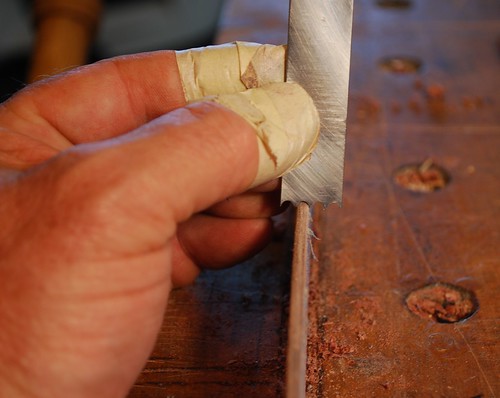
I use an old Stanley scraper (with LV blades) to create vertical beads on the post. This is one of my favorite tools as it’s virtually impossible to achieve a bad result.
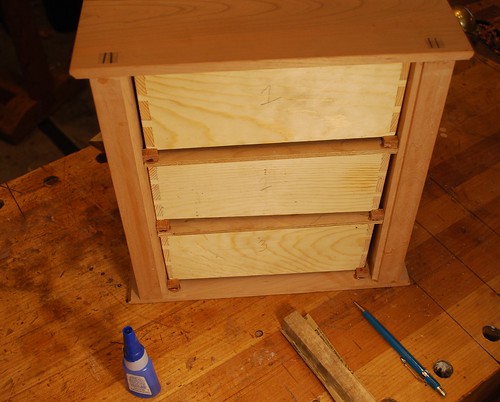
3 by Mike Allen, on Flickr
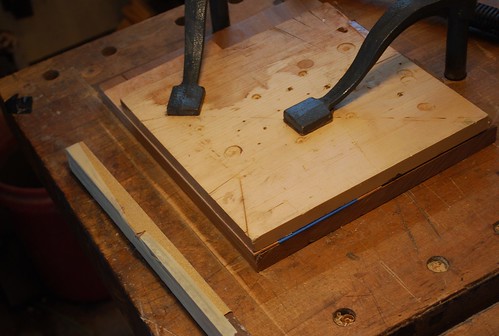
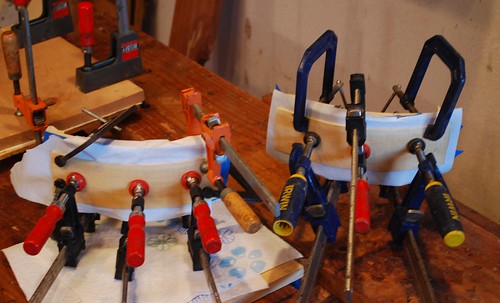
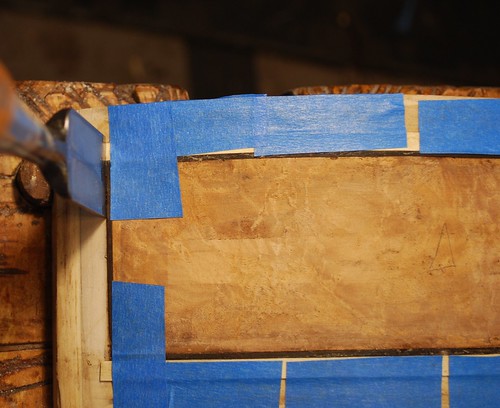
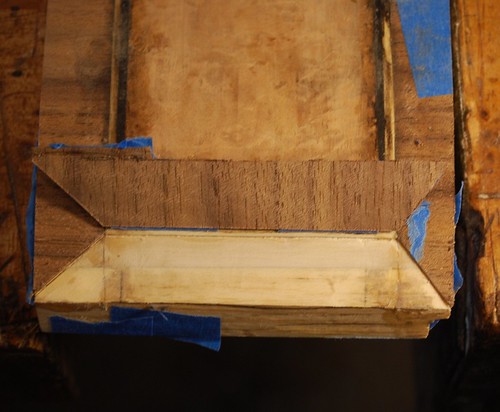
Here is drilling out the waste in through mortises in the top and bottom of the carcass to accommodate the through, wedged tennons of the vertical posts. I really want to have clean margins on the holes with no chip out/spelching that often occurs on the backside of drilling large holes. The brace and auger bit are great for this job because you can feel when the lead screw breaks through the Far Side and then reverse the work piece to drill the remainder of the whole from the other side, creating a clean margin on both sides.
4 by Mike Allen, on Flickr
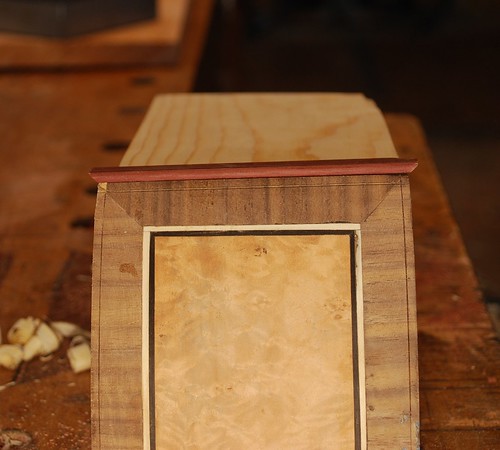
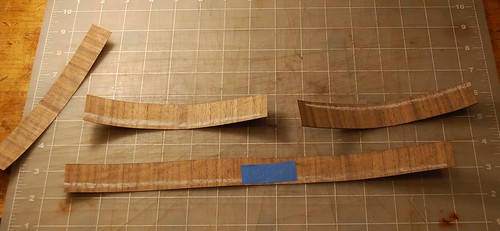
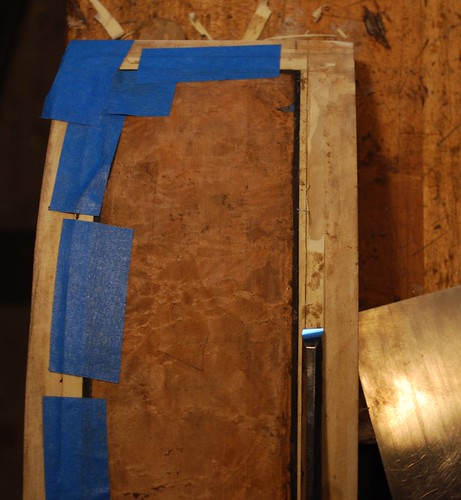
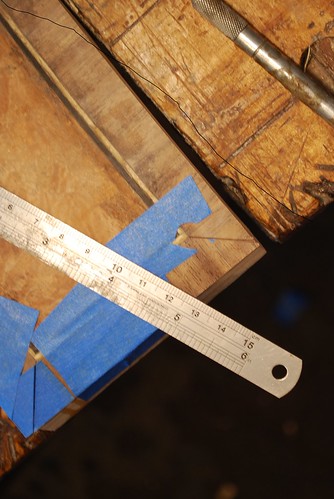
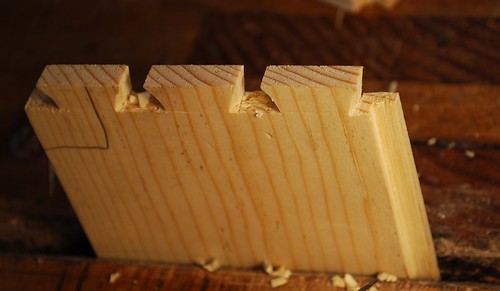
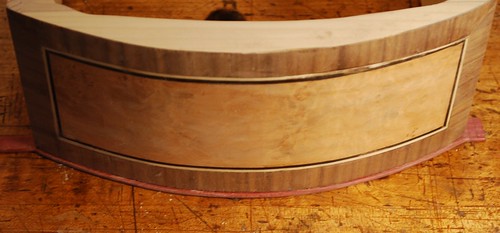
Here’s a couple pictures of the through, wedged M &T’s:
6 (2) by Mike Allen, on Flickr
8.5 by Mike Allen, on Flickr
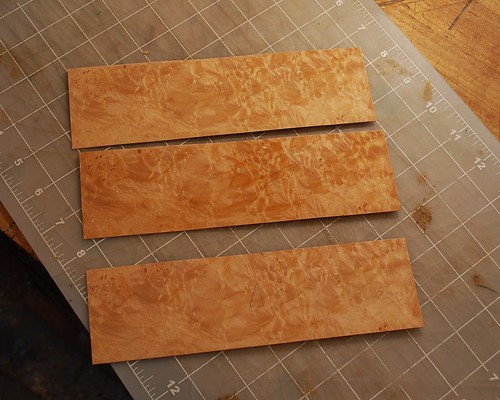
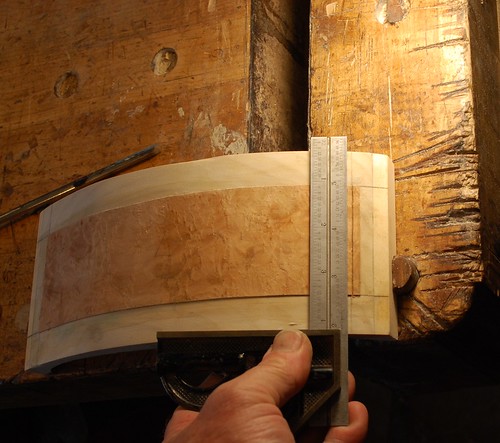
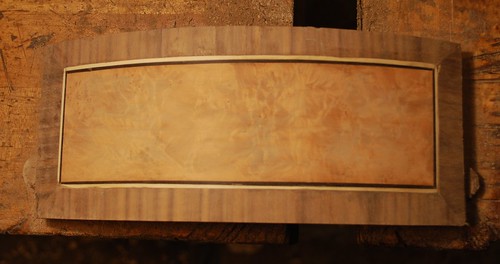
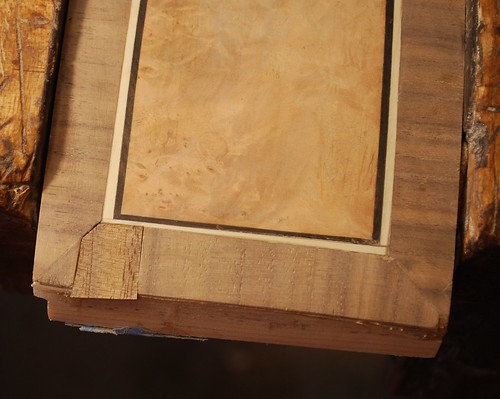
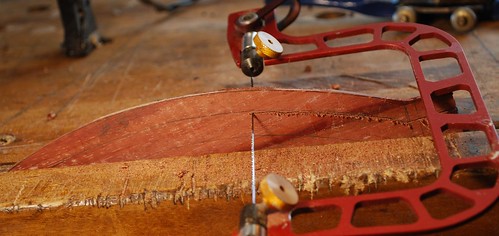
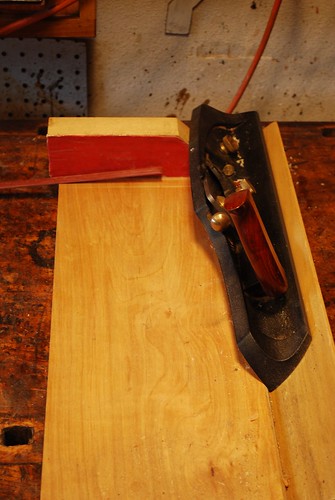
I made raised panels for the frame and panel construction of the sides of the carcass. I didn’t take any pictures (my bad). IMHO making clean raised panels is a fundamental skill – one that has taken me a long time to learn how to execute effectively. A fenced rabbit plane with super sharp blade and cross grain knicker precisely aligned to the edge of the blade make things a lot easier. I also rely heavily on card scrapers, sanding blocks etc. to try and get the depth of the reveal and the corner miters where I want them. FWIW, my best suggestion regarding frame and panel construction is go the extra mile to get the dimensions of the panel (e.g. height, width and importantly thickness at the edges) spot on. The alternative is dry fitting the panel and finding you have to plane off so much of the edge of the panel to fit in the frame that the raised field is no longer centered/uniform.
7 by Mike Allen, on Flickr

 Reply With Quote
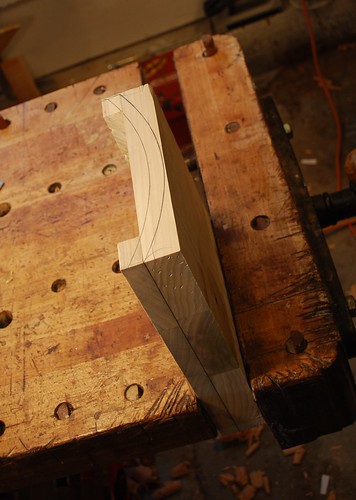


 [/url]
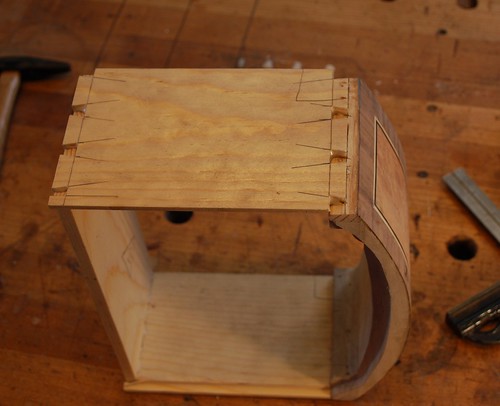

 [/url]