Results 1 to 9 of 9

Thread: Apothecary chest - part two

  1. #1
    Join Date
    Feb 2004
    Location
    Perth, Australia
    Posts
    9,494

    Apothecary chest - part two

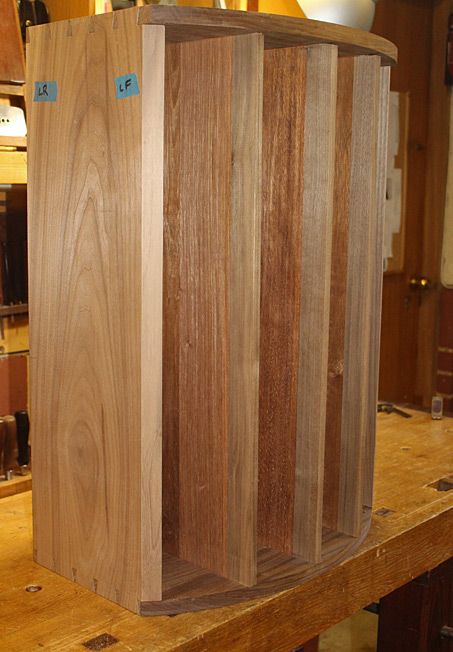
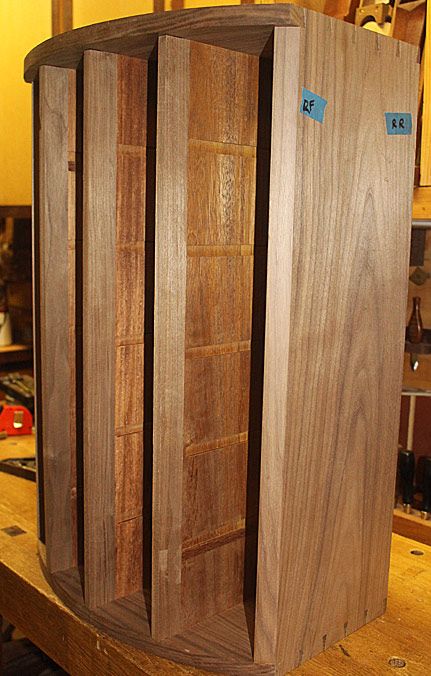
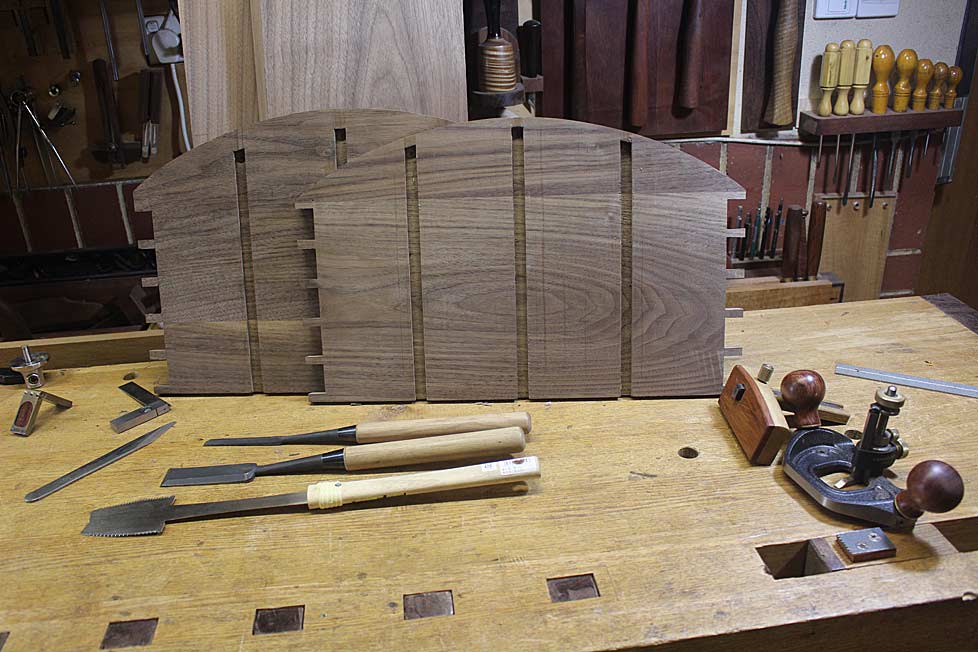
    Wednesday was Anzac Day, a public holiday in Australia and New Zealand, and I had a few hours in the workshop to move along with the vertical partitions or dividers.


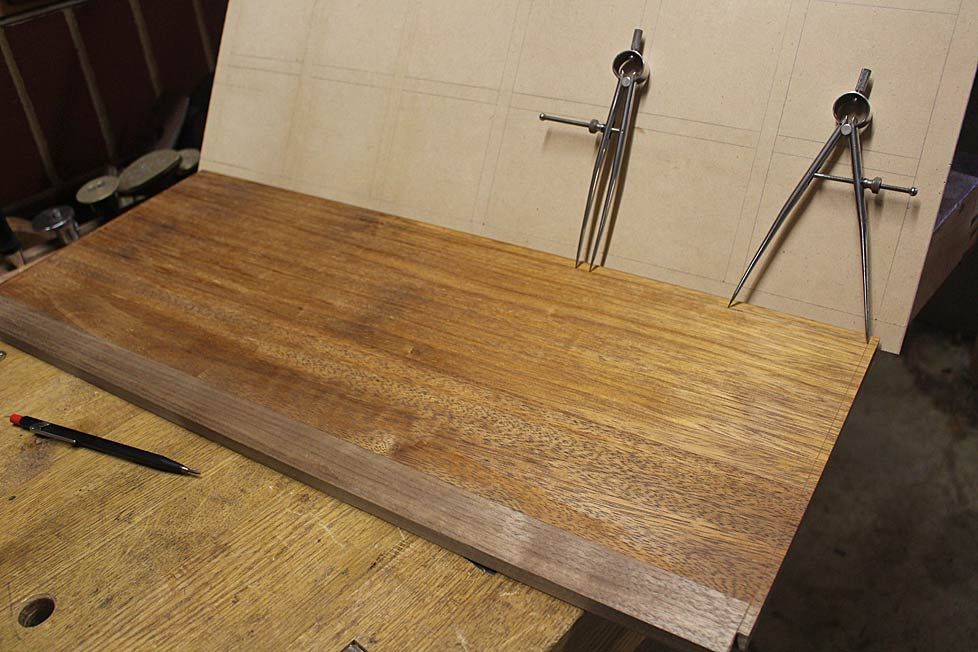
    The panels had been thicknessed a little oversize. They need to be brought down to their final thickness of 12mm.


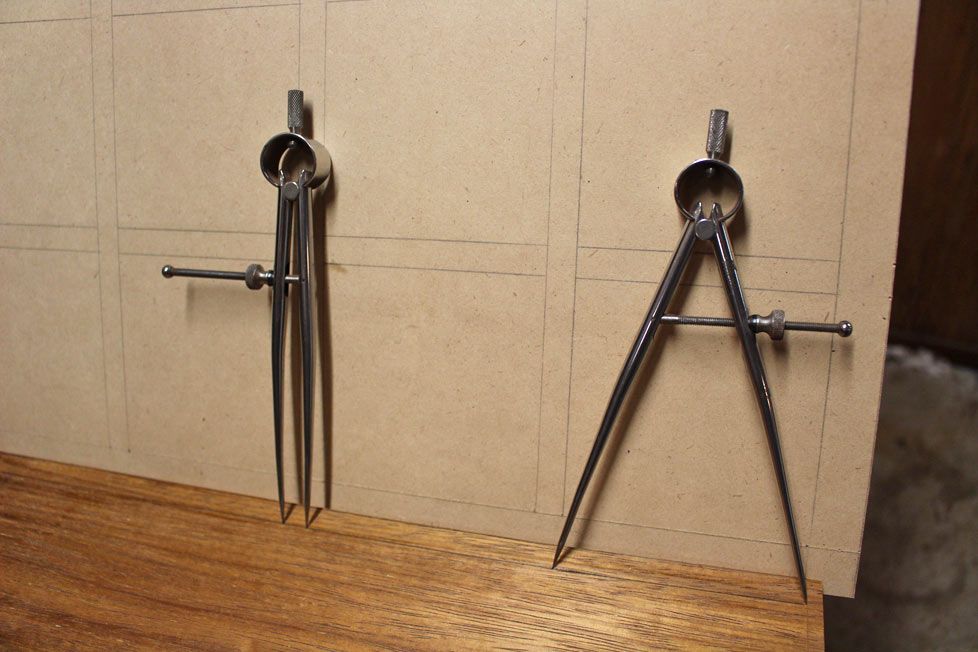
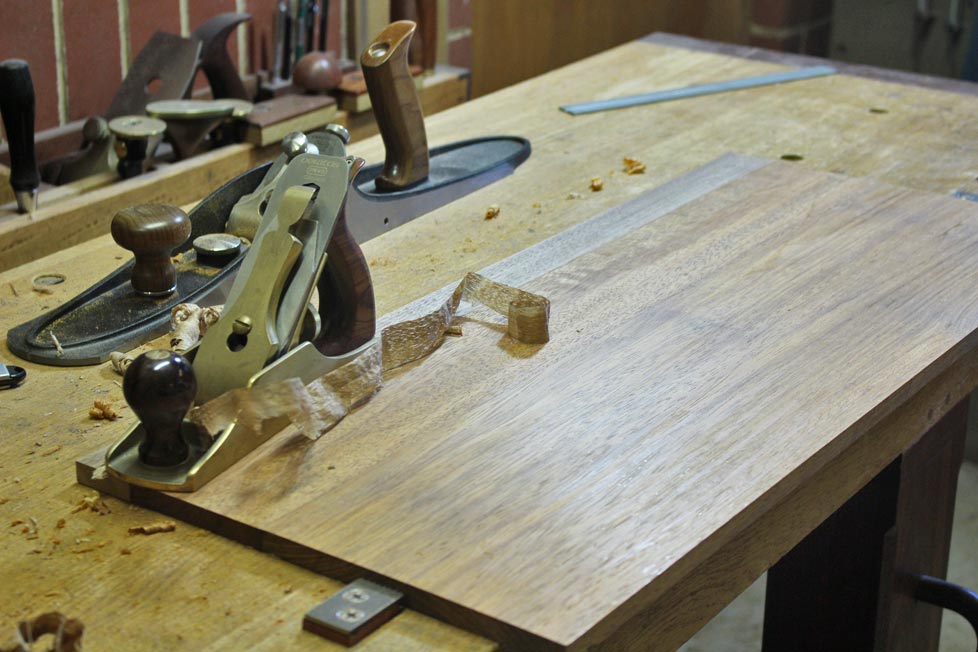
    The panels need to be flat. The high spots are marked ...


    ... and planed away ....


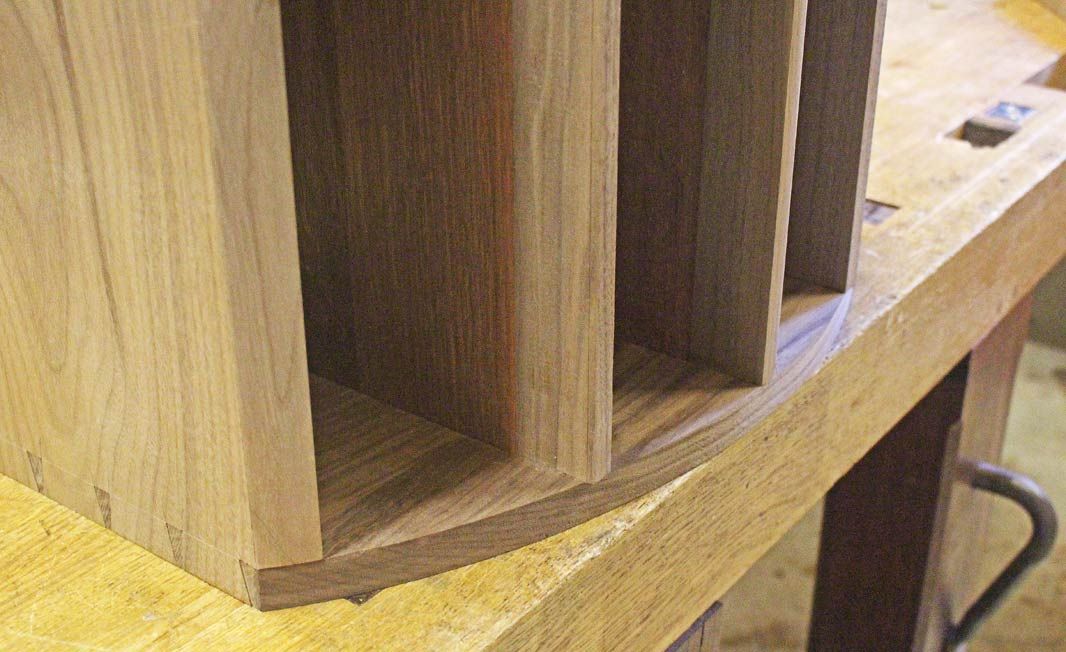
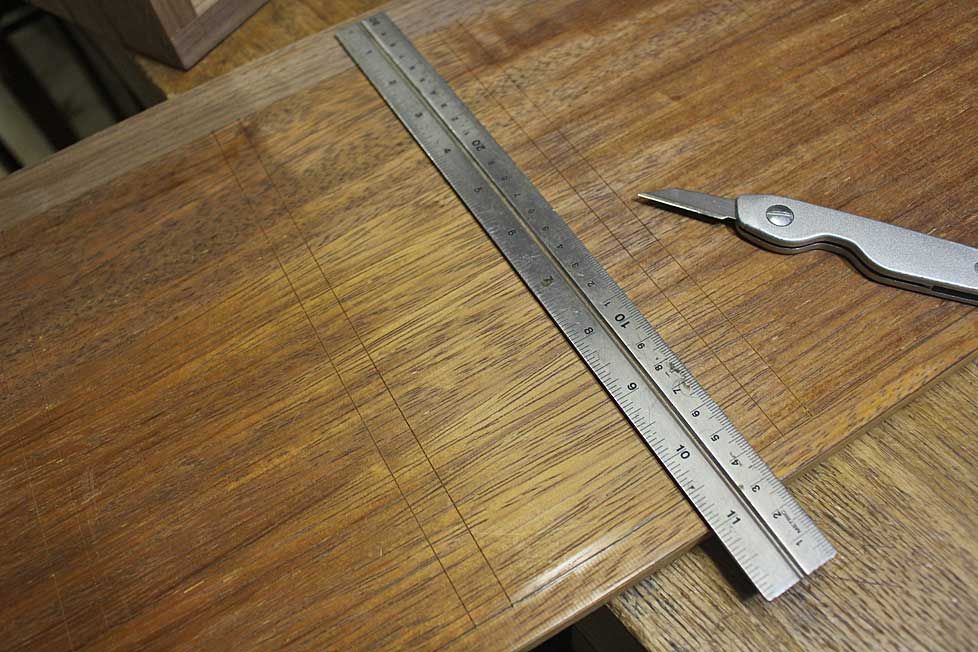
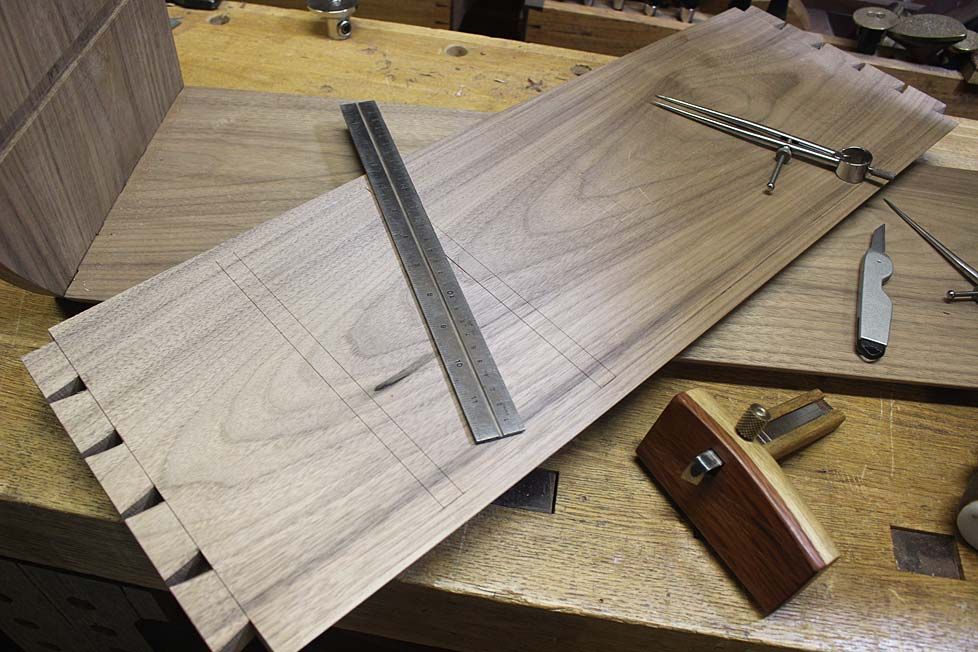
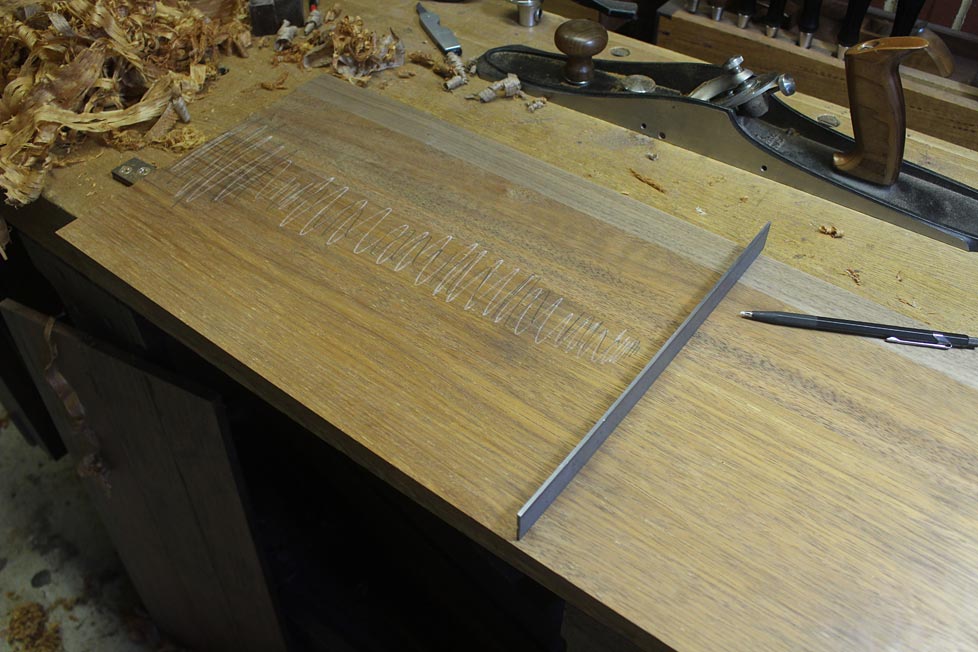
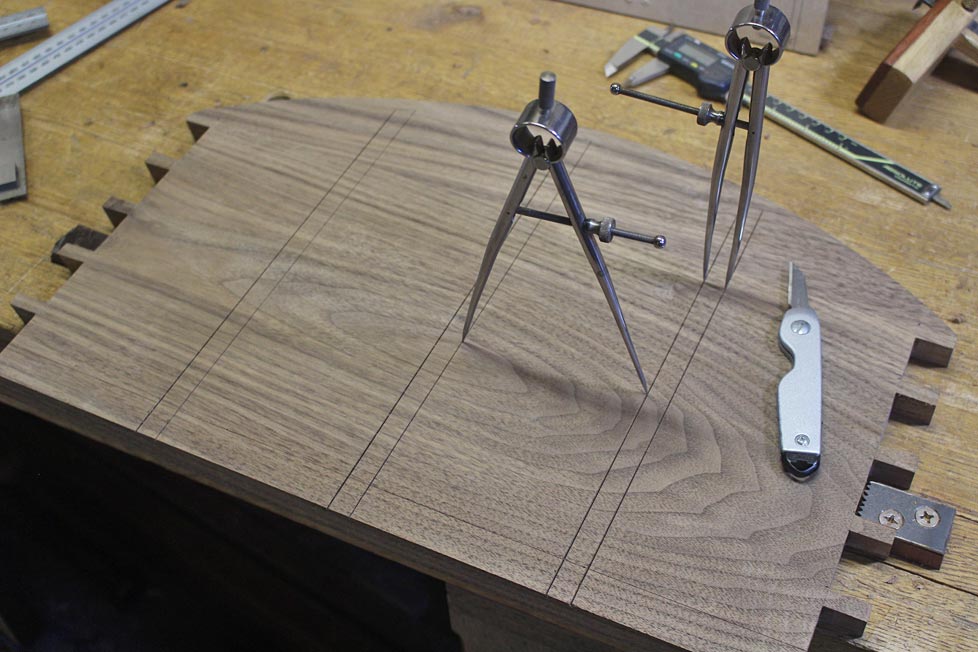
    The base and the top of the cabinet is marked out for the stopped dados.


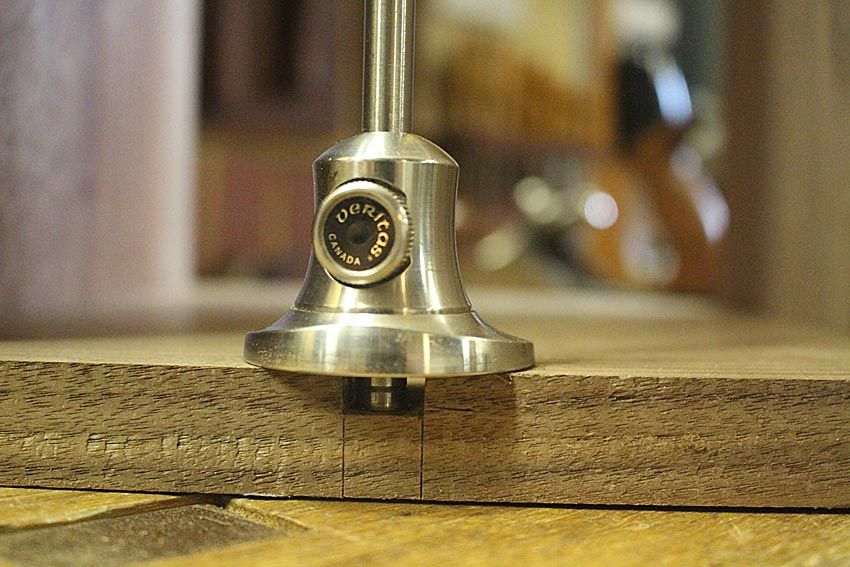
    The dados end 10mm from the lower edge. The upper section has a 12mm overhang to take into account. The ends are marked ..


    ... and then drilled to a depth of 6mm, which is the depth of each dado.


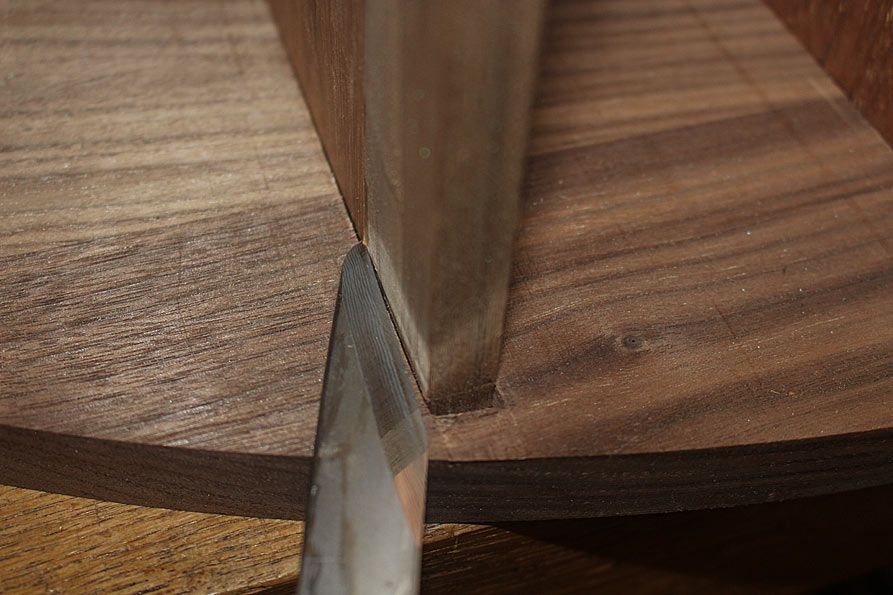
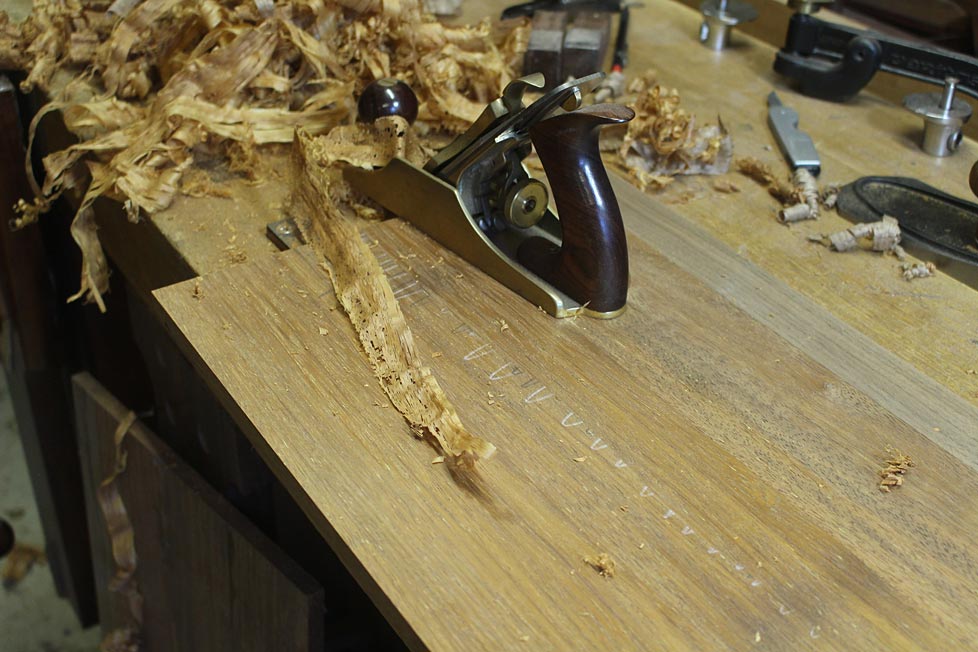
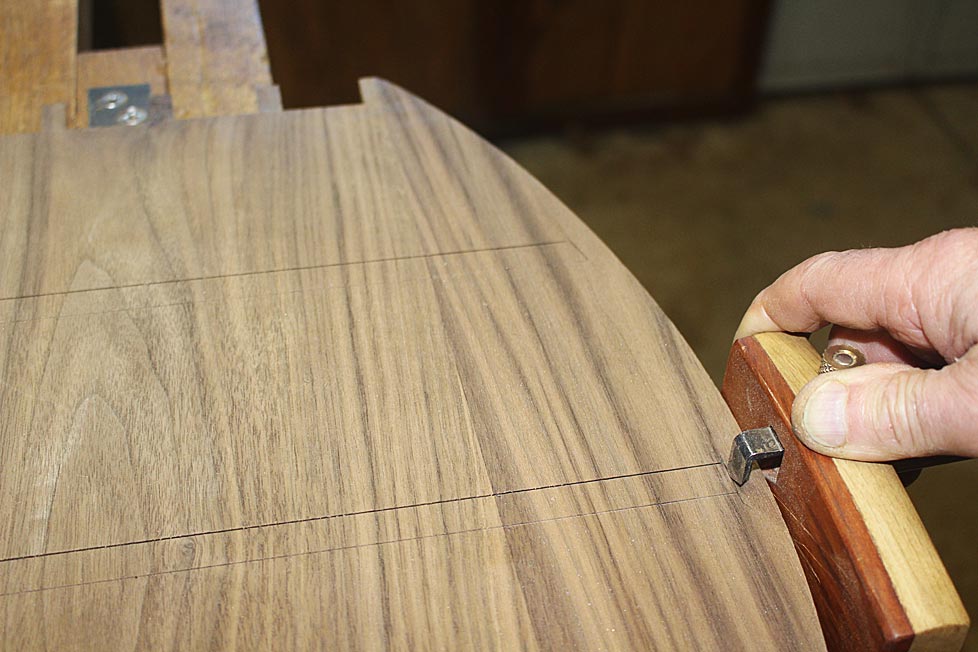
    The sides of the dado are scored deeply with a knife, and a chisel wall is made along the length. This is to guide a saw cut.


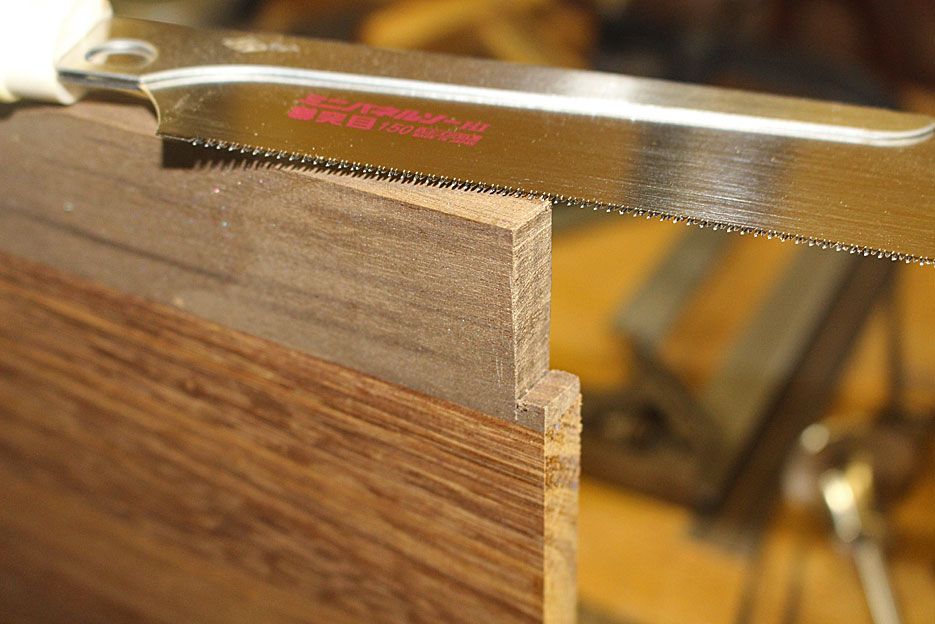
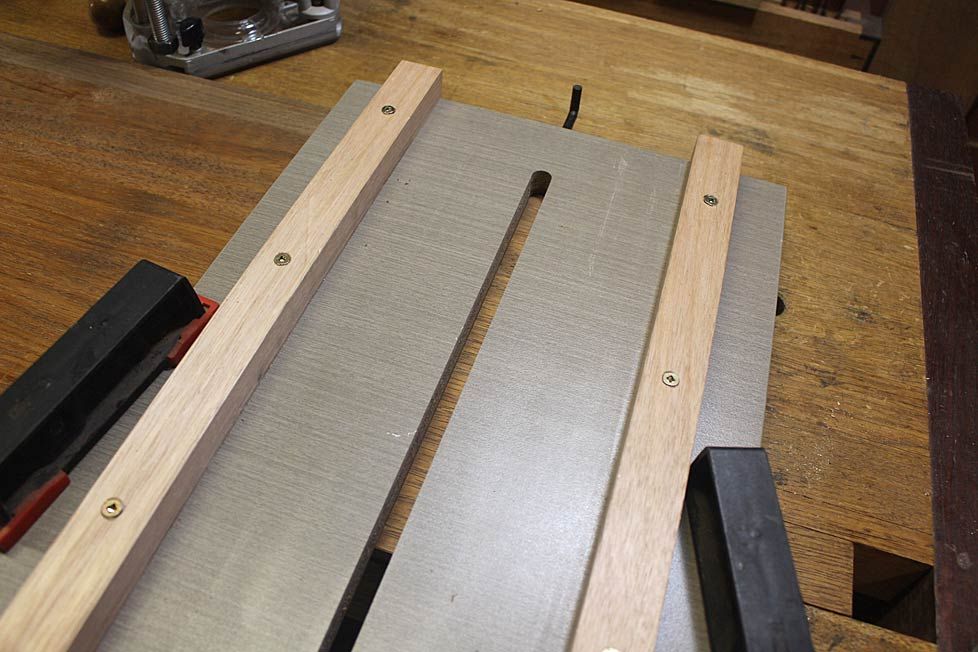
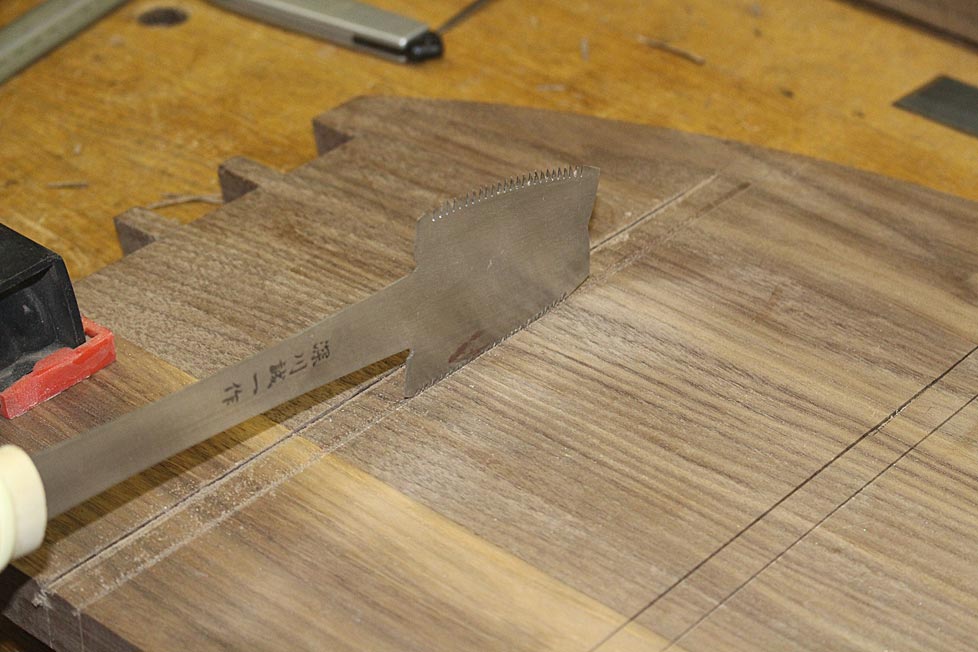
    The kerf is created with an azebiki saw. This is the traditional Japanese saw for cutting sliding dovetail joints, trenches and slots for sliding Shoji screens.


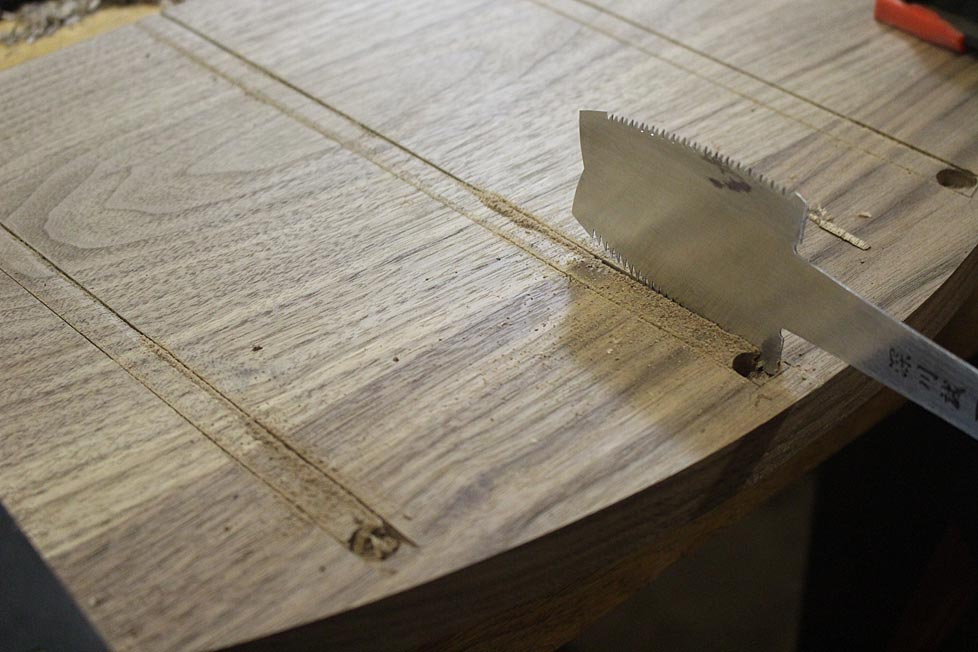
    The panel is flipped around, and the kerf is deepened so that it runs the full length ...


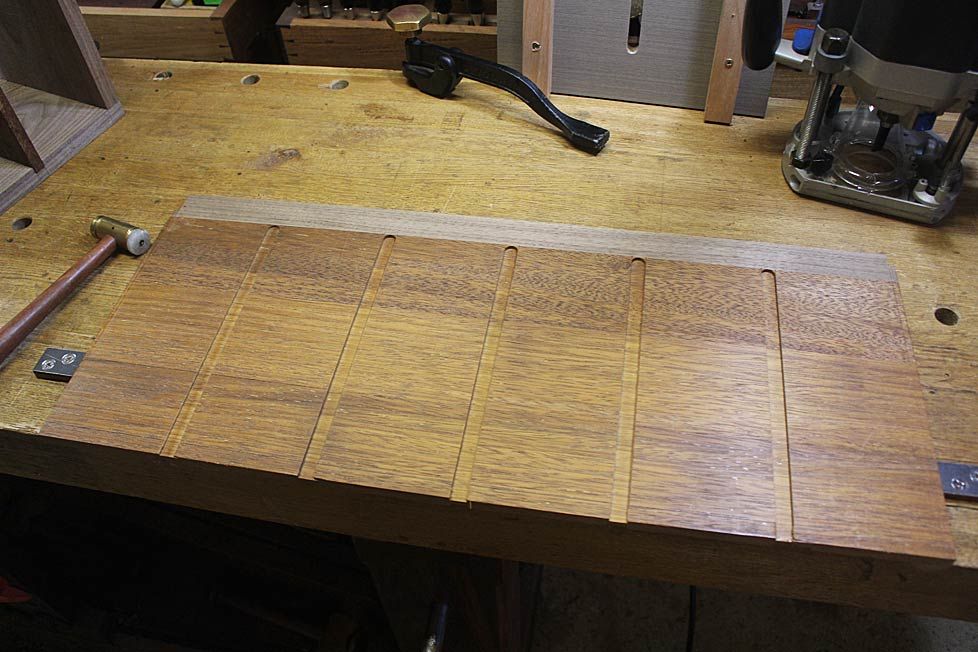
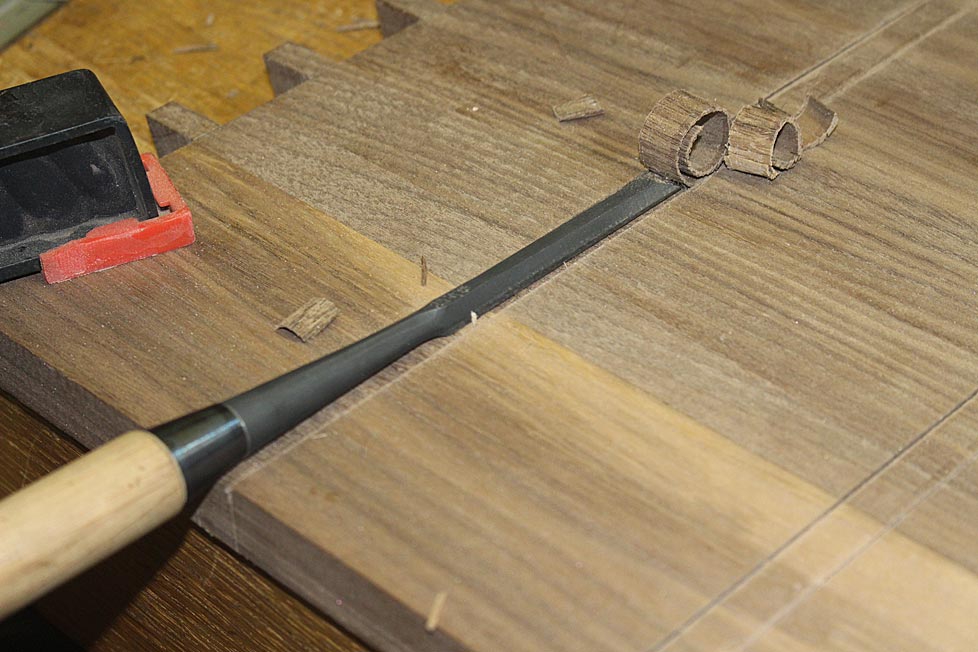
    Now zip out the upper layers of waste with a slick or paring chisel ...


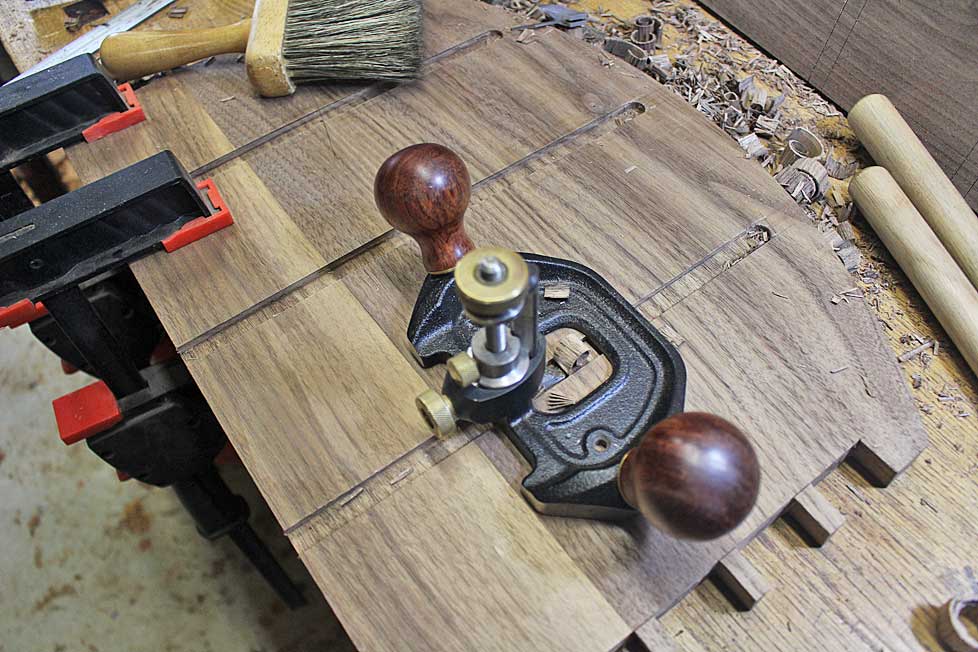
    Remove the remainder to depth with a router plane ...
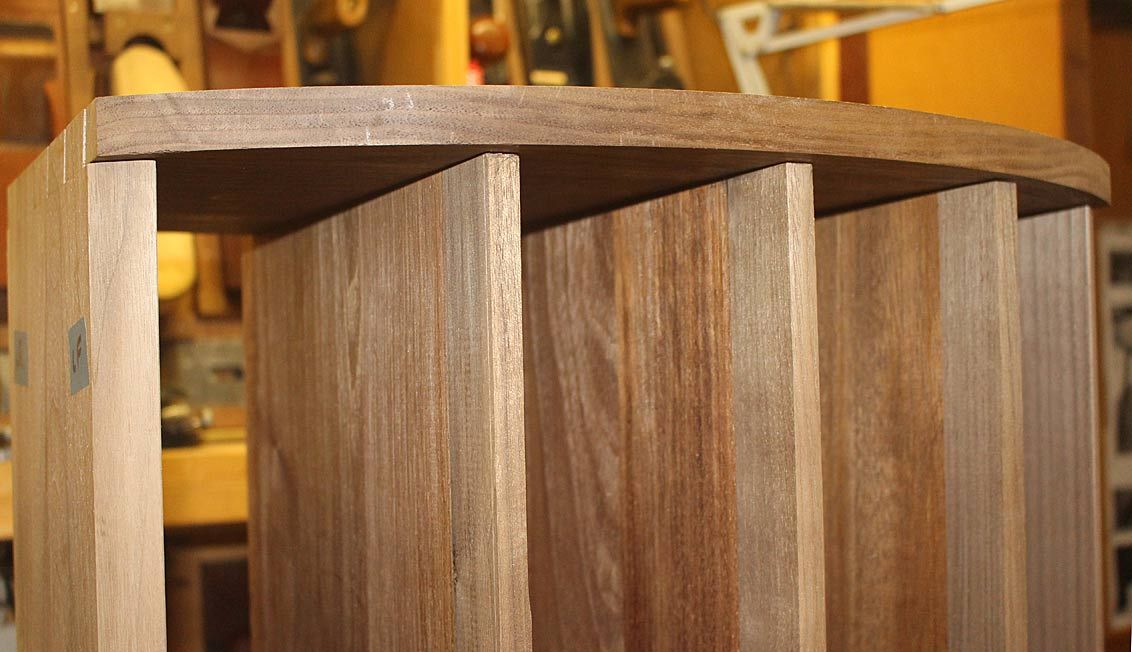


    And we are done ...


    More after the weekend.


    Regards from Perth


    Derek

  2. #2
    Join Date
    Jun 2016
    Location
    Houston
    Posts
    246
    Great post, and nice work! Keep the progress photos coming.

  3. #3
    Join Date
    Apr 2017
    Location
    Clarks Summit PA
    Posts
    1,745
    Very nice Derek! Those dado side walls look really clean - did you use a specialty plane to trim them up?

  4. #4
    Join Date
    Feb 2011
    Location
    Carlsbad, CA
    Posts
    2,230
    Blog Entries
    2
    Derek,


    I really enjoying this build thread and am eagerly looking forward to your continued progress!


    I love the design – particularly the curved front and the vertical dividers running unbroken from top to bottom. Can't wait to see how you managed the curved drawer fronts, whatever you come up with for a base, and, well err .. pre-much every thing else .


    Note to self: get more dividers; more dividers= less math= fewer layout mistakes.
    PS: oh yeah forgot to ask – when making cross grain, stopped dadoes do you find the azebiki saw it does a better job of following the knife line than a traditional Western back saw?


    Cheers, Mike
    Last edited by Mike Allen1010; 04-26-2018 at 5:51 PM.

  5. #5
    Join Date
    Feb 2004
    Location
    Perth, Australia
    Posts
    9,494
    Quote Originally Posted by Mark Rainey View Post
    Very nice Derek! Those dado side walls look really clean - did you use a specialty plane to trim them up?
    Hi Mark

    The clean walls are from the saw. One other point, some may use a guide to saw against. Here, the saw blade lies against the chisel fence, and I automatically cut to vertical with muscle memory. There is no guide involved.

    Regards from Perth

    Derek

  6. #6
    Join Date
    Feb 2004
    Location
    Perth, Australia
    Posts
    9,494
    Quote Originally Posted by Mike Allen1010 View Post
    ...
    PS: oh yeah forgot to ask – when making cross grain, stopped dadoes do you find the azebiki saw it does a better job of following the knife line than a traditional Western back saw?


    Cheers, Mike
    Hi Mike

    The azebiki has a curved blade. It is also double-side: one side has fine teeth for crosscutting and the other has coarser teeth for ripping. The curved blade permits more registration than a straight blade, which one can only cut at an angle or run along the top of the board - in which case there are too many teeth cutting at once. The curved blade is capable of a more focussed cut. I have a small Western version as well - used for veneers - and it does this task in a similar way, but the teeth are very small, and it takes too much time and effort.

    I am able to start the azebiki saw on the fine, crosscut side. The thin blade fits into the chisel wall and knife line. Once the kerf has been developed, the saw is turned around for the rip side. This cuts fast and tracks straight.

    Regards from Perth

    Derek

  7. #7
    Join Date
    Feb 2004
    Location
    Perth, Australia
    Posts
    9,494
    We left off with a dovetailed carcase, which had been given stopped dados made with a saw, chisel and router plane. The vertical dividers were made, but yet to be installed. Chest on its side ...


    The dividers will be fitted, so ...


    The dividers are slid in, and the section ahead of the stopped dado is marked with a knife ...


    .. or a cutting gauge ...


    .. and then cut away (I prefer a Japanese dozuki for this cut and it is cleaner than off a Western saw) ...


    They need to be flush with the curved lower end of the chest (the sides dividers are yet to be shaped to the curve. That will be done later to avoid damage) ...


    ... while the upper section of the chest has a 12mm overhang ...


    Note that all measurements and marking is done from the lower end of the carcase/dividers. This is the reference end.


    It is now time to add stopped dados to the dividers. The first step is to begin marking their positions. As before, this is completed with dividers ...


    Each drawer is 100x100mm and the drawer blade/divider is 12mm ...


    The dado lines are scored across the divider ...


    The ruler has a non-slip underside made of 400 grit wet-and-dry sandpaper, a tip I got from Andrew Crawford ...


    The insides of the carcase are marked similarly ...


    Finally all the stopped dados are marked. There are 40 in all - 10 in walnut and 30 in merbau. The merbau is an extremely hard and brittle wood. It was chosen as a secondary wood as it was cheap and will stand up to any wear from sliding drawers, unlike a soft wood like pine.


    The dados are 3mm deep (as 12mm wide). With a 12mm thick panel, and 3mm from each side, there will be 6mm remaining. That is sufficient for structural integrity.


    With 40 dados, I decided to use a power router, and built a simple guide ...


    The guide is a one-shot job for a 12mm dado. Just place the slot against the lines made earlier, and run the router until it hits the stop ...


  8. #8
    Join Date
    Feb 2004
    Location
    Perth, Australia
    Posts
    9,494
    This is too easy ...


    ... and I become complacent, and cut against the wrong line! Fortunatley, this is a simple fix and will not be seen ..


    So, at the end of the day the chest is dado-ed to death. The horizontal drawer blades will be fitted next time. This is going to be an interesting time since they will curve to fit at the front.


    Regards from Perth


    Derek

  9. #9
    Join Date
    Aug 2012
    Location
    Missouri
    Posts
    2,152
    Derek, Very interesting piece. Lots of visual effects. You have to wear one of those foil helmets when you use power tools. The electrons get loose affect your mind and make you do bad things.
    Jim

Posting Permissions

  • You may not post new threads
  • You may not post replies
  • You may not post attachments
  • You may not edit your posts
  •