Page 2 of 2 FirstFirst 12
Results 16 to 21 of 21

Thread: End grain blow out on raised pannels

  1. #16
    Join Date
    Jan 2005
    Location
    Milton, GA
    Posts
    3,213
    Blog Entries
    1
    image.jpg238C7252-9750-438B-B44D-B68DBD8B8AF2.jpg

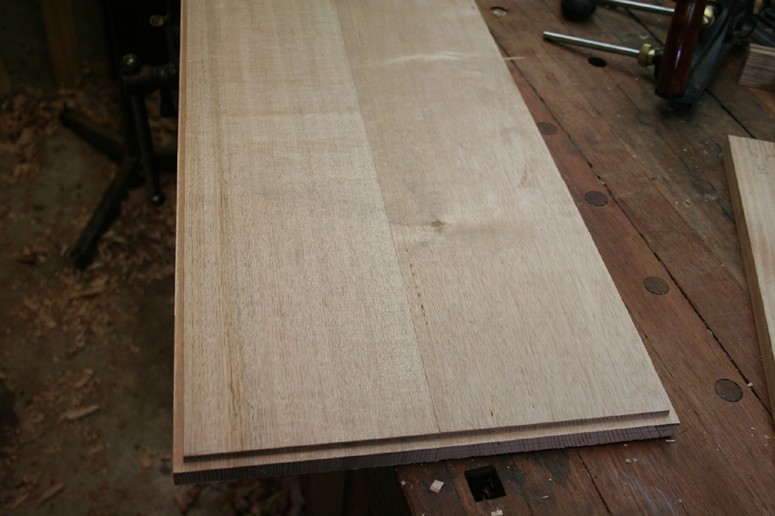
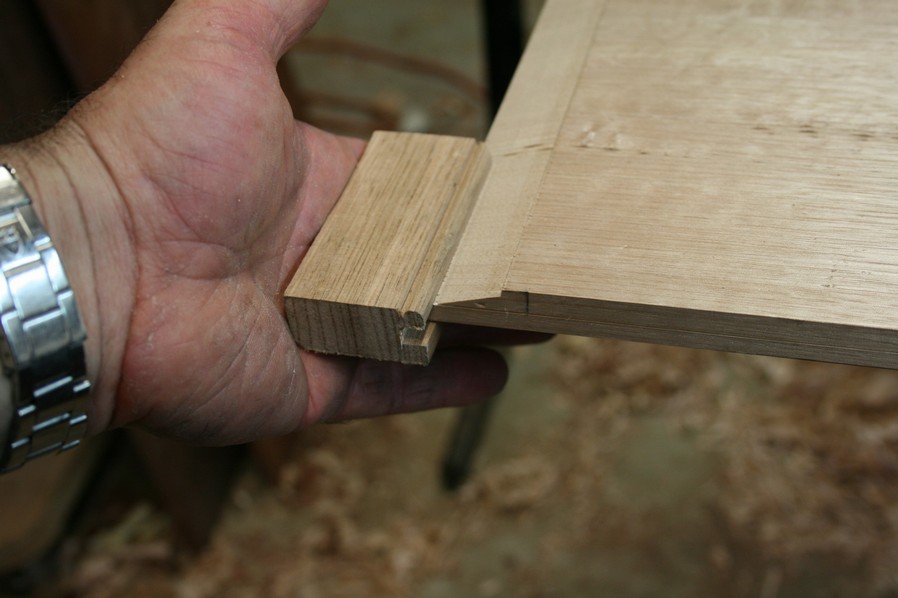
    So for some reason I am now able to post pictures. Maybe the connection here in North Georgia had problems. In retrospect the edge does not look too bad for end grain. The second picture taken early in the project. The first one is current.

    I am wondering if there is a difference between rabbet and rebate, other than a spelling variation. Lee Valley uses rabbet in reference to their planes, which is why I have been using rabbet. My dictioany defines rebate as a rabbet? Maybe there is a unique, to woodworking, definition of rebate? Sometimes there is a British/King’s English original spelling and an American variation/bastardized version.
    Last edited by Mike Holbrook; 03-24-2018 at 7:53 AM.

  2. #17
    Join Date
    Aug 2013
    Location
    Princeton, NJ
    Posts
    7,295
    Blog Entries
    7
    The nicker May be dull, or not protruding enough.
    Bumbling forward into the unknown.

  3. #18
    Join Date
    Jan 2005
    Location
    Milton, GA
    Posts
    3,213
    Blog Entries
    1
    I have tried laying the wheels flat on a stone and abrading the flat side. I have also tried holding the edge against a stone and rotating it as I attempt to abrade the edge. I am certainly open to any other suggestions regarding sharpening these wheels. Sharpening and setting these wheels is not as easy to do as it is to discuss, at least in my experience.

  4. #19
    Join Date
    Aug 2013
    Location
    Princeton, NJ
    Posts
    7,295
    Blog Entries
    7
    Mike, for this kind of work if the nicker is not right on then usually I will scribe with a gauge prior to the first cut. IIRC you have Japanese marking gauges? Set them to the line and scribe first with them before you start. That should help to reduce/eliminate crossgrain tear out. Scribe the thin edge as well and that should reduce blow out, but it's a hard thing to eliminate without some careful planning.
    Bumbling forward into the unknown.

  5. #20
    Join Date
    Aug 2010
    Location
    USA
    Posts
    5,582
    Quote Originally Posted by Derek Cohen View Post
    Mike, just plane the raised panel without a rebate on that side.

    I place the rebate on one side ...


    Add an angled subfence ...


    Raise the panel on the other side. Then continue the taper until it fits the groove ...


    Link: http://www.inthewoodshop.com/Furnitu...ingapanel.html

    Regards from Perth

    Derek
    The problem I see with this approach is that it doesn't account for seasonal changes very well. In the summer you will have a super snug fit with potential for cracking the groove out of the rails or stiles, and in the winter, the panel will be pretty loose.

  6. #21
    Join Date
    Jan 2005
    Location
    Milton, GA
    Posts
    3,213
    Blog Entries
    1
    Yes Brian, I do have a Matsui Japanese marking gauge. I did not have it when I started this project though. I got frustrated trying to mark lines with Veritas wheel gauges and ordered the Masui. The wheels again were probably not as sharp as they might need to be and did not want to stay on a marked line. Certainly the knives on the Matsui are much easier to sharpen, mine seemed to arrive pretty sharp. I had the Matsui out yesterday. I could not figure out how to mark the slanted edges I had on my pannels, which are close to fitting now. I got out my Veritas Medium Shoulder plane this AM. It has been helpful for leveling the tops of rabbets and making final adjustments. The blade adjustments are very good at staying where they are put, which I was having trouble with.

    I may be past the point of marking the edges on this project. I will spend the time to learn the Matsui so I can use it, sharpen the blades....for the next project. The other issue I had with my original knifed lines is they were hard to see. I tried pencilling the marks but the knife lines were not quite straight enough to mark usable lines. This project is turning out to be a good learning experience, which is what I was hoping it would be.
    Last edited by Mike Holbrook; 03-25-2018 at 1:29 PM.

Posting Permissions

  • You may not post new threads
  • You may not post replies
  • You may not post attachments
  • You may not edit your posts
  •