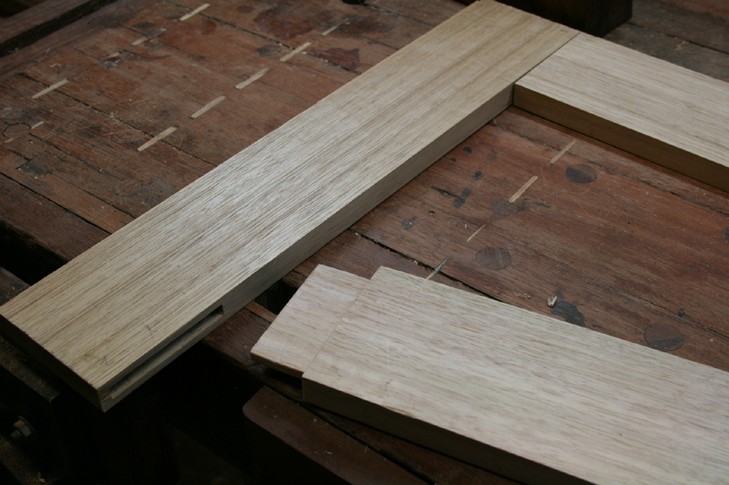
I would like to do drawbored mortise and tenon joints on a garden bench. This will be my first try.
Is this something I need to practice, or will it suffice to read 10 articles and watch 10 YouTube videos about 5 times each.
The joints are looking good, and i just dont want to mess them up.

 Reply With Quote