


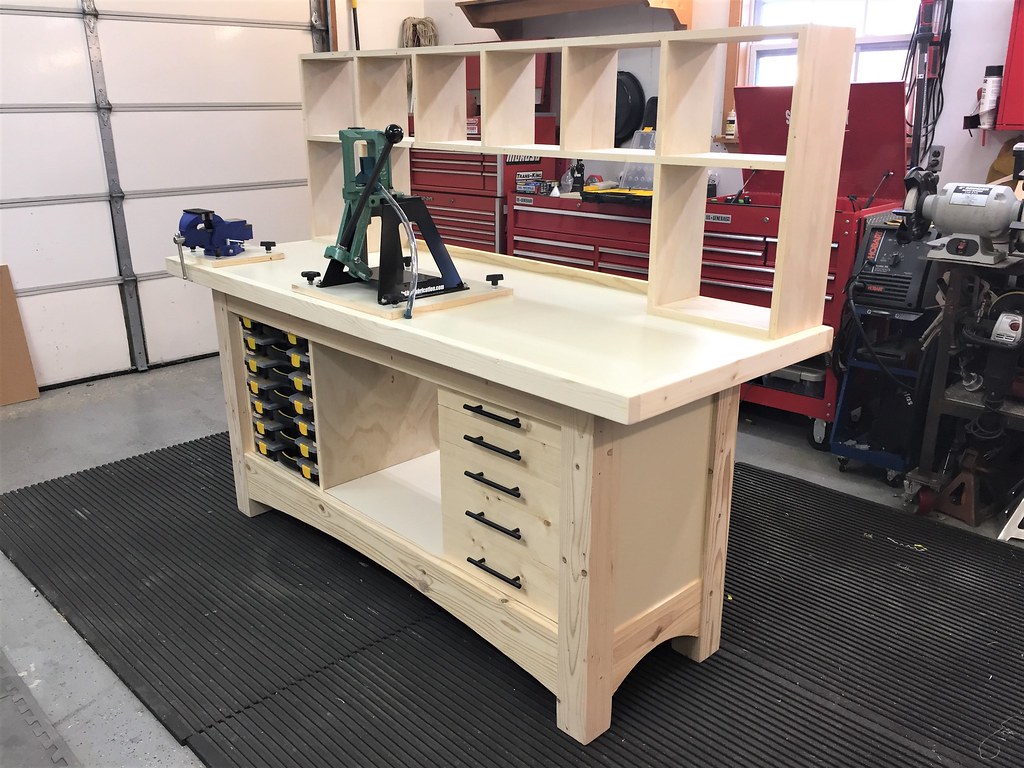
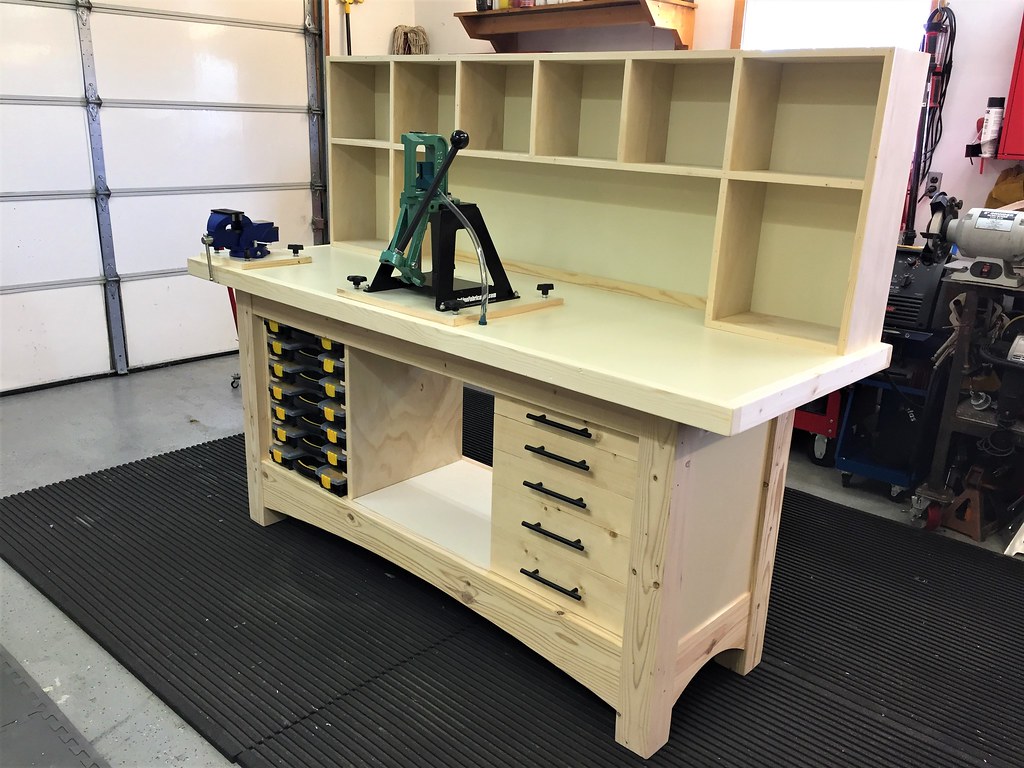
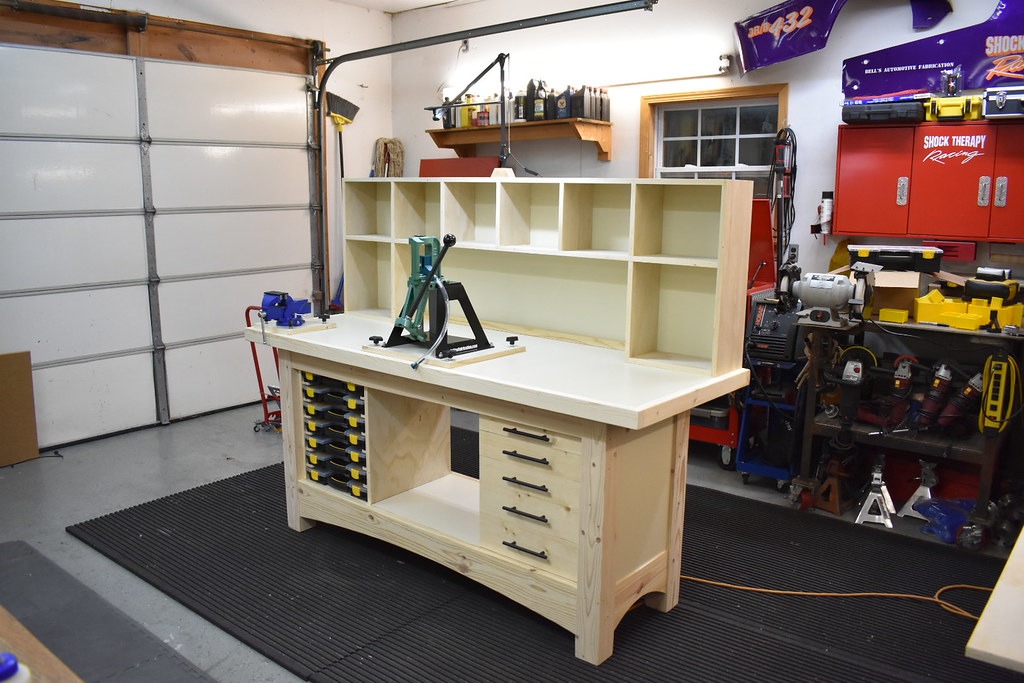
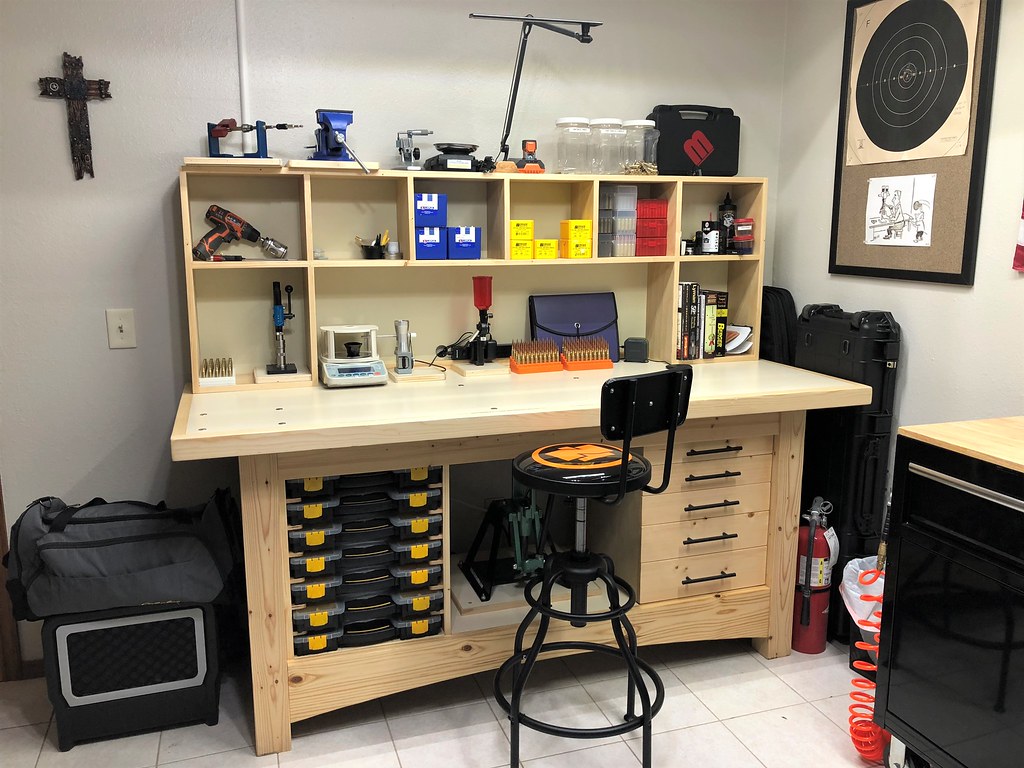
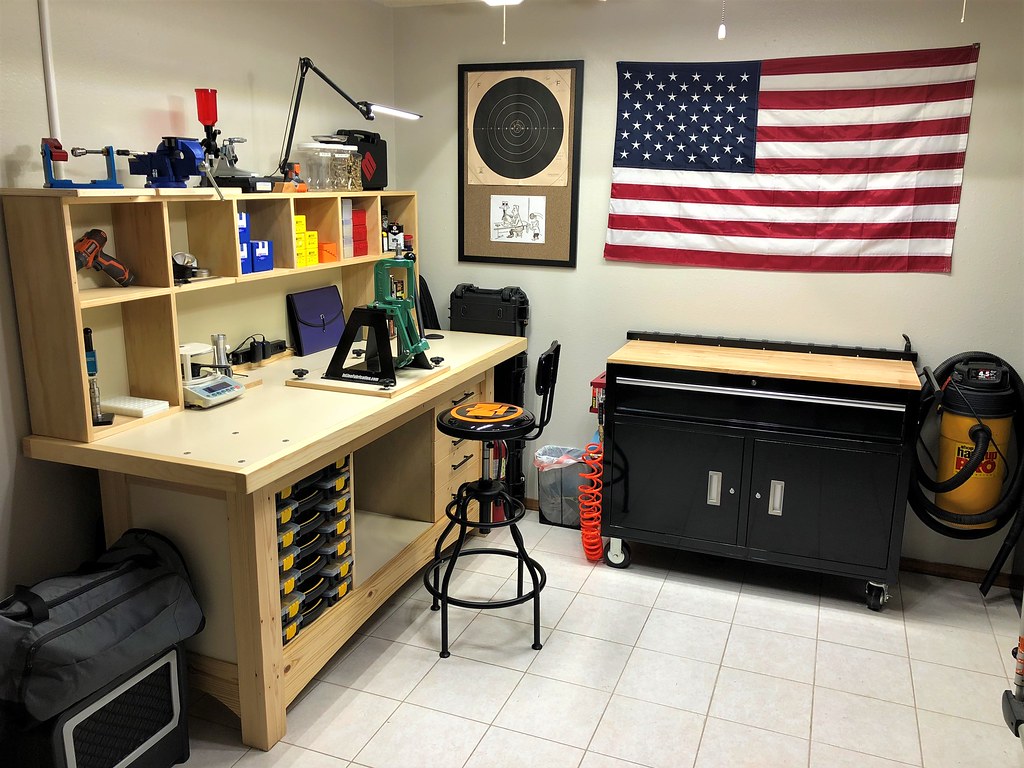
Hello all! After slumming for a while and not really building anything of any significance, I had need for a reloading bench. I have taken up competitive shooting and making one's own ammo is a requirement. Also very nice of Cheryl to allow me to over take a spare bedroom for such things so I set out to design and build a simple but solid bench to accomplish the task. I have a fair stash of wood but I really did not want to use it for this purpose nor did I want to spend the funds to buy nice hardwood so I endeavored to do it with construction 2x's from my local Lowes along with some pine cabinet grade ply, Melamine sheets and baltic birch ply.
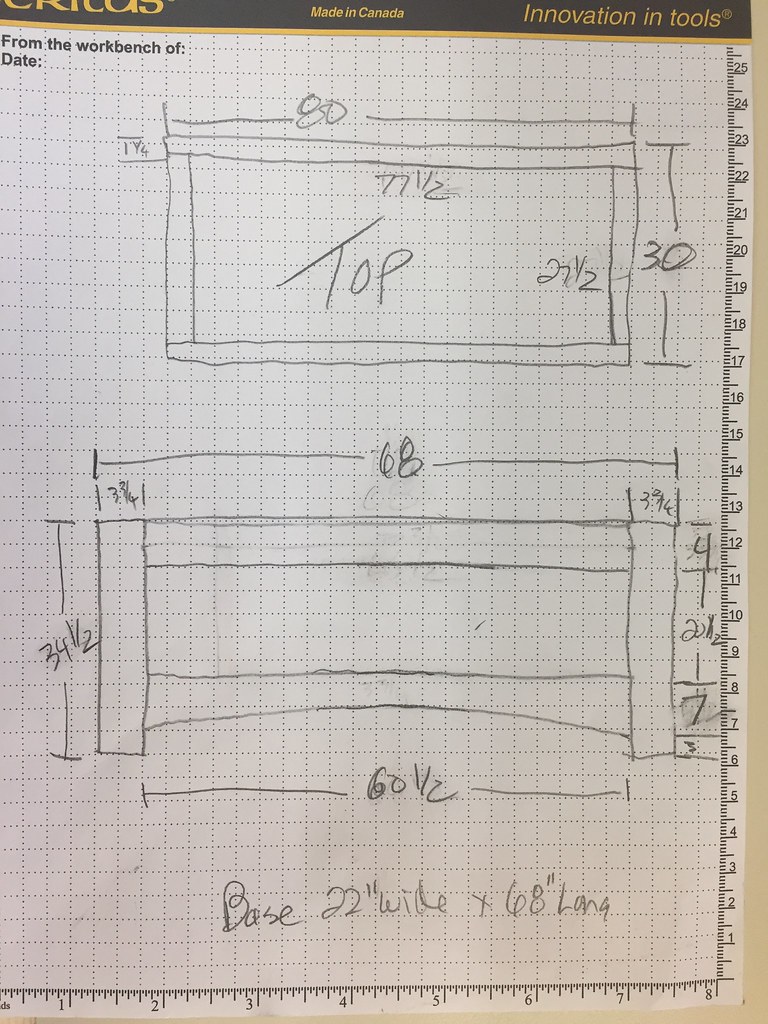
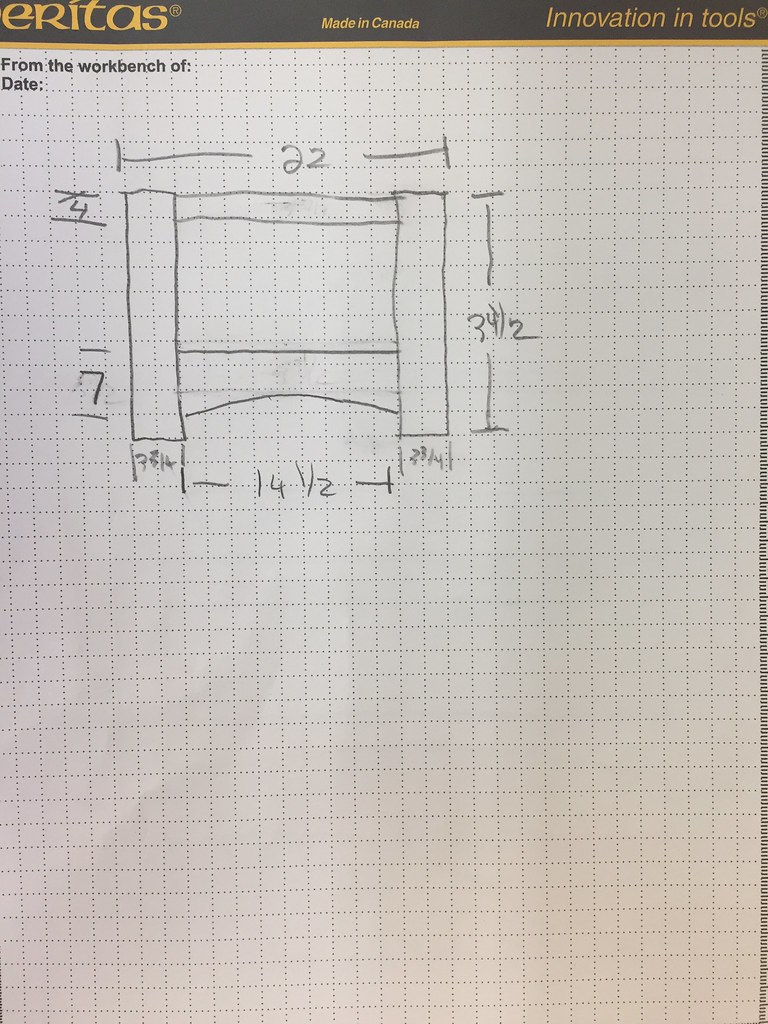
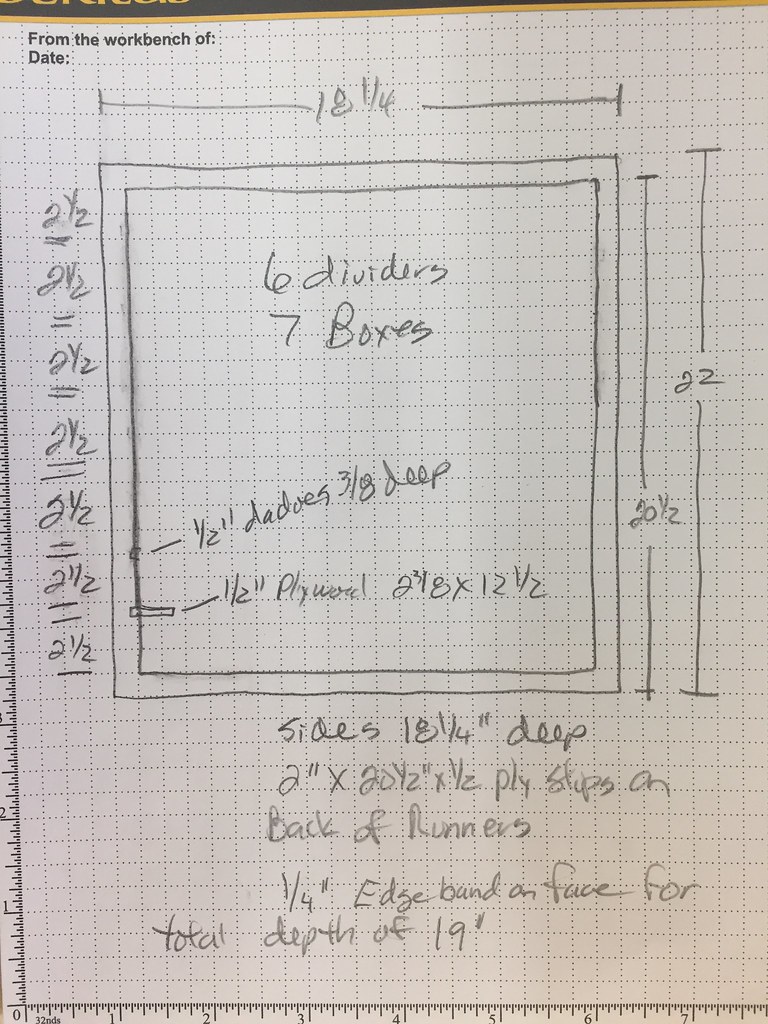
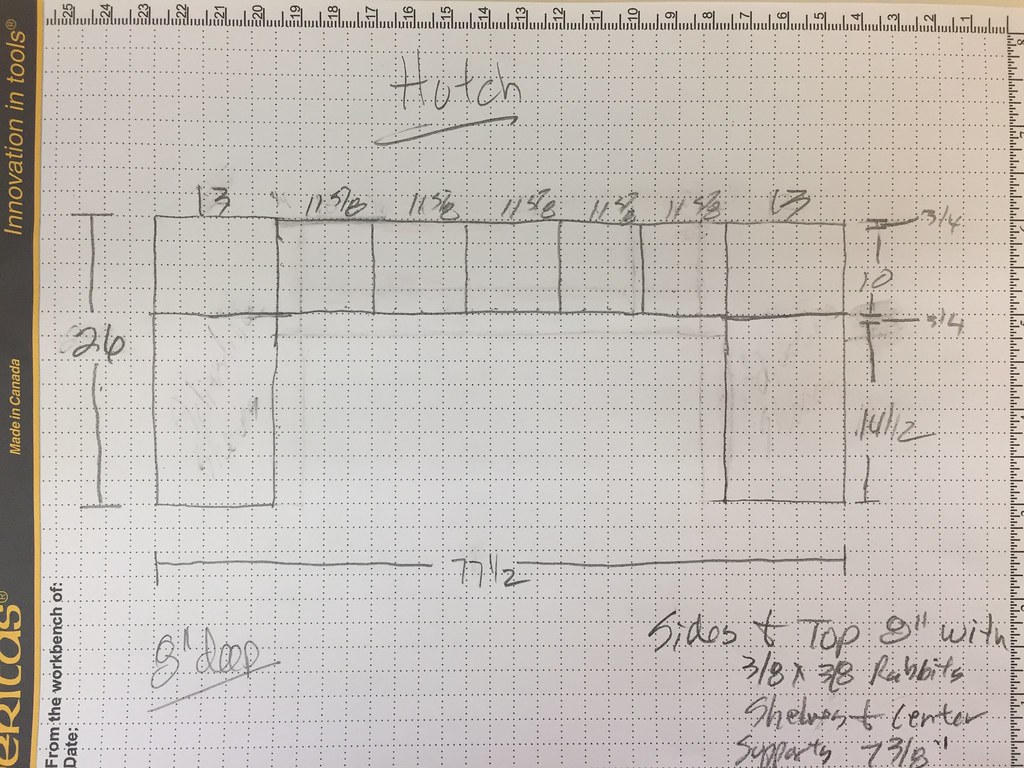
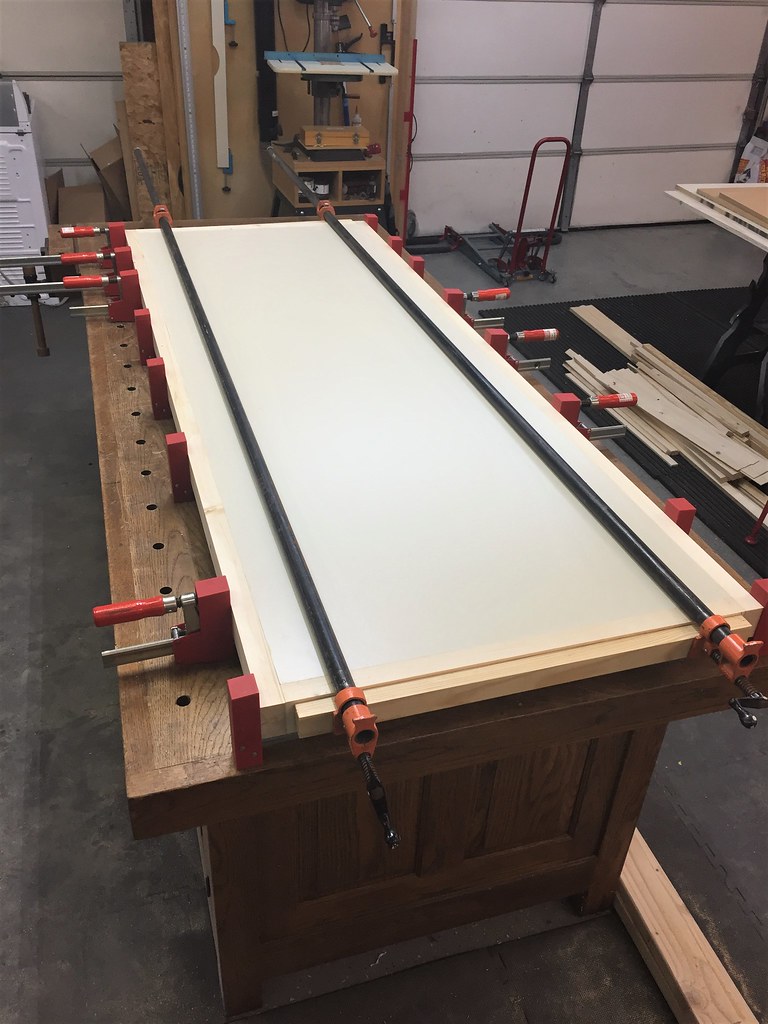
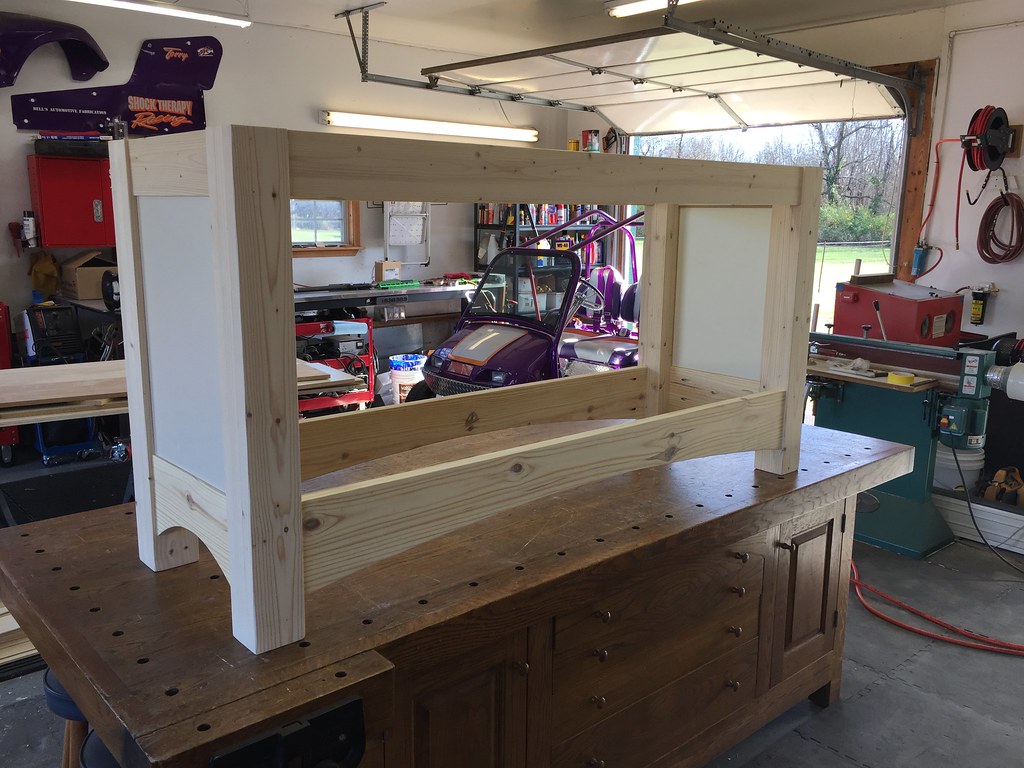
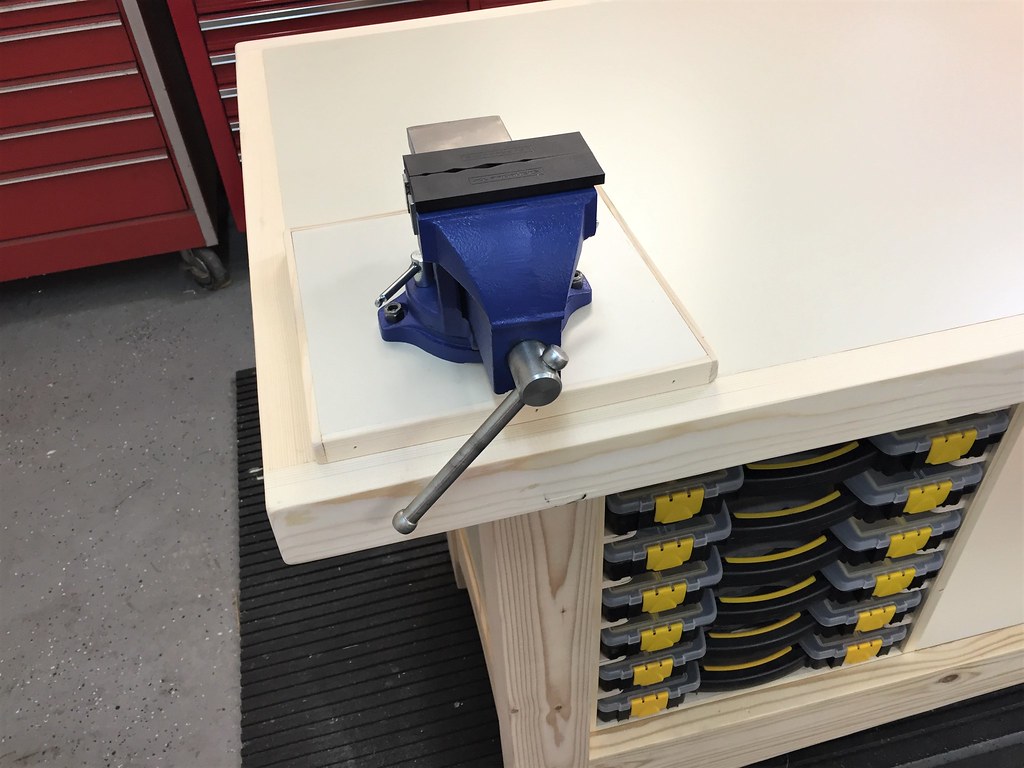
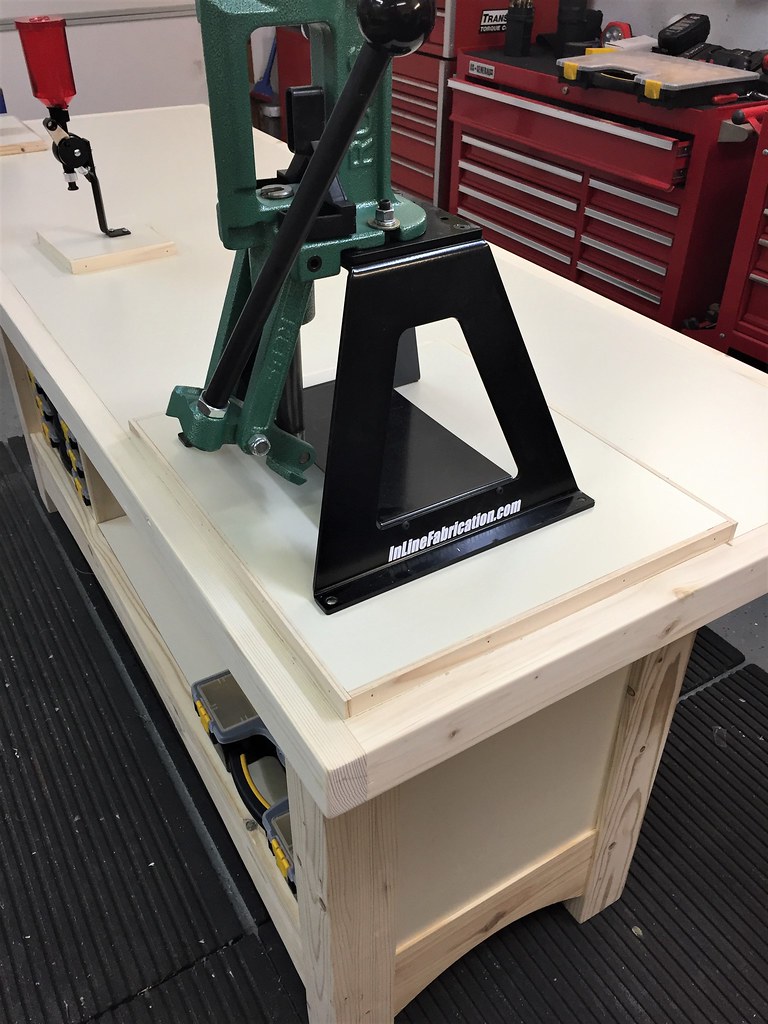
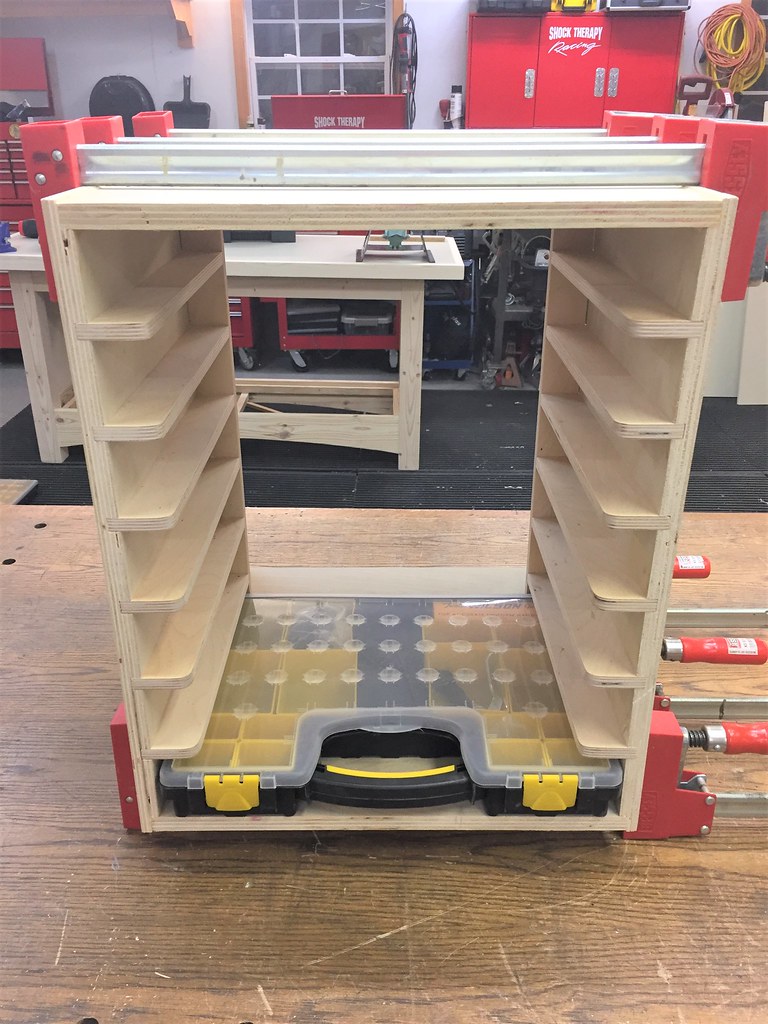
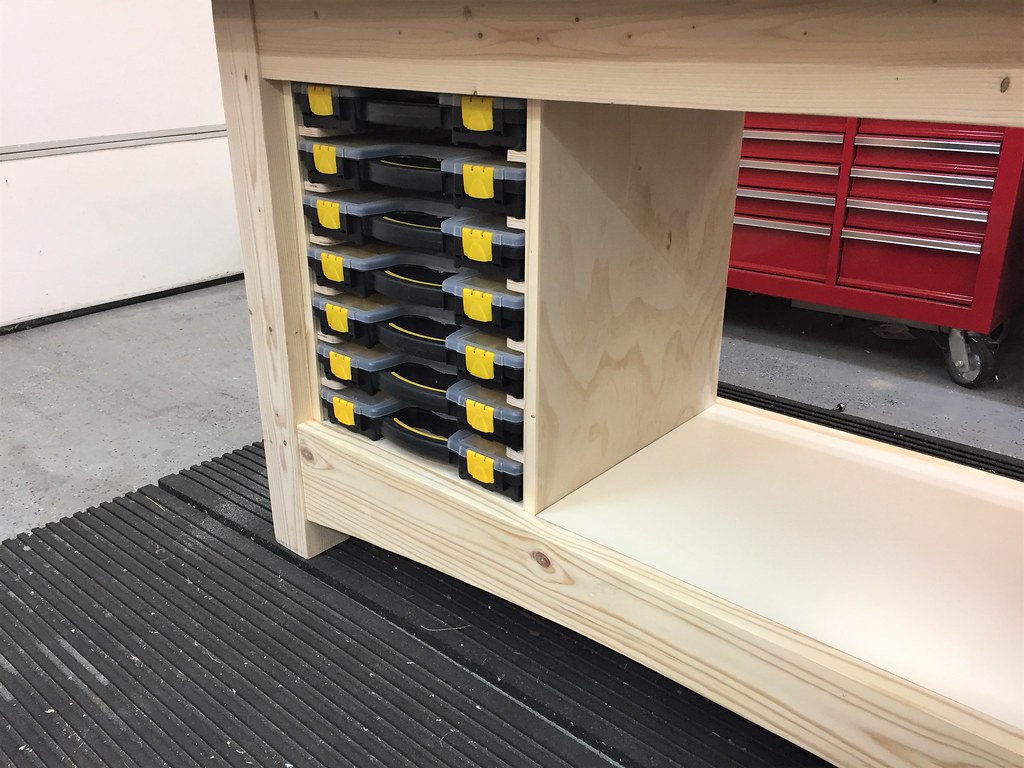
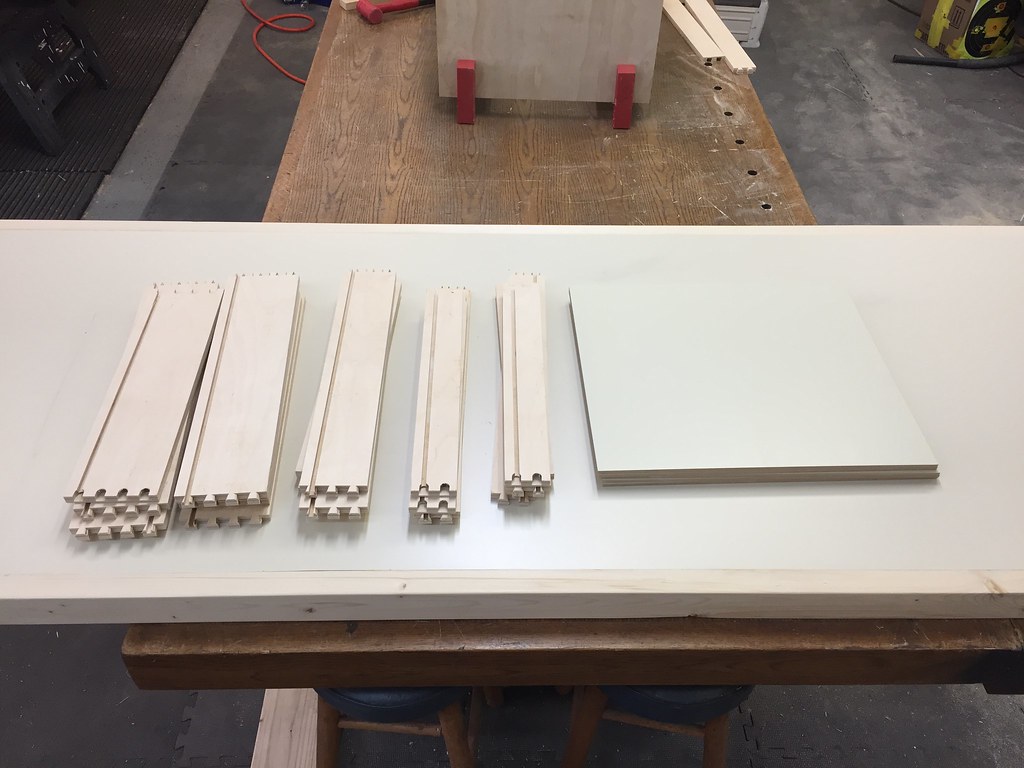
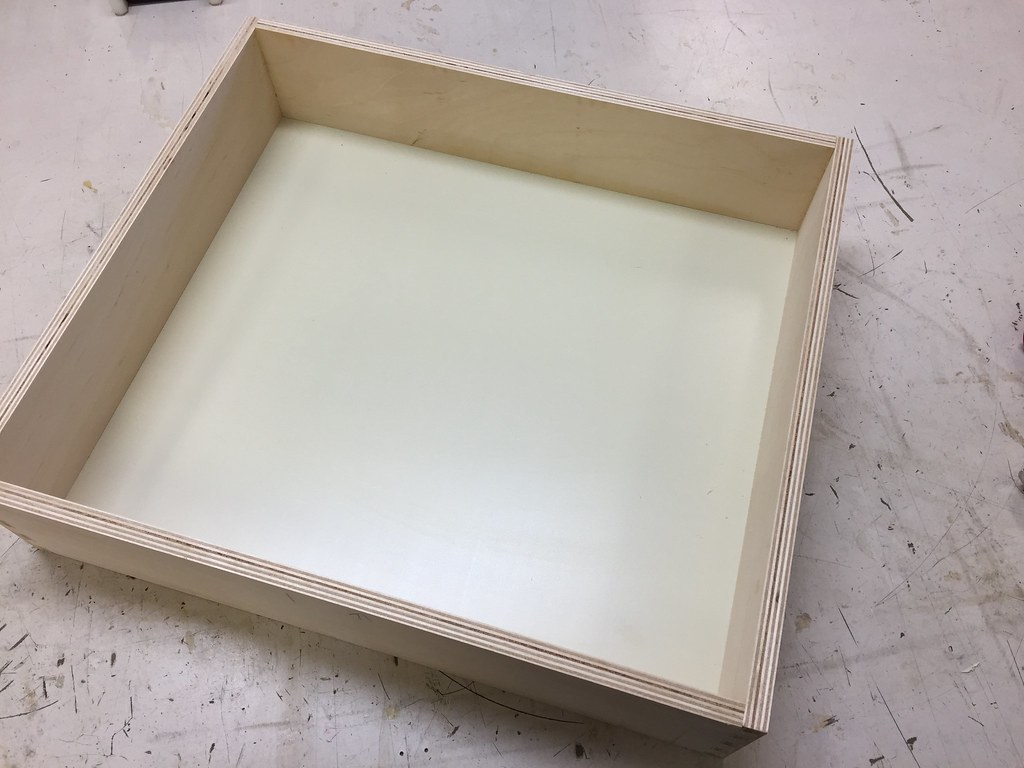
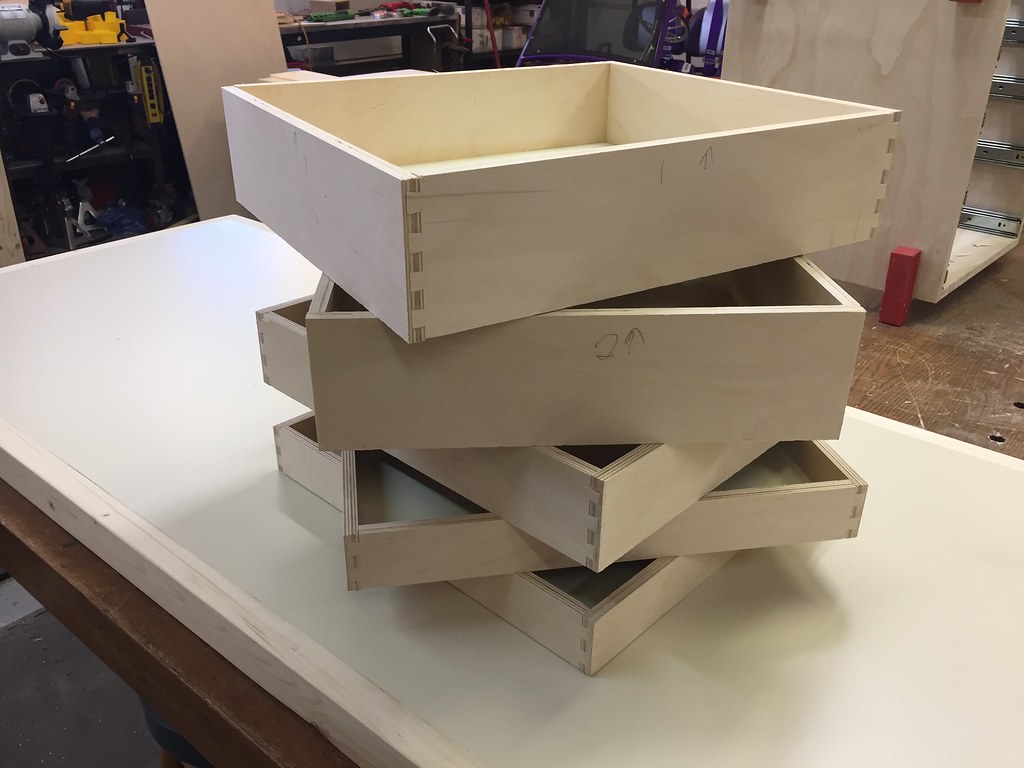
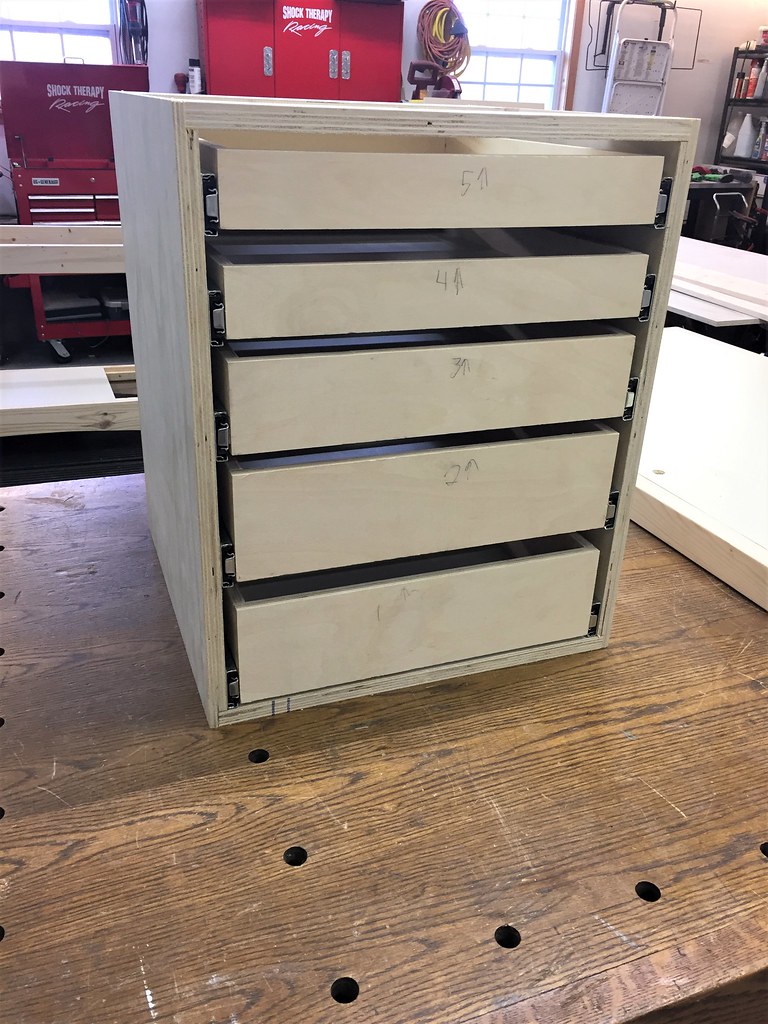
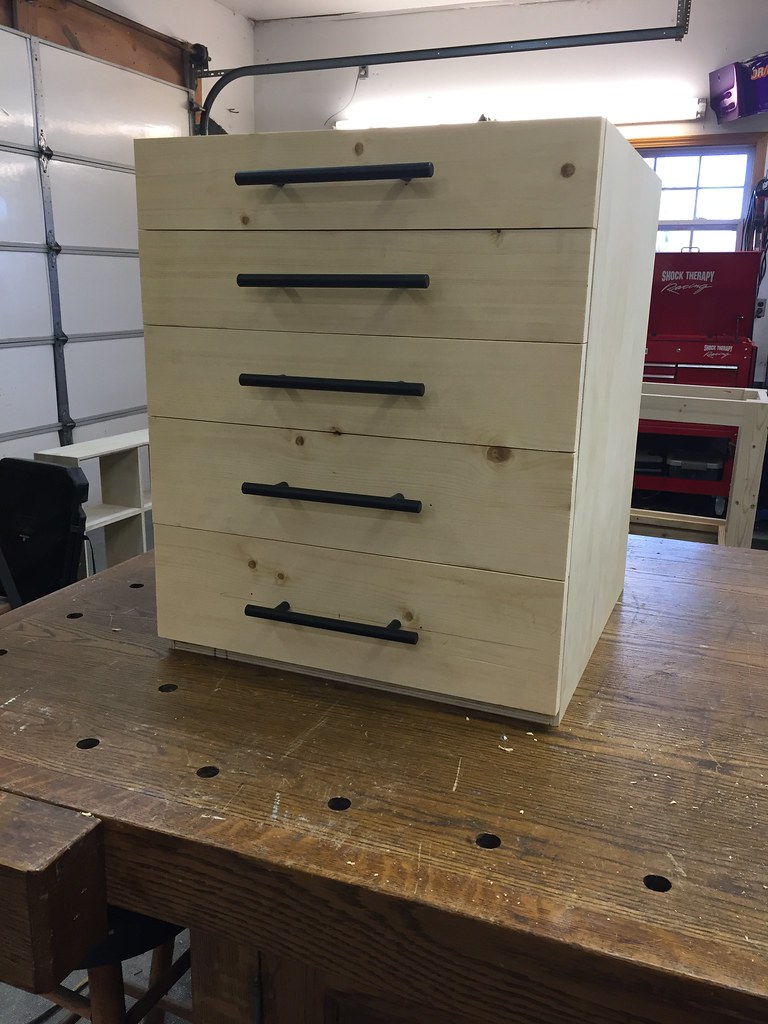
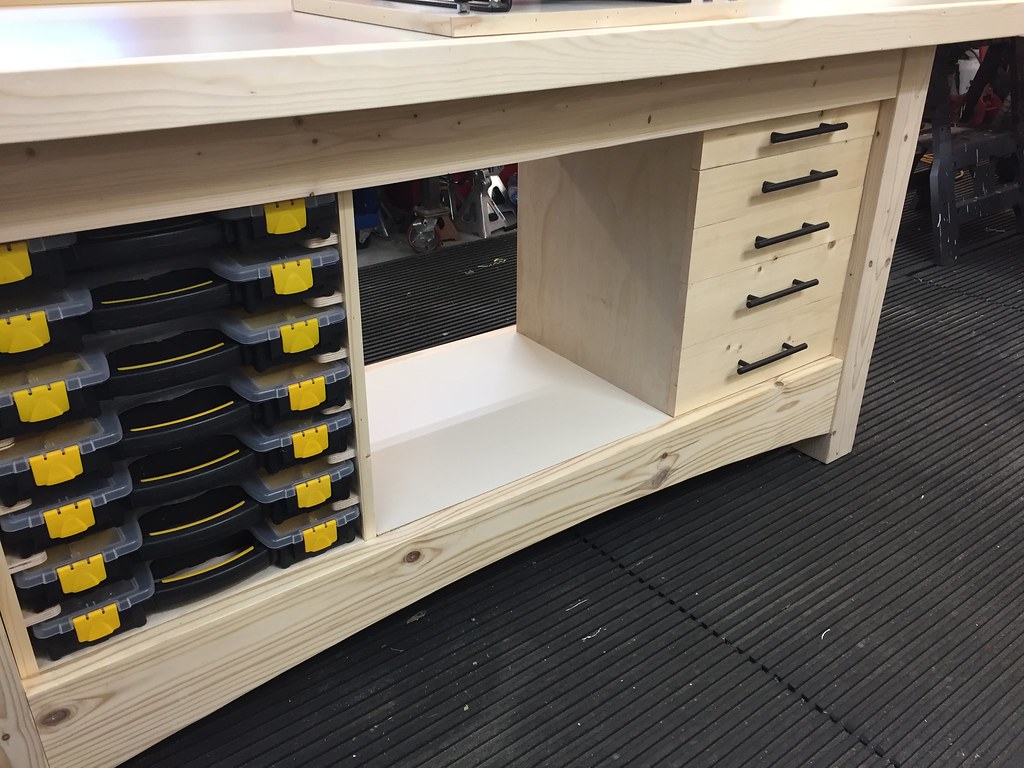
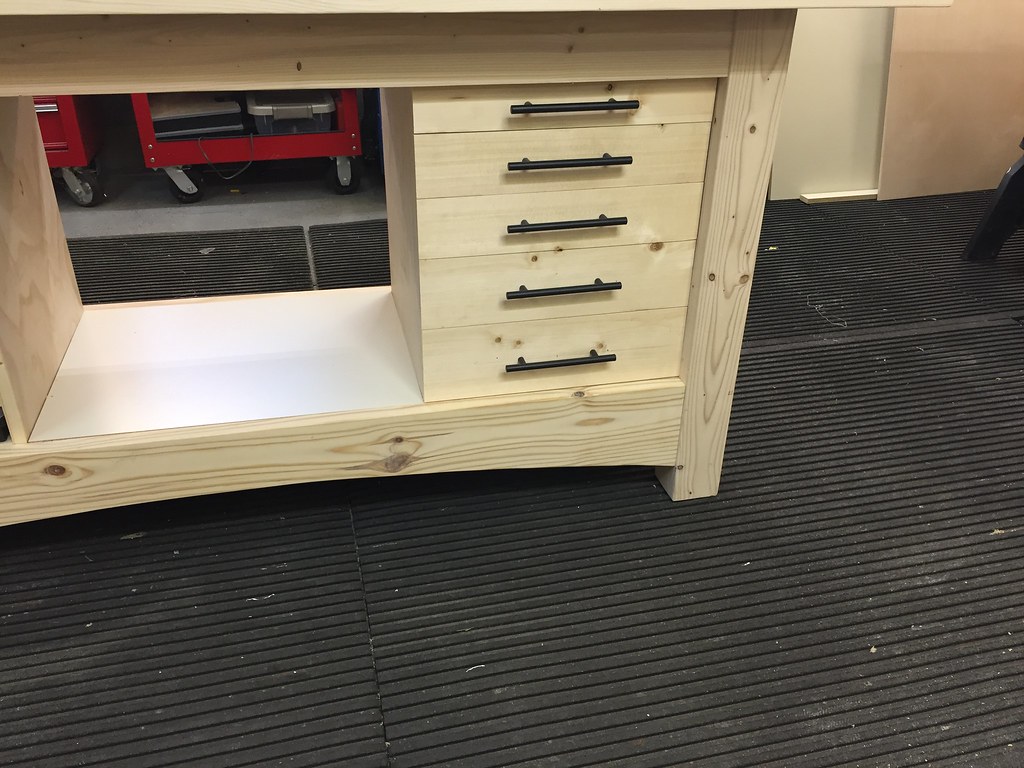
As usual I really don't make formal plans but work from my own hand scrawled drawings and modify on the fly as necessary. lol... Hey, it works for me. The bench is far from fine woodworking but it will do what I want with a bit of style. Hopefully. The base will have drawers on one side and a bin to hold several Harbor Freight plastic storage boxes on the other. The upper hutch is a plain and straightforward assembly from 3/4" ply edge banded with pine and backed with 1/4" almond melamine in a rabbit. The top is 3/4" almond melamine backed with 2 layers of 3/4" mdf and edge banded with more milled 2x lumber.
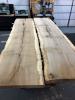
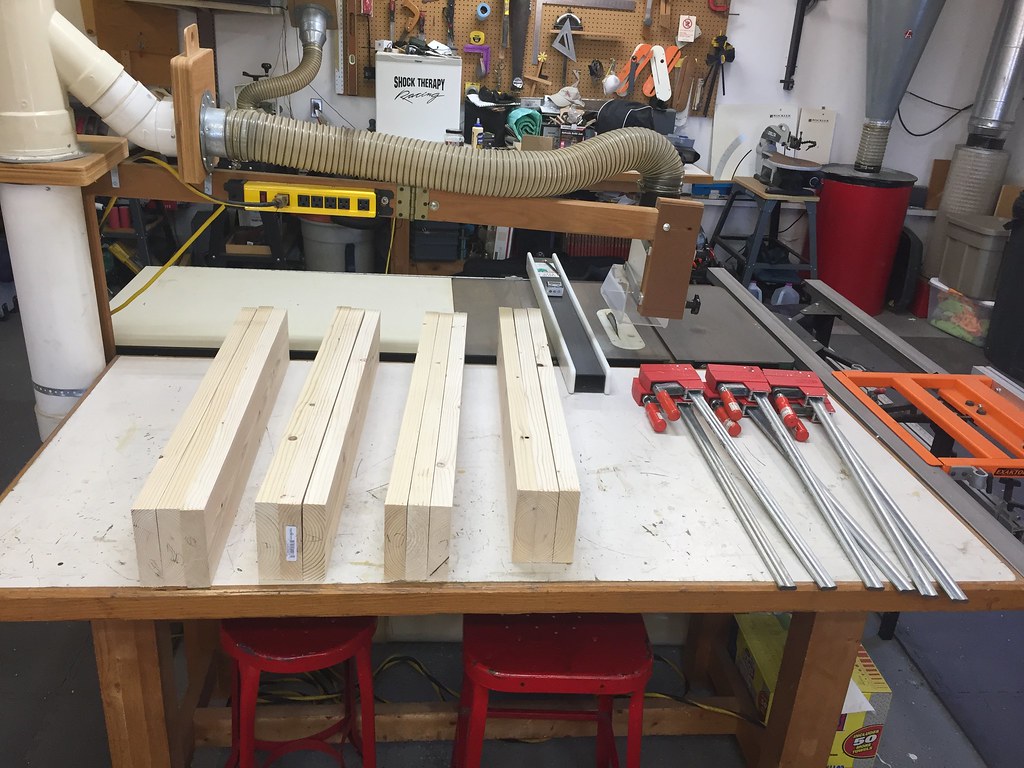
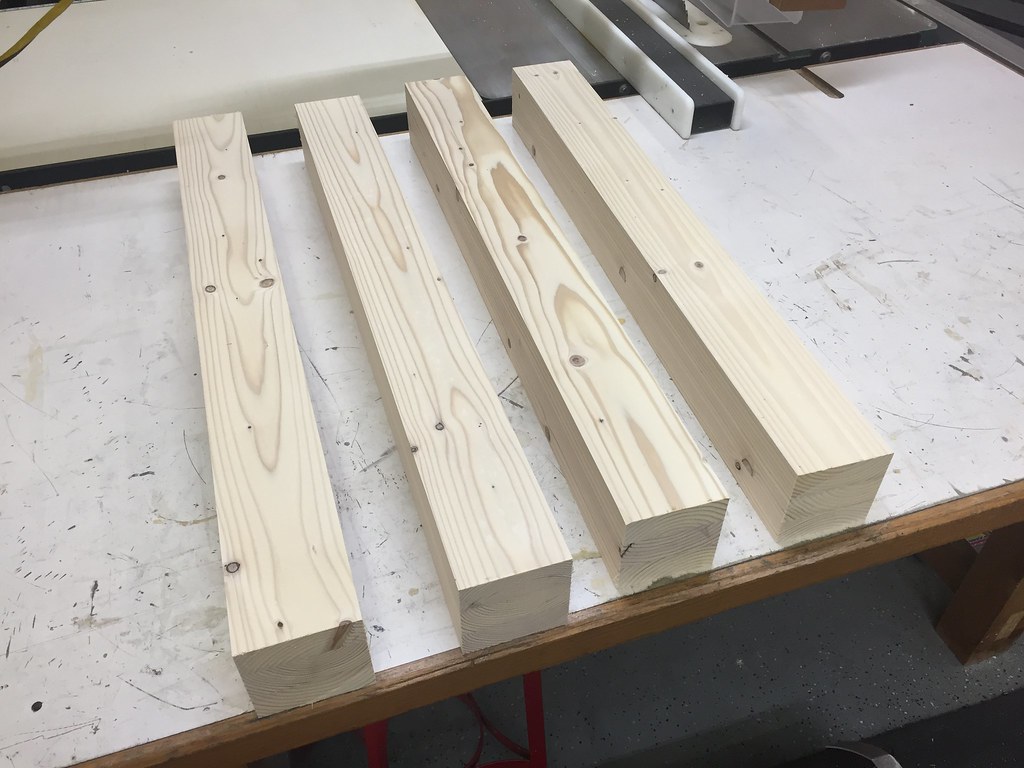
I've used 2x's before so I planned ahead for waste during the milling process so I bought larger sizes than it seems would be necessary but actually are. I got 2x6's for the legs. Jointed and planed them before gluing up the blanks for the 3 3/4" x 3 3/4" legs.
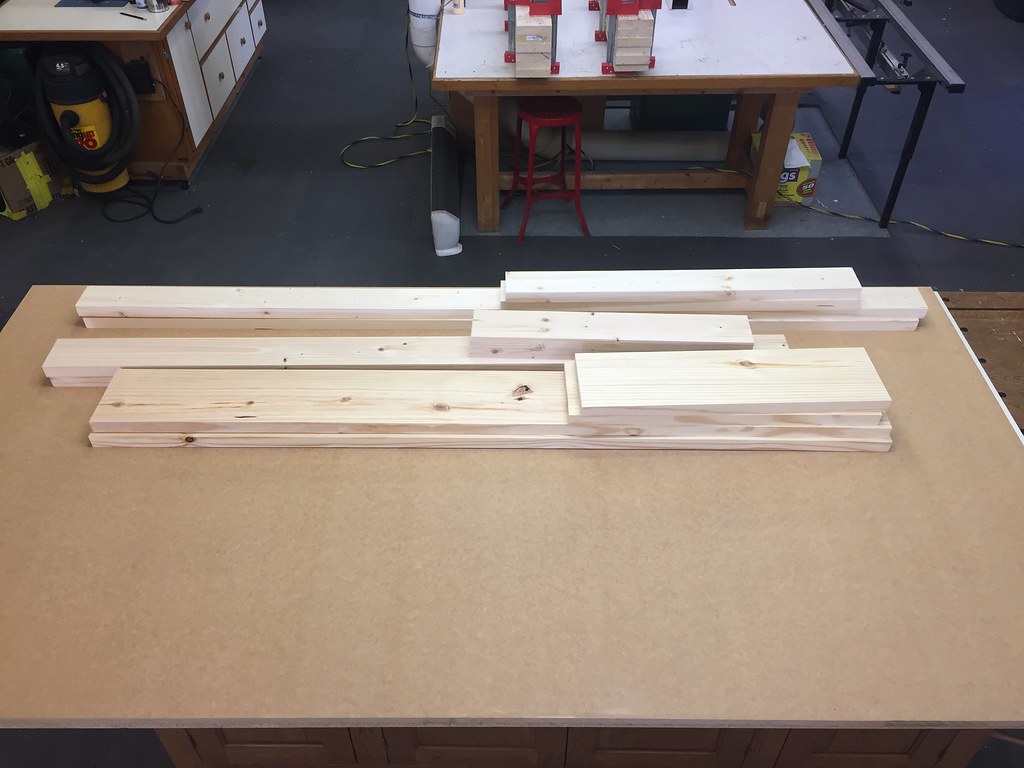
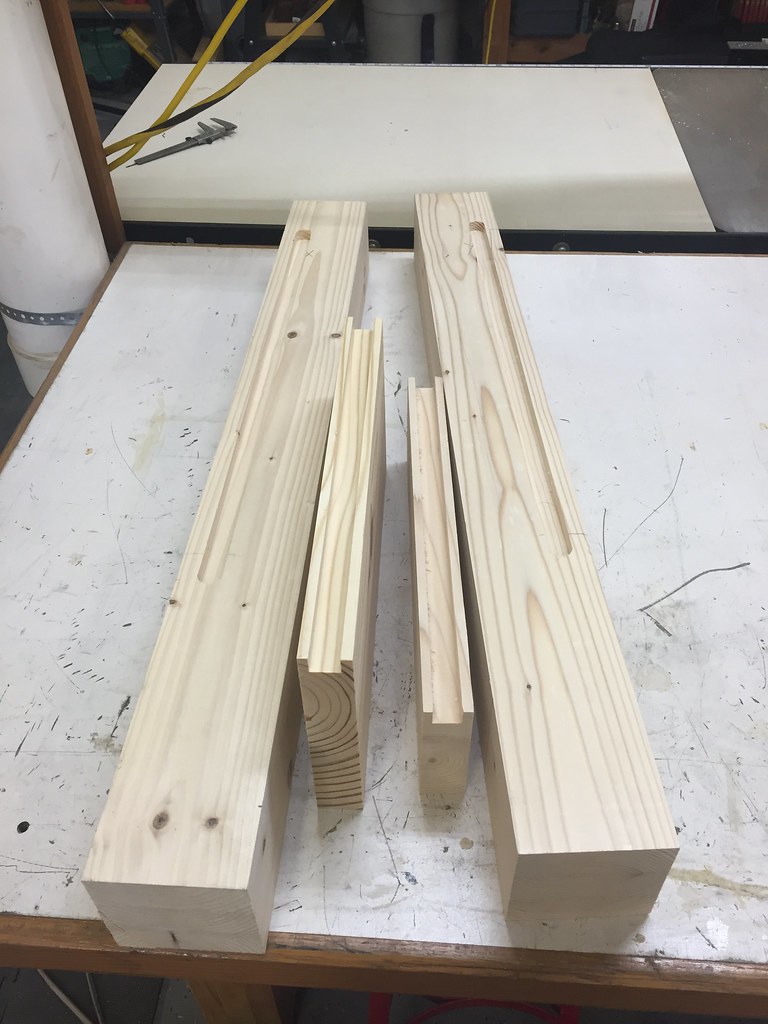
Remaining parts and pieces of the base were also jointed, planed and cut to rough size from 2x's.
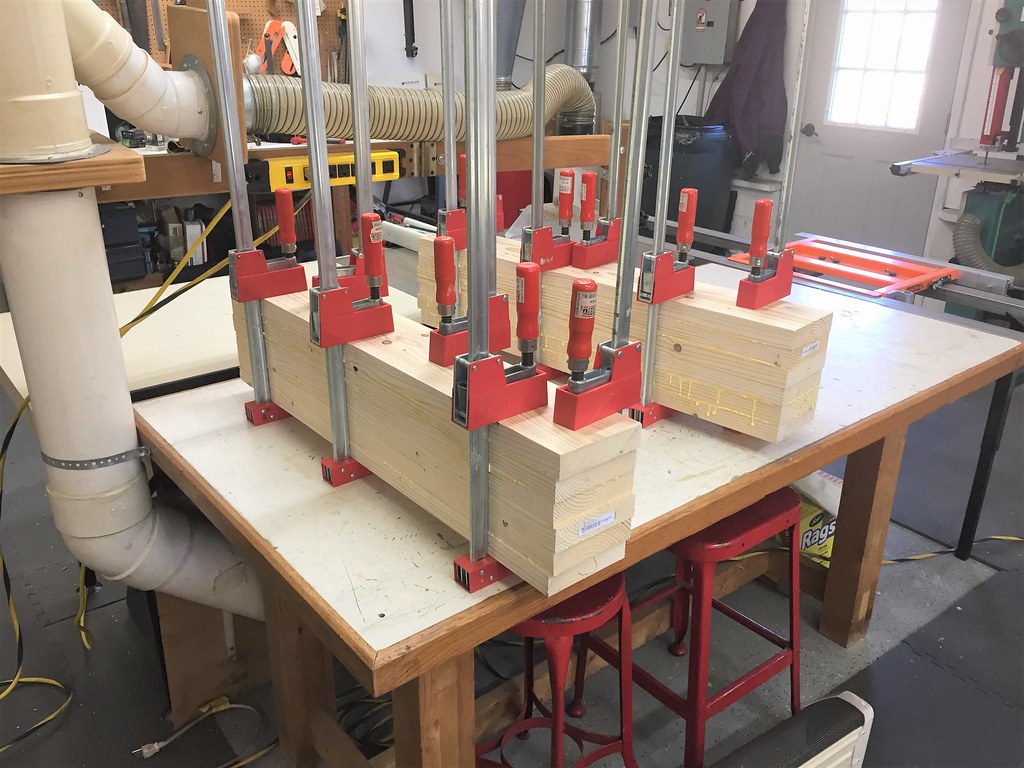
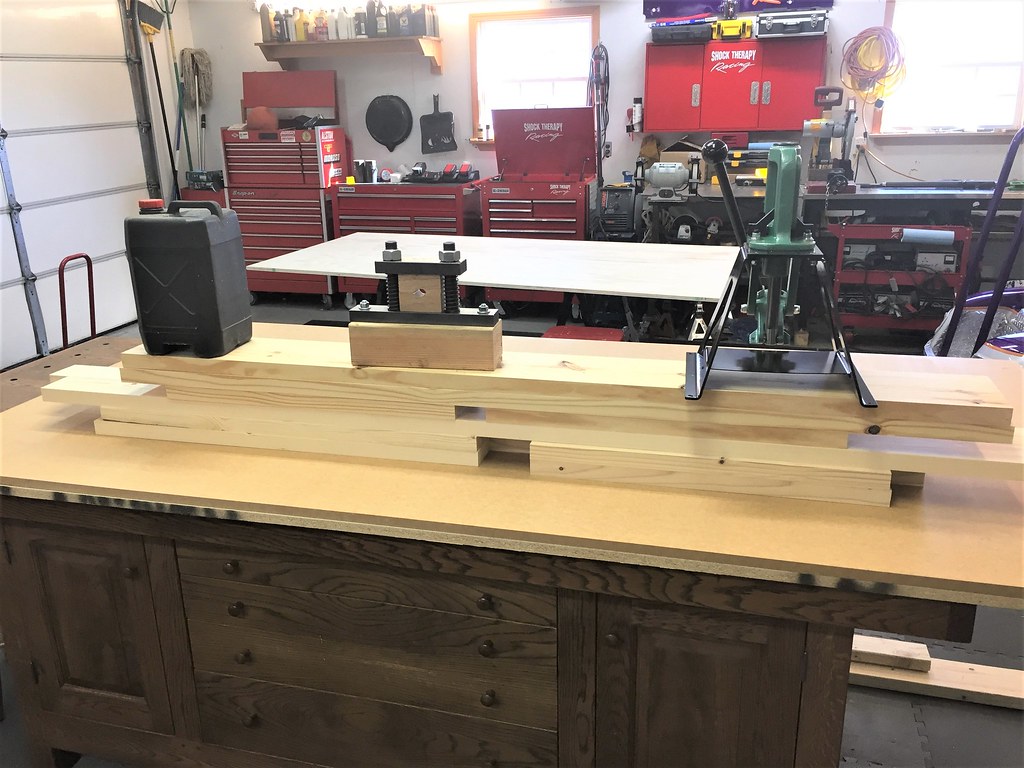
From the "I have already learned this lesson" file comes this pic. Stack and weight to reduce the tendency of these boards to have a mind of their own until I can resume work on the project.
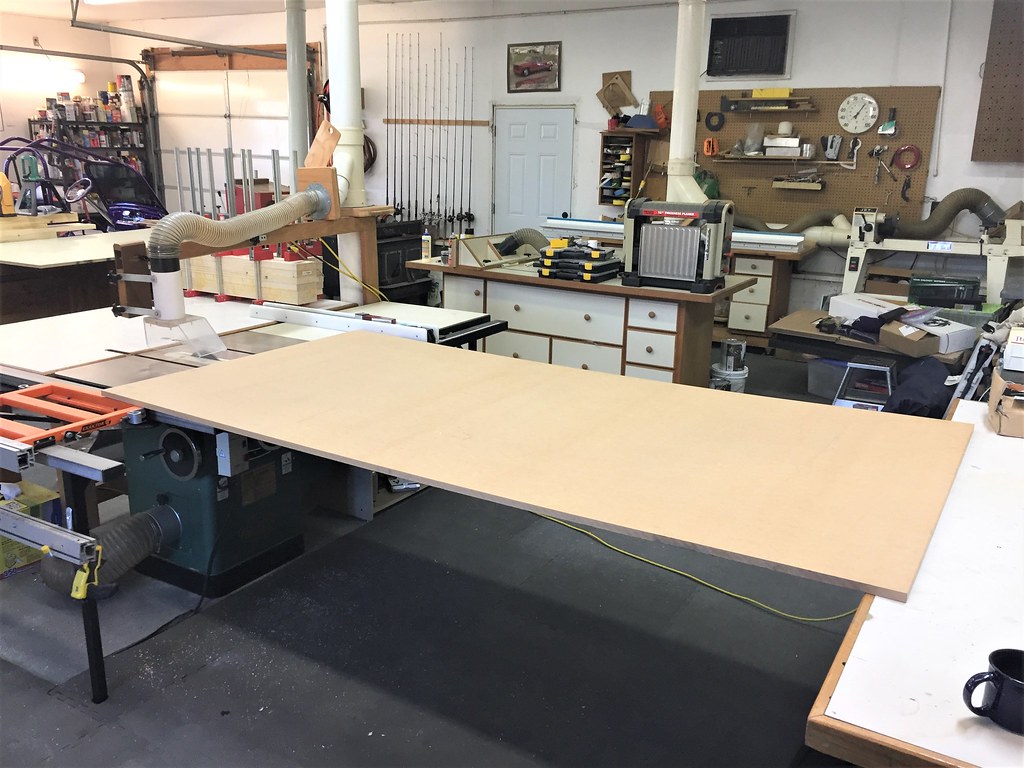
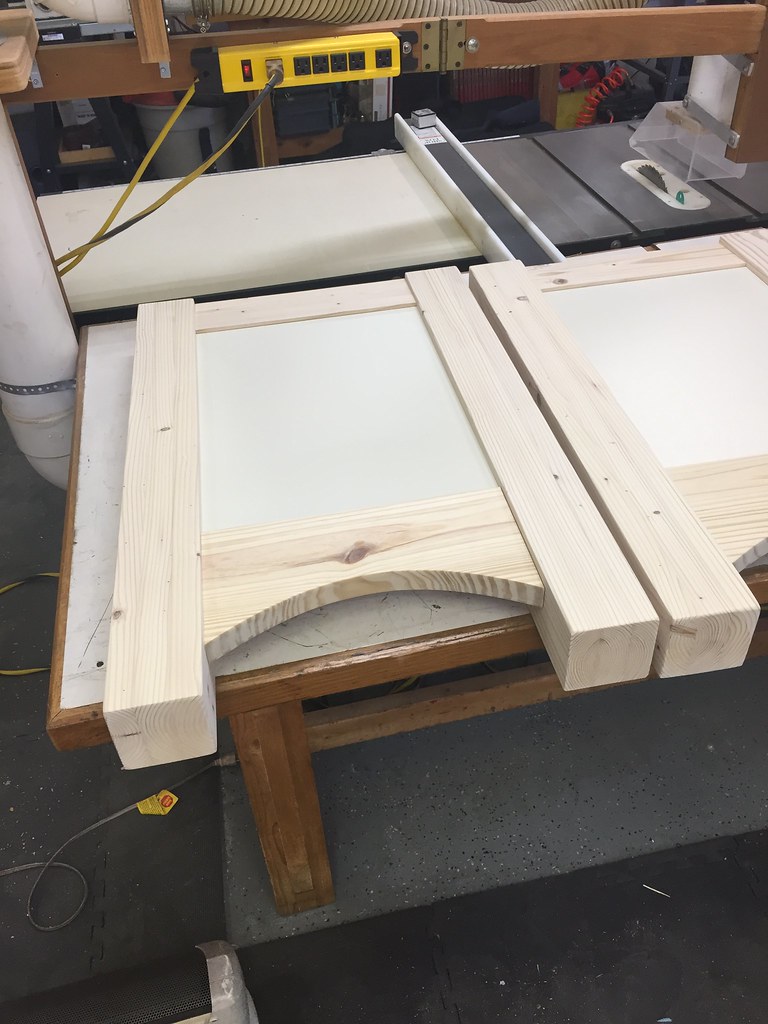
100 years ago when I began woodworking I spaced everything in my shop to enable me to handle sheet goods by myself. Very handy when we are talking full sheets of 3/4" mdf.
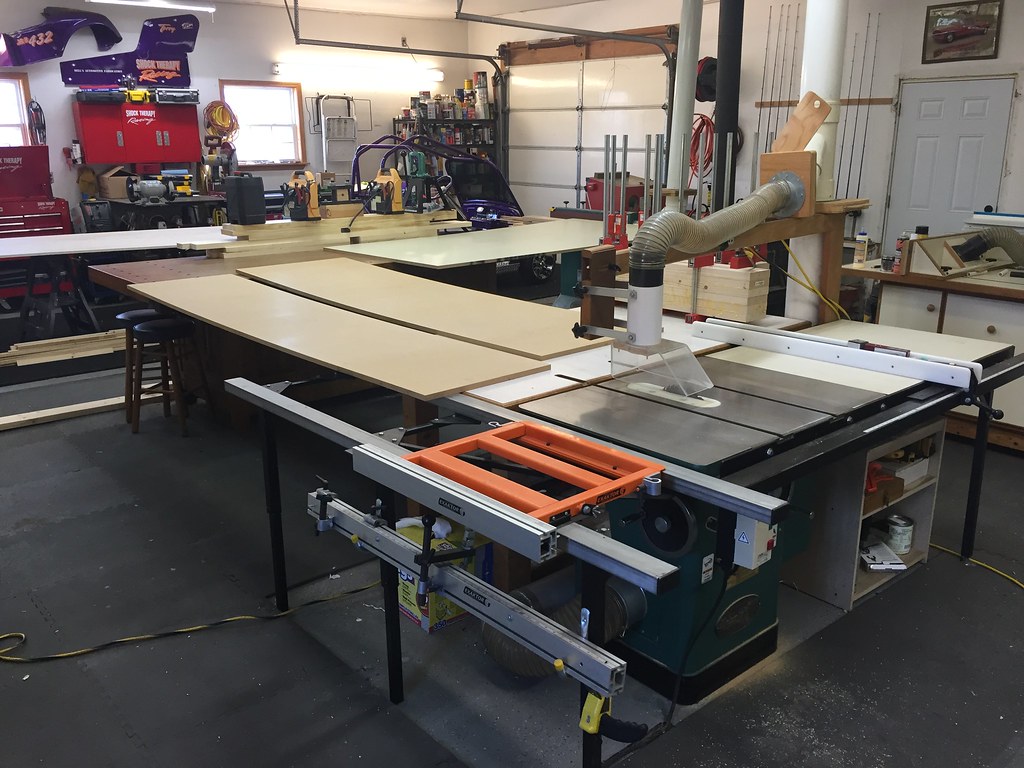
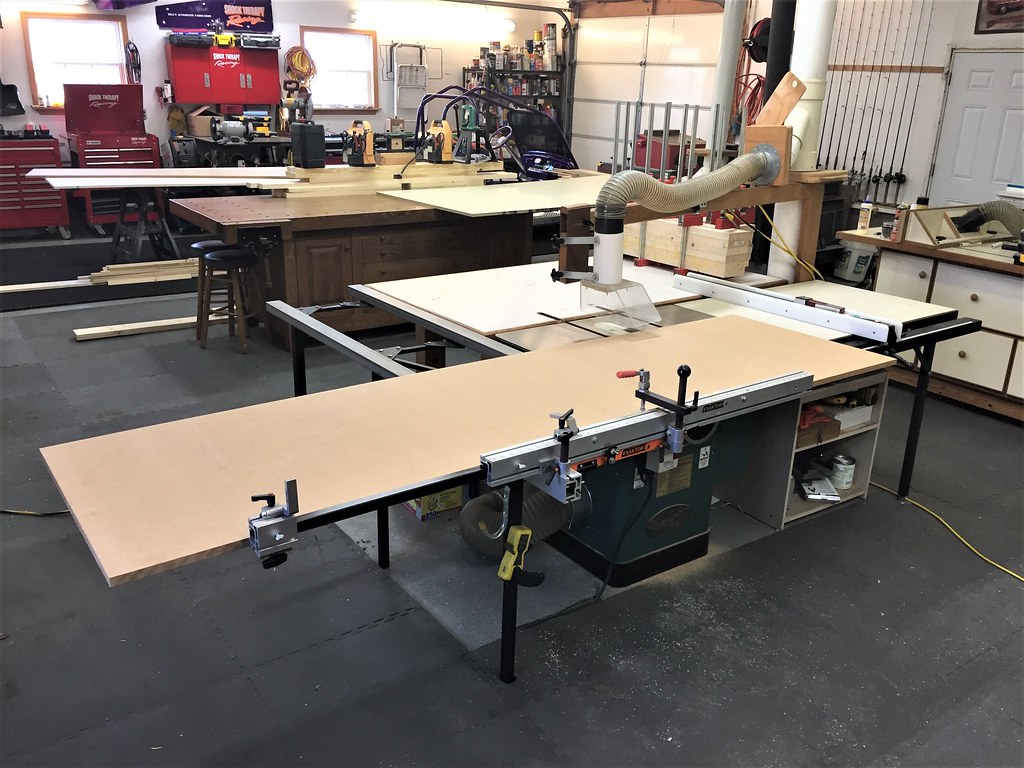
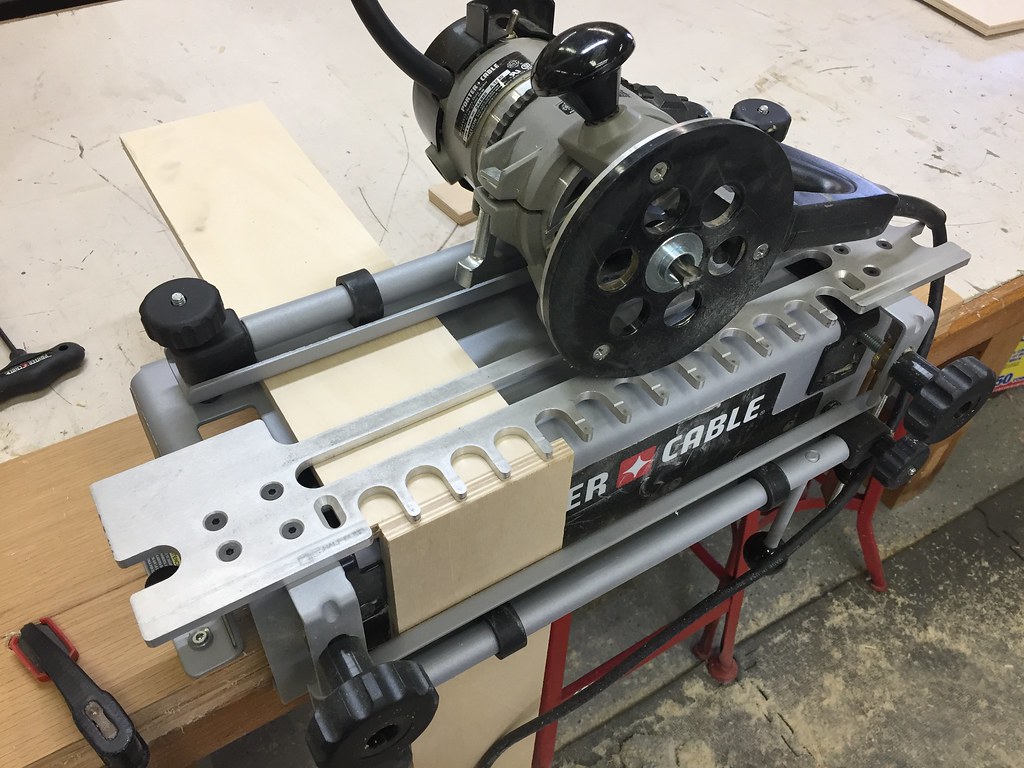
Also get to cheat the cross cuts with my Exaktor sliding table.
Back to the legs after the glue is set for some more milling, jointing and planing...
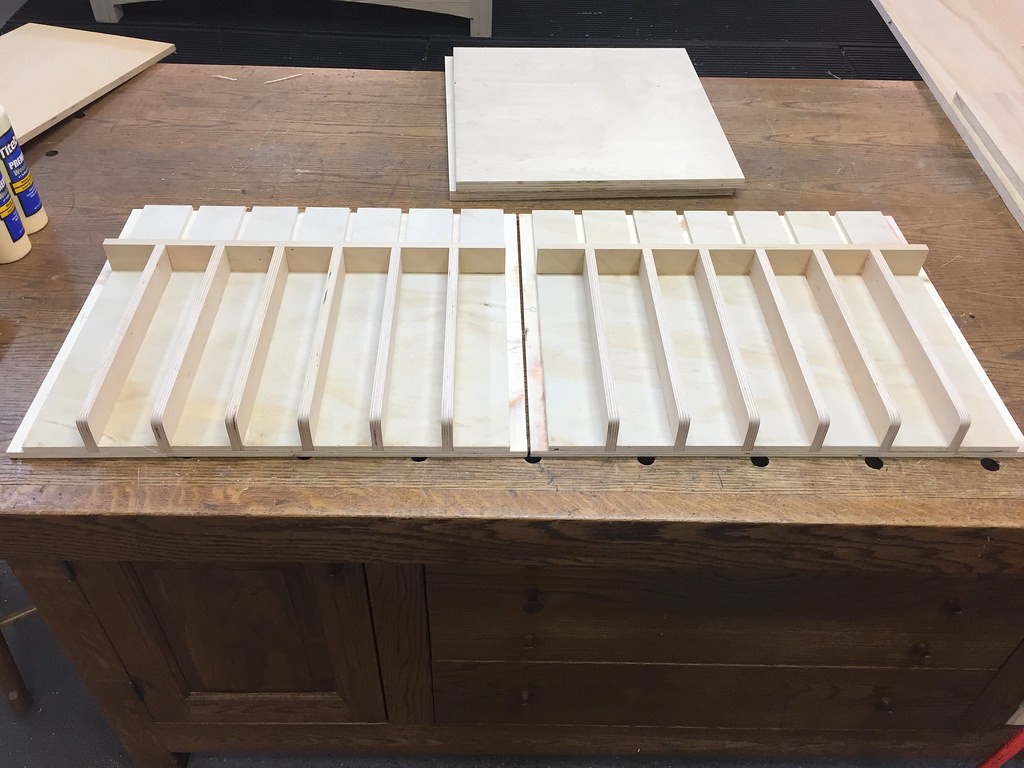
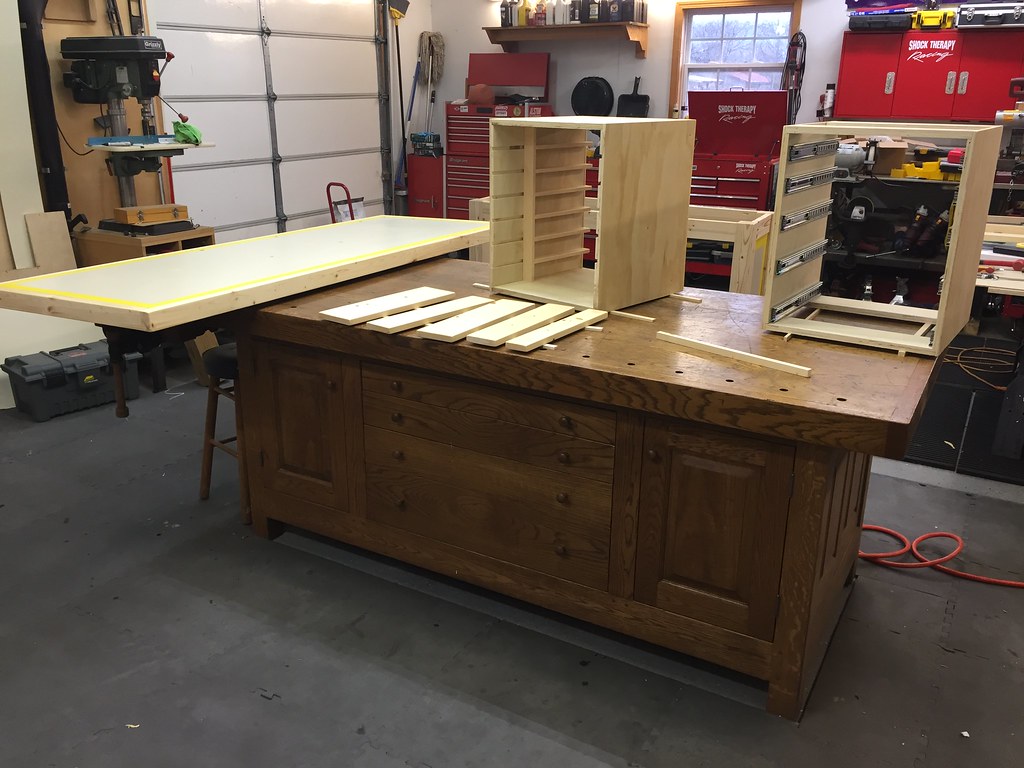
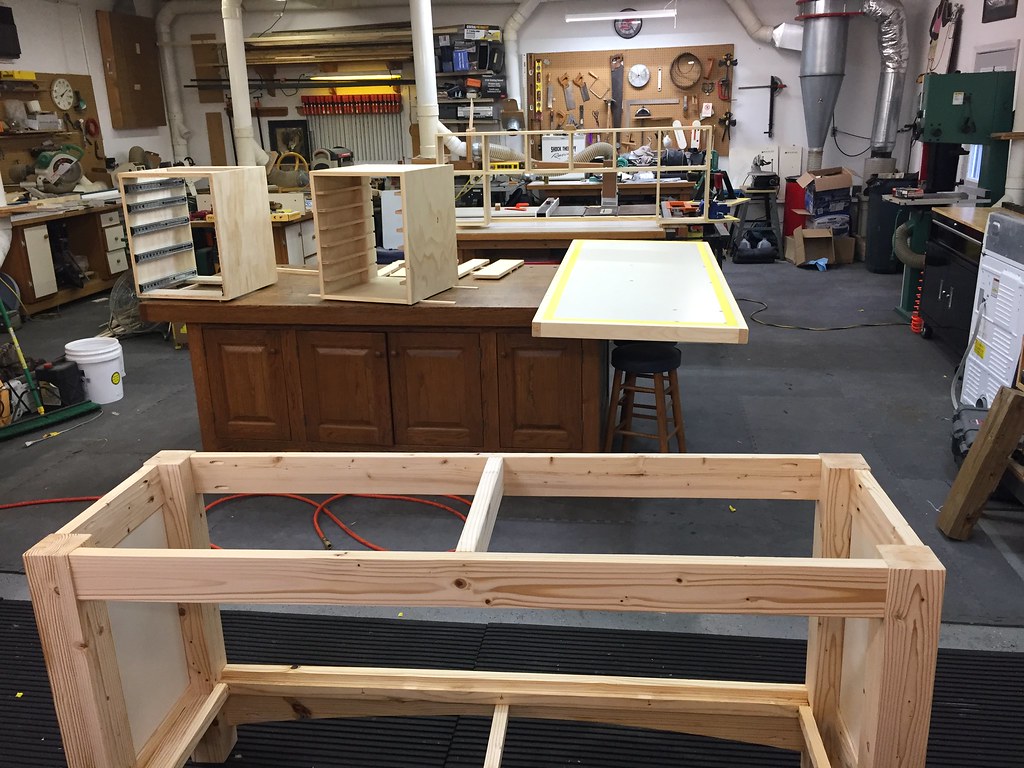
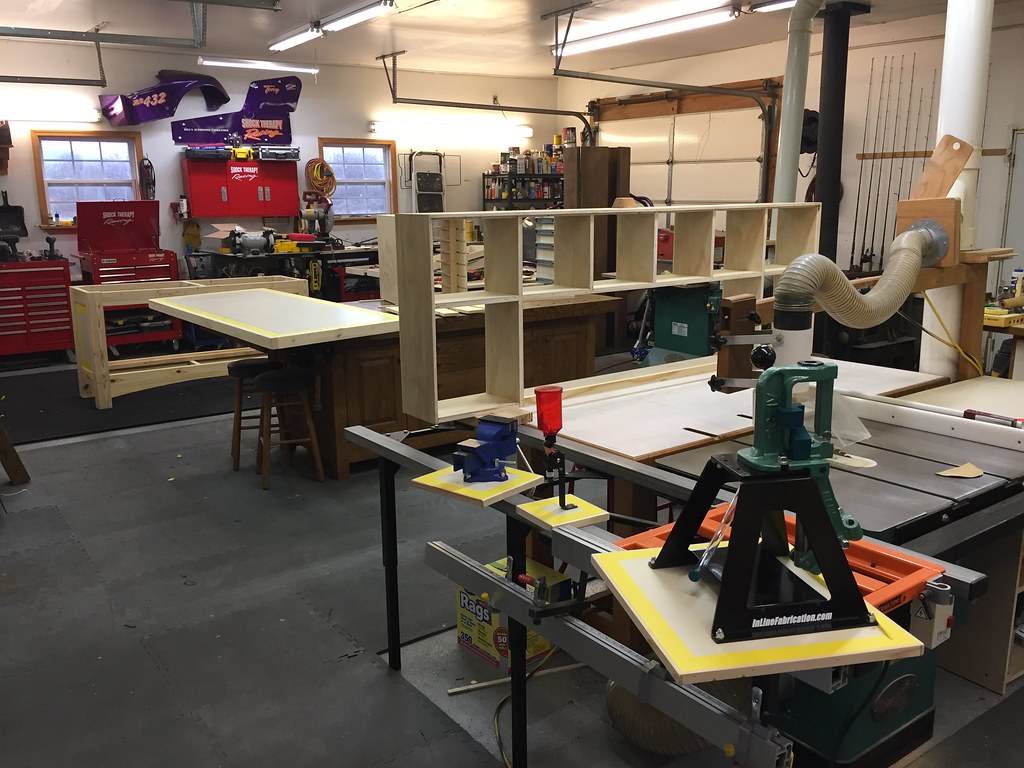
More to come...


 Reply With Quote
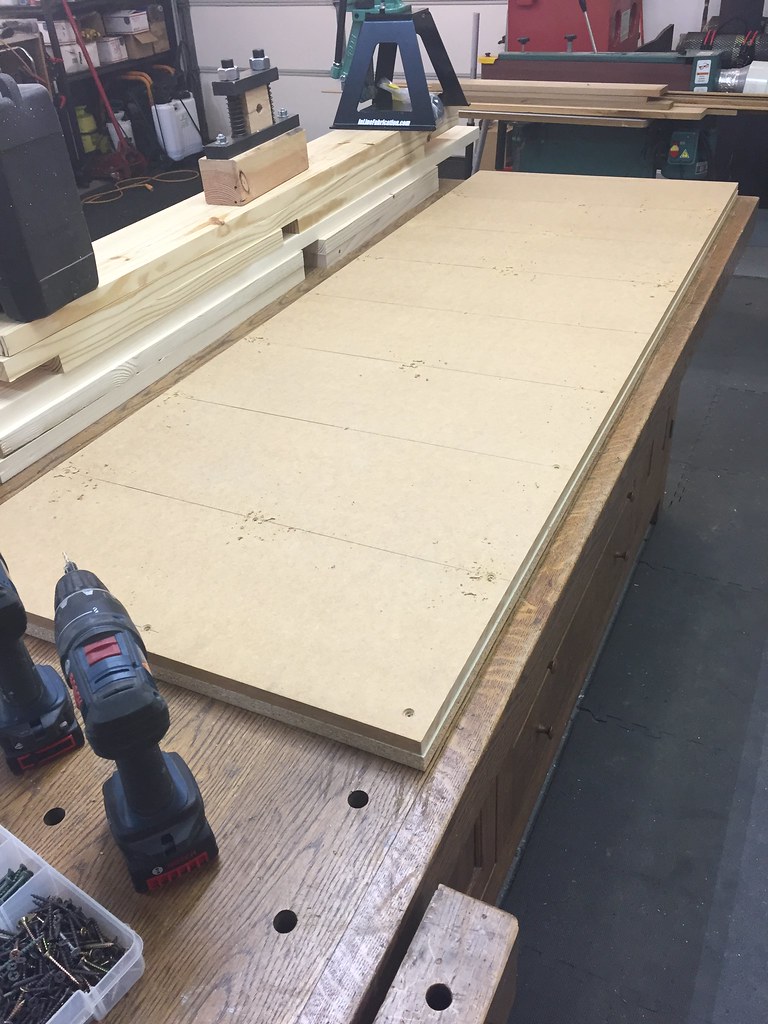


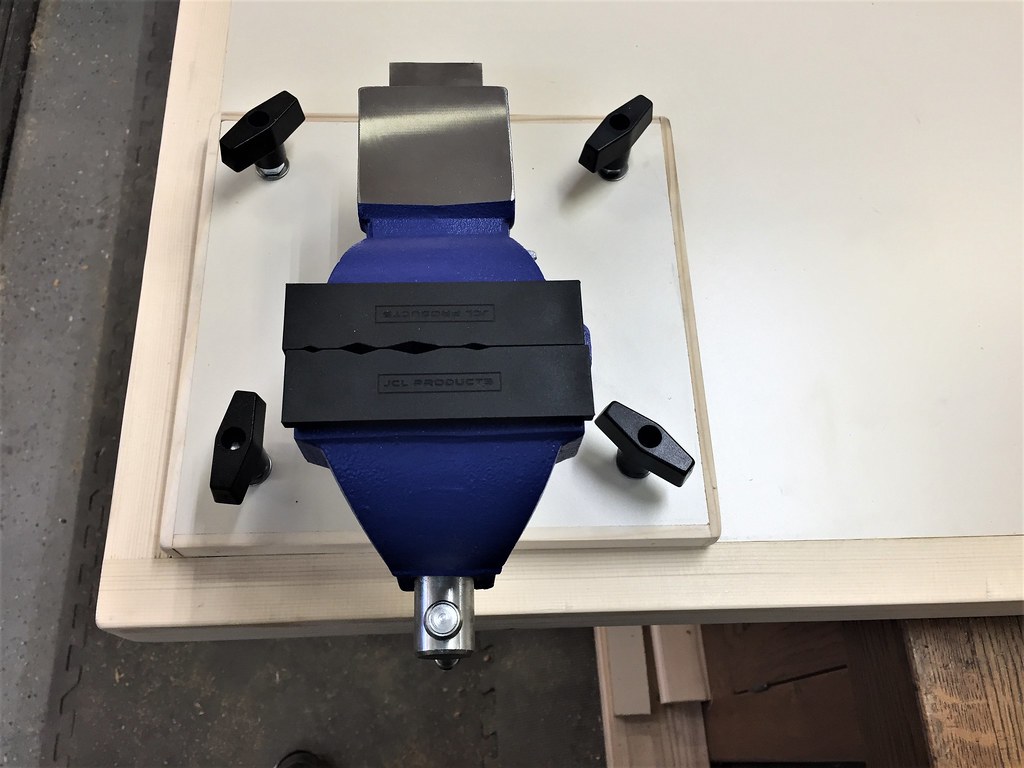

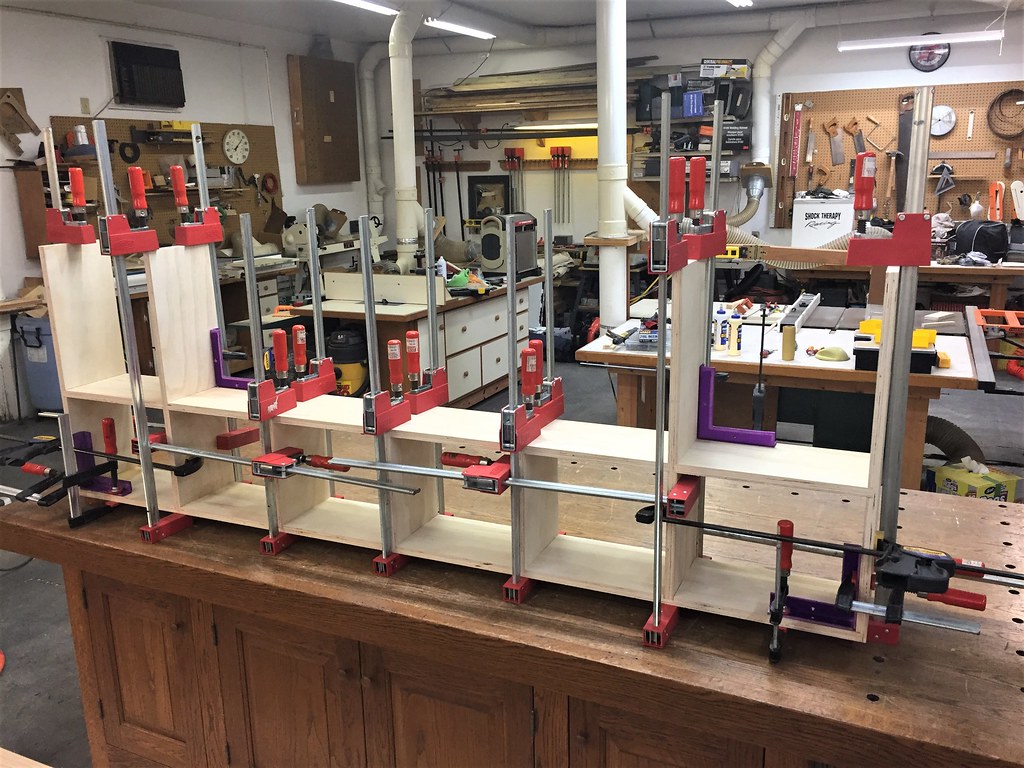


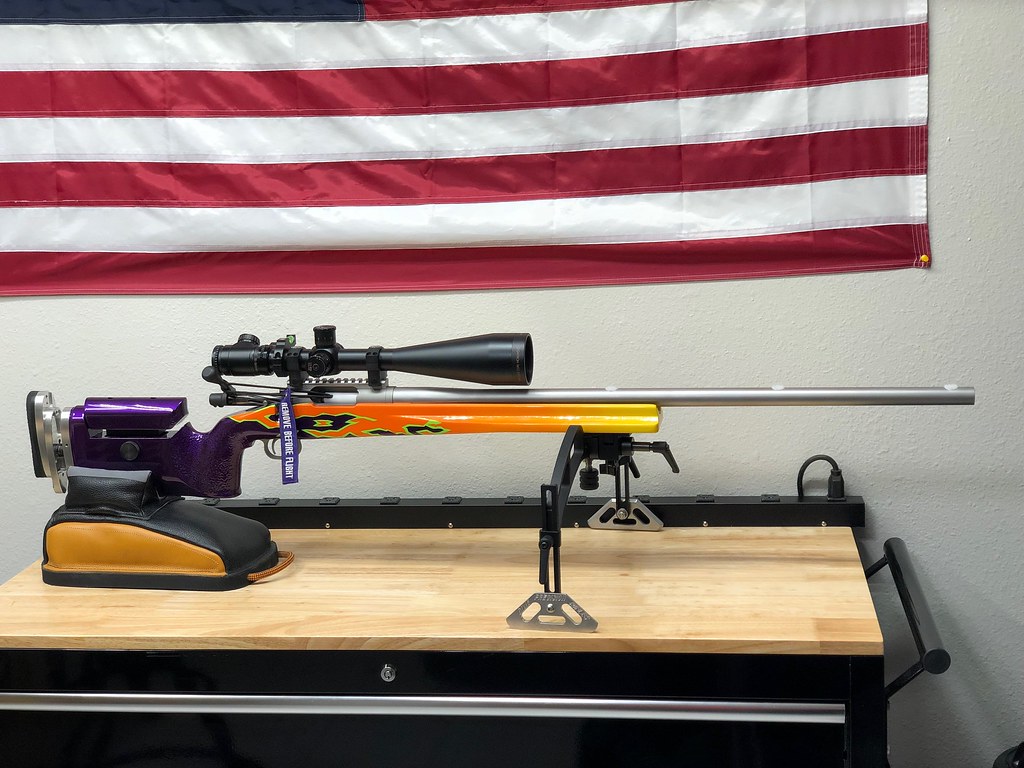


 At least the "range tool" has that purple thing going on...


