Page 2 of 2 FirstFirst 12
Results 16 to 30 of 30

Thread: how eliminate wobble in a workbench?

  1. #16
    Join Date
    Mar 2006
    Location
    Austin Texas
    Posts
    1,957
    Jerry, from my experience, the Benchcrafted plans work well and result in a wobble-free bench. I will admit, it should not be difficult at all to design something very, very similar with the same results. I intended to use BC vises, so I went with their plans for the most part. Also, I used borg bought SYP for my build, so I bought a pile of 2x12s and stacked them up in the shop for few months to dry out and be tripped over before one trip too many tripped the get started switch. Hardest part of a bench build is the getting started part.
    David

  2. #17
    Join Date
    Mar 2017
    Location
    Forest Lake MN
    Posts
    340
    I am no expert on hand tools but I have built a good many work benches that are rock solid. In my limited experience a perfectly square bench will wobble on most floors due to some unevenness of the floor. I have always built the frame from the bottom up so it is squarely on the floor before installing a level top. Its not uncommon for the longest post to be 1/2 inch longer than the shortest.

  3. #18
    Can you post a picture of you workbench?

  4. #19
    Join Date
    Jan 2007
    Location
    Michiana
    Posts
    3,072
    Hi Jerry -

    I went with high mass and large joinery. My structural members are glued up 2x6 construction limber, and joinery is large scale mortise and tenon that has been drawbored and pinned. The mortises were actually created prior to gluing up the legs (1/2 on each side) so no chopping was required. It was a fairly simple process and it's solid as a rock. It was reclaimed lumber too so it didn't break the bank.

    Sharp solves all manner of problems.

  5. #20
    Quote Originally Posted by john zulu View Post
    Can you post a picture of you workbench?
    You asked for it:

    D85FB8FF-AD30-4855-BC32-A7B05F196715.jpg

    Early in in the build. Once the slabs are installed the box will be complete.

    99A28C23-864A-4143-AC22-2C9E0952579D.jpg

    Back side with asymmetrical slabs.

    BF1C9872-13BB-490F-AE84-4742AC2F8AC2.jpg

    Ready to work.

    Photos of some changes will follow, but this is basic bench.

  6. #21
    Join Date
    Jan 2017
    Location
    Marina del Rey, Ca
    Posts
    1,938
    KH--why asymmetrical slabs vs 1 slab?
    "Anything seems possible when you don't know what you're doing."

  7. #22
    oh I just realized you were asking about building your new bench. I thought you were interested in fixing your old bench until your new one was done. Gussets on a new bench don't make any sense. There's tons of info here and in other places about making a sturdy new bench.

  8. #23
    Quote Originally Posted by andy bessette View Post
    KH--why asymmetrical slabs vs 1 slab?
    Andy,

    Several reasons, the most important for me is ease of build and stability of the bench. Around 300mm to330mm is all the width needed for work area but the bench needs close to twice that width for stability. I work alone and a single slab for a 100mmX600mmX2500mm bench top would weight around 400lb. Way too much for this OF to handle alone. Split that in half or ⅔ and each hunk becomes manageable.

    Other reasons, by splitting, each part will fit in my 20” planer. The squareness of base and slab makes little difference because any error will be cured by the split. And the split makes a good holder for saws, chisels and squares in use.

    It doesn’t have a down side but has many advantages.

    ken

  9. #24
    A year or so after completing the bench I found the perfect Beech board to add an apron to the bench. Turing it into my perfect French/English bench.

    9F5B5E0B-AD34-45BE-AB54-BDED55418C87.jpg


    As much as I enjoy building benches I doubt this one will be replaced, I expect there will secondary benches built, like a couple more Moravian benches built “just because” and I may replace the old prep/planing bench but unless what I use a workbench for completely changes this one will stay in place as the main bench.

    ken

  10. #25
    Join Date
    Jan 2007
    Location
    Michiana
    Posts
    3,072
    Quote Originally Posted by ken hatch View Post
    You asked for it:

    D85FB8FF-AD30-4855-BC32-A7B05F196715.jpg

    Early in in the build. Once the slabs are installed the box will be complete.

    99A28C23-864A-4143-AC22-2C9E0952579D.jpg

    Back side with asymmetrical slabs.

    BF1C9872-13BB-490F-AE84-4742AC2F8AC2.jpg

    Ready to work.

    Photos of some changes will follow, but this is basic bench.
    I like this bench. I wish I had room in my tiny shop for something this size.
    Sharp solves all manner of problems.

  11. #26
    Join Date
    Mar 2006
    Location
    Austin Texas
    Posts
    1,957
    Jerry, here is a mostly Benchcrafted design bench. I have a 4" gap between the split top slabs for a sliding tray and a couple of chisel racks to sit in and slide to the best location for work. As Ken says, no way I could move a one piece top around so I went for two 12" slabs that work well for me. I tend to plane on one side and do joinery on the other, although that is not written in stone. In addition to the BC leg and wagon vises, I also have a face vise located on the "back" (far side in the photo) left hand side. M&T construction with drawbored pins on the stretcher-to-leg connections. Another benefit to a split top is that you only have to make two mortises (on the underside of the split tops) match up to the tennons on the leg tops at a time. I made my leg-top to slab-bottom M&T connections a slightly looseish fit so that I would not have to fight to get a top slab in place. Wrestling the 8' long by 4" thick by 12" wide slab is work enough as it is without having to attempt to jerk a half made up-stuck slab off for mortise cleanup a few times. No wobble, no jiggle and still slideable (on the concrete floor) if I get serious about wanting to move it. I do not have any anti-slide material on the bottom of the legs and have no movement during hard service planning.
    Attached Images Attached Images
    David

  12. #27
    Join Date
    Jan 2017
    Location
    Marina del Rey, Ca
    Posts
    1,938
    Quote Originally Posted by ken hatch View Post
    ...a single slab for a 100mmX600mmX2500mm bench top would weight around 400lb. Way too much for this OF to handle alone...
    Other reasons, by splitting, each part will fit in my 20” planer...
    At 74 I can appreciate what an OF can handle alone. For heavy objects I sometimes use either a patient lift or HF shop crane. It is very rare that I need to move an assembled bench.

    I'm green with envy over a 20" planer! Mine's an old 13" Delta.
    "Anything seems possible when you don't know what you're doing."

  13. #28
    Quote Originally Posted by Rob Luter View Post
    I like this bench. I wish I had room in my tiny shop for something this size.
    Thanks Rob,

    It has lbeen a great bench.

    ken

  14. #29
    Join Date
    Aug 2007
    Location
    Dickinson, Texas
    Posts
    7,655
    Blog Entries
    1
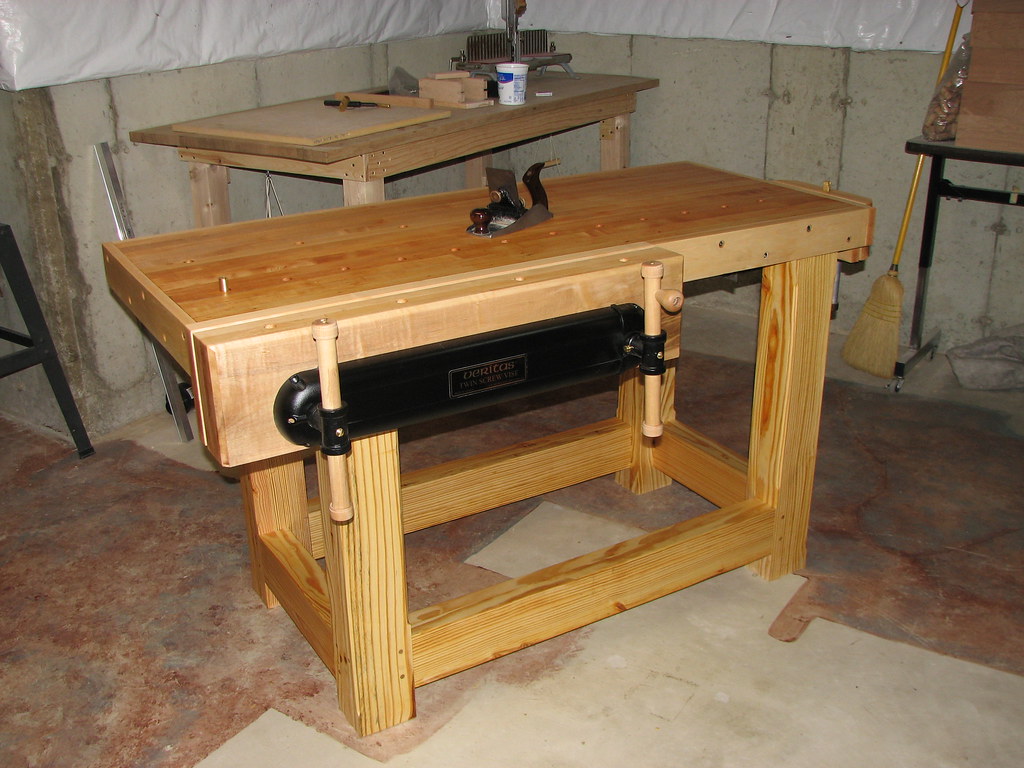
    My bench is made with 2X12 boards with a top and front apron. The legs are 4X4's. The front apron is 2X12.
    There are two rows of dog holes in the top on 6" centers.

    The bench does not wobble and has enough mass that I can plane on it. There are dog holes in the front so
    I can put a board in the vice and using round bench clamps, boards can be planed straight and square.
    I built it like the benches Paul Sellers made at Homestead Heritage in Elm Mott, Texas (near Waco).
    Last edited by lowell holmes; 12-30-2017 at 7:50 PM.

  15. #30
    Join Date
    Nov 2007
    Location
    north of baltimore, md
    Posts
    36
    Is the wobble you are suffering with due to racking of the leg joinery or from uneven floors?
    No project too small or too expensive.

Posting Permissions

  • You may not post new threads
  • You may not post replies
  • You may not post attachments
  • You may not edit your posts
  •