I didn't plan to do this, but I had a chance to reset one of my most used handles to show one of the guys on WC how I go about doing this. I owe Stanley Covington a great deal of credit, as it was not only a FaceTime conversation, but years prior to that a thread right here on SMC which set me on the right track. It's contributions like Stanley's that have me loving this board, and so I thought I'd share some photos.
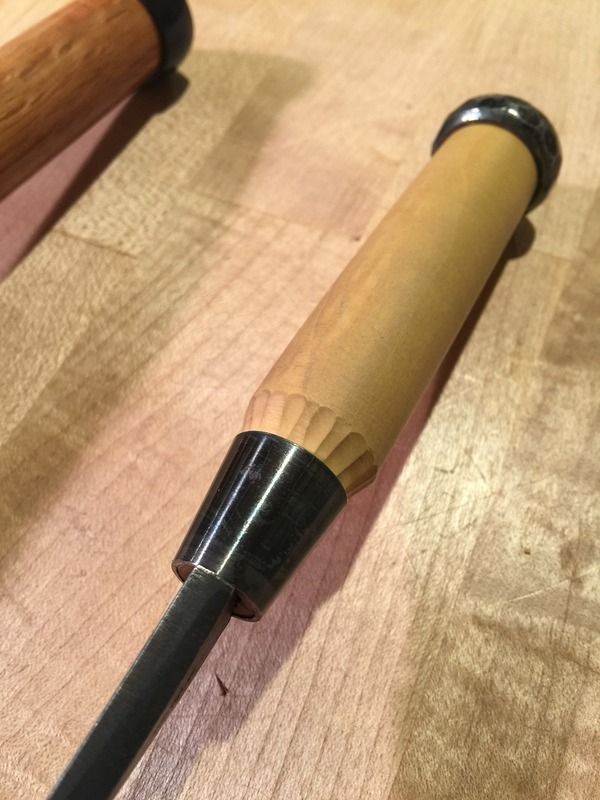
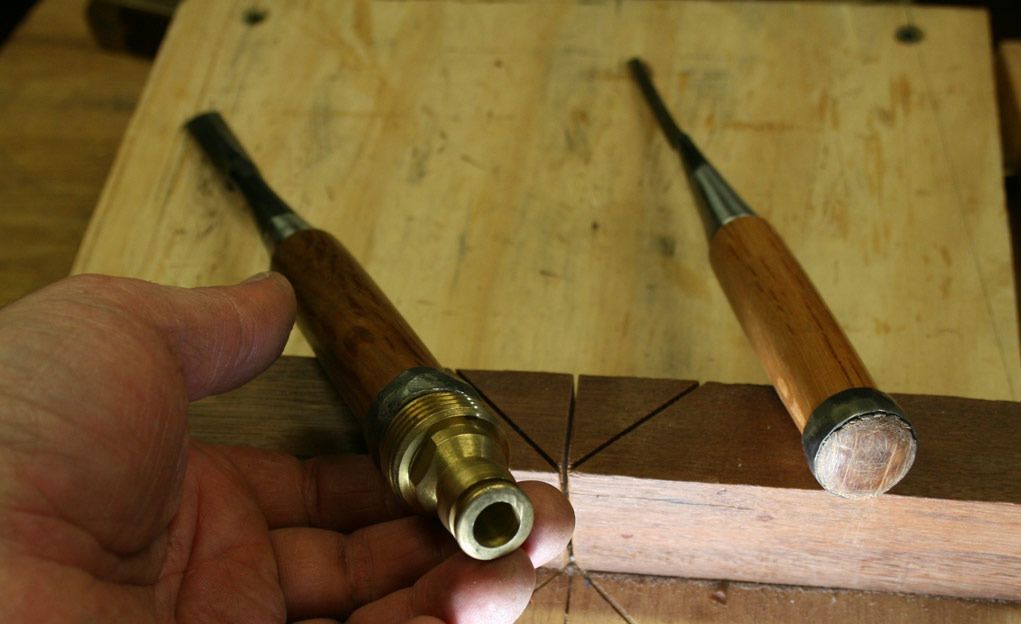
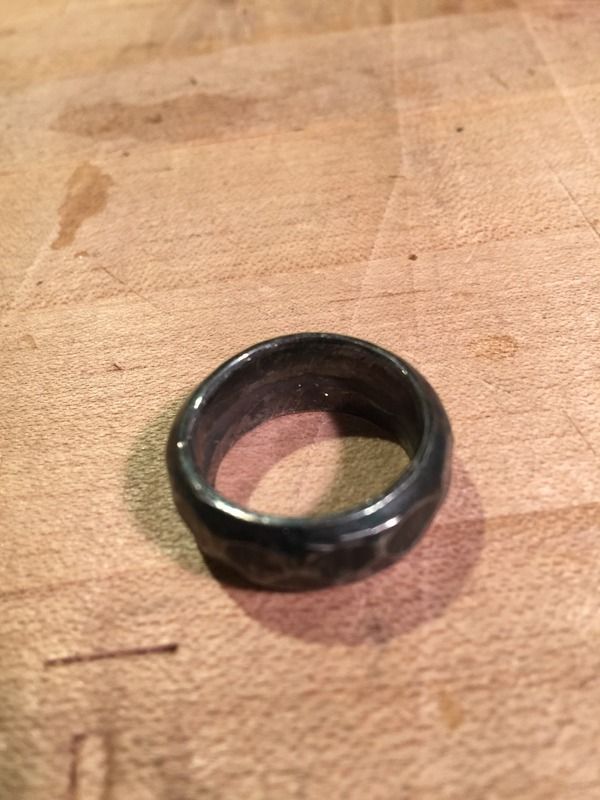
First; a professionally setup chisel from Japan, notice there are no water stains and the wood isn't protruding out along the sides heavily.
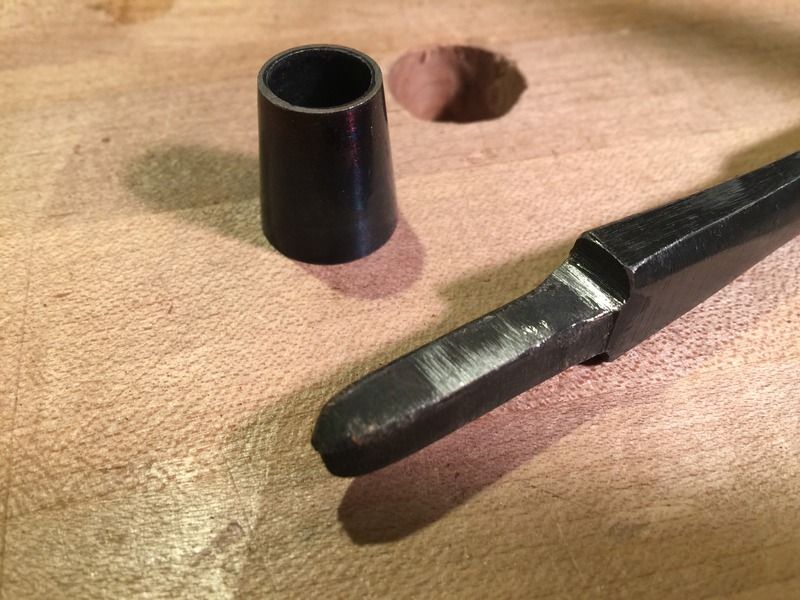
Please Notice I have taken the handle off of the chisel before starting. I have little interest in injuring myself during this process, so I put the sharp part aside.
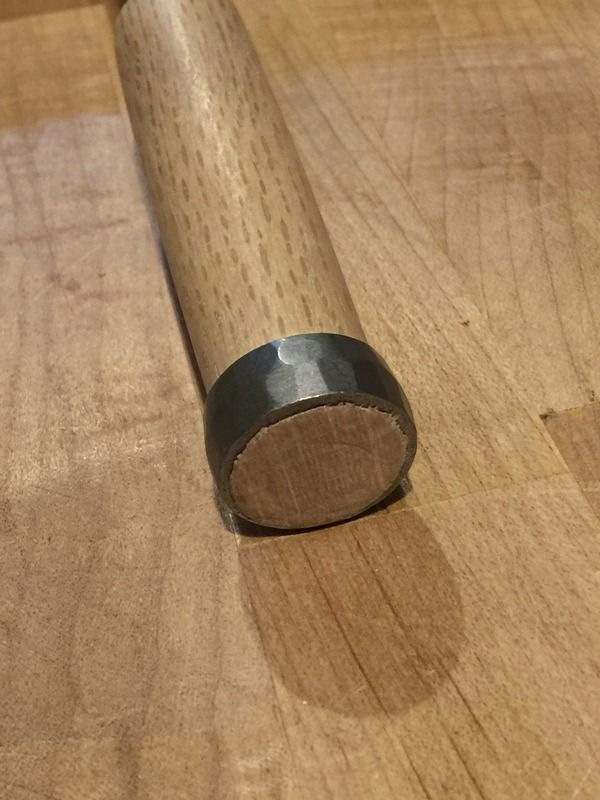
I cut the handle back to untouched wood. These are gumi handles, so they are incredibly hard wearing and have a certain springiness that makes them nice to use. My handle does not have any sharp ledges....because the hoop was radiused on the inside when I put it together a good while back.
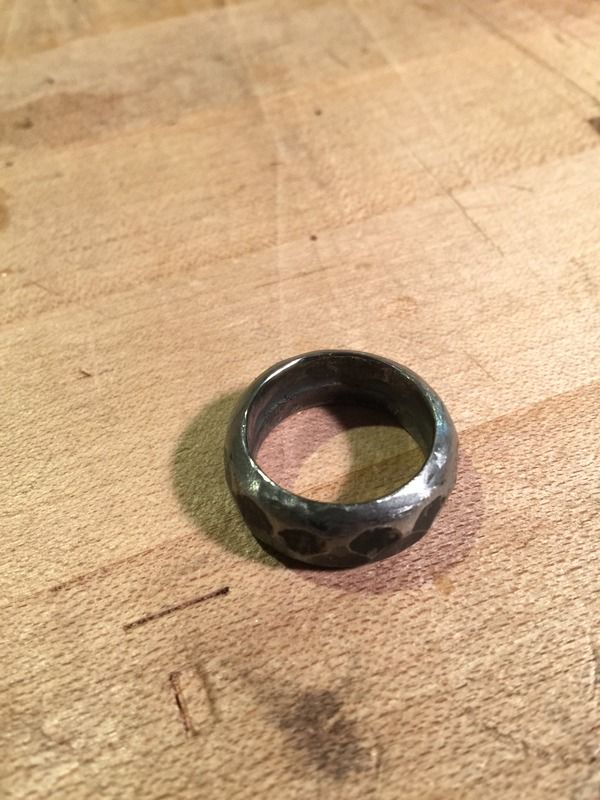
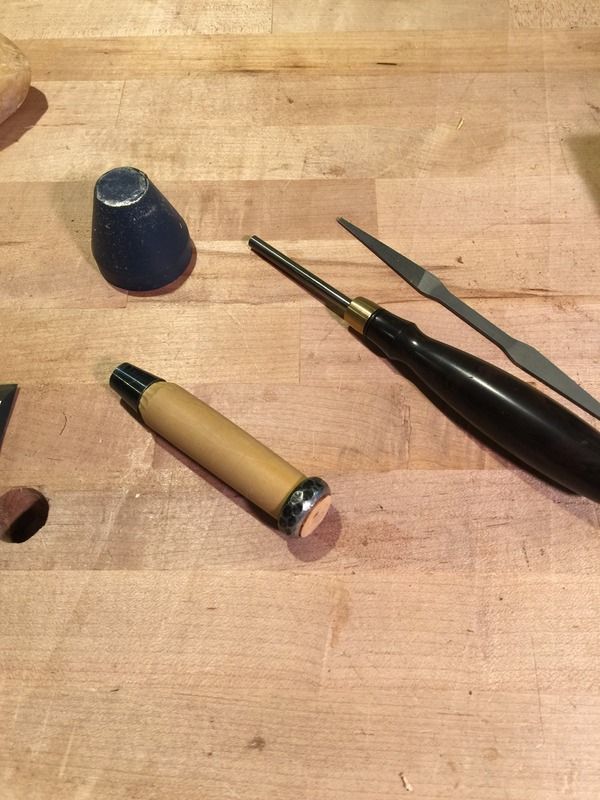
To completely remove any lingering burr; I work the top of the hoop with a file, work the inside of the edge to a radius with a file, then finish up that edge with a carbide burnisher.
Same on the bottom
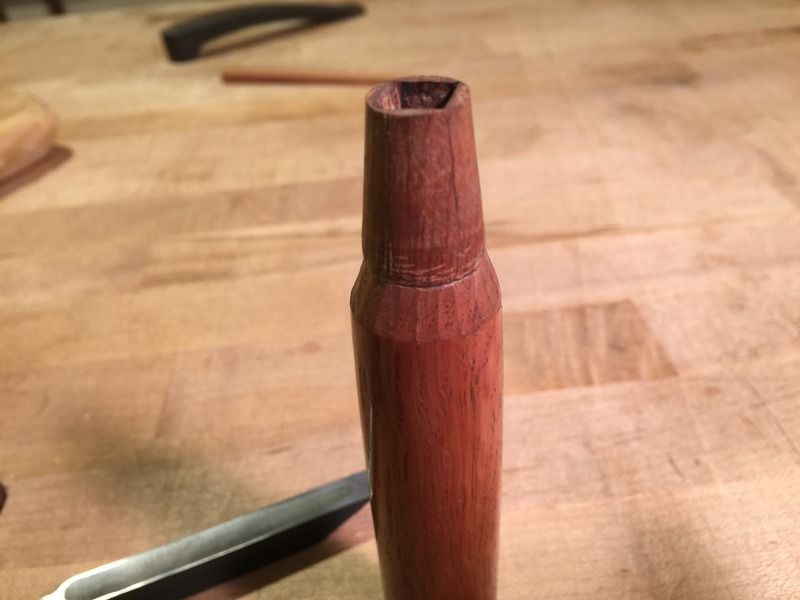
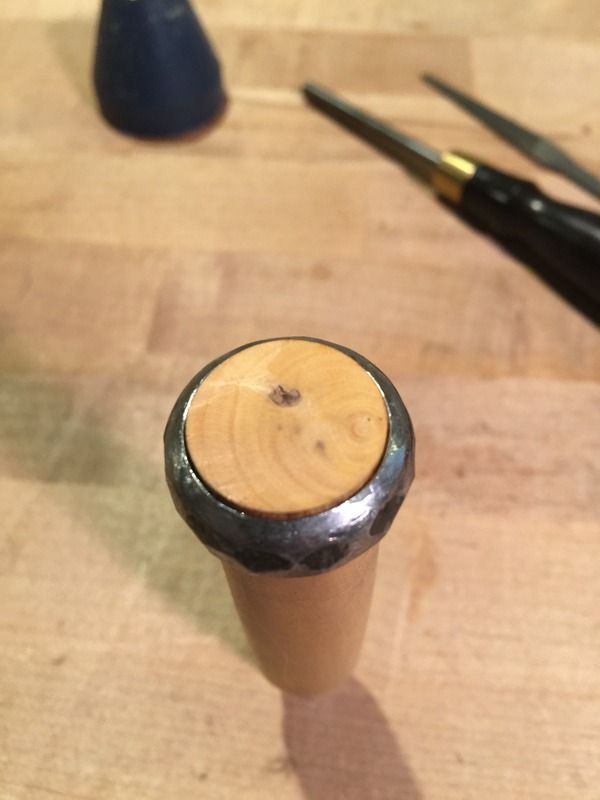
I install the hoop using a hoop setting tool and a mallet. I do not need to trim the wood or do kigoroshiThe hoop is nicely radiused, so as it is knocked down onto the handle it is compressing the wood, that compression is what retains the hoop.
I didn't measure, but I wold guess that is about 1.5mm.
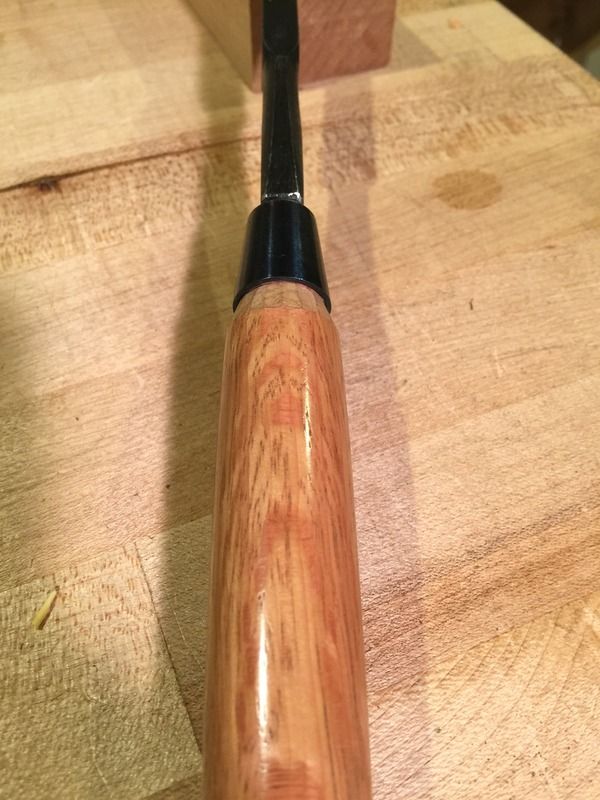
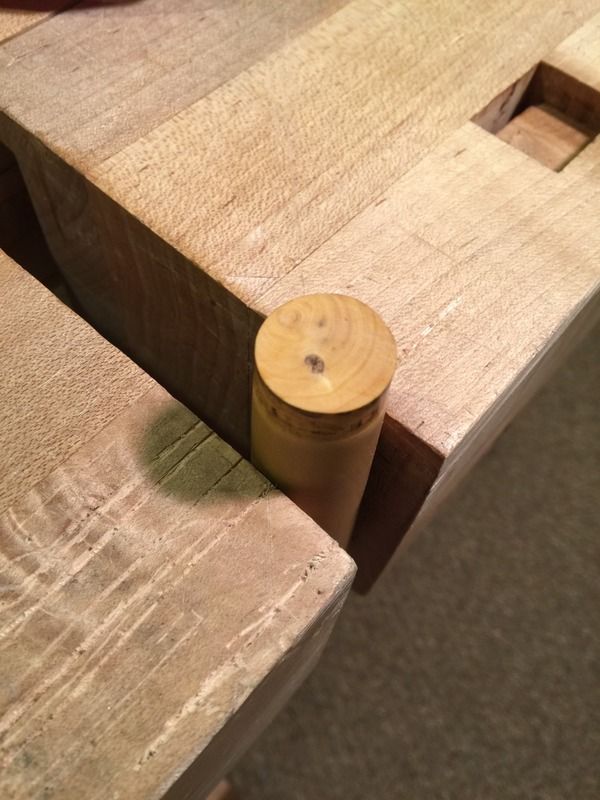
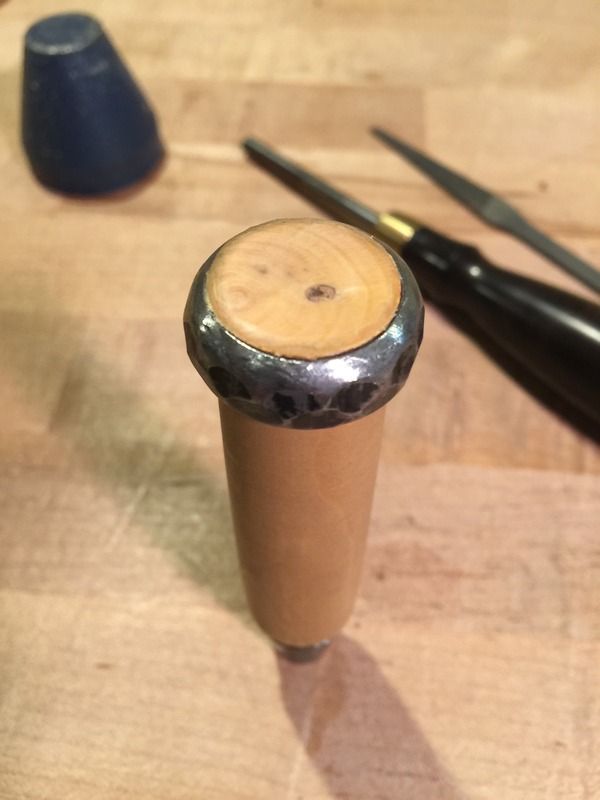
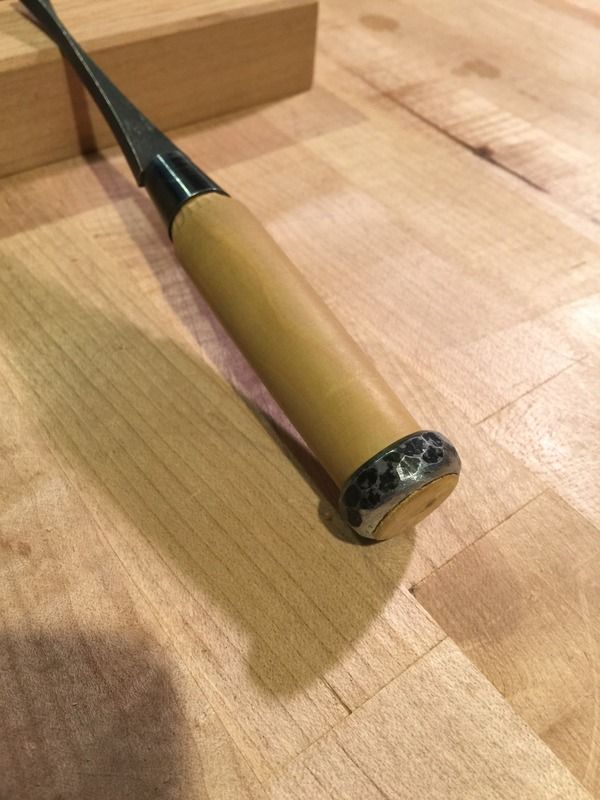
Finally, lightly peened. Note the radius on the top of the hoop will allow the wood to expand and not to shear off due to a sharp edge. If the wood shears off the wear process will accelerate.
Then, reinstall on the chisel.
Stanley trims the inside of the hoop with a cutting tool, since I do not own that cutting tool I use this method. Slight difference, his approach is quicker but same result.


 Reply With Quote
 )
)

 . I'm like you on this one Fred. Thanks Brian for some guidance!