Sawmill Creek is flowing sluggishly under the ice today, so I thought I would post something.
Some of you may recall my mentioning in a post a year or so ago that I was reworking the methods of mounting tools inside the lid of my old toolchest. My day job has kept me very busy since then, but I finished the work over the holidays, and so at last I can post some photos.
Some background first. I made this dovetailed and frame & panel toolchest in 1992 - 1993 of Honduras mahogany. The design is generally based on drawings I found 20 years ago in an old British book of woodworking instruction. One major departure from the British design was the addition of the 5" deep lid, a feature that, besides providing the most easily-accessible space in the chest, has been very effective in keeping the lid tight and warpage-free.
The original varnish finish looked good when new, but it did not age well after 17 years of use and several international moves, so I refinished it with milkpaint in 2011 after reading The Anarchist’s Toolchest. I did not follow Mr. Schwarz’s example of topcoating the milkpaint with custom-mixed black latex paint, but protected it with only a thin coat of polyurethane ala Mike Dunbar. I think this has worked out well.
I did follow Mr. Schwarz's example in refinishing the interior with shellac. This was a huge improvement over the old Watco Danish Oil.
With this newest configuration, I can access 80% of the tools I use most often directly from the lid and top tray, without having to move trays or bend over at all. This saves me time, and my old back complains less as a result.
Saws are stored in a standalone saw till, a frame & panel box with a hinged lid and a drawer, also per the British design, and which fits precisely into the well in front of the trays.
This latest configuration of tools is the result of a lot of trial and error. I will continue to modify it as time allows and whimsy prompts, but it is good enough for now. As you can imagine, the hardest part was mounting as many tools as possible in easily accessible locations, but in a way that keeps them securely in place when the lid is opened and closed. There is plenty of room for improvement, but time and tide and all that rot.
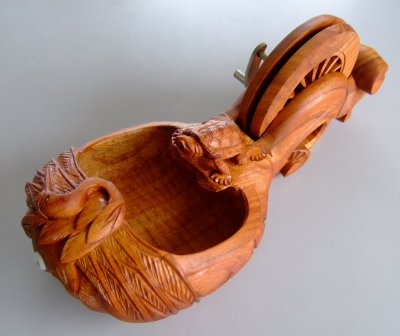
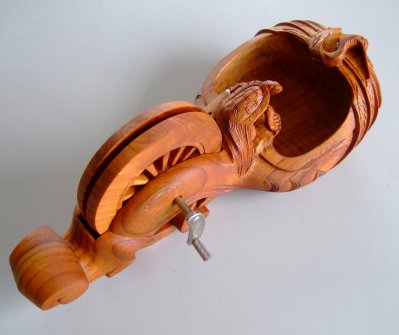
The lid contains 2 dividers, 3 straightedges, 1 caliper, 1 combo square, 3 precision try squares, a bevel gage, 8 marking gages (4 Kinshiro), a wooden crane & tortise sumitsubo (functional but mostly decorative), a wooden-handled screwdriver, 2 spiral screwdrivers with various bits and gimlets, an egg beater drill, 8 hammers and gennou, a protractor head, a brace and 20 bits, inkbottle, a 10-pc set of Kiyohisa oire chisels, and the indispensible sokozarai chisel at the far right.
The hammers are held in their slots by super magnets. The marking gages are retained by sliding their beams, or one of their two blades in the case of the Kinshiro kama kebiki, up and locking them in place. The chisels are retained by both friction in their slots, and pressure from the sprung wooden panel behind their blades. The drill bits are stored behind this panel. Unfortunately not easy to get at. The sumitsubo is retained by a fitted wooden hook and a leather thong. Most everything else is retained by various kinds of latches. Everything stays in place, but I would probably need to tie the hammers down more securely if I had to roll the chest any distance over a rough surface.
When the lid is up, I normally cover the opening to the lower portion with an old furoshiki cloth to keep out dust.
If you have any suggestions for improving either the configuration or the methods of securing the tools, please let me know.
Stan

 Reply With Quote