Results 1 to 11 of 11

Thread: Stabilzing wood

  1. #1

    Stabilzing wood

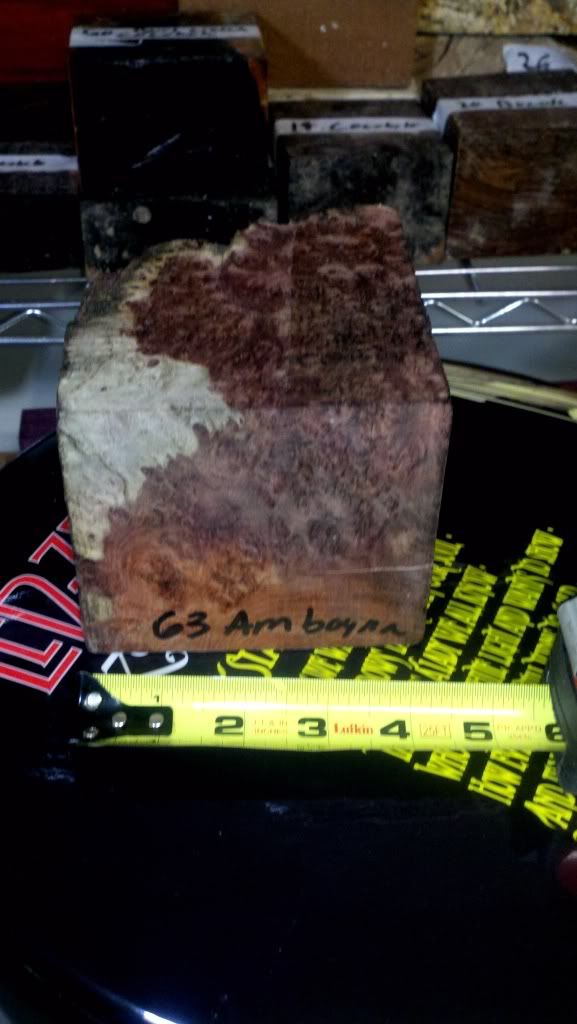
    I picked up some mad rare wood today specifically a huge piece of natural edge redwood burl the size of a average adults head , and a 5in by 5 in by like 3.75 in deep rich colored piece of amboyna burl . Neither of them have cracks but I want to stabilize them both so when I do turn them they have a better chance of not blowing out . I don't want to blow out a piece of amboyna burl I would cry like a baby . So I am wondering what should I use to stabilize them ? I don't want to do the weird baking or lab looking methods . I would prefer some kind of dip or injection or whatever .
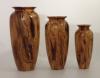
    Look at these babies ..
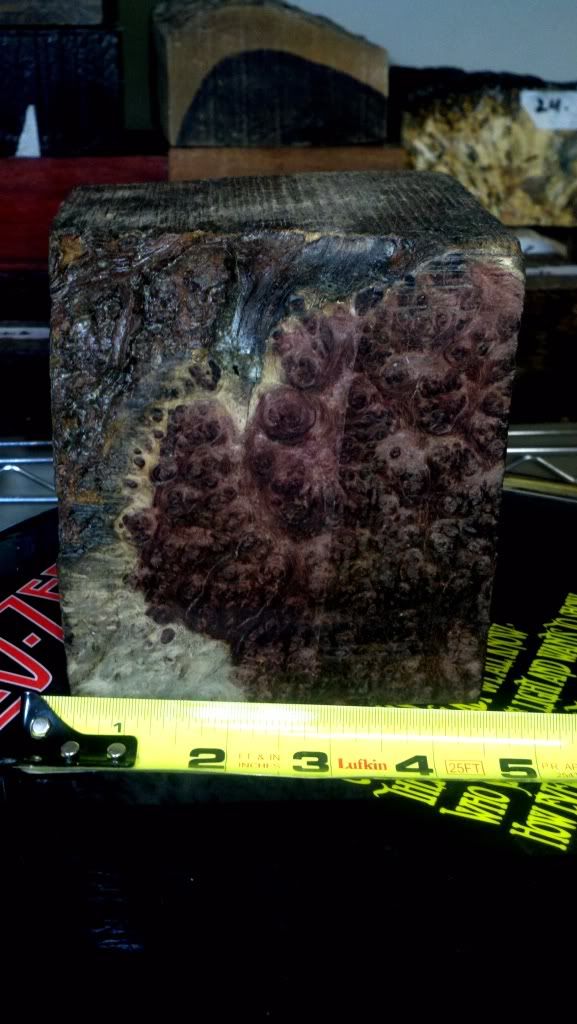
    this would be the top of the bowl

    this would be the side

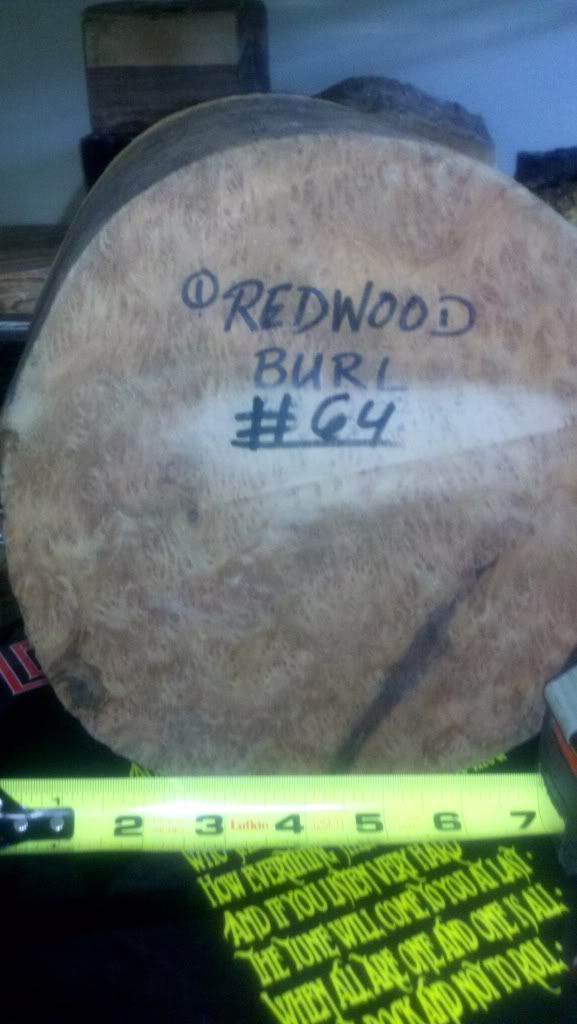
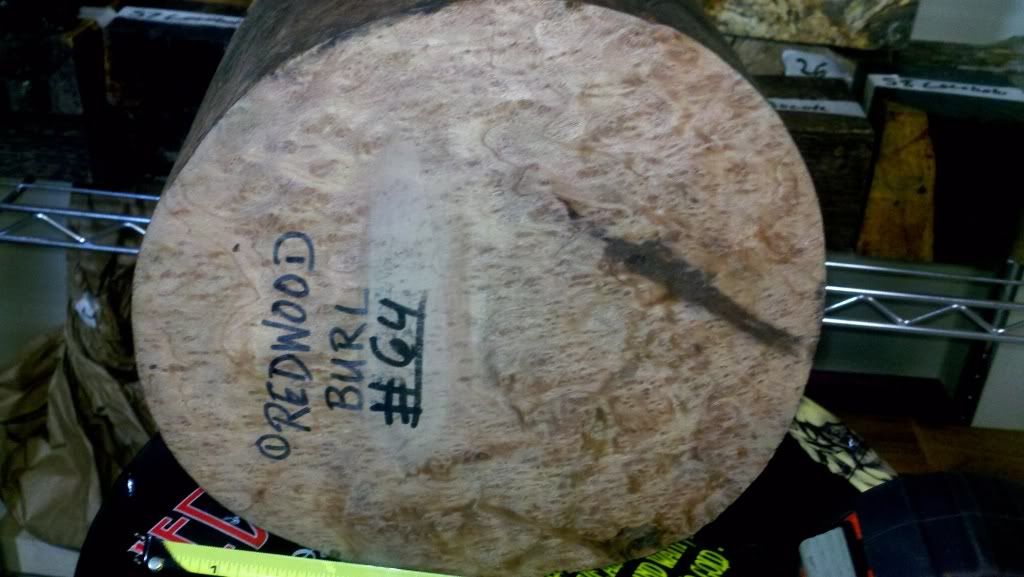
    the sick redwood burl bottom

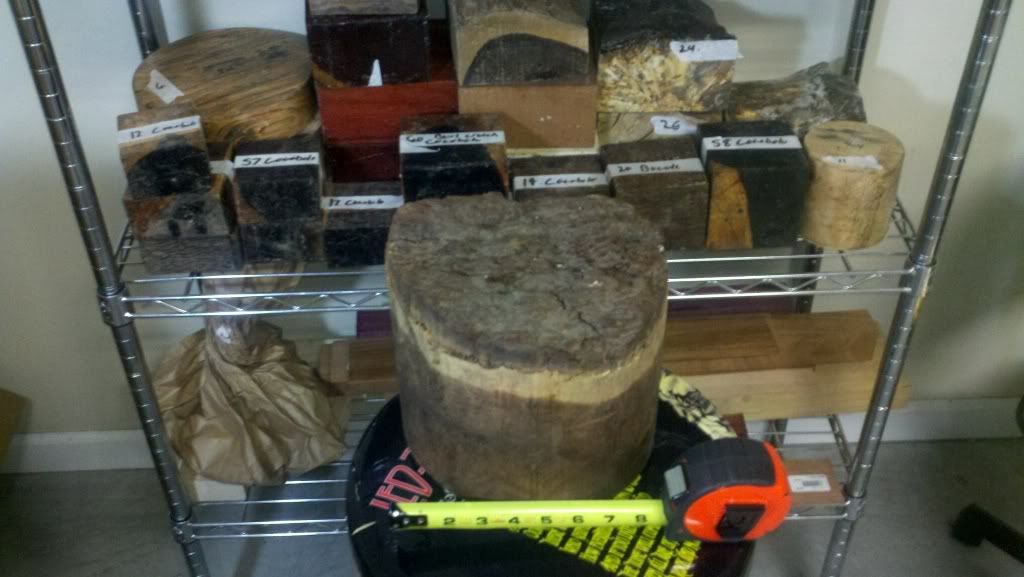
    the top of the monster thats a big barstool .

    better view of the burl

  2. #2
    Jordan,

    Be aware that Amboyna burl is extremely poisonous, and even looking at it can cause severe bodily harm! Send it to me imediatly. I am specially trained in the disposal of such ugly wood.

    Wow, that Amboyna is beautiful. It is my favorite wood, but I've never been able to bring myself to buy anything larger than a pen blank of it. I couldn't bear to ruin it. I am sure the redwood is nice too, but I am sure it will look better after you turn it. Congrats!

    Sorry, I don't know a cheap or easy way to stabilize it.
    Last edited by Brian Brown; 11-16-2012 at 12:05 AM.
    Brian

    Sawdust Formation Engineer
    in charge of Blade Dulling

  3. #3
    Join Date
    Mar 2011
    Location
    Pendleton, KY
    Posts
    803
    Jordan,
    Are you wanting to STABILIZE them or SEAL them. That's 2 different things. By the sound of your post, it sounds like you want to seal them. If so, I like the original Anchorseal - not the new "green" Anchorseal 2. However, I don't think you'd want to apply it to the natural edge. You would probably do fine with sealing everything but the NE with Anchorseal, let it dry for a few hours (or over night until it is less tacky) and put them in a paper grocery bag or similar paper and store in a cool place.

  4. #4
    Quote Originally Posted by Eric Gourieux View Post
    Jordan,
    Are you wanting to STABILIZE them or SEAL them. That's 2 different things. By the sound of your post, it sounds like you want to seal them. If so, I like the original Anchorseal - not the new "green" Anchorseal 2. However, I don't think you'd want to apply it to the natural edge. You would probably do fine with sealing everything but the NE with Anchorseal, let it dry for a few hours (or over night until it is less tacky) and put them in a paper grocery bag or similar paper and store in a cool place.
    I am wanting to harden them since they are known to be soft woods . I want them hardened so they will turn better and smoother .

  5. #5
    If you're wanting to stabilize them, I'll advise against trying to do it with a homebrew method. In my opinion none of them work half as well as having the material professionally stabilized. I send a lot of wood out for stabilizing and have used a handful of different folks to do it. Wood Dynamics in Pennsylvania does better work than any other that I have tried, and Mel's reasonably priced and very friendly. Your wood needs to be dry before stabilizing. I don't know if you'll have any luck finding anyone that can get good/full penetration of the resin in a block the size of a human head....Most of what I stabilize is duck call size in the 1-1/2" to 2" range. Mel at Wood Dynamics would be able to let you know if it is possible.

  6. #6
    FYI, the pros use vacuum pumps to pull a strong vacuum on the piece in a sealed tank of resin to draw the resin in.

  7. #7
    Why do you have reason to believe these will blow apart? In my (limited) experience, you get clues that a piece will break during the turning: punky areas or voids. I see neither in your wood. I would just turn it as is, being careful to stop often and look for potential issues.

    The bigger issue IMHO is whether they are fully dry are not. If you are uncertain, I would first anchorseal them and leave them for a year. Keep inspecting them periodically for cracks.

  8. #8
    Join Date
    Jan 2005
    Location
    Goodland, Kansas
    Posts
    22,605
    Ditto what Prashun said.
    Bernie

    Never put off until tomorrow what you can do the day after tomorrow.

    To succeed in life, you need three things: a wishbone, a backbone and a funnybone.


  9. #9
    Join Date
    Dec 2006
    Location
    Mesa, Arizona
    Posts
    1,799
    Jordan,

    Congrats on finding such fine pieces of burl. You're wise not to disclose where you live. Some would feel obliged to enforce some sort of burl sharing program on you.

    As to your question about stabilizing, I think you'll find that it cannot be done unless you are willing to cut up your burl into much smaller chunks. Even under pressure, it's difficult to get the stabilizing solution to penetrate more than 2" below the surface. (The depth of penetration varies primarily on how porous the would is.) This is why you hardly ever see stabilized wood blanks for sale that are larger than pen blanks or bottle stoppers.

    Having said that, you can stabilize the surface of the wood as you turn. For this, there are several methods. You can soak the exterior of your blank with a 50/50 tightbond/water mix. You can liberally apply thin CA glue to all the cracks that you can see in the blank. Or, you can soak the exterior of the blank in Minwax High Performance Wood Hardener. Then, as you turn below where the wood has been stabilized, reapply the treatment of your choice.

    Each of the three methods has its advantages and disadvantages:

    • The tightbond/water approach is the least expensive and seems to leave the wood the most natural looking. But it doesn't penetrate very deeply -- not even into tiny cracks. So, you'll be lucky to get penetration of more than a 1/4". This can make turning a painfully slow process. You have to stop, reapply the glue, and let it dry very frequently. I find this approach works best with very punky/porous wood.
    • The CA glue wicks down into the cracks fairly well. It does a pretty good job of holding the blank together -- except when it doesn't. Thin CA glue doesn't fill gaps very well. It does a good job of preventing a crack from widening, but you'll need to supplement the thin CA glue with medium or thick CA to fill any gaps. So, thin CA does a fairly good, if unpredictable job of stabilizing a piece. It will travel down a crack several inches and will help keep a large blank together. However, it's expensive and tends to stain the wood -- which might require you to saturate the surface of your entire turning with CA (just before your final cut or two) to get an even color.
    • Minwax's Wood Hardener does exactly what the name implies. It is designed to soak into water damaged wood (think a bathroom's window sill) and harden it so that the wood does not need to be replaced. Turners use it to harden spalted blanks that are too punky to turn. On a sound blank, like your burls, Wood Hardener will not penetrate deeply -- except into cracks and voids. It does a better job of gap filling than thin CA and, in essence, turns the blank into a wood/plastic matrix. Like CA, it is expensive. It also changes the way the wood behaves when finishing -- the wood may not accept penetrating stains. It also might darken, slightly, light colored woods. So, again, you might need to coat your entire project with the stuff in order to get an even color. The downside from CA is that it takes longer to cure.

    Of the three, Minwax Wood Hardener is my preferred method for larger pieces. I use all three methods, depending on the circumstances.

    Good luck!
    David Walser
    Mesa, Arizona

  10. #10
    It appears that wood juice will work well for what I need .

  11. #11
    I also just went and purchased pentacryl and polycryl . Lets see how this stuff works

Posting Permissions

  • You may not post new threads
  • You may not post replies
  • You may not post attachments
  • You may not edit your posts
  •