Page 2 of 3 FirstFirst 123 LastLast
Results 16 to 30 of 34

Thread: Lumber Rack & Engineer Questions

  1. #16
    Join Date
    Nov 2007
    Location
    NW Indiana
    Posts
    3,086
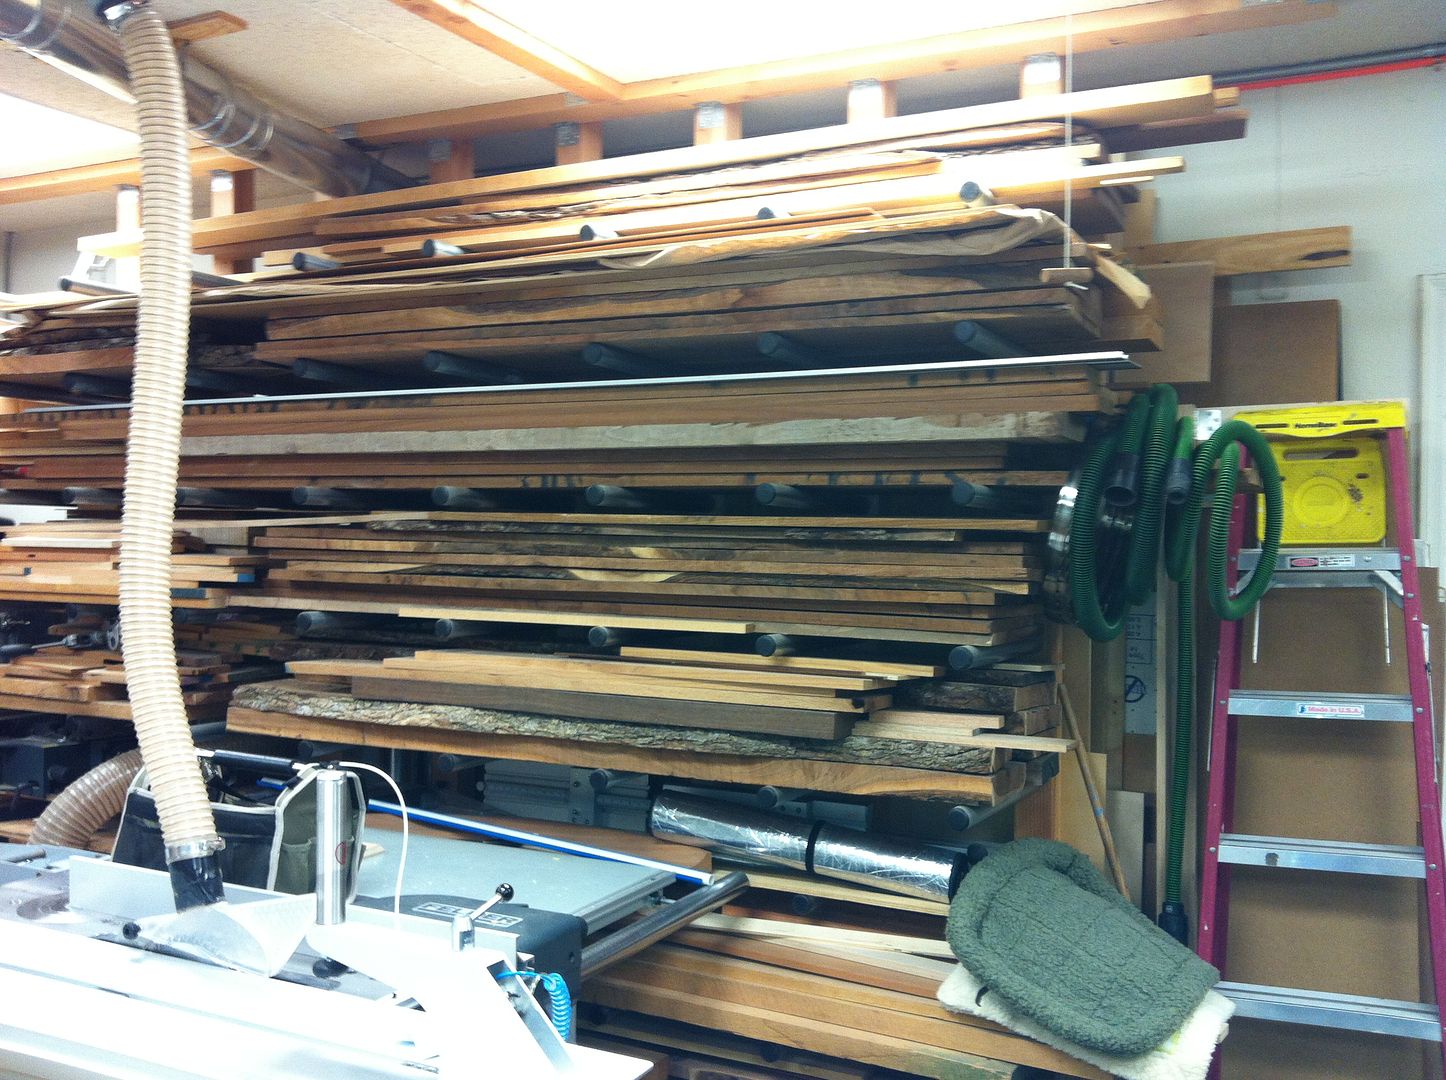
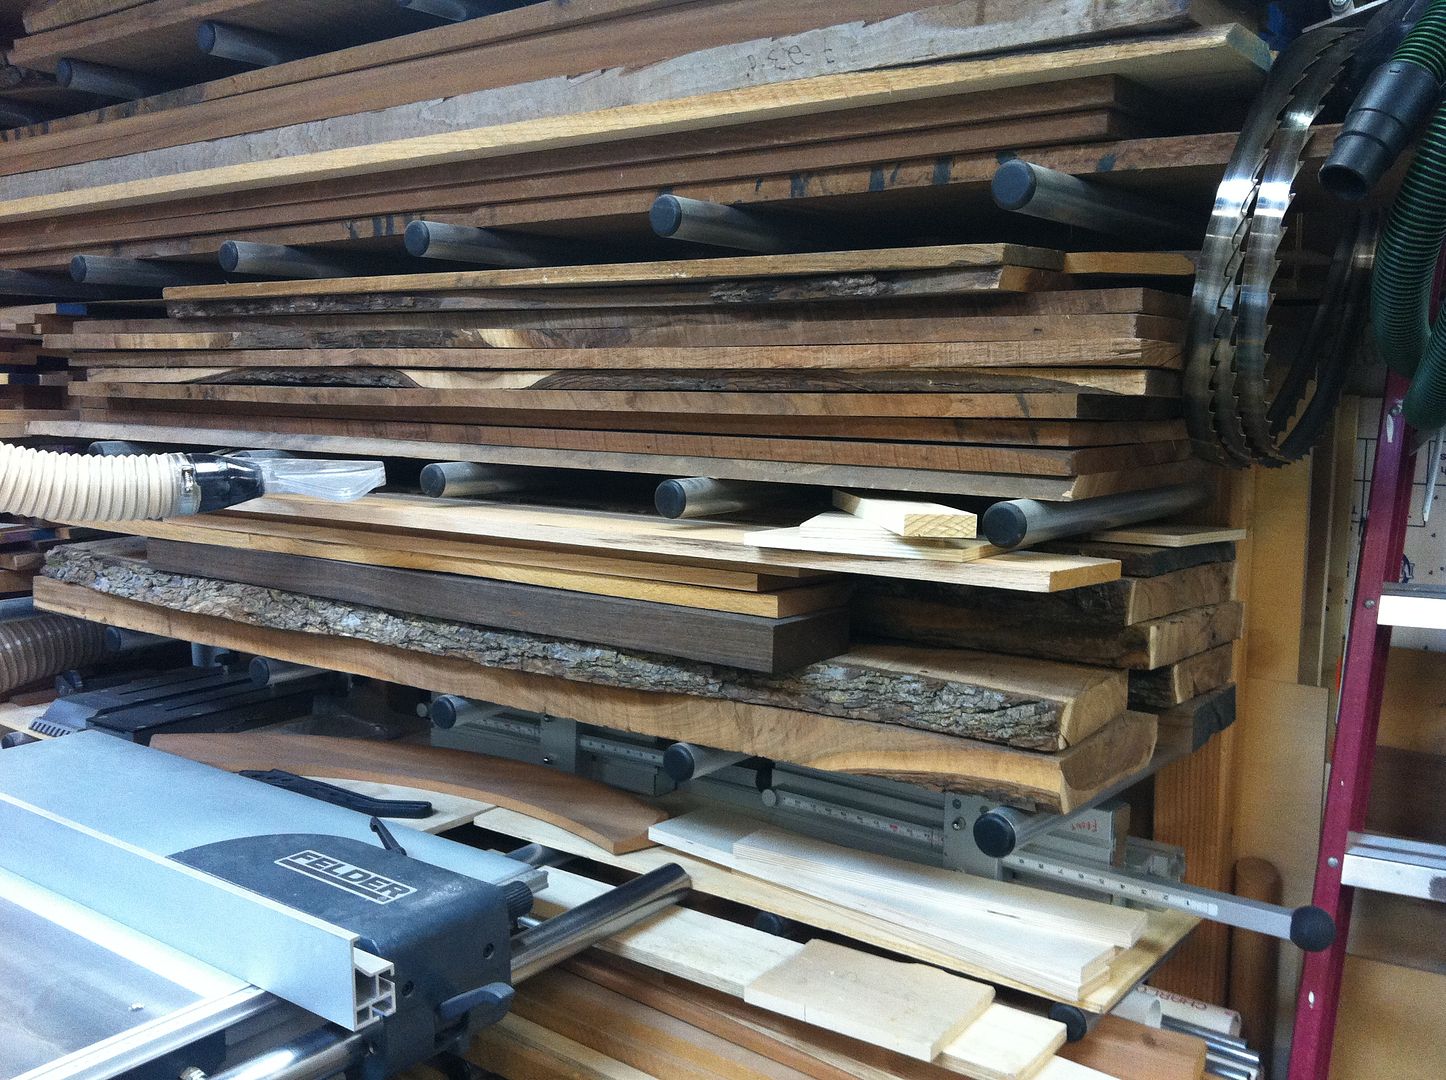
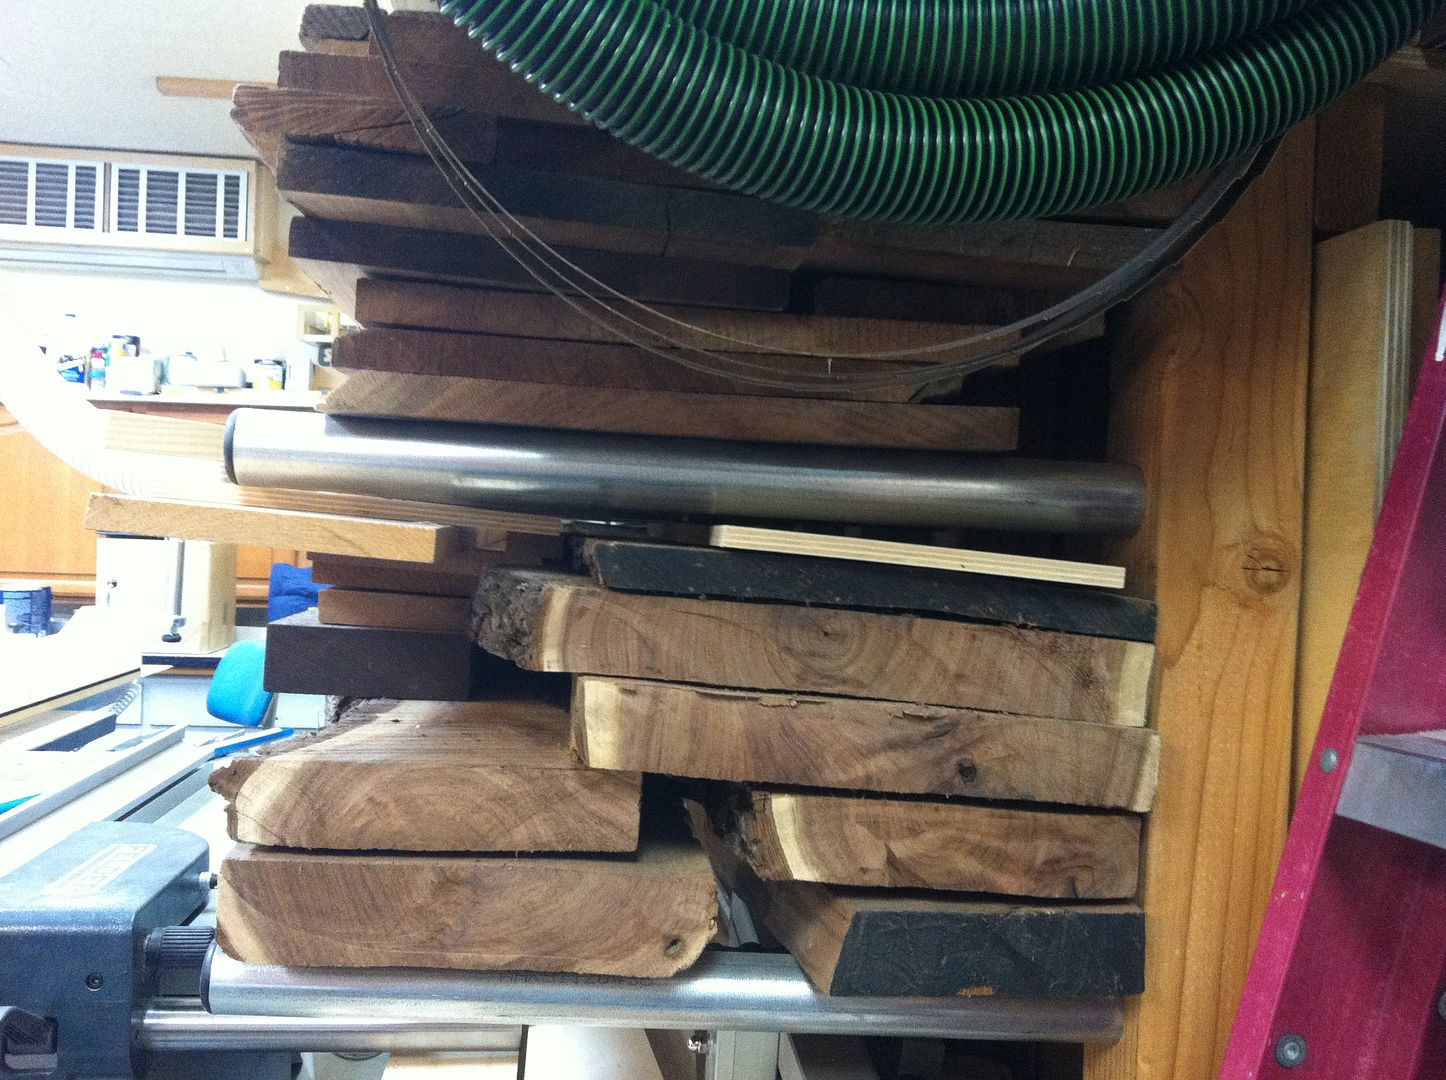
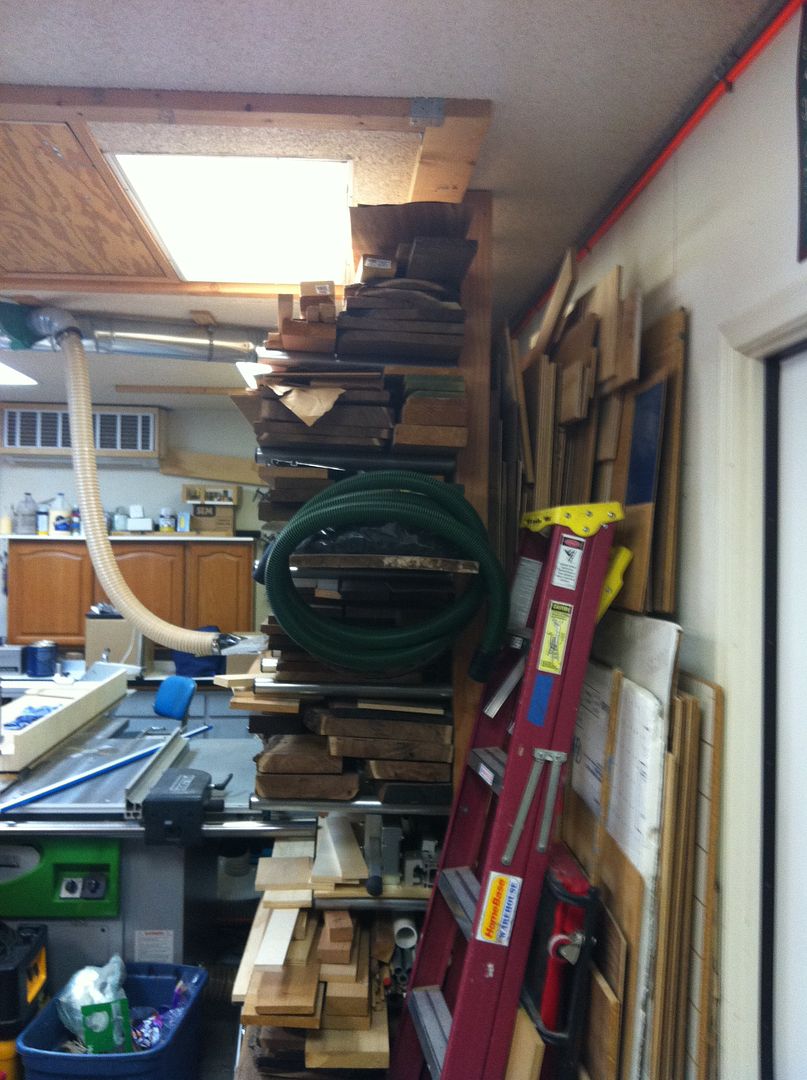
    I built a bunch of shelving in my garage and shop for wood storage. I looked at all kinds of designs and what other have done. I was just not completely satisfied that the home built systems would be strong enough. I ended up using the Fast Mount System by John Sterling which is a galvanized steel adjustable shelves. The stated weight load capacity is very high and they have worked very well. They only thing that I did was to add upside down u-shaped wooden pieces on the brackets to keep the wood from touching and possibly staining the wood.

    I bought mine at a Menards when they had one of their 11% off everything sales. They are also available at many other places.

  2. #17
    Join Date
    Nov 2010
    Location
    Anchorage, Alaska
    Posts
    1,617
    Adrian,

    Even if you start the shelves at 4' high, I recommend you extend the vertical piece to the floor. This will transfer the weight of the wood directly to the floor rather than through the studs. Then lag bolt or use a nut, bolt and washers to hold the verticals to the studs. This will reduce the bolt load to keeping it from "falling over" rather than also supporting the wood.

    Jim
    One can never have too many planes and chisels... or so I'm learning!!

  3. #18
    Join Date
    Apr 2006
    Location
    Phoenix AZ Area
    Posts
    2,505
    I did something similar but I used thin wall conduit instead. I drilled holes in the 4 by 4s at a slight angle (like 5 degrees from 90) which is what the design I followed suggested. Mine is crazy strong. I picked the conduit that measured 1 3/4" outside diameter and my bars are 20.5" beyond the edge of the 4 by 4. I also found plastic caps to pop in the ends. I had to buy like 200 caps so I have lots of extras. My rack is like 12 ft long and there is A LOT of material on it.

    I believe the round profile bars are stronger than the angle iron approach unless you can be sure the angle irons won't twist. I weight 235 lbs and when I was testing this approach I jumped up and down on one bar and it never moved. I suspect the conduit is cheaper too, but I didn't price angle.

    Here are some iPhone pics.


  4. #19
    Join Date
    Jan 2011
    Location
    Fort Worth, TX
    Posts
    290
    EMT scares me. Its thin walled, and is made so it will bend easily. If I go the tube route I will just buy 3/4" 11 gauge pipe or tube
    -------------------------------------
    Adrian Anguiano

    "For I know the plans I have for you," declares the LORD, "plans to prosper you and not to harm you, plans to give you hope and a future". Jeremiah 29:11

  5. #20
    Join Date
    May 2008
    Location
    MA
    Posts
    2,260
    Quote Originally Posted by Bruce Page View Post
    I don’t have the space to keep a lot of excess wood on hand so I built this small lumber rack to accommodate my needs. It consists of 1X4’s lag bolted through the sheet rock into the 2X4 studs. The heavy duty brackets are lag bolted through the 1X4 into the studs. The lumber in the pic is 95% white oak & cherry so it is quite heavy. I did show my design to a civil engineer friend before building and he didn’t have any concerns about the load.
    Mostly I am impressed by how organized, clean, and neat your shop is Bruce.....

    (oh, and the lumber storage works great also!)

  6. #21
    Join Date
    Feb 2003
    Location
    In the foothills of the Sandia Mountains
    Posts
    16,644
    Quote Originally Posted by Carl Beckett View Post
    Mostly I am impressed by how organized, clean, and neat your shop is Bruce.....

    (oh, and the lumber storage works great also!)
    Thanks Carl. That’s an old pic, it doesn’t look like that today. I have a stack of rough 5/4 cherry sitting in front of the garage door and I replaced the Delta drum sander with a larger Woodmaster DS so it’s a little more crowded.
    Please help support the Creek.


    "It's paradoxical that the idea of living a long life appeals to everyone, but the idea of getting old doesn't appeal to anyone."
    Andy Rooney


  7. #22
    The cantilever on the angle iron is imparting a moment to the 4x4s... this is being resisted by two things...

    1.) is lagging the 4x4s to the wall studs... but now you need to ask yourself, what's holding the wall studs in place.... through nails or toe nails at the plate and the resistance to pull out from the nails secruing the exterior plywood sheathing.
    &
    2.) the cleat that is attached to the joists in the ceiling is giving this design a lot of strength.

    I kind of like the design, as long as you can get the angle iron at a reasonable price. I would double up each stud that has a 4x4 lagged into it.... and add some add'l toe nails...

    When attaching the 4x4's ... I would ue 5/16" x 6" lags and drill a clearance hole in the 4x4 and I would NOT pilot hole the studs.... I would also put most of my lags at the top 1/2 of the stud with only a couple at the bottom.

    And I would make sure that I put the cleat at the top with at least 2 deck screws at each joist it crosses. If the ceiling is strapped parallel to the rack wall.... use more screws space every 8" or so into the corner stapping and then add a deck screw to the strapping at every Joist.

    Make sure you at least prime the angle iron... or the first time you put a red oak board on it, you'll discover what tanic acid is all about.

  8. #23
    Join Date
    Jan 2011
    Location
    Fort Worth, TX
    Posts
    290
    Im thinking of maybe going with this http://www.discountsteel.com/items/G...omments=&qty=1

    3/4" pipe thats galvanized, and schedule 40 thickness. Im guessing i wouldnt even need to paint it or worry about contamination with wood with it being galvanized. And i can probably turn some kind of wooden cap to hammer into the ends.

    what yall think?
    -------------------------------------
    Adrian Anguiano

    "For I know the plans I have for you," declares the LORD, "plans to prosper you and not to harm you, plans to give you hope and a future". Jeremiah 29:11

  9. #24
    I thik you'll be O.K. going with galvanized pipe....

    you can buy 3/4" pipe in 10' sections at HD around here for ~$16/ea.

    I think you're going to rack up a healthy shipping bill ordering it on line.

  10. #25
    Join Date
    Jan 2011
    Location
    Fort Worth, TX
    Posts
    290
    That online site is just down the street from me. I didnt know HD had it that cheap. Ill check em out.


    Sooo... whats the best way to drill a 1" hole at a 5% angle consistently in the exact same spot on every board??? When the board is at an angle you cant put the center of a drill bit or forstner on the exact mark. And im thinking its probably pretty critcal on the 6 4x4 verticle supports I will use; that way the wood is supported by every pipe.
    -------------------------------------
    Adrian Anguiano

    "For I know the plans I have for you," declares the LORD, "plans to prosper you and not to harm you, plans to give you hope and a future". Jeremiah 29:11

  11. #26
    Join Date
    Apr 2010
    Location
    Nashville, TN
    Posts
    1,544
    Quote Originally Posted by Adrian Anguiano View Post
    Sooo... whats the best way to drill a 1" hole at a 5% angle consistently in the exact same spot on every board??? When the board is at an angle you cant put the center of a drill bit or forstner on the exact mark. And im thinking its probably pretty critcal on the 6 4x4 verticle supports I will use; that way the wood is supported by every pipe.
    I would make a jig at the drill press to act as a guide that could be clamped onto the uprights. Layout your holes off of a common point on the jig. It could be as simple as a 2x4 block with 1" hole in it at 5 degrees. Attach side pieces to the block to center it on the 4x4 and layout your distances off the front, square edge of the block taking into account its distance from the center of the hole. The 5 degree angle is not critical, just that it slopes up some and that it is consistent. I imagine 4 or 6 degrees would also work as long as it is consistent from hole to hole. That being said, you could probably drill it with a hand drill at the bench.

    Hopefully your ceiling joists run perpendicular to the rack. If so, lag the 4x4s to the wall, then install a 2x4 cleat in front of them flat to the ceiling (as shown in your pic). Attach the cleat to each joist with two screws. This will take some of the load off the wall studs and transfer it to the ceiling joists as the rack is loaded. Make sure the 2x4 is tight to the 4x4s at the top.

    Mike

  12. #27
    Join Date
    Jun 2008
    Location
    Huntsville, AL
    Posts
    1,250
    Quote Originally Posted by Greg Portland View Post
    Simply drill the hole into the 4x4 at a slight angle (to account for weight loading / sag) for the pipe.
    I was wondering what bothered me about the design... then I saw your post. I was thinking the bars should tilt up a bit as well. Still, the angle iron in slot will be affected by side forces... the pipe is a better idea.

  13. #28
    Join Date
    Jan 2011
    Location
    Fort Worth, TX
    Posts
    290
    So if I have a 16" pipe, 3" into a 4x4 is enough?

    It just seems like that puts a ton of pressure on those 3 inches and the pipe would bend or start to crush.

    Am I wrong?

  14. It will be fine. Remember your going with way thicker pipe than what I went with and mine has 17" sticking out from the doubled up 2 x 4's that I used.

  15. #30
    Join Date
    Jan 2011
    Location
    Fort Worth, TX
    Posts
    290
    Thanks for the help everyone. Here are the details for others interested.

    4x4 Douglas Fir - 8ft long; $10 x 6 qty = $60
    3/4" galvanized pipe 10ft long; $17 x 6 qty = $102
    1/4" x 6" Spax Screws; $.59 x 36 = $21
    26mm Drill bit; $13
    Total with Tax: $212

    Notes: 3/4" pipe has an outside diameter of 1.05. 1" bit was way to tight, and 1 & 1/8 was way too lose. So I had to buy a 26mm aka 1.02. It was still tight and hammering it was tiring, so a sledge hammer put them in quick, strong, and tight.

    I was planning on putting plywood underneath, but i started hammering a way and realized i put the pipe too low. I saw holes so i hammered the pipe in, I forgot i just put those holes for future needs.

    All holes were drilled with a 4% tilt on drill press.

    Take note if your ceiling isnt level. Mine wasnt due to the garage floor having a slight tilt. I didnt plan correctly so in a few spots I had to use a jack to push up the 4x4's to keep all the racks level.

    I wish I would of had those fuzzy microphone covers on my pipes, cause i banged my head and my teeth a few times.

    Would I use this method again??? If I had tons of lumber and lots of weight. then yes. If just a modest amount of lumber... No. It cost a lot more than I thought it would, and the expensive heavy duty shelving systems from Lee Valley, looked pricey, but now after building my own they dont seem as pricey, and are easier to reconfigure and reuse.

    This is my thoughts after 1 day. my opinion is subject to change in time. But I need to move on to other storage projects to put my garage back together again.

    20121008_101251.jpg20121013_150917.jpg20121013_154754.jpg
    -------------------------------------
    Adrian Anguiano

    "For I know the plans I have for you," declares the LORD, "plans to prosper you and not to harm you, plans to give you hope and a future". Jeremiah 29:11

Posting Permissions

  • You may not post new threads
  • You may not post replies
  • You may not post attachments
  • You may not edit your posts
  •