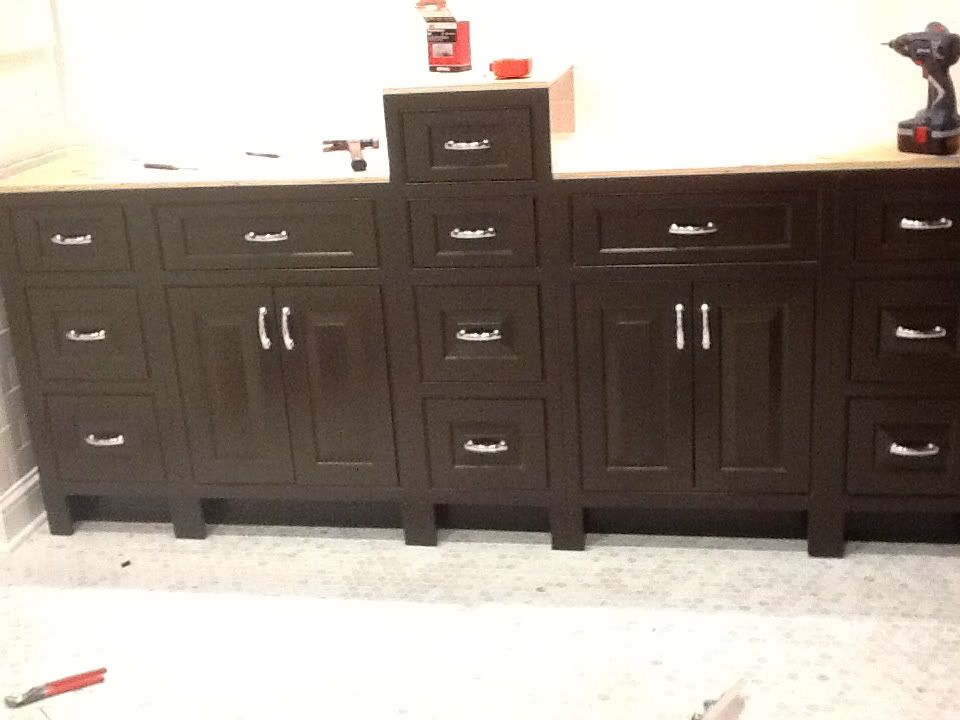
i started building these bathroom vanities back in january. the face frames are built out of poplar, beaded with the kreg beaded face frame jig, pocket holed with the PC pocket cutter, assembled with fine thread pocket screws and finally sprayed with behr latex using an airless wagner 404 pump outfitted with a graco contractor spray gun. the cases are constructed from melamine using butt joints and drywall screws (forgot to order confirmats before assembling the cases!) and fastened to the face frames with pocket screws. i built the raised panel end panels, door and drawer fronts on my mobile raised panel router station and ran them through the performax drum sander finishing them with the same latex paint and drying them on the special door rack that i purchased earlier this year.
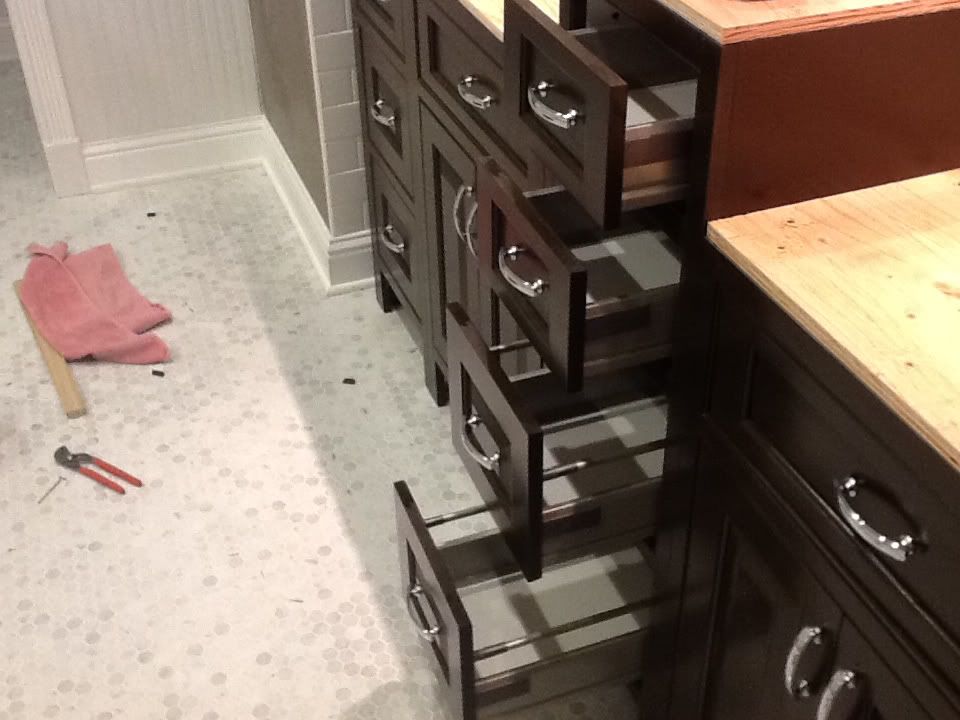
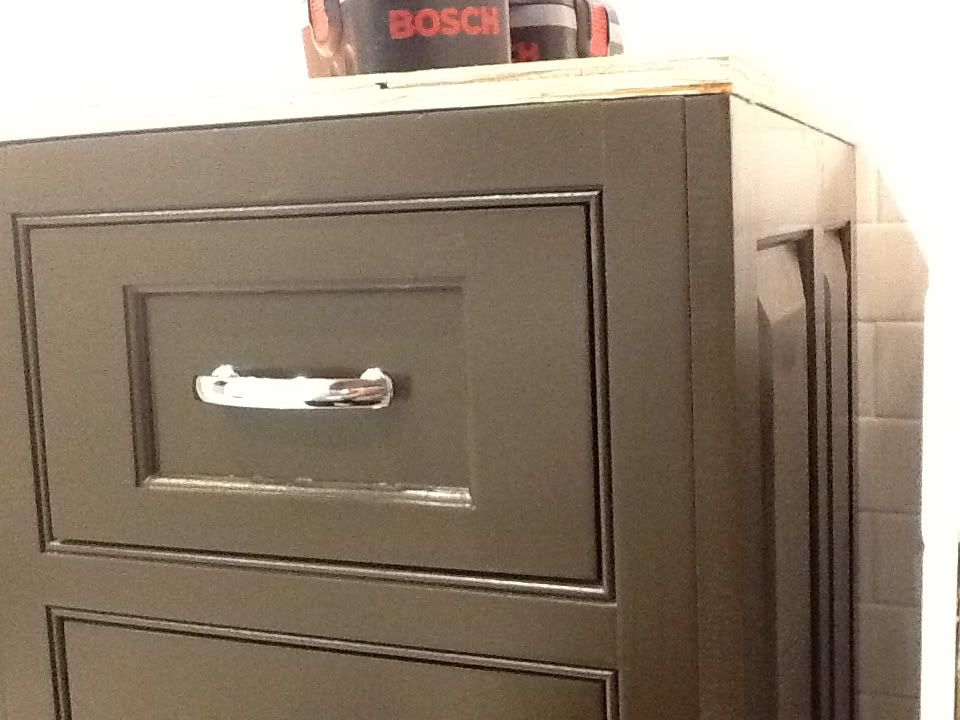
the tandem box drawers which i had bought last year specifically for this project went together very quickly. i pre-bored the screw holes for the drawer slides using a simple plywood jig that referenced from the front of the face frames. aligning the drawer fronts to the drawer box was pretty easy once i figured out the correct reference points for boring the holes with the blum universal boring jig. i installed the handles using a self-centering boring jig and mounted the doors with blum soft-close inset hinges.
i'm glad i made the vanity 5 separate cabinets because once the drawer slides were all mounted, the cabinets became even heavier and had to be moved upstairs. i used titus leveling legs to adjust the center cabinet to be parallel with the floor after discovering that my floor was not level and joined the other cabinets to it with drywall screws that were attached through the inside of the face frames. i was a little upset to discover that the cabinets to the right were "floating" because the floor was approximately 1/4" out of level but i must confess i was the one who tiled it...
i learned a few things from this project... in case you're wondering about putting feet on your future vanity or kitchen cabinets, i strongly advise against it. first of all, it makes routing the face frame members even more confusing both during the notching and beading process and they sure do make installing the toe kick plate afterwards much harder unless you're the kind of person that enjoys assembling bottled model ships! end panels like the ones on the center cabinet and the end cabinets should be installed prior to installing the cabinets.
overall, i enjoy the beaded face frame appearance but i'll have to make some adjustments so that i can still use the 32mm system in the future. i had forgotten what a pain it was manually boring all the alignment holes required for all the hardware! thanks for reading

 Reply With Quote