Some of you may be following the carved top prototype that I'm currently building. This is a flat top version of that design.
The plan:
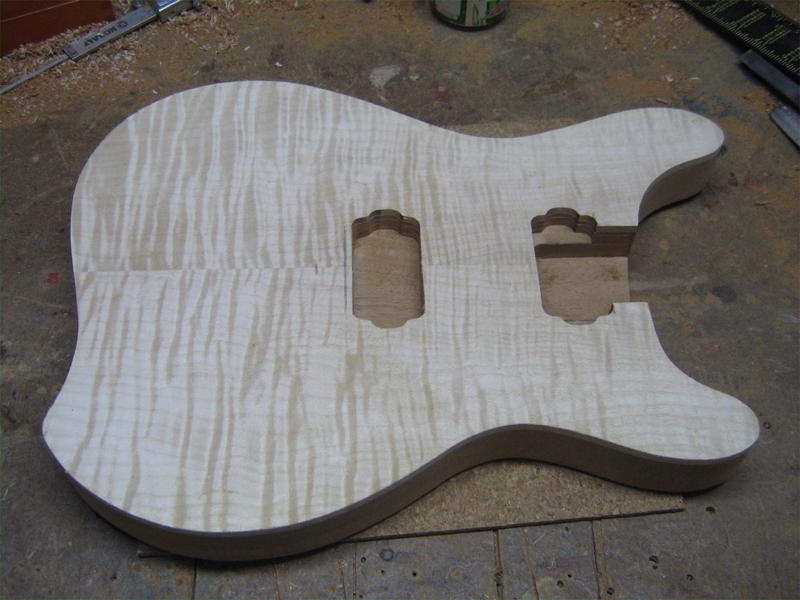
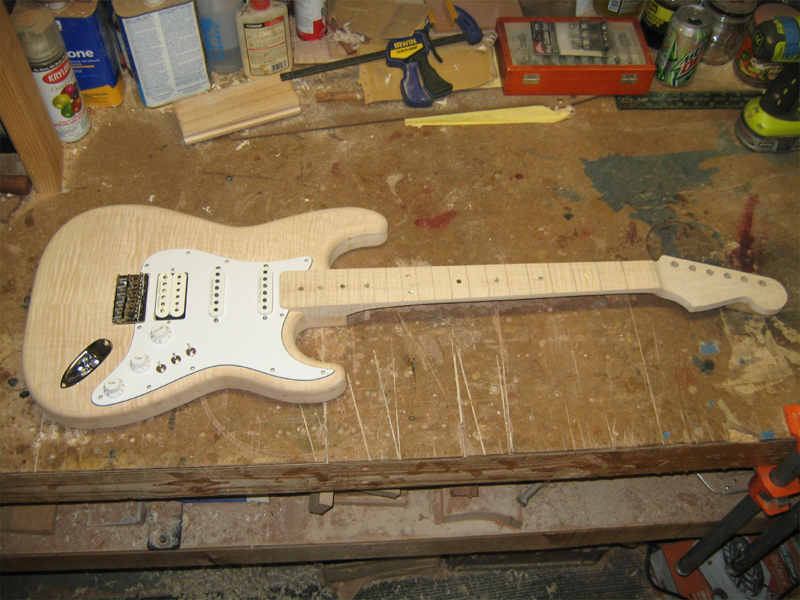
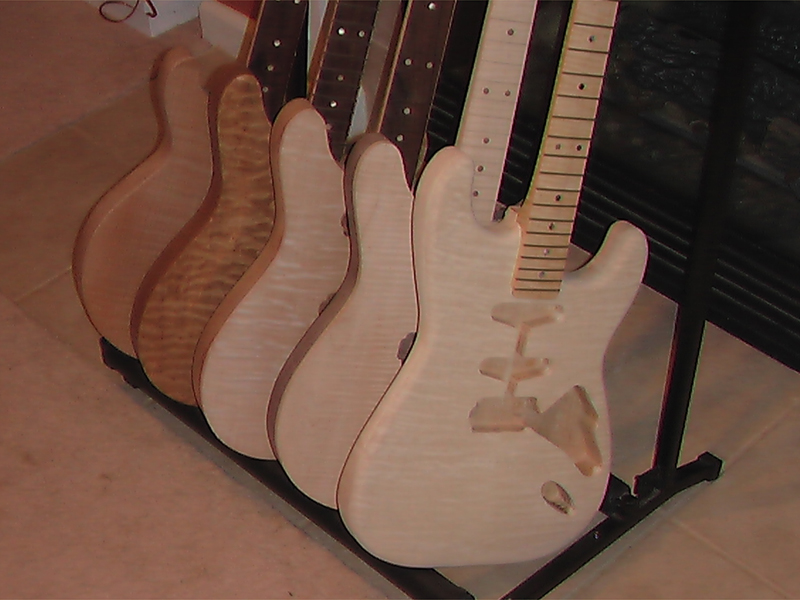
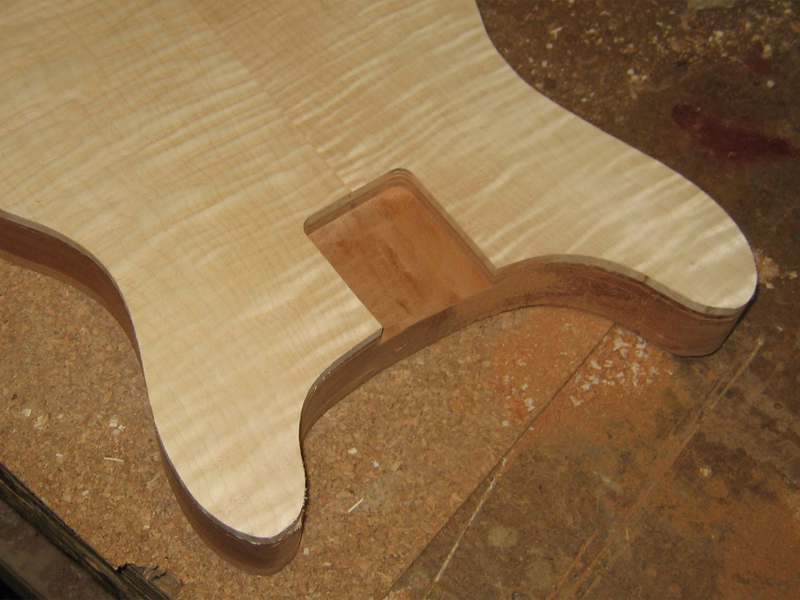
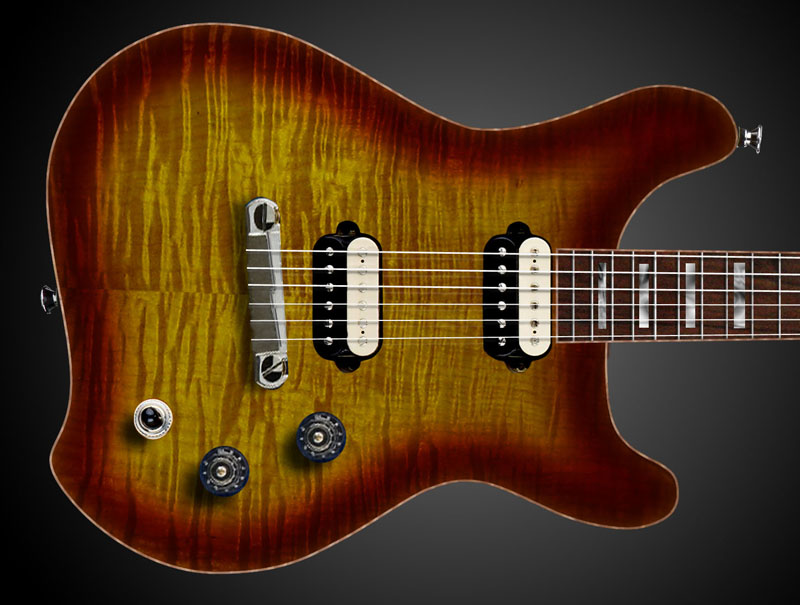
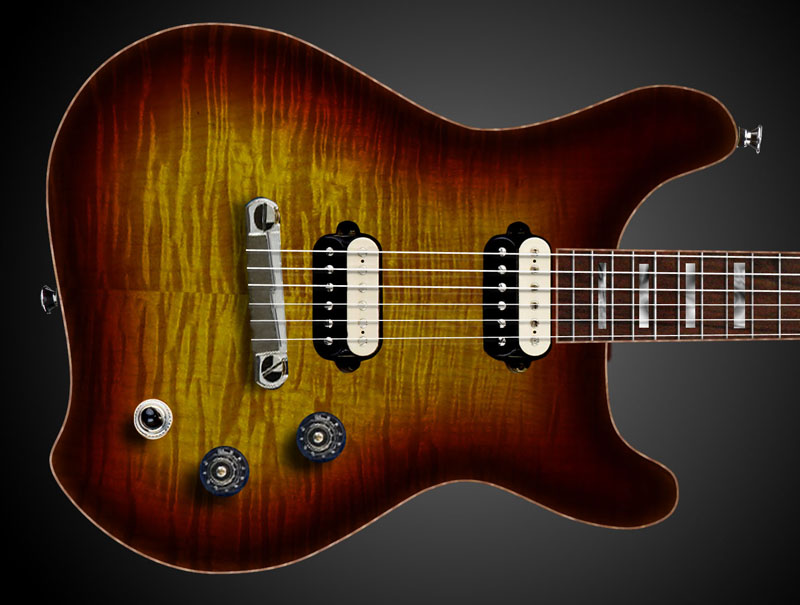
Mahogany body with flame maple cap, faux binding.
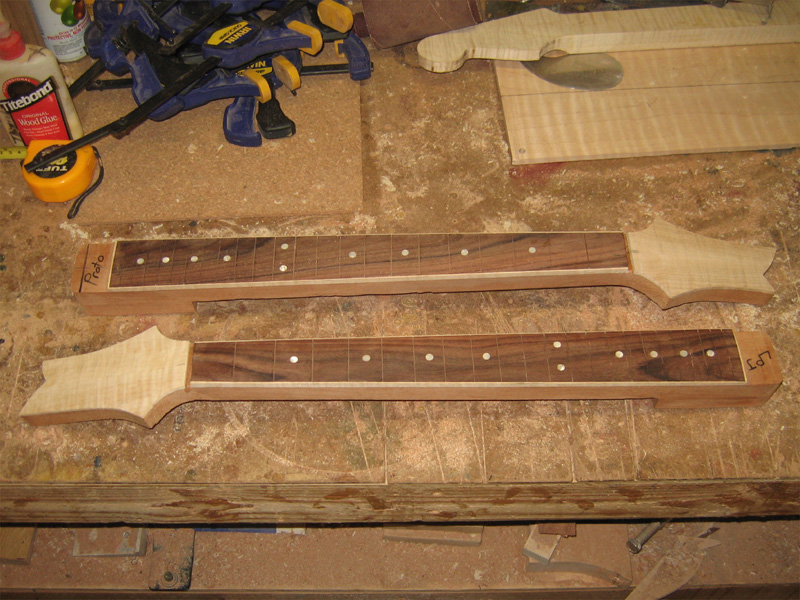
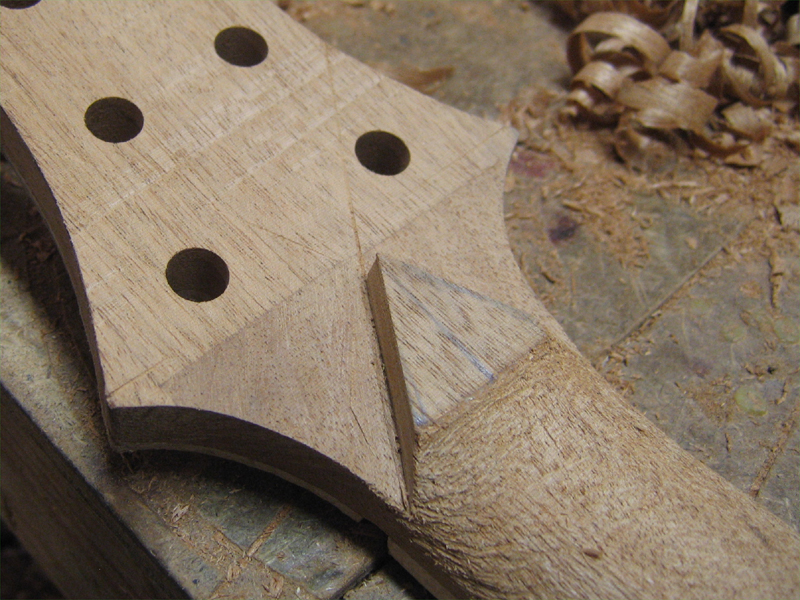
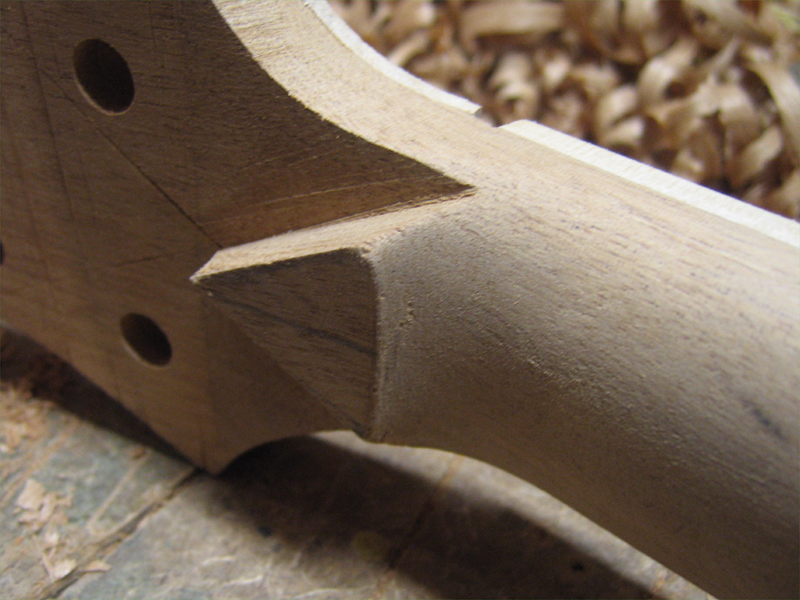
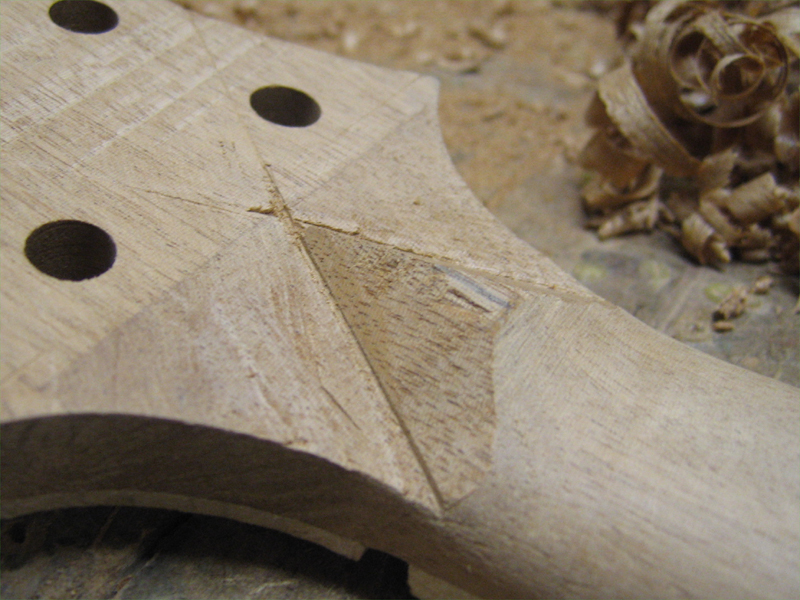
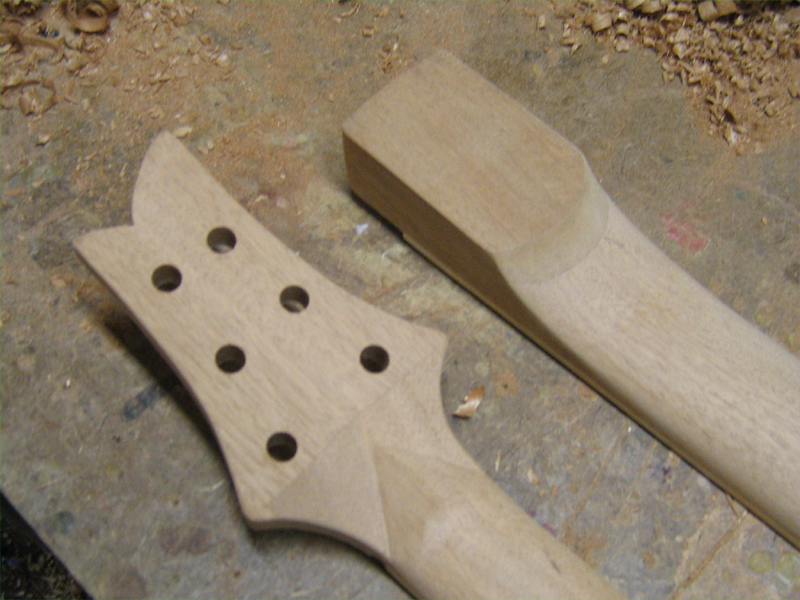
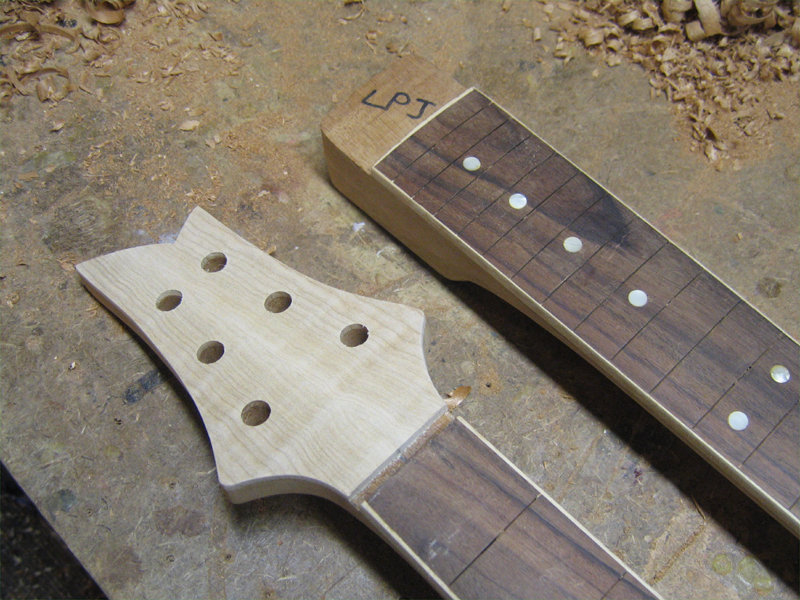
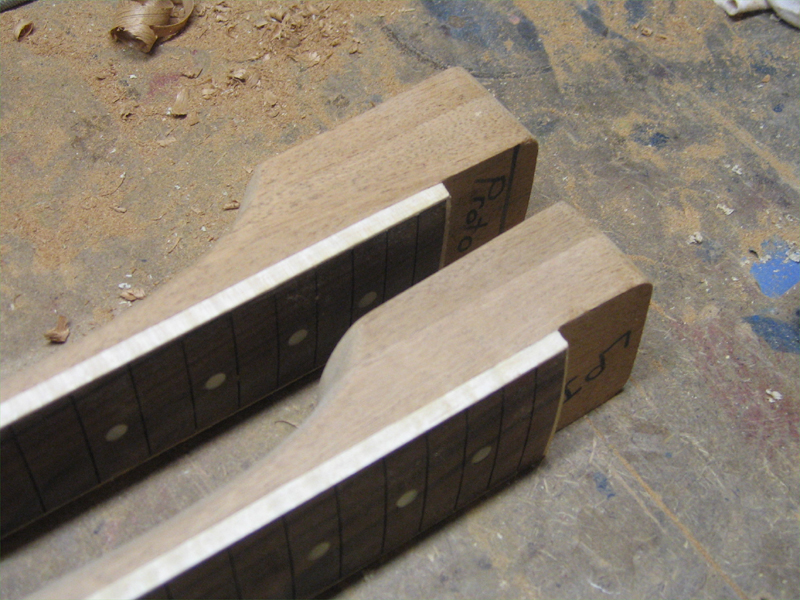
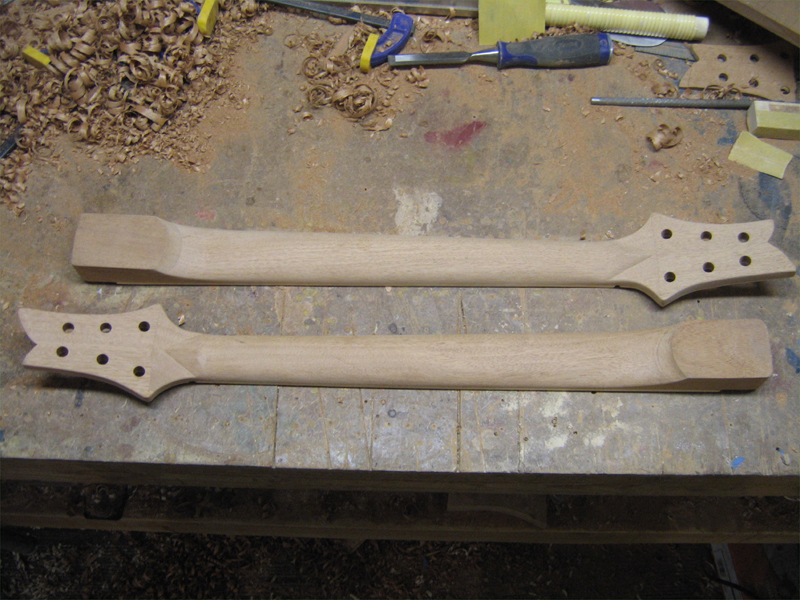
Mahogany neck set at 3 degrees, Bolivian rosewood fretboard with flame maple binding, pearl dots.
2 HBs, Vol, Tone, 3-way switch.
Not sure on finish yet.
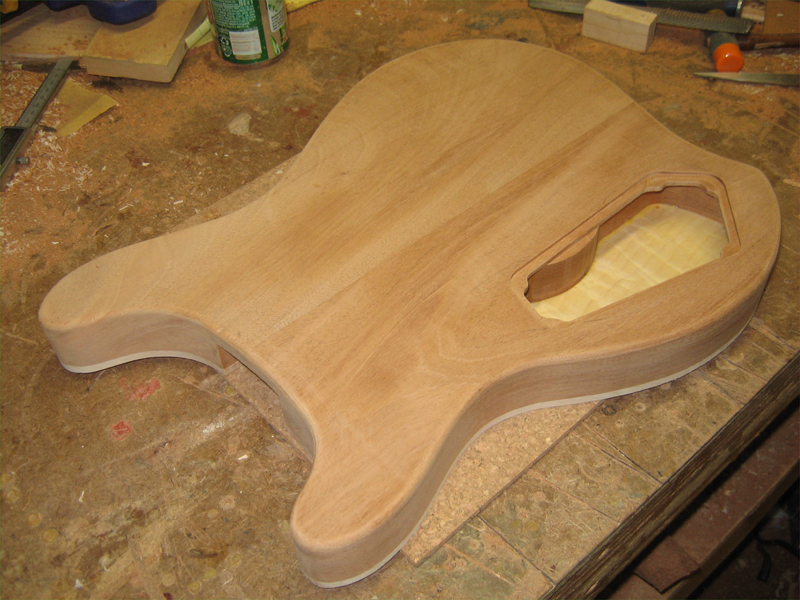
I started with a 1.500" thick Peruvian mahogany blank that I stored up last fall. This along with the extra necks I glued up during the first protoype build make this process so much faster.
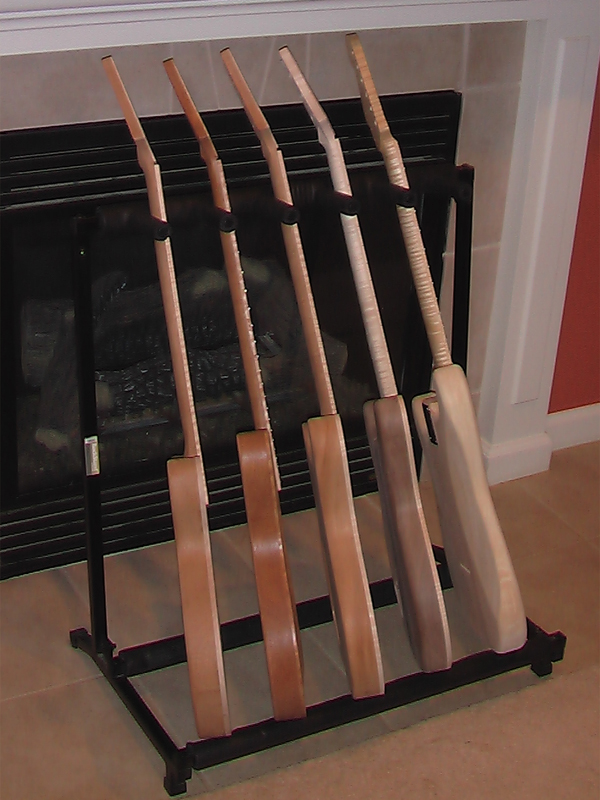
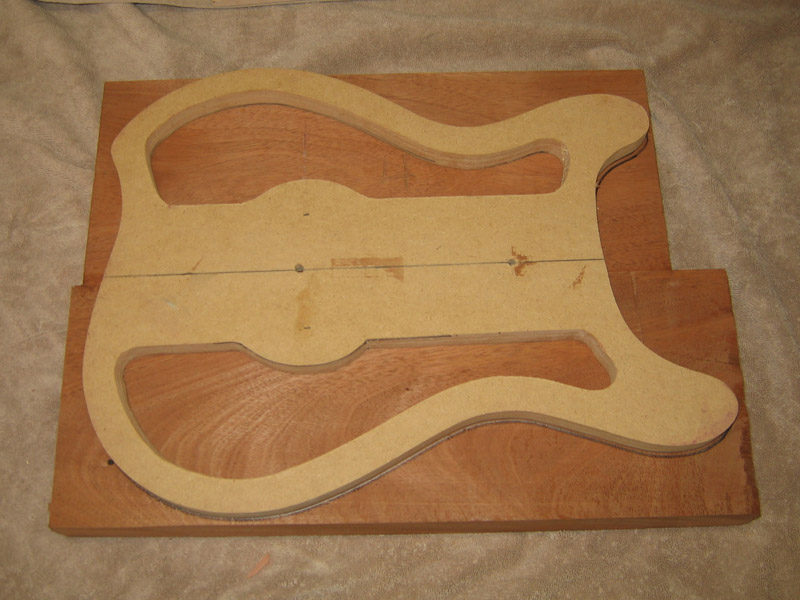
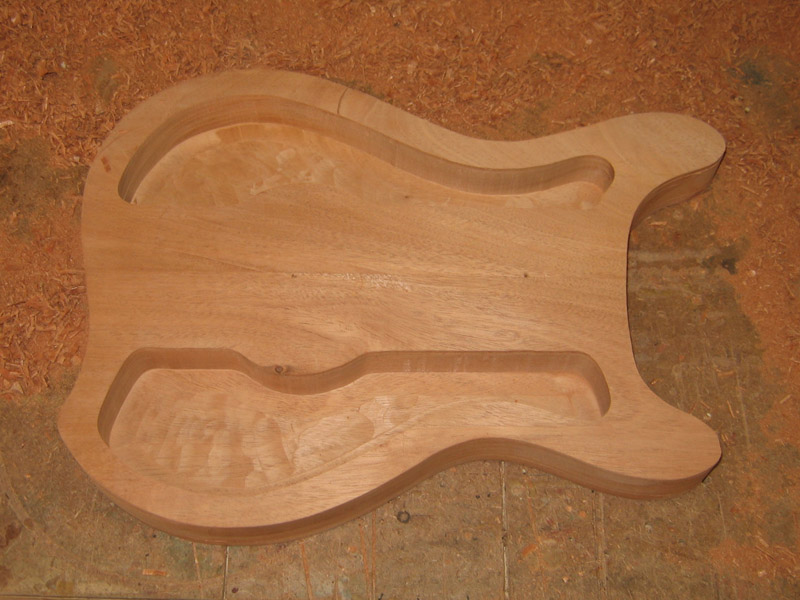
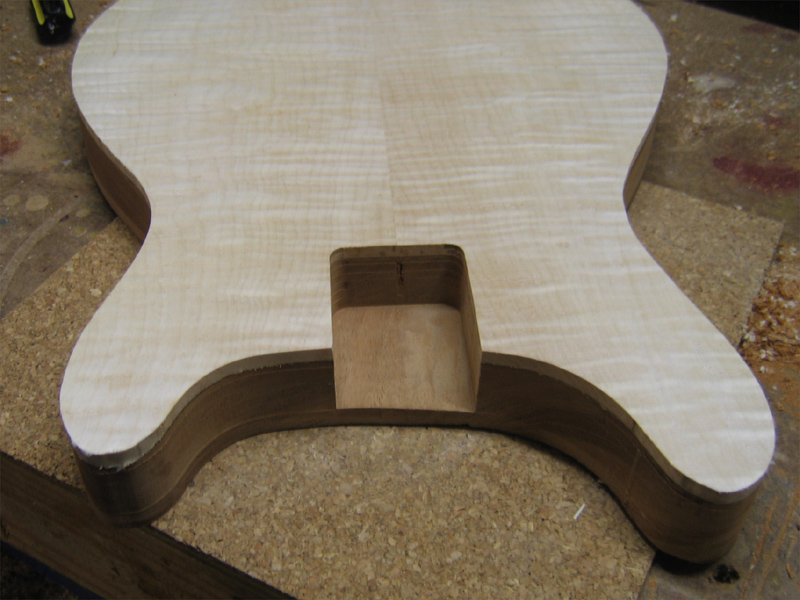
All chambered and ready for the top.
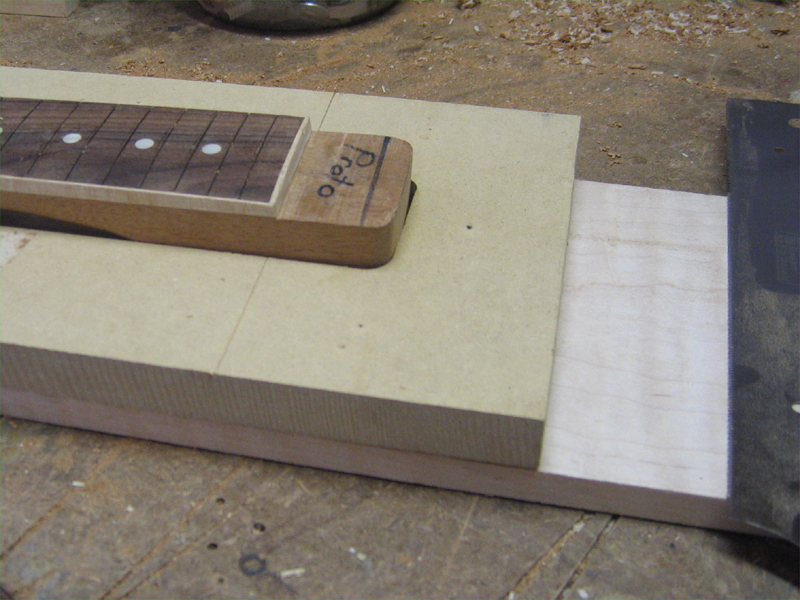
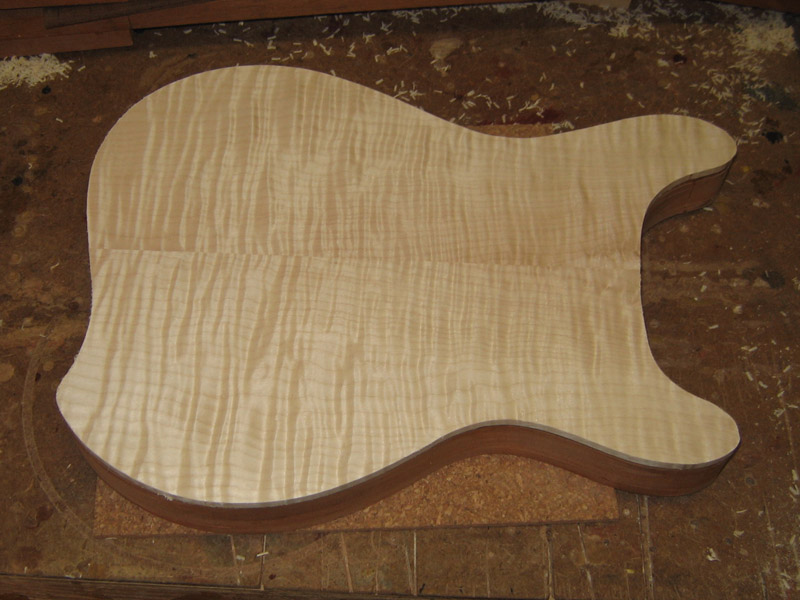
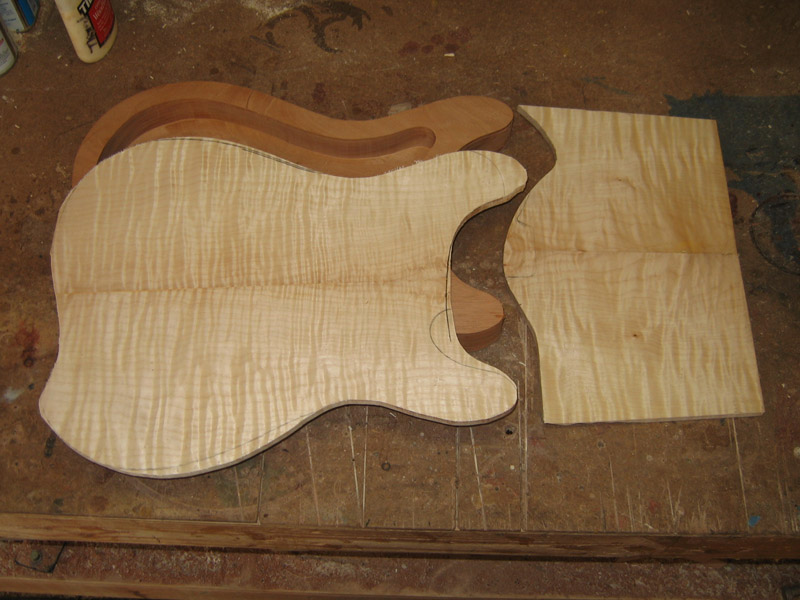
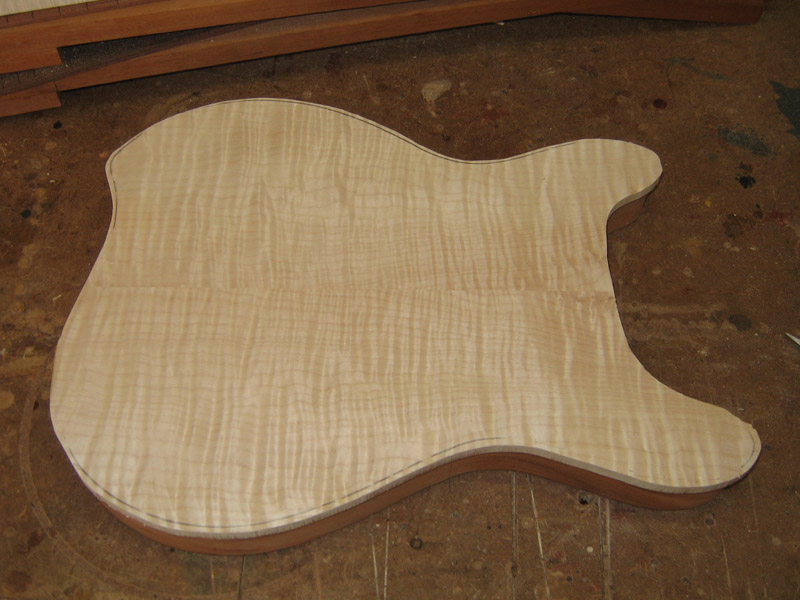
Here I have the top glued up, rough cut and ready for clean up. The cut off at the right will be thinned out and used for the headstock veneer. I'll probably bookmatch an outer edge where the figure is strongest.
To clean up the glue joint on the mating surface, I tape the top on the back of the body and run it thru the planer. This gives me a nice, flat glue suface. I also do final thicknessing at this point so I only have to take a whisper off the bookmatch side...just enogh to clean up the glue joint.
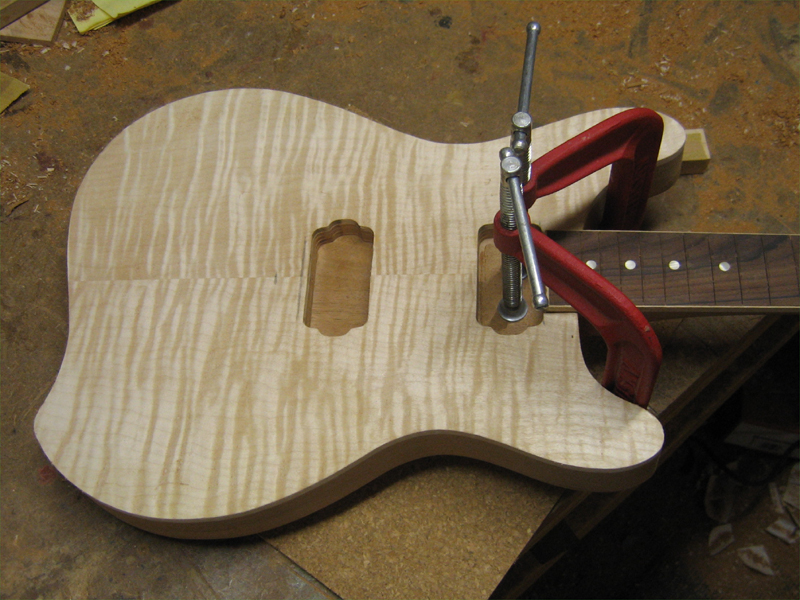
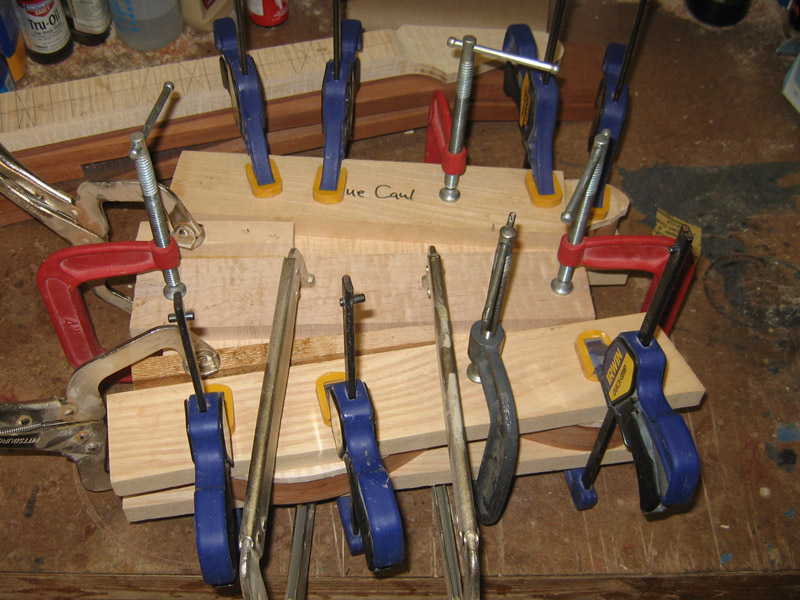
Clampzilla!
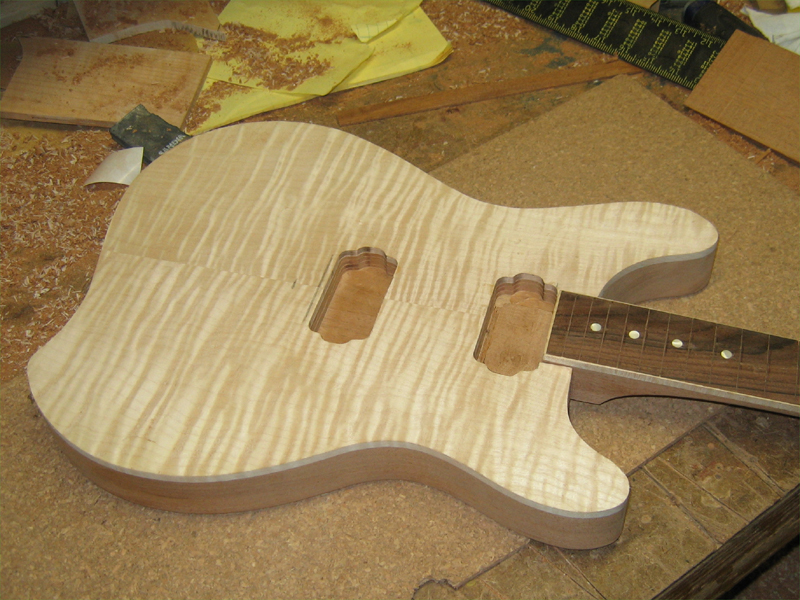
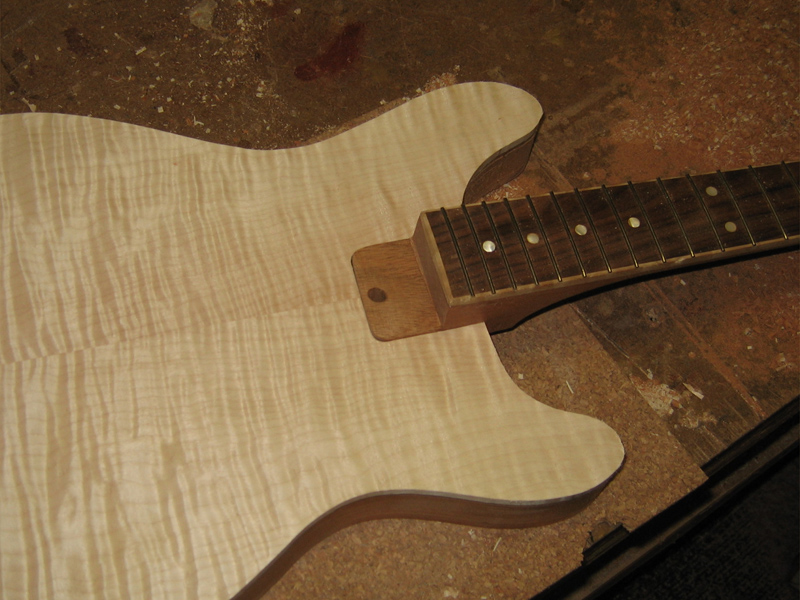
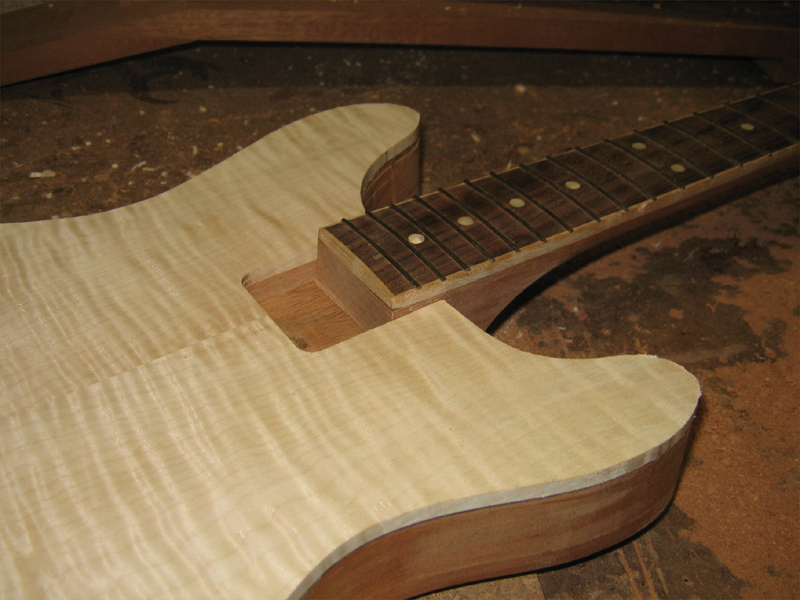
Glued up, trimmed and ready for edge sanding and routing.

 Reply With Quote
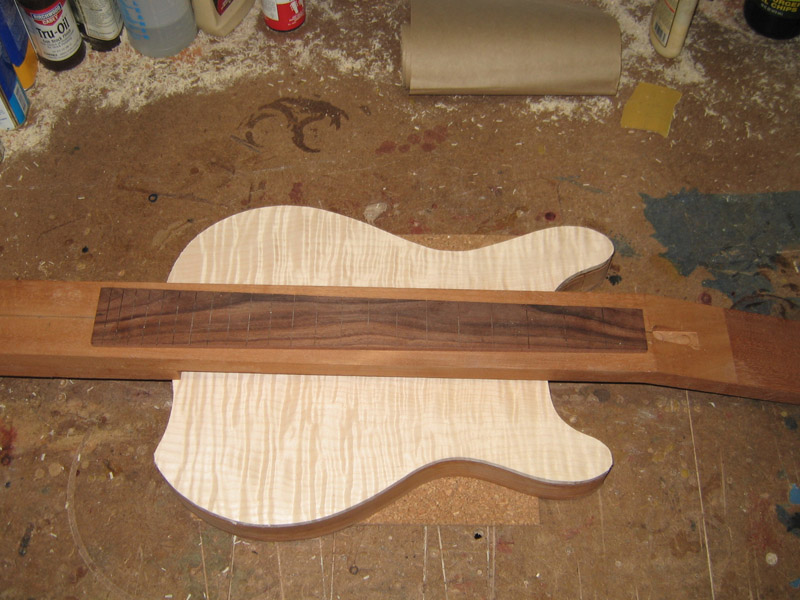
 [/QUOTE]