Well, for my 3rd build started this past weekend, I decided to go with a LPJ. I've always wanted one and if all goes well, I will.Well, it won't be a traditional LPJ since it will have a single HB, flame maple cap and a different neck joint. More of a PRS style joint...the same as I'm using on my other builds.
The plan:
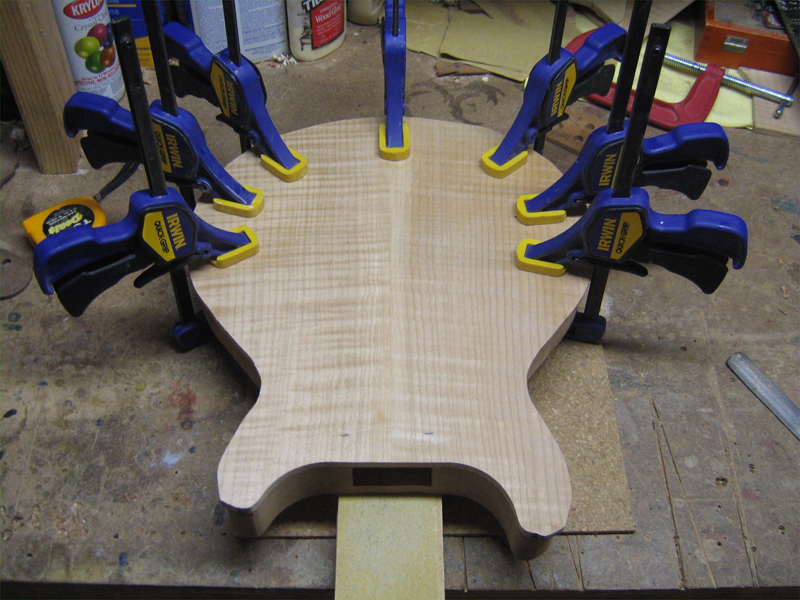
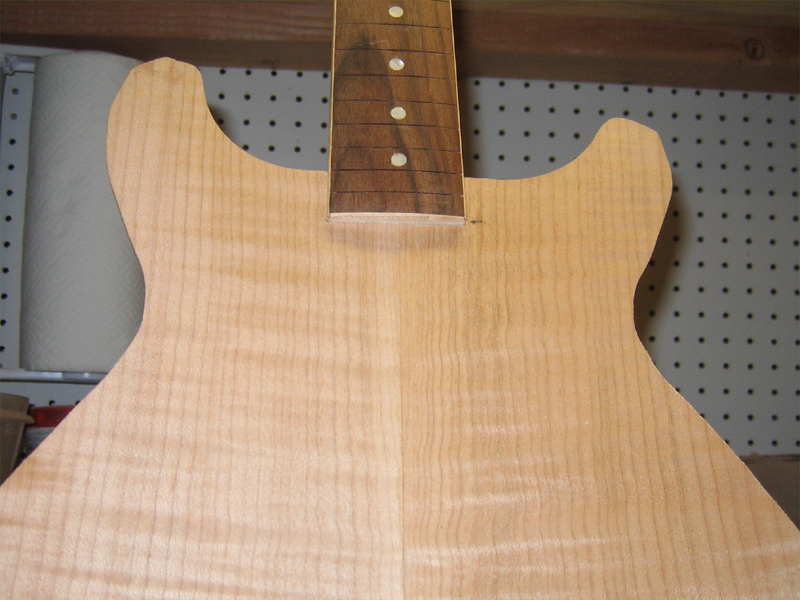
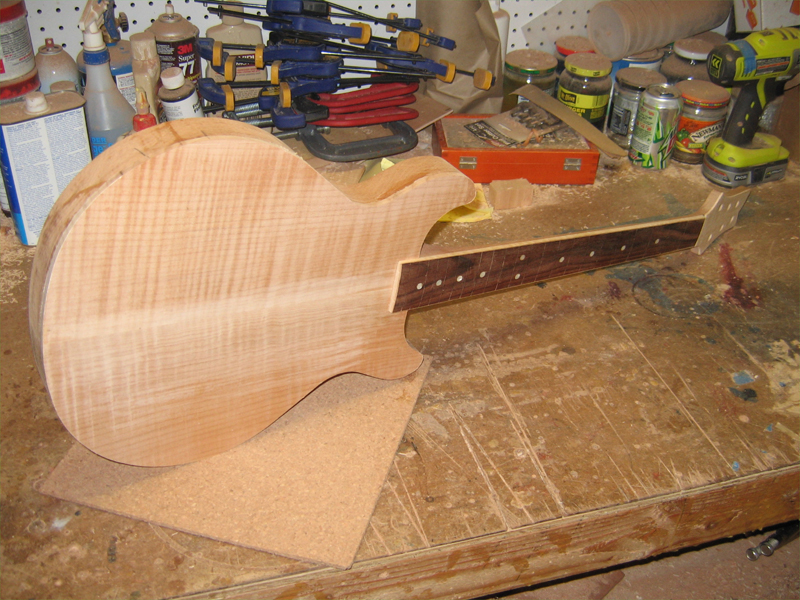
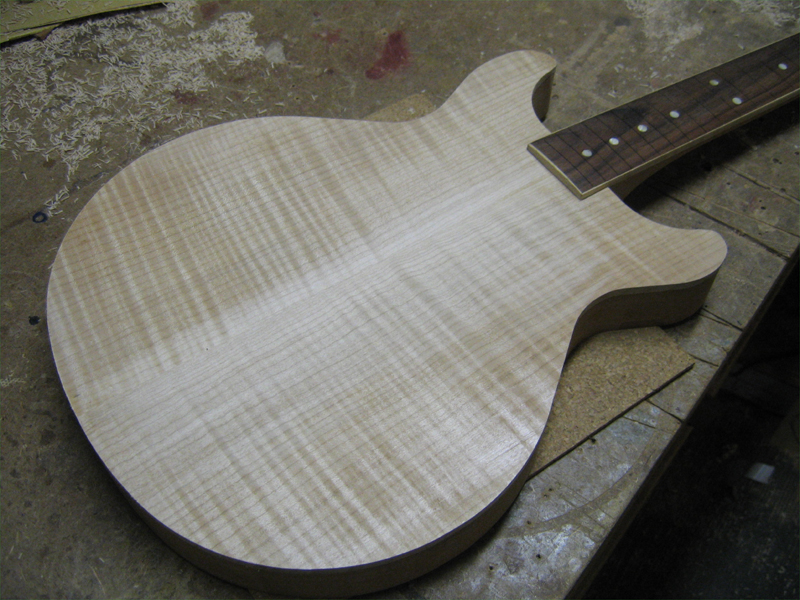
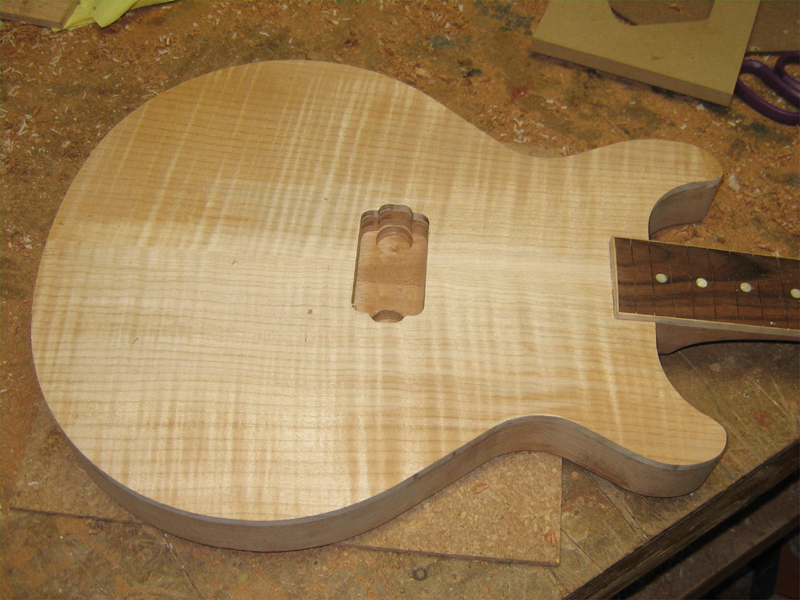
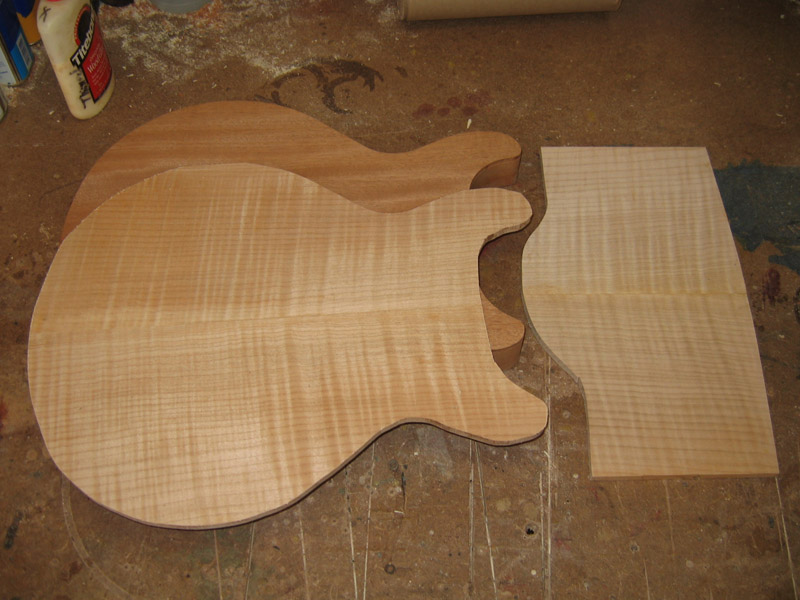
Peruvian mahogany body, flame maple cap, faux binding.
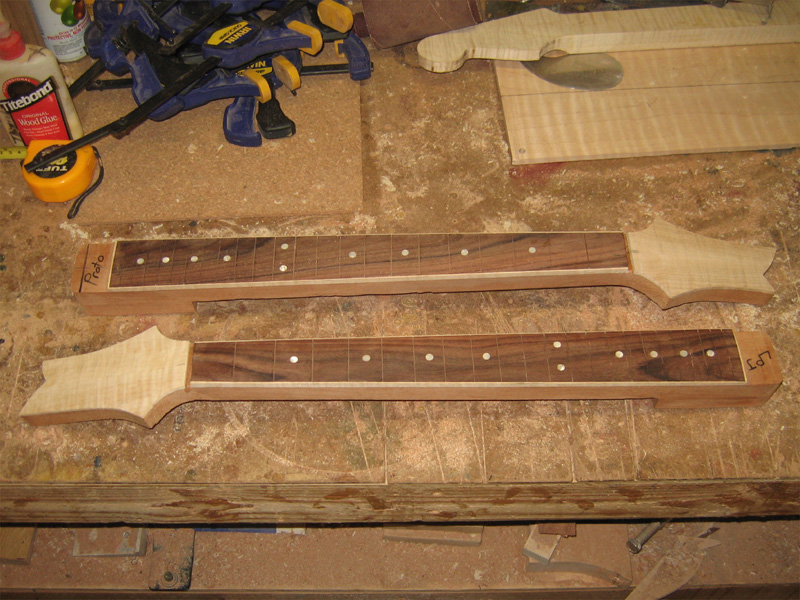
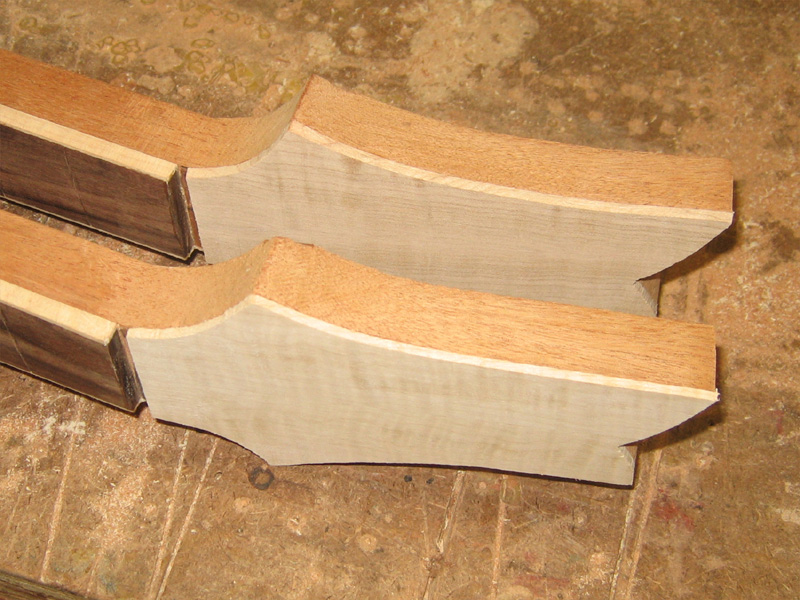
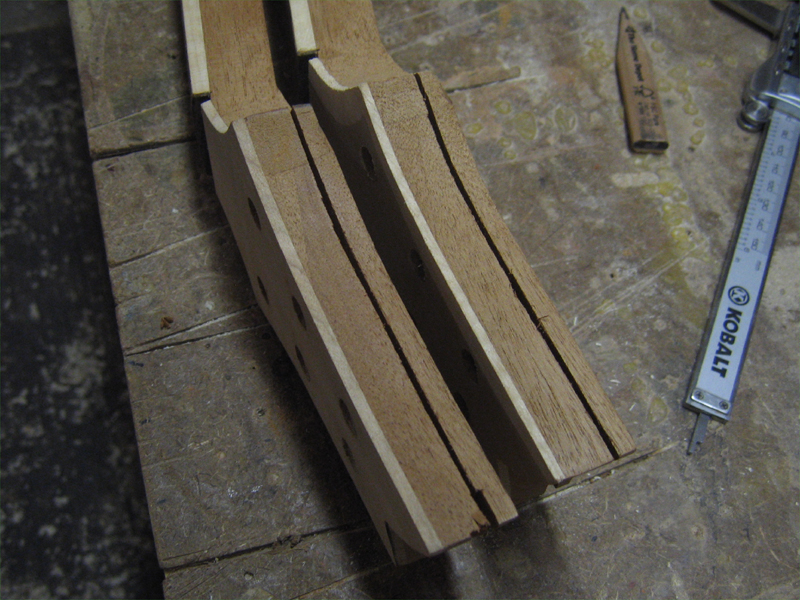
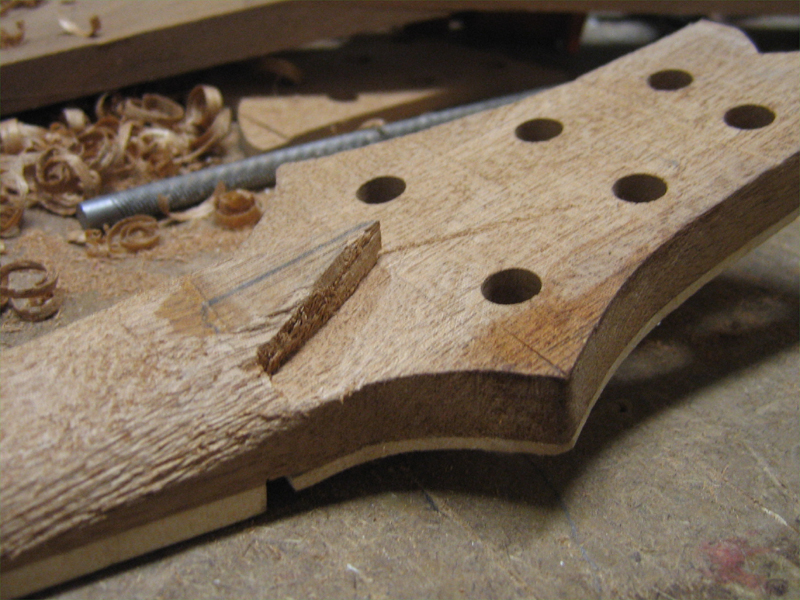
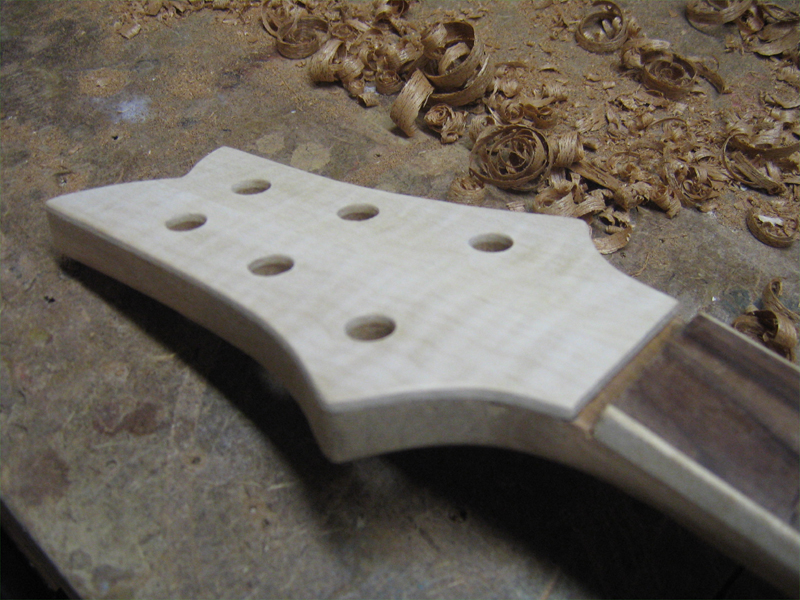
Peruvian mahogany set neck, rosewood fretboard with flame maple binding and HS veneer, pearl dots.
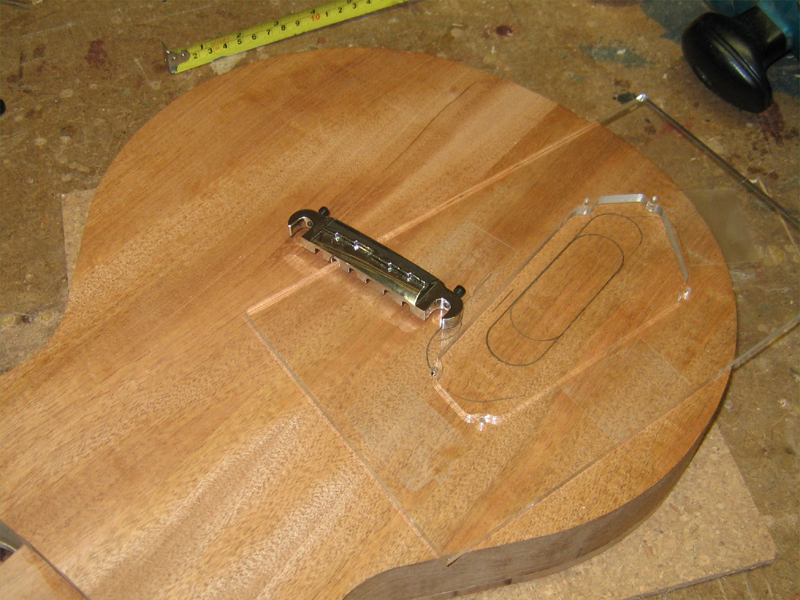
Singe HB with vol, tone, series/coil cut/parallel switching.
Not sure on the finish yet.
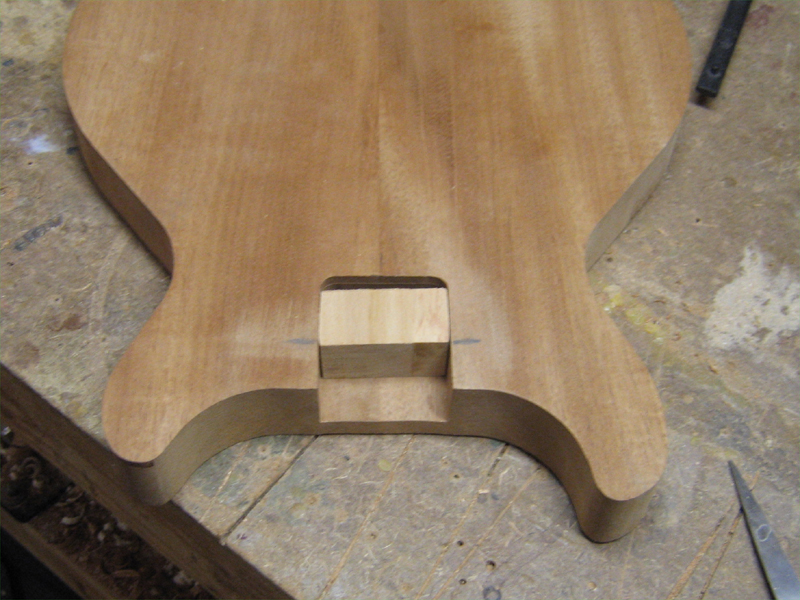
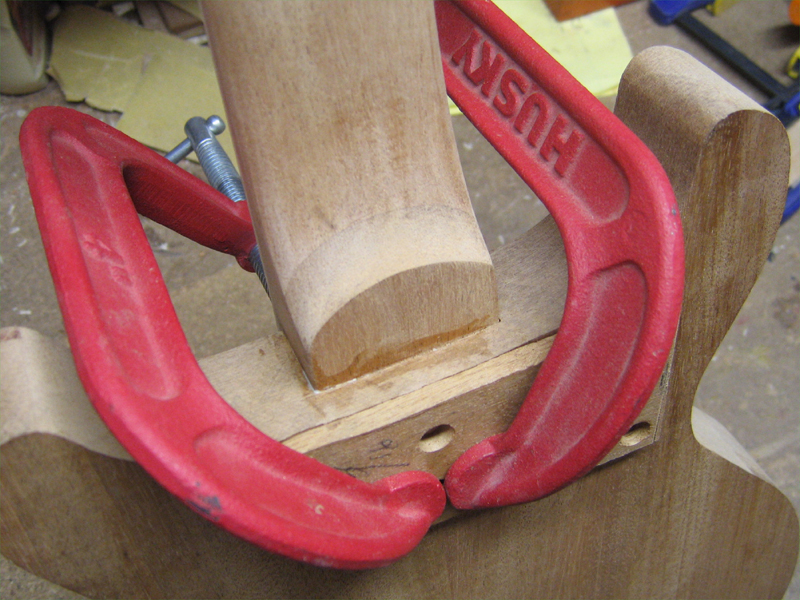
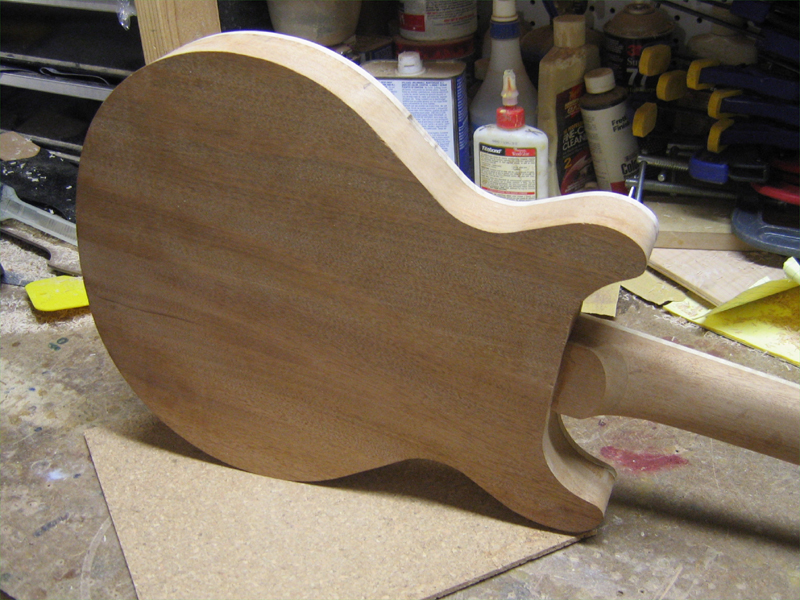
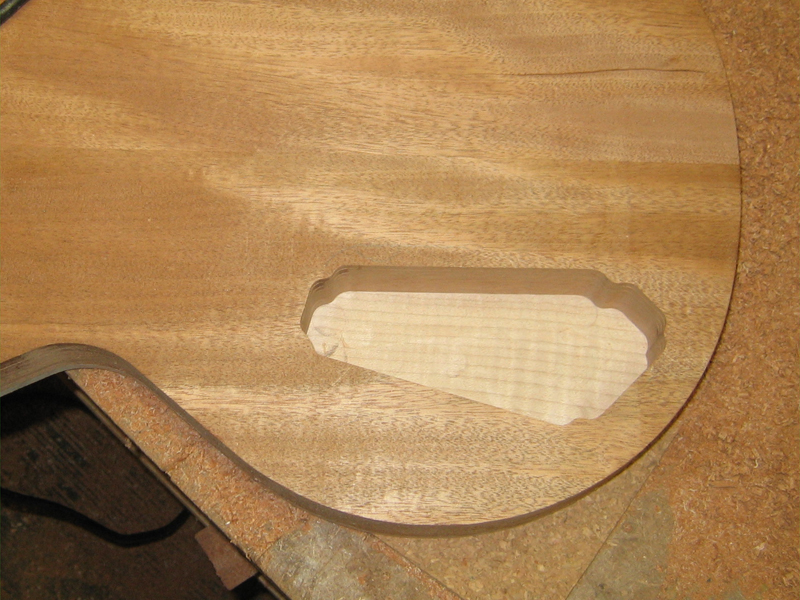
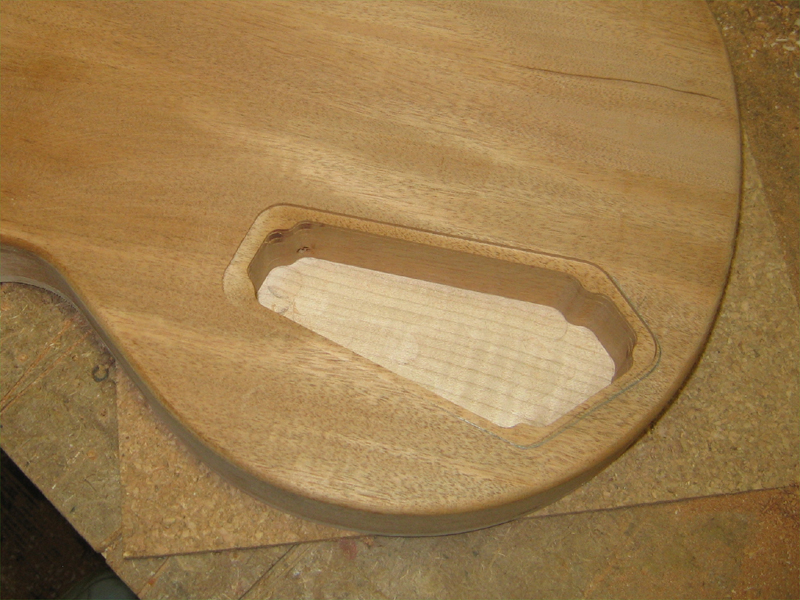
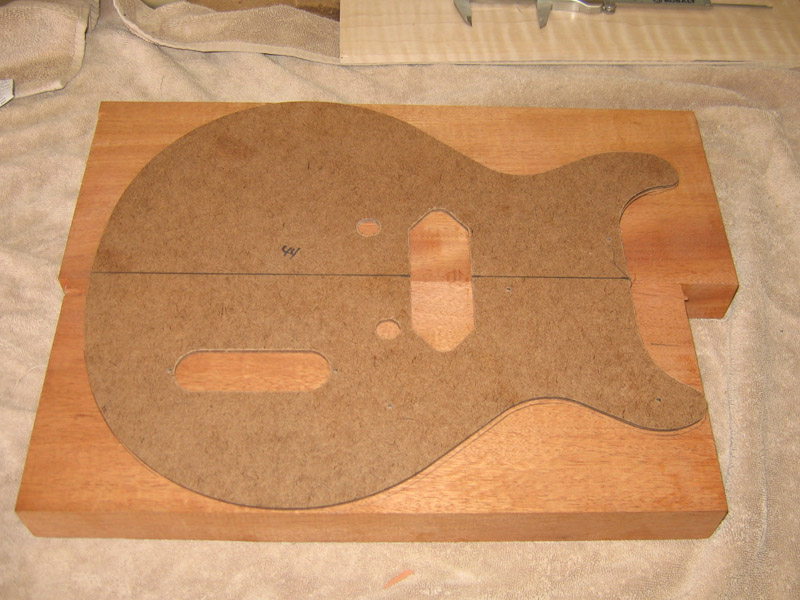
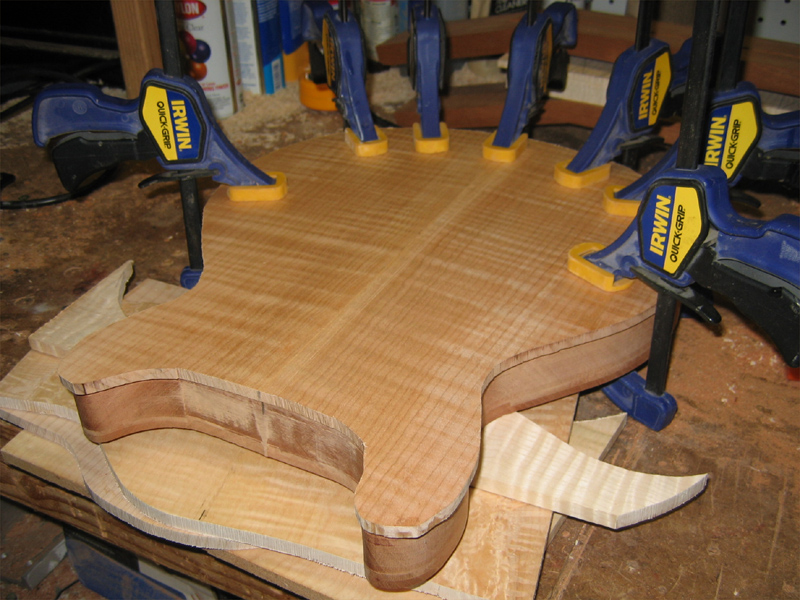
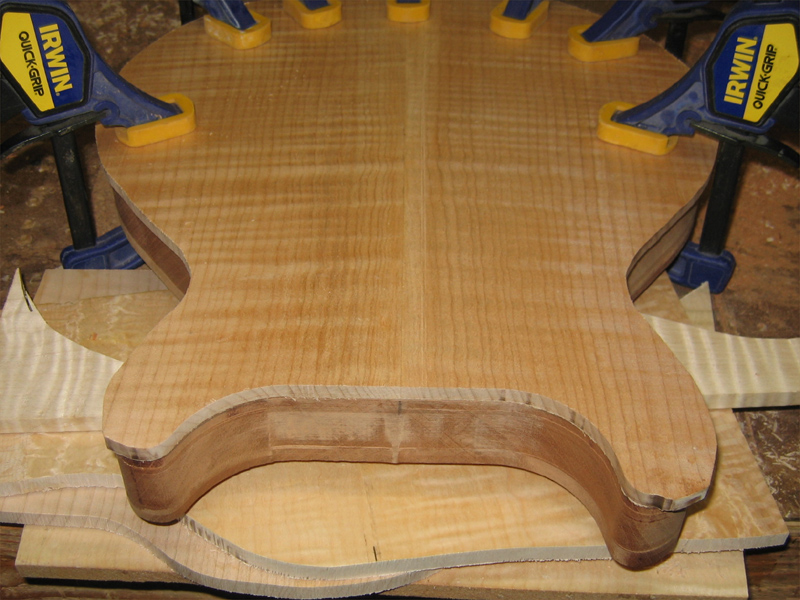
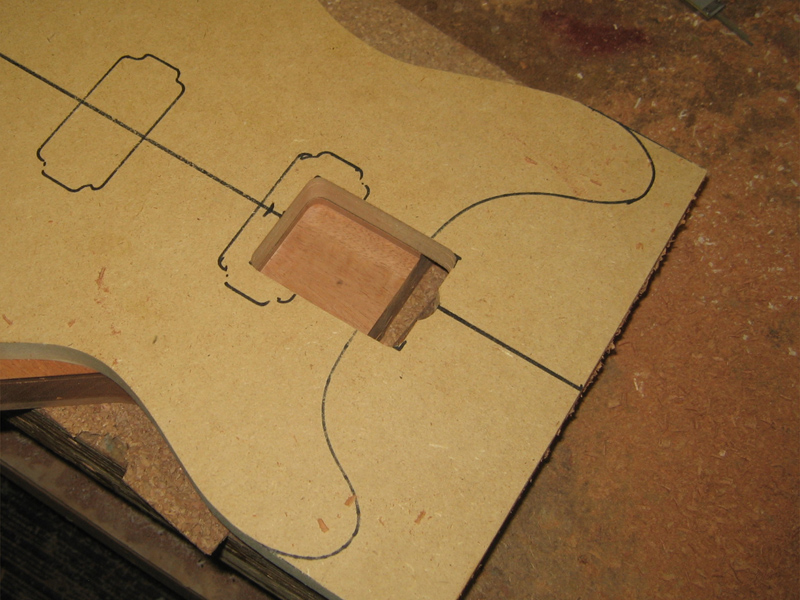
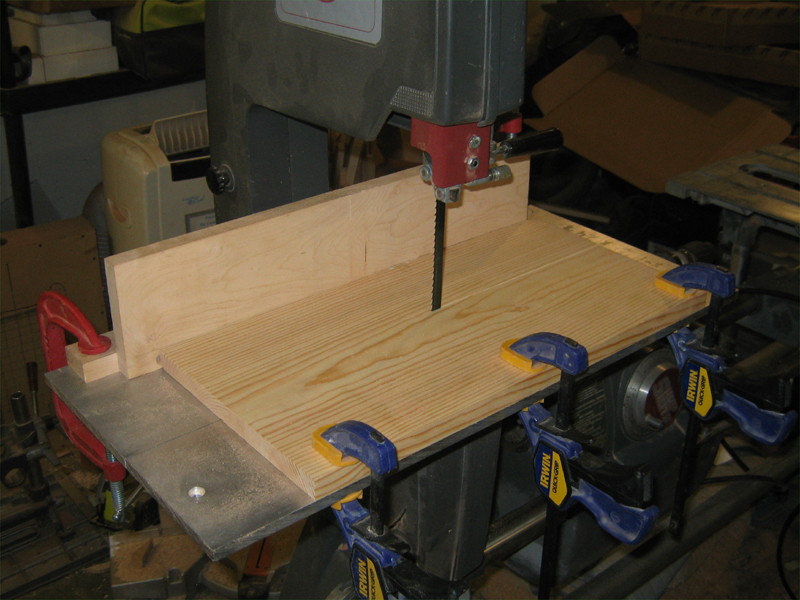
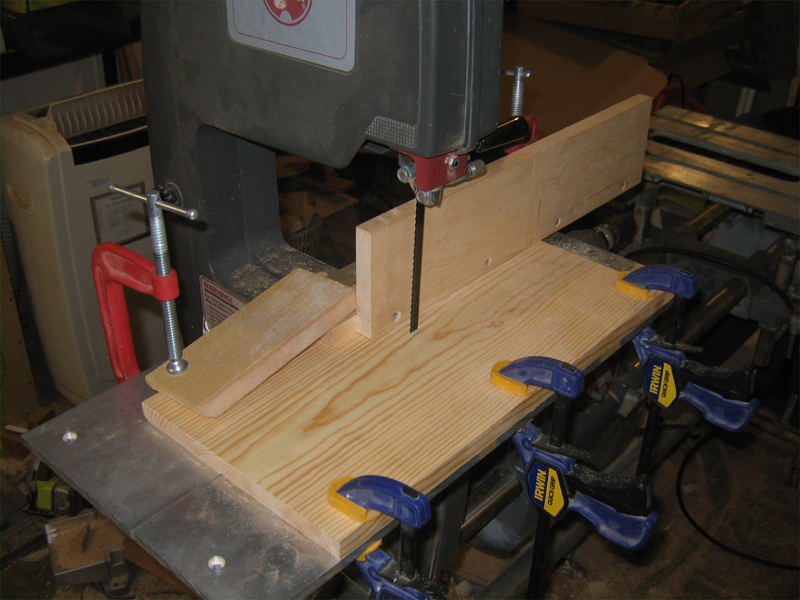
1.50" mahogany blank.
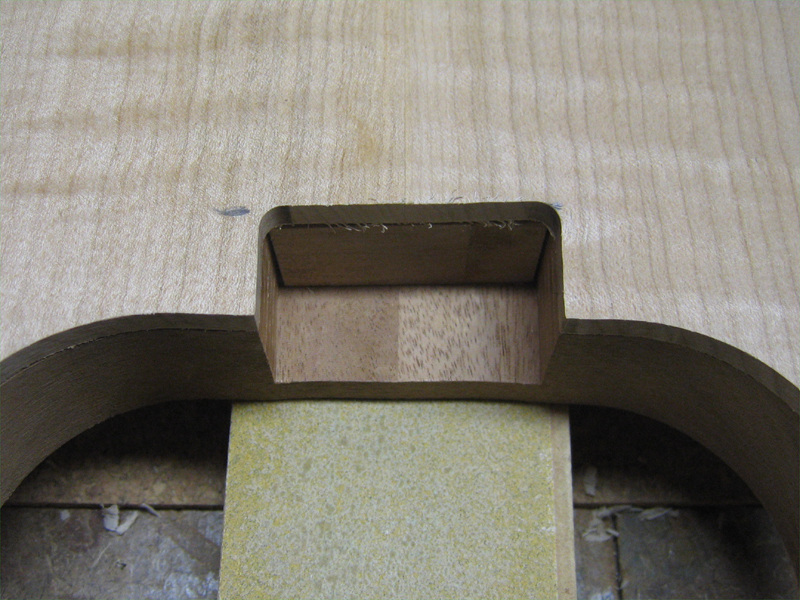
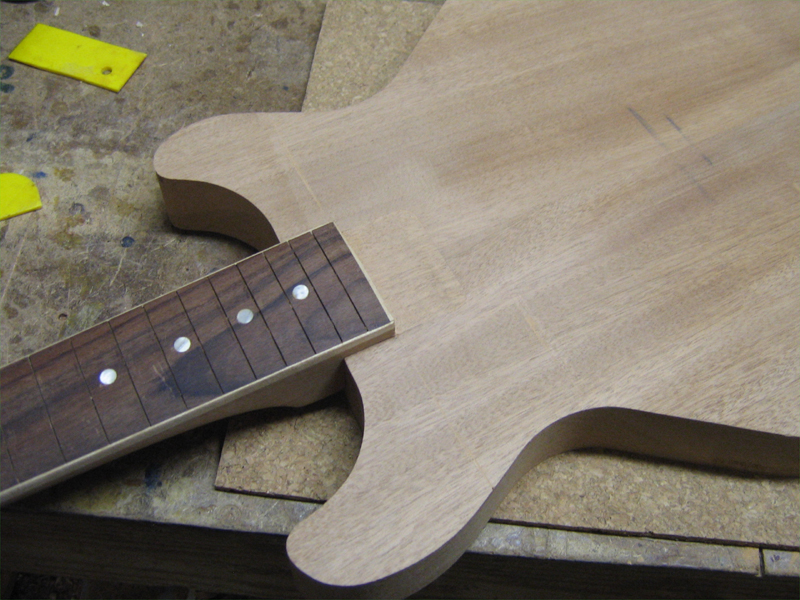
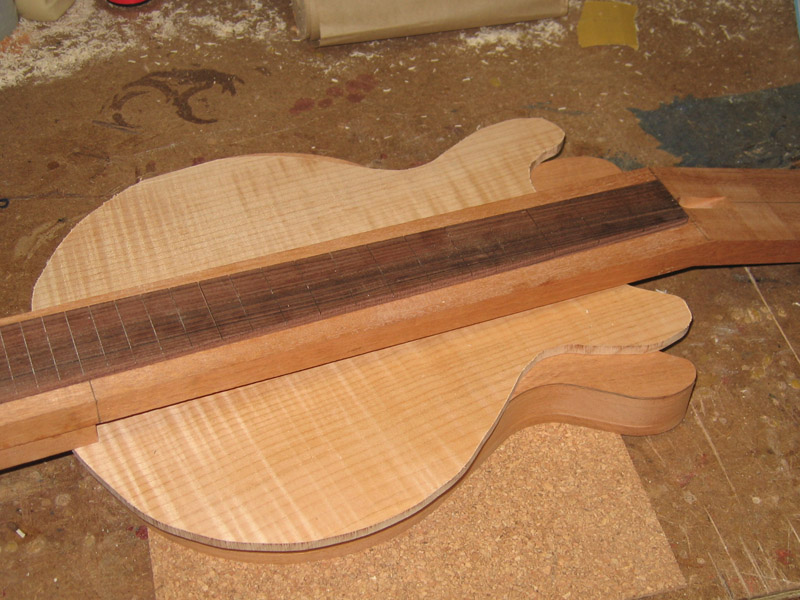
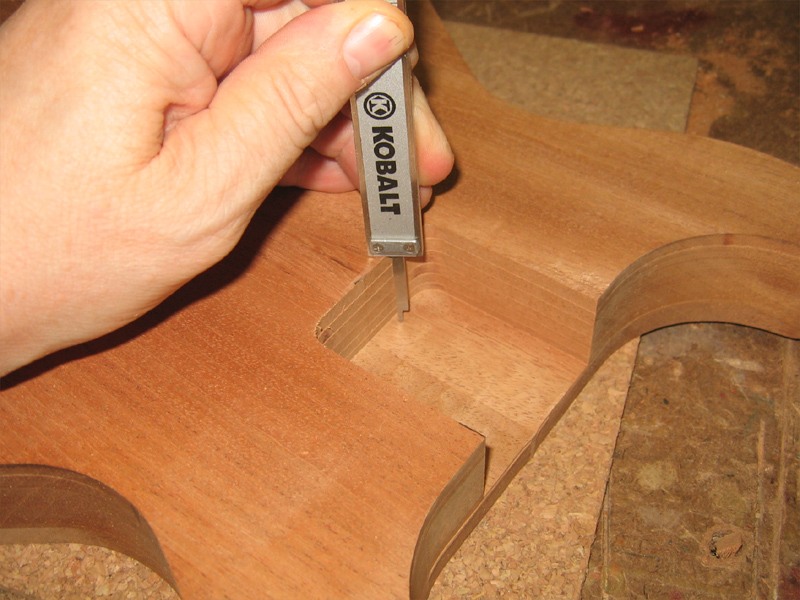
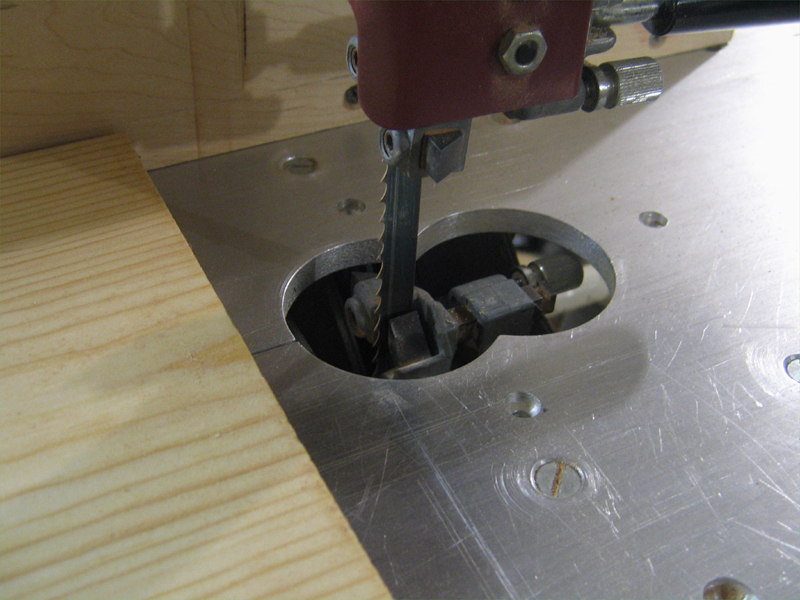
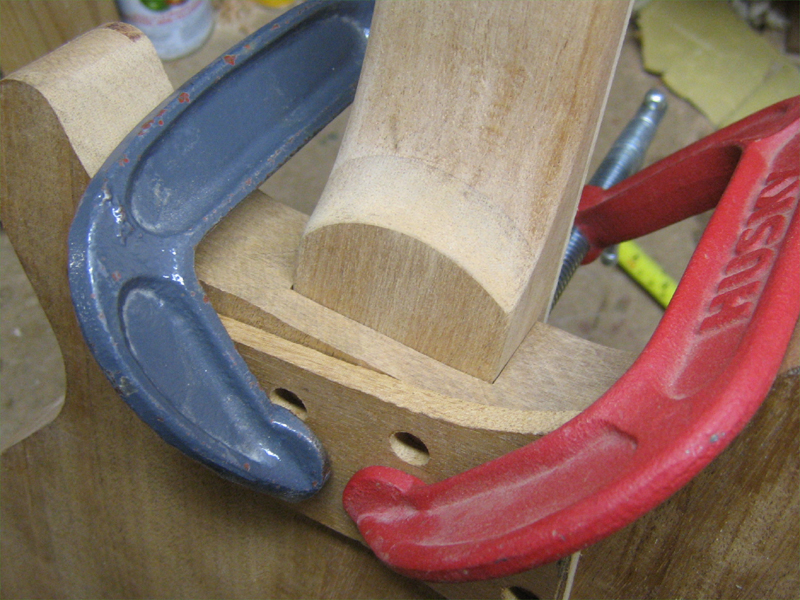
Profiled and ready for the neck pocket.
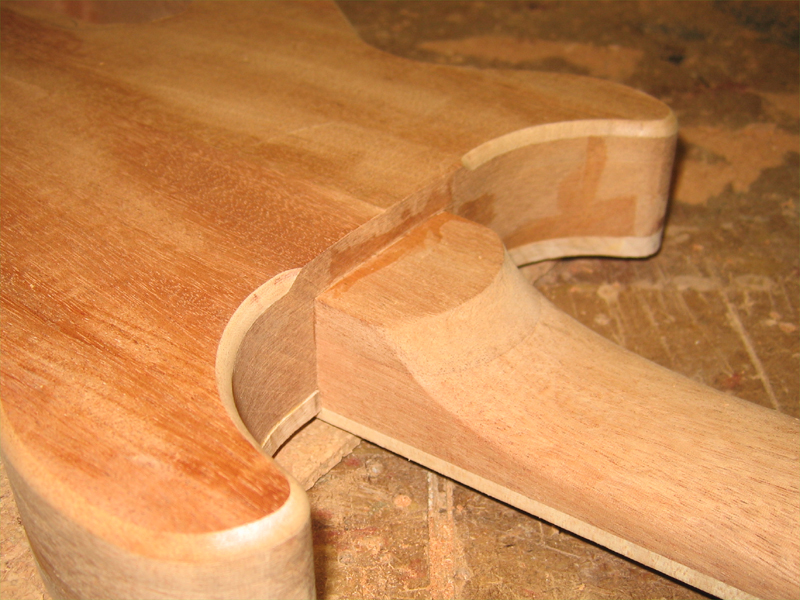
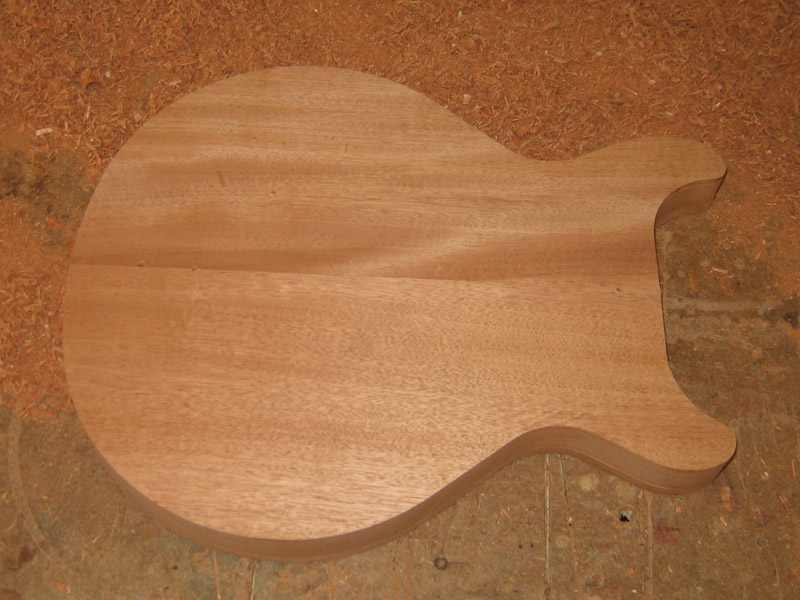
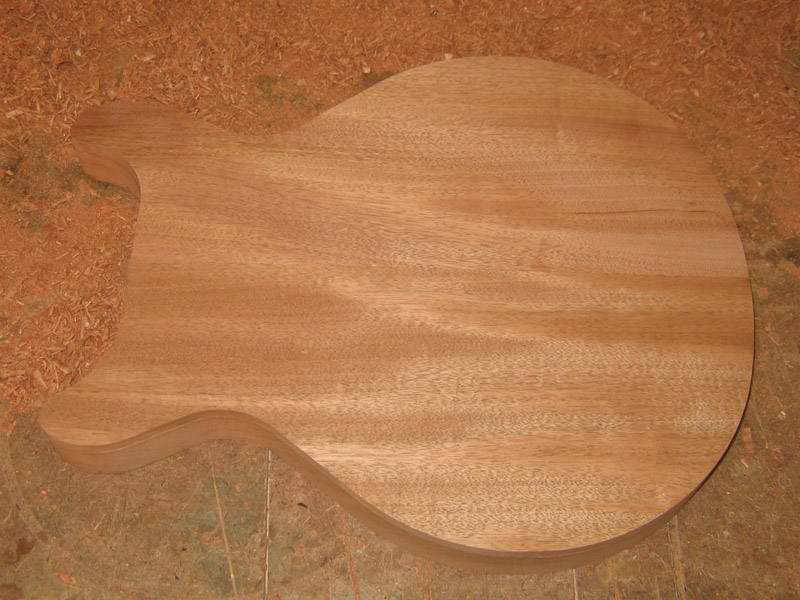
I haven't glued the top yet as I plan to set the neck first and then use the top to cover it. The cut off to the right will be used for HS veneer.
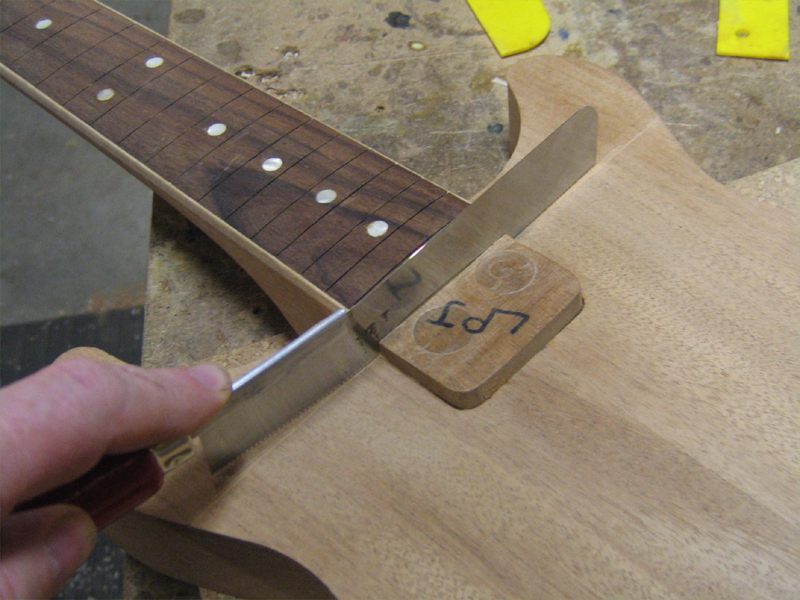
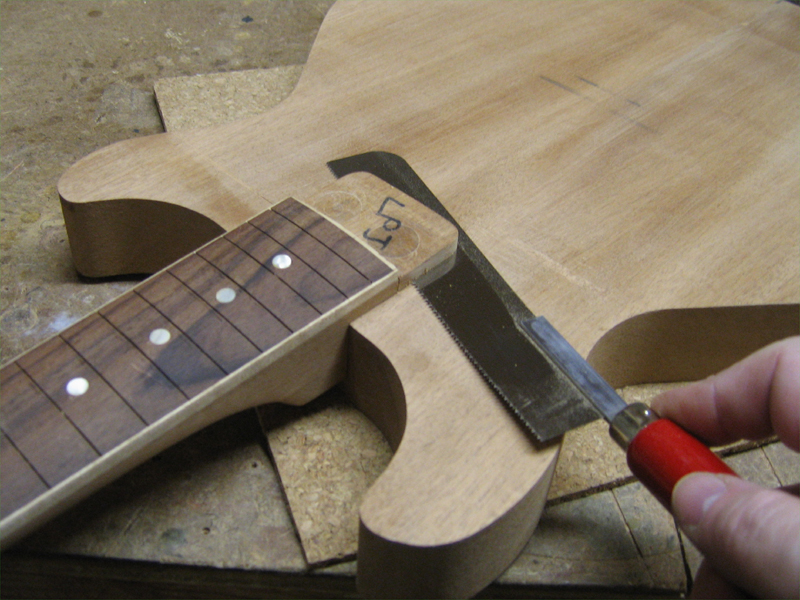
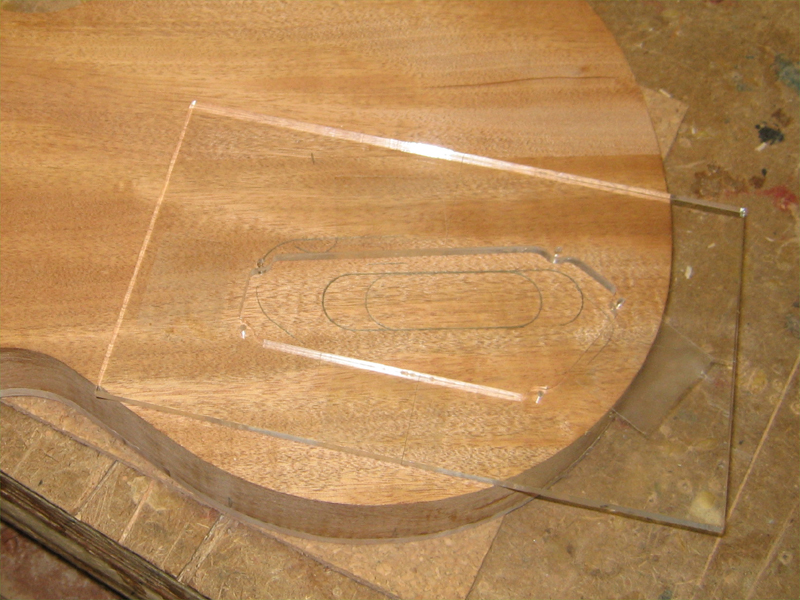
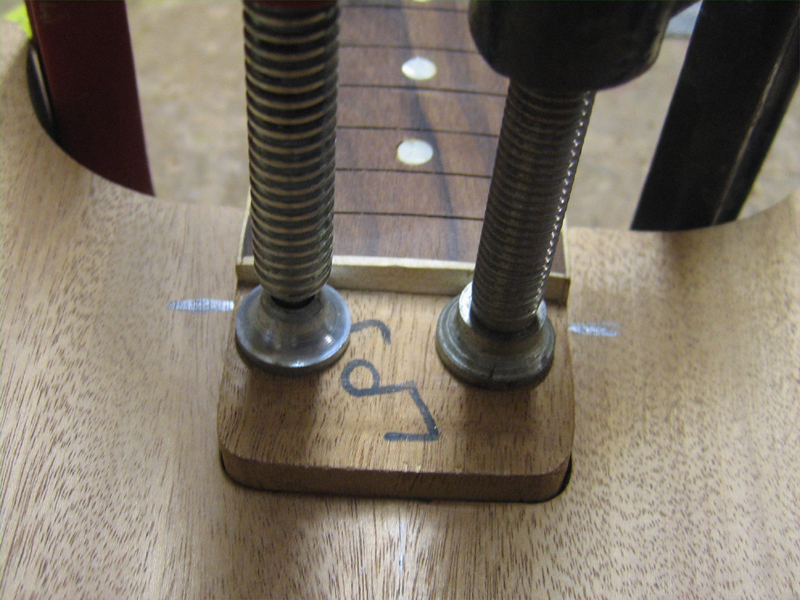
The fretboard is tapered, slotted and ready to go. I'll take my new approach on the radius and binding on this one also if it works on the other build.
Peace,
Mark

 Reply With Quote
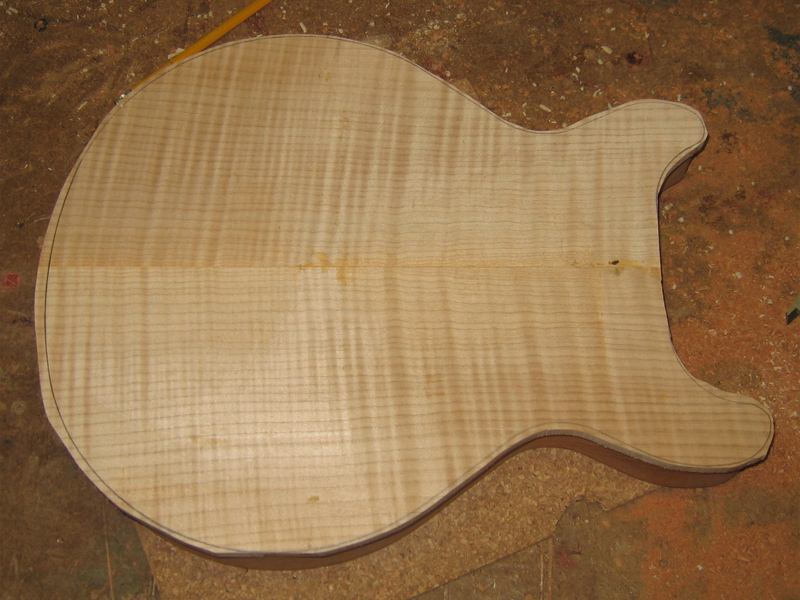


 '
'