Results 1 to 7 of 7

Thread: Shooting boards for the LN Handtool Event

  1. #1
    Join Date
    Feb 2004
    Location
    Perth, Australia
    Posts
    9,497

    Shooting boards for the LN Handtool Event

    Lie-Nielsen are holding a Handtool event in Perth this coming weekend.


    Having been invited along as one of the presenters, I decided to concentrate on dovetailing (demonstrating the Knew Concepts fretsaw, which LN Australia will be selling, and dovetailing techniques), and shooting boards and shooting technique.

    The latter area was partly inspired by the recent arrival of the LN #51 shooting plane (review: http://www.inthewoodshop.com/ToolRev...tingPlane.html). I thought I could take it along with the Stanley #52 shooting board, and provide a comparison with the LN #9 shooting plane, which LN will loan me for the event. Later I could write this up as many are interested in that. I also plan to take along a variety of shooting boards for all to try out and experience. It is the latter that bring me to the point of this post.

    I'm not sure if many are aware that LN offer plans for a shooting board. They are here: http://www.lie-nielsen.com/pdf/Shoot...d_Fixtures.pdf

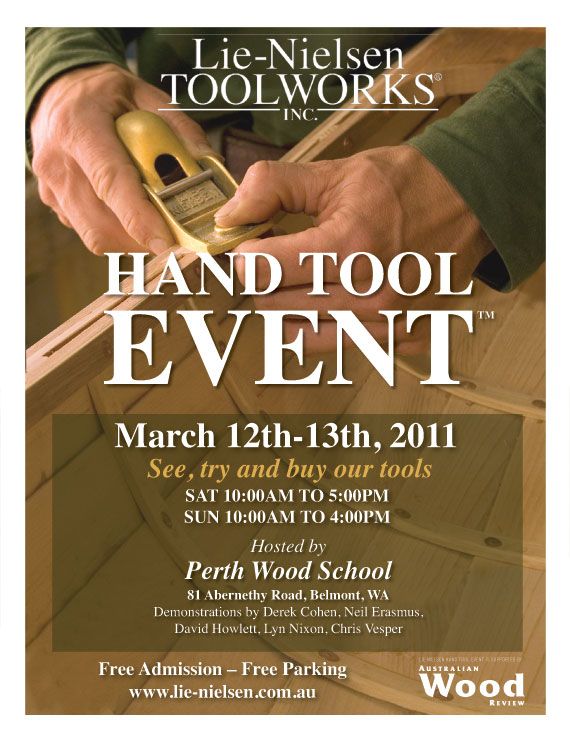
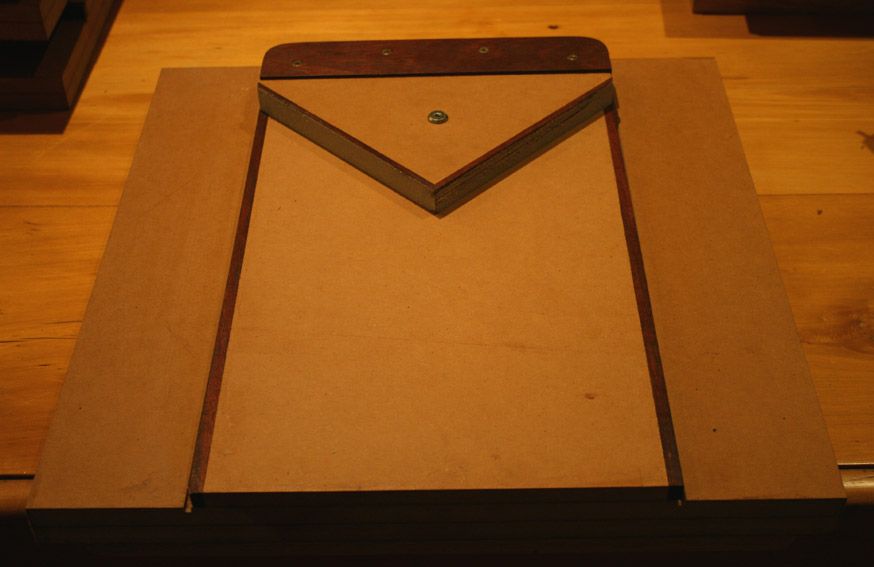
    I decided to build a couple. Well, sort of. I kept to the layout of the LN version, but did add a little here-and-there to make it more durable (and nicer to look at ... there I had to say it - the LN is somewhat bland! )There boards are built out of MDF. Horrible stuff - dusty and cardboard sponges. But cheap. I edged all the important areas in Jarrah and soaked the surface and edges in Danish Oil.

    The LN board is double-sided, that is, it can be used right- and left handed. I think that this is for the mitre fence accessory - it really is a demanding build to set up a shooting board so that the two opposing sides are perfectly parallel ... and that the mitre fence is set up to trim perfect 45 degree mitres at each side. I had fun doing this ...

    The basic board is 1 1/2" thick, 18" long and wide.


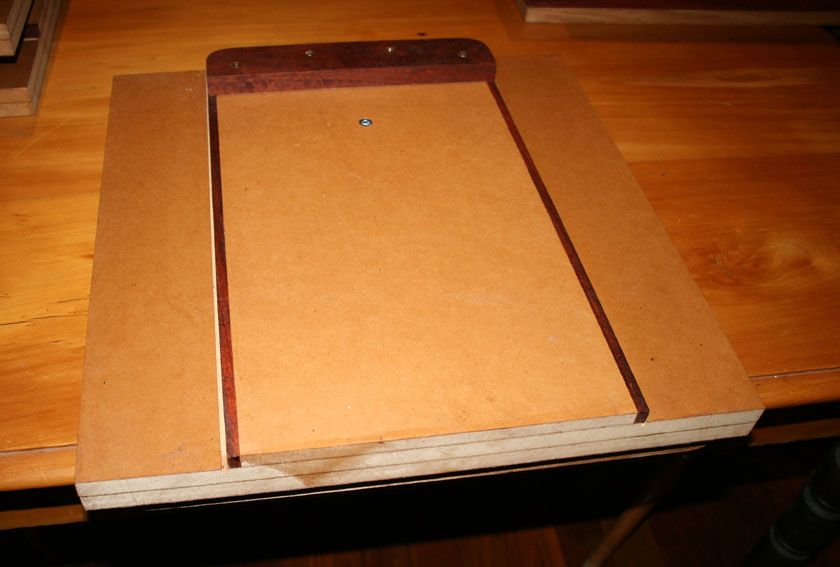
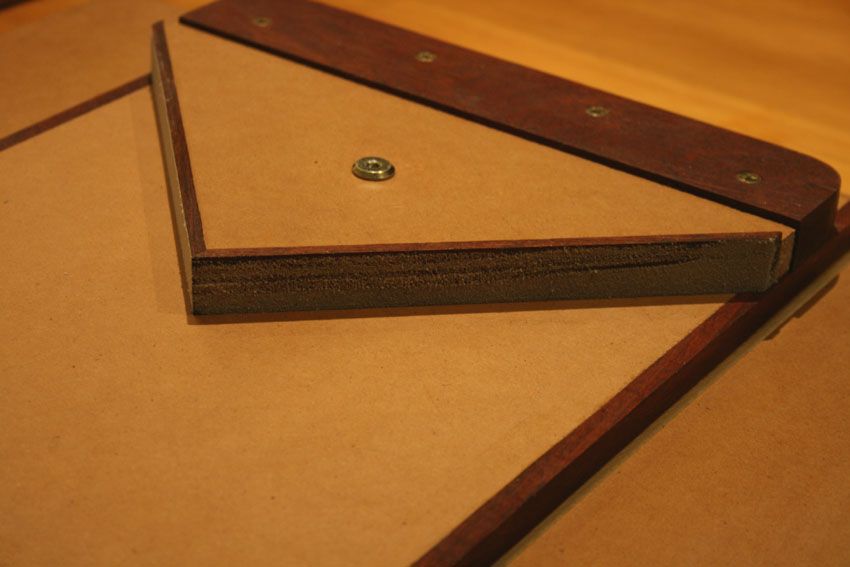
    There are dust grooves alongside the runway ..


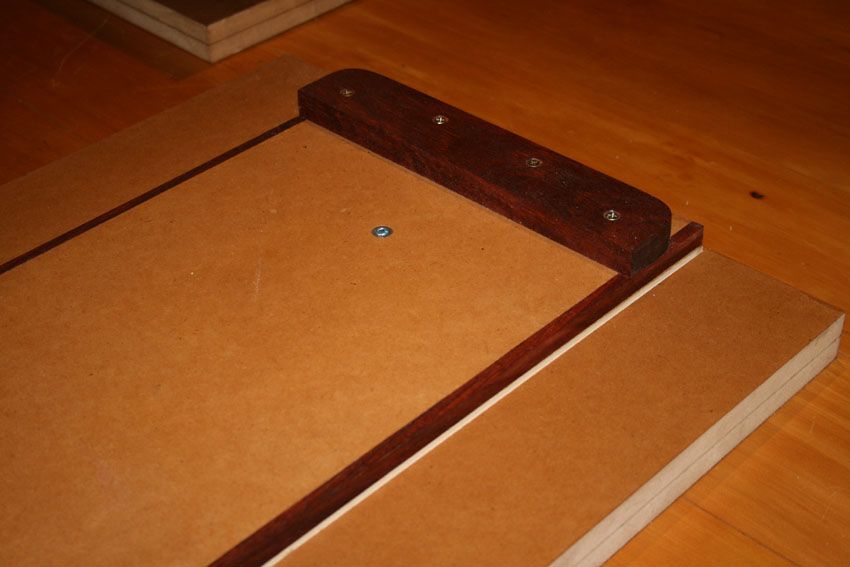
    .. and if you look at the centre you will see a metal threaded insert.


    This is for the mitre fence ...


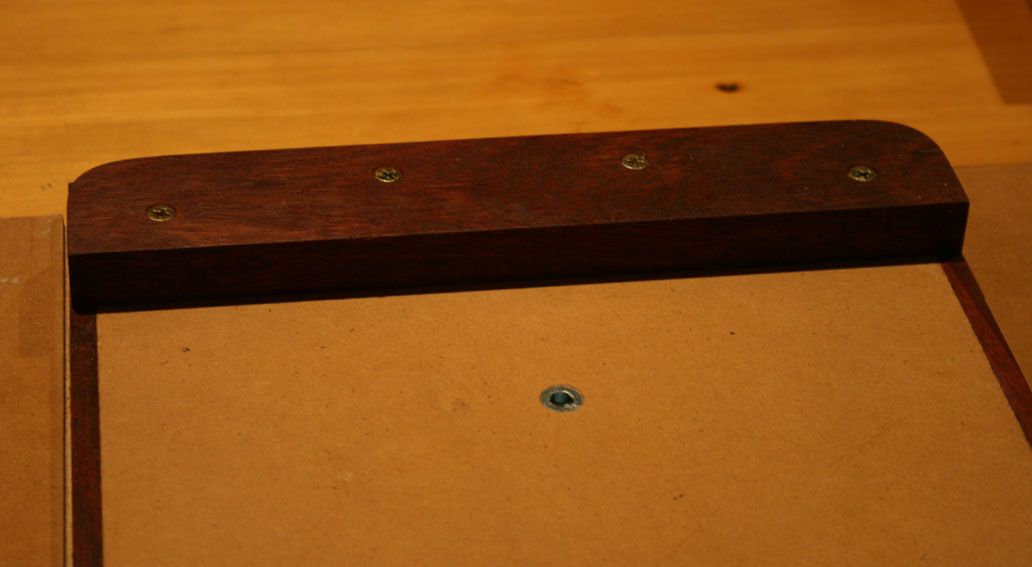
    The fence has non-slip added. This is a fine powder sprinkled over a layer of poly varnish). The non-slip is necessary for shooting mitres.


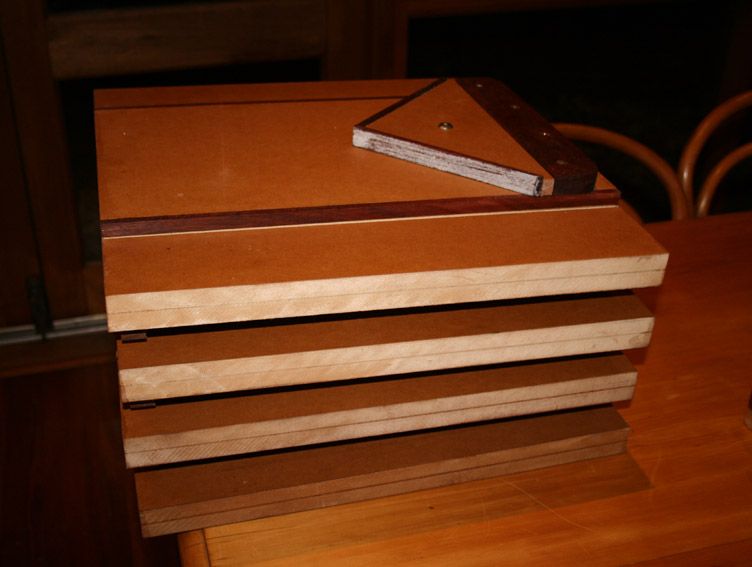
    I built 4 of these shooting boards for the event ...


    Wait .. there is more!

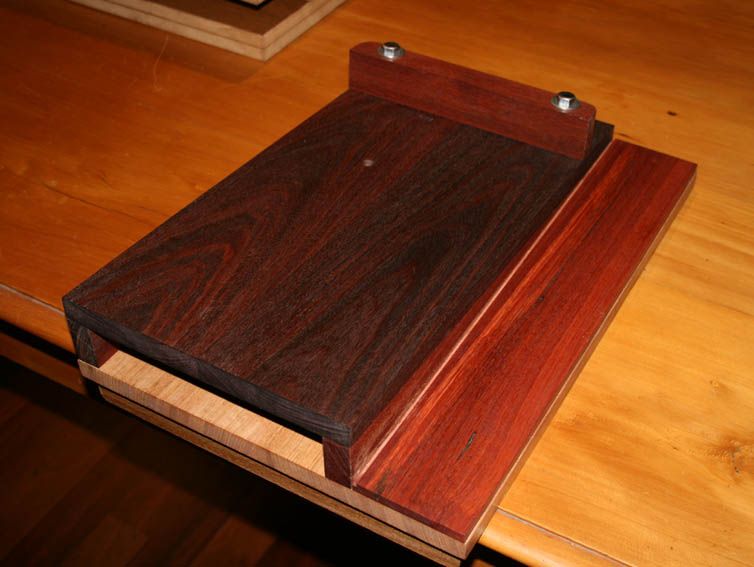
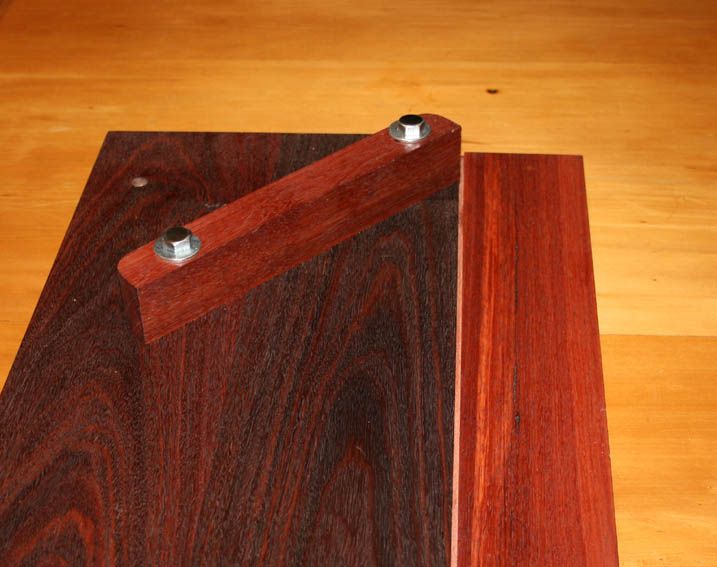
    A ramped board, in Jarrah and Tasmanian Oak ..


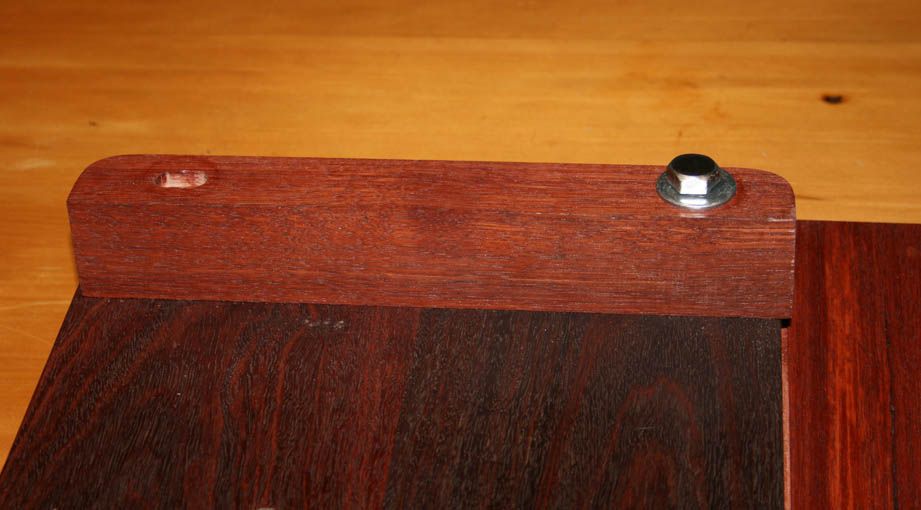
    This board is a little different to past ramped boards I have built.

    If the bolt on the left is loosened, then the fence can slide back-and-forth ...


    The reason for this is that the square fence then converts into a mitre fence ...


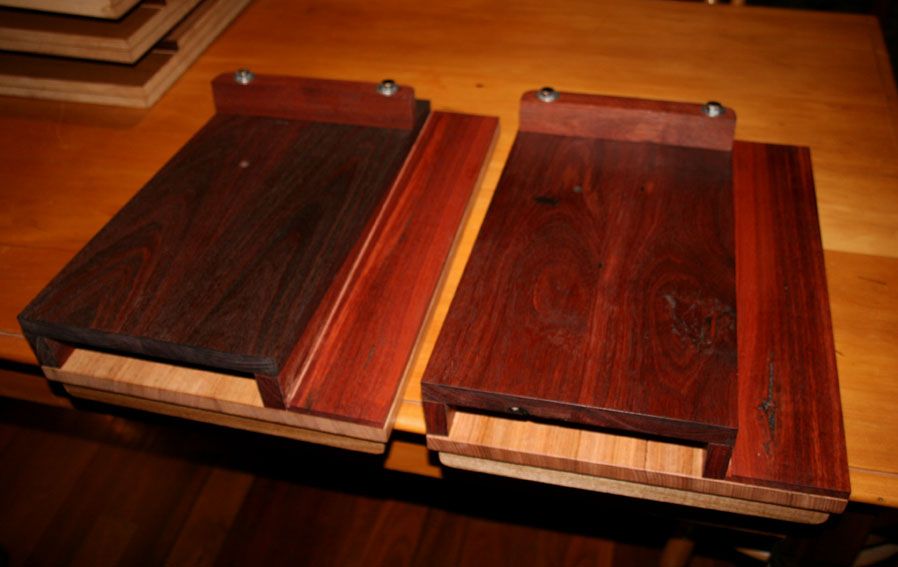
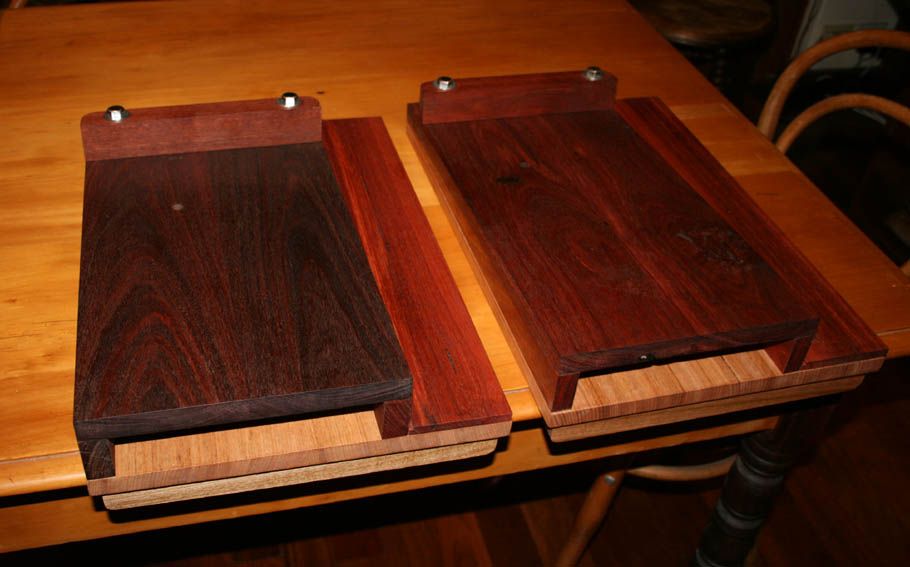
    Oh, I built 2 of these ...


    Come and join us at the Handtool Event. It promises to be fun!

    Regards from Perth

    Derek
    Last edited by Derek Cohen; 03-07-2011 at 10:19 AM.

  2. #2
    Join Date
    Mar 2003
    Location
    San Diego, CA
    Posts
    317
    Please send out a show recap when it is over. It will be interesting to hear the feedback from users on shooting miters with the add-on triangle vs. your swing-arm fence and relative merits of the various planes.

    I had an opportunity to try the #51 last week on an angled shooting board and it certainly worked well. How does it fit in the Stanley #52 chute? Any idea when Lie Nielsen will follow up with a #52 of their own as hinted on their website?

  3. #3
    Join Date
    Nov 2009
    Location
    Ellsworth, Maine
    Posts
    1,810
    Quick question Derek, on your ramped version of shooting board what are you bolting the fence down into? Is it some sort of threaded insert? A little bit of detail on that part of your shooting board would be great. May be a dumb question but have been meaning to make a ramped style board for a while. Getting the fence perfectly square always proves to be a pain.

    Oh and good luck at the Event, wish I could make it there but being in Maine requires far too long of a trip. Always enjoy myself at the LN Open House here in Maine. Just wish there were events around here more often.

  4. #4
    Join Date
    Feb 2004
    Location
    Perth, Australia
    Posts
    9,497
    Hi Tony

    The Jarrah top is 3/4" thick. I first tapped this for the bolt, then sunk a steel nut into the underside. It is really solid.

    I did take pictures as I worked, so there is a pictorial planned of building this ramped board(s).

    Regards from Perth

    Derek

  5. #5
    Join Date
    Sep 2007
    Location
    Longview WA
    Posts
    27,501
    Blog Entries
    1
    Lots of pics from the Tool Event please.

    I am trying to get my octagonal pyramid top for my bird house worked out so I can make a compound angle shooting board some day.

    Should have taken trigonometry when I had the chance.

    jtk
    "A pessimist sees the difficulty in every opportunity; an optimist sees the opportunity in every difficulty."
    - Sir Winston Churchill (1874-1965)

  6. #6
    Join Date
    Jan 2010
    Location
    Falls Church, VA
    Posts
    107
    This might sound like a really dumb question, but how do you go about cutting/shaping those long wedges that go under the ramped shooting board? Is that something that can be done neander or do I need to bust out the TS?
    CT

  7. #7
    Join Date
    Feb 2004
    Location
    Perth, Australia
    Posts
    9,497
    CT

    You can do this in a number of ways. For neander, mark a 5 degree angle on a wide board. Plane/saw this off. straighten the line with a jointer, then saw off the wedge. This is trickier than it looks and you now need to plane the rear.

    I used a tablesaw and handplane.

    Regards from Perth

    Derek

Posting Permissions

  • You may not post new threads
  • You may not post replies
  • You may not post attachments
  • You may not edit your posts
  •