Page 1 of 2 12 LastLast
Results 1 to 15 of 28

Thread: my first attempt at a Krenov inspired cabinet

  1. #1
    Join Date
    Nov 2009
    Location
    Coweta County, GA
    Posts
    485

    my first attempt at a Krenov inspired cabinet

    With the exception of my tool cabinet, this is my first true " cabinet " ever built. I am quite fond of James Krenov and the work he produced... So I found a nice piece of spalted Maple, and some walnut with some nice grain. I have only cut one set of half blinds before this, so there are a few errors. I have learned more about handplaning and about using a backsaw thus far than I ever dreamed with the tool cabinet. It may seem a bit odd ... or sad... but I have maybe twenty hours in this already... and I still have to size the door, install the knife hinges ( which will ultimately be the real lesson of this cabinet ) and install said door, as well as make the back out of slats of ship lapped alder.... maybe installed at a 45 degree angle ? and make a small drawer to go into the bottom space below the shelf...

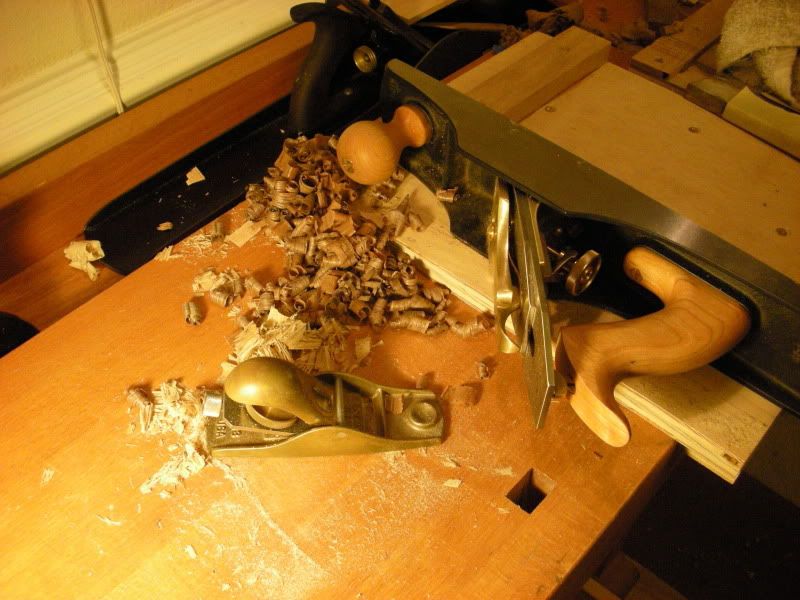
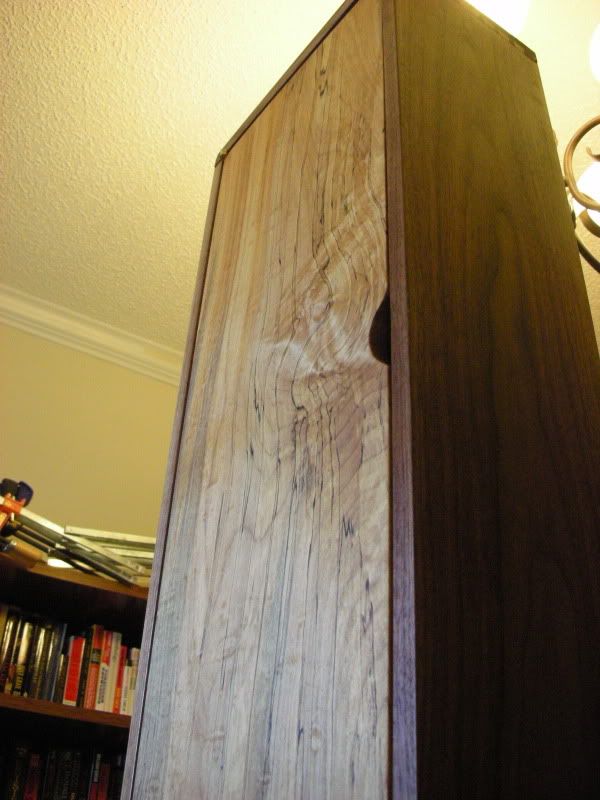
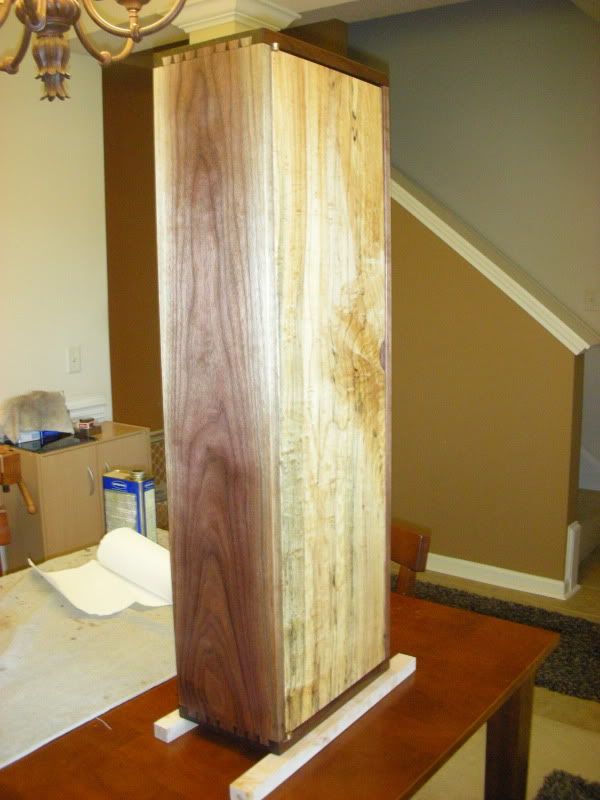
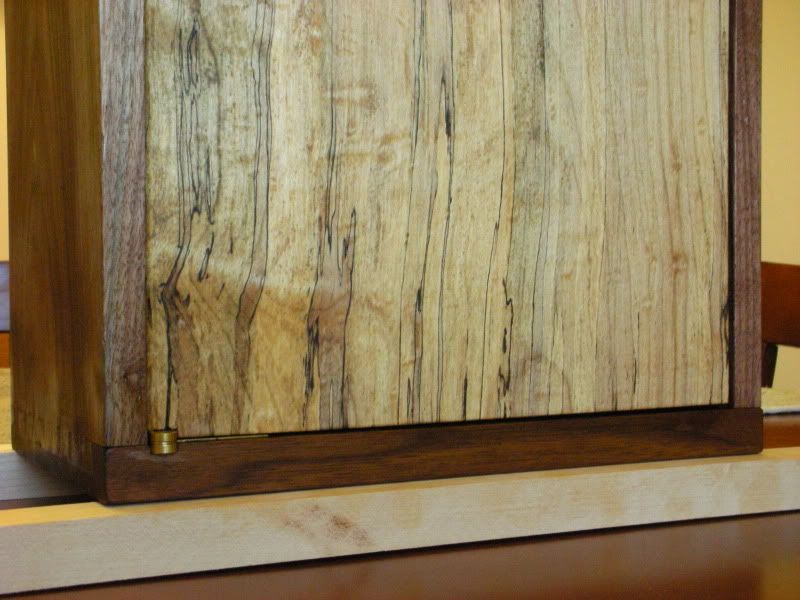
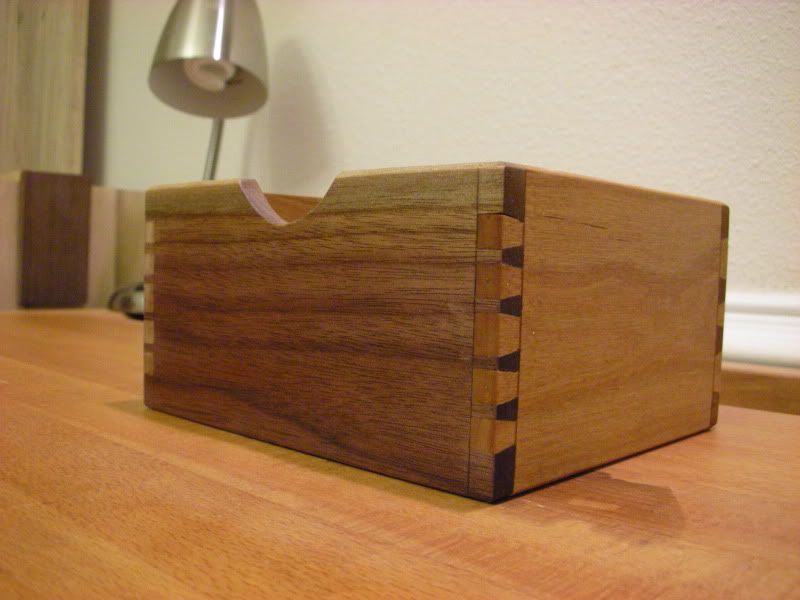
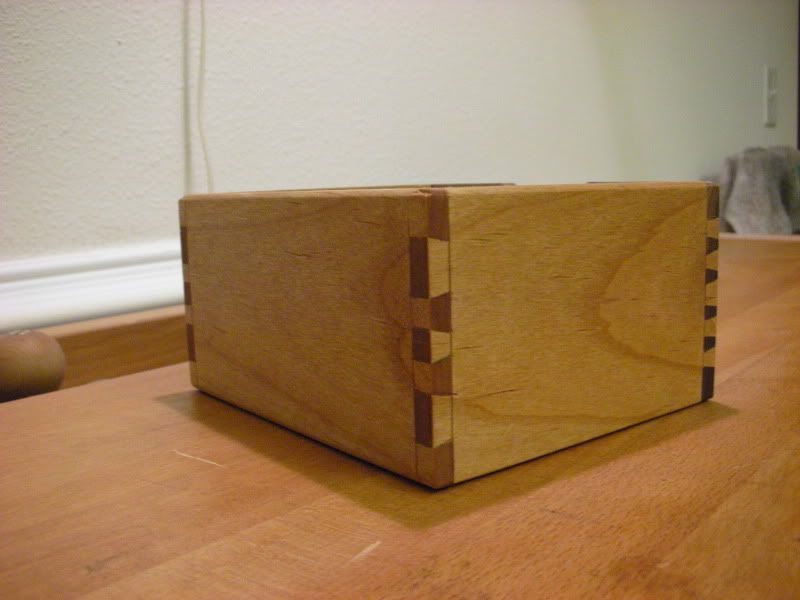
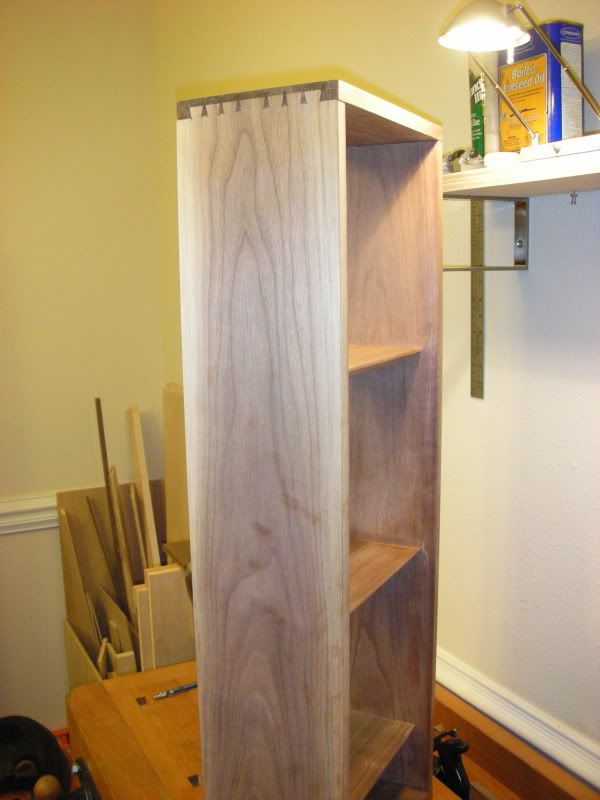
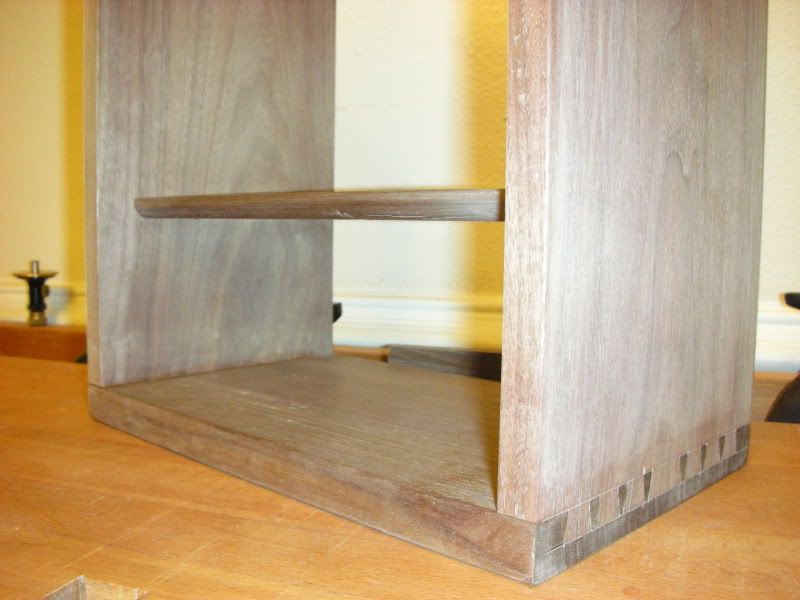
    The darkened color you see on the Dove tails is from denatured alcohol and planing down the top and bottoms to fit flush.

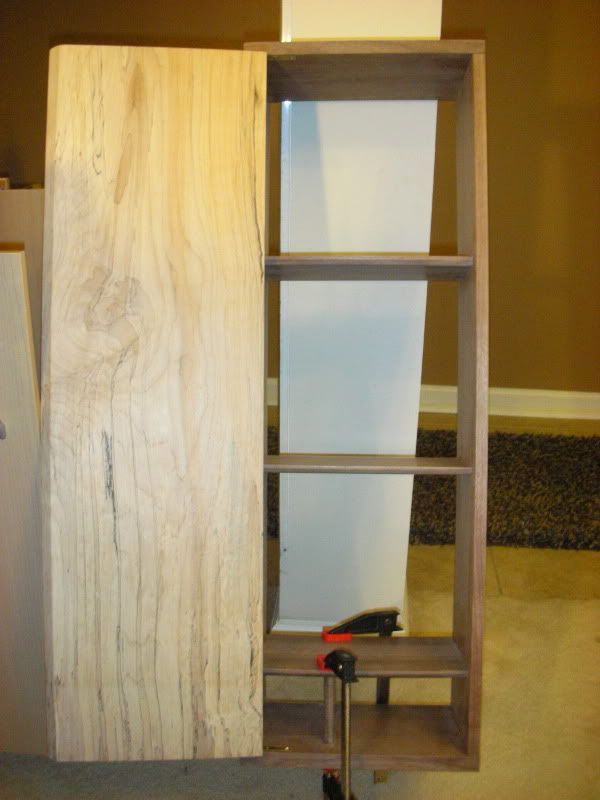
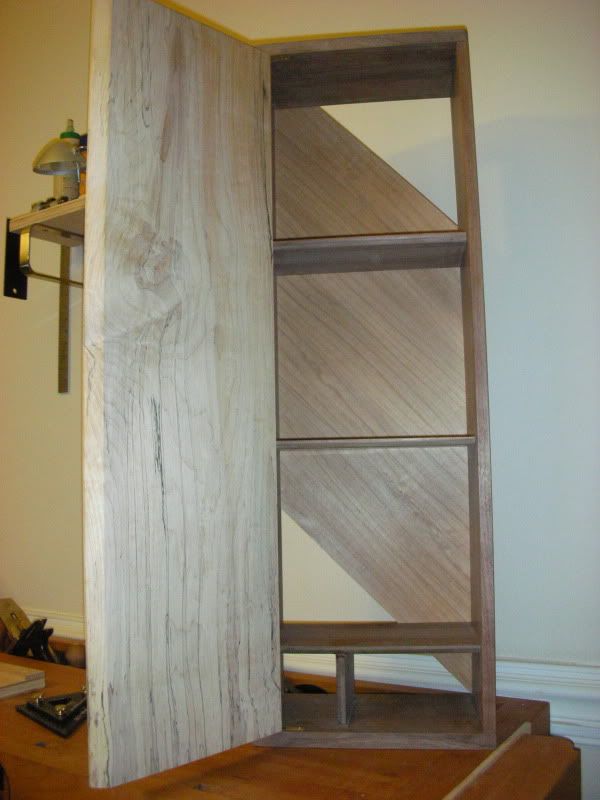
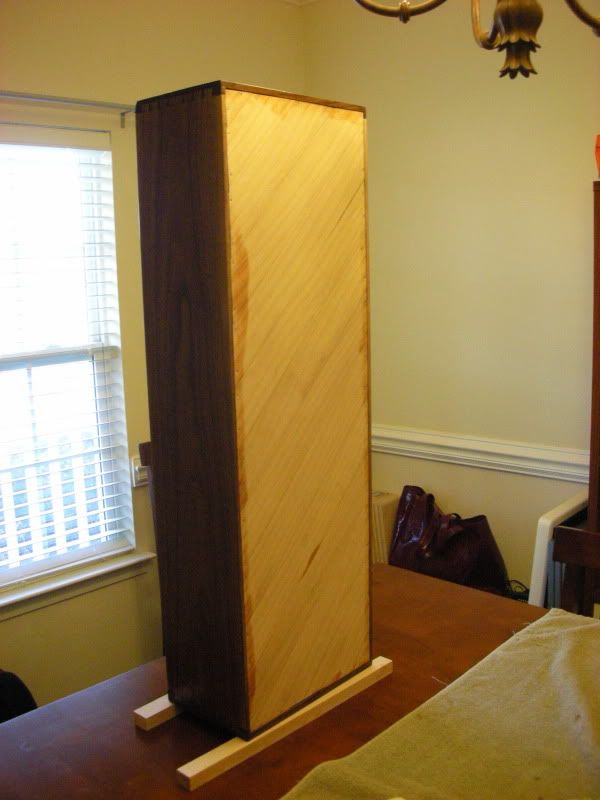
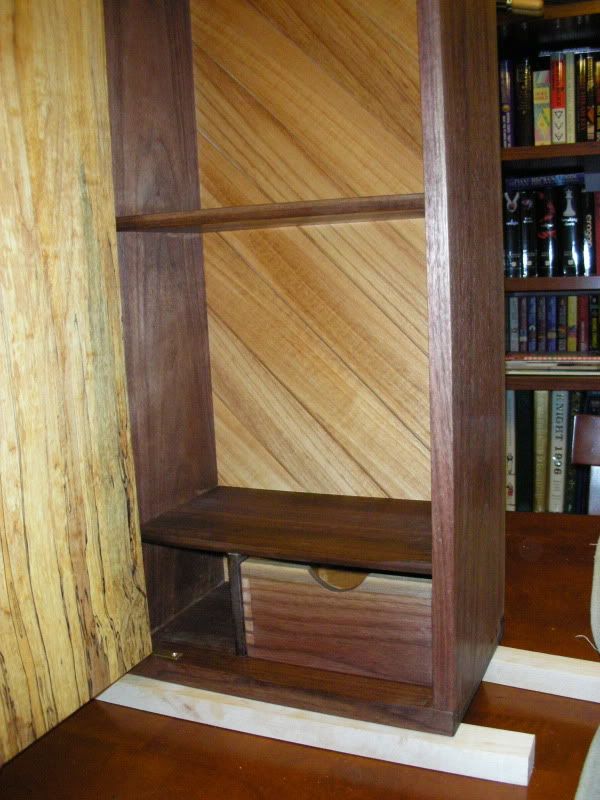
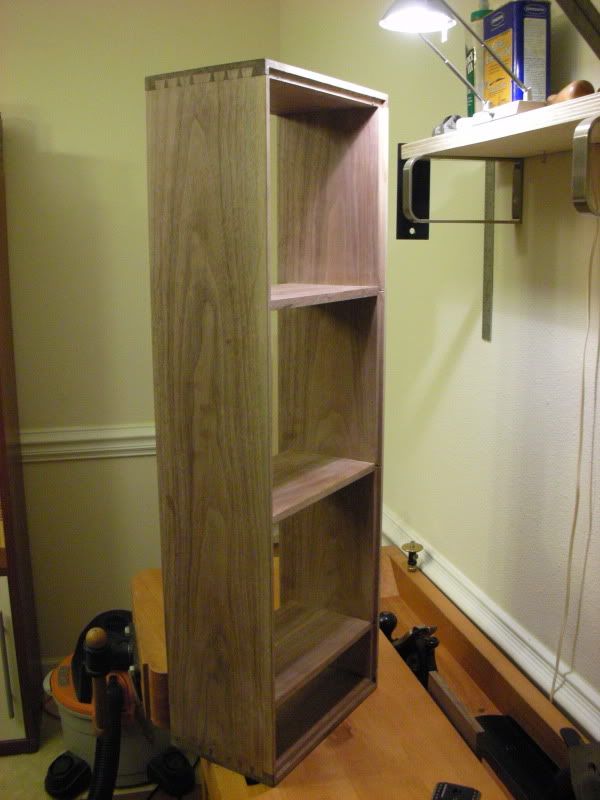
    the cabinet is about 35 inches high, about 11 inches wide, and about 7.5 inches deep, and the door will be set flush with the sides.


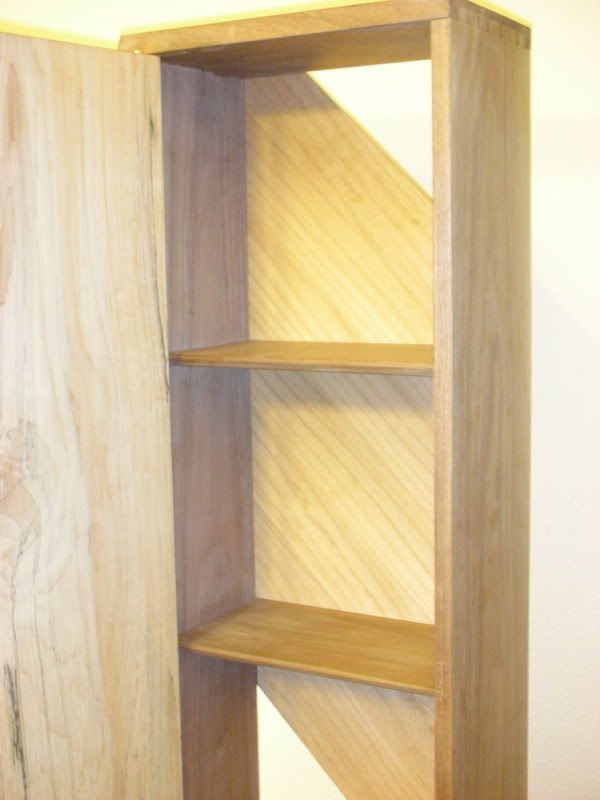
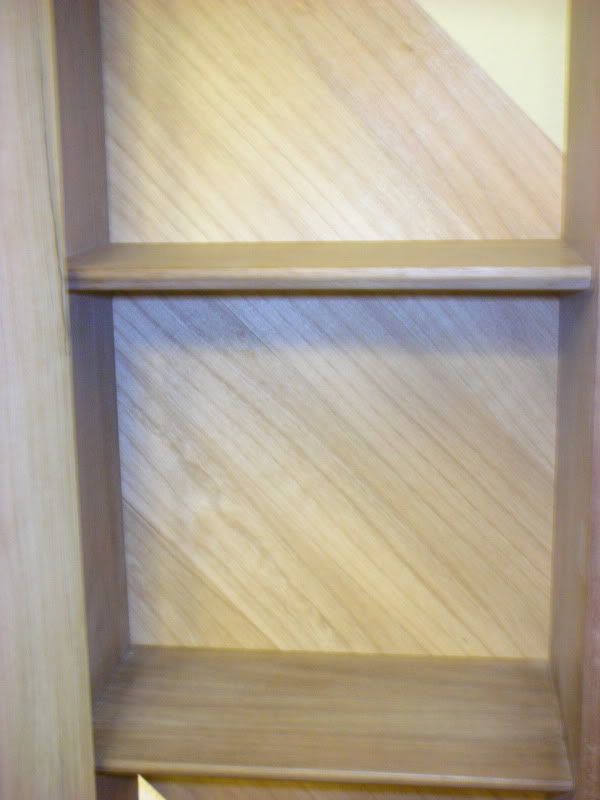
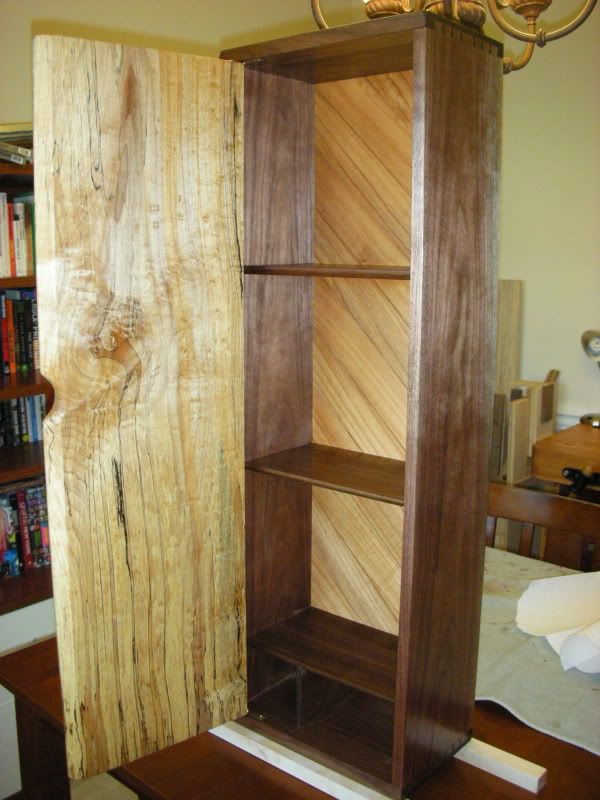
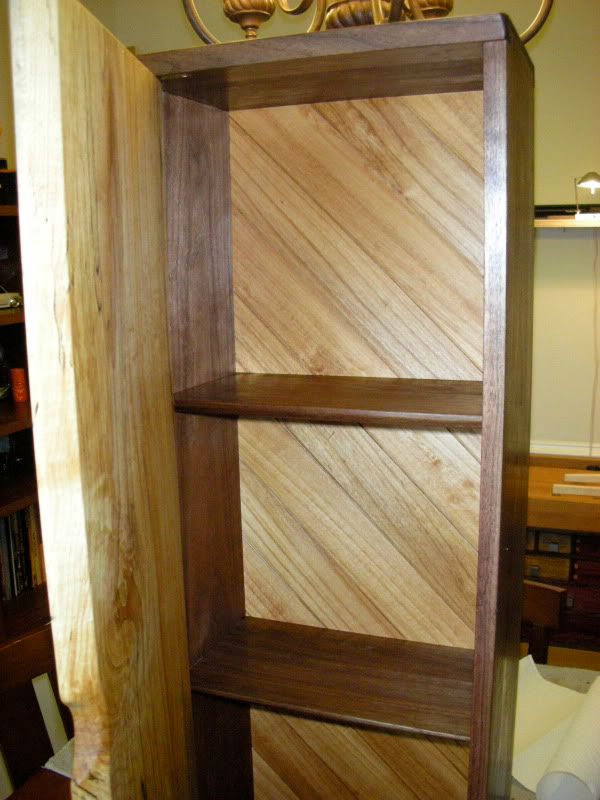
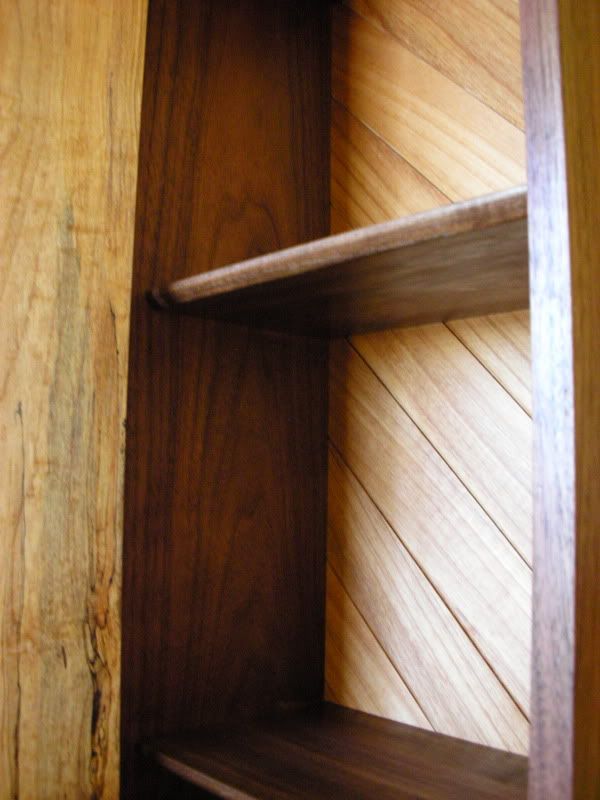
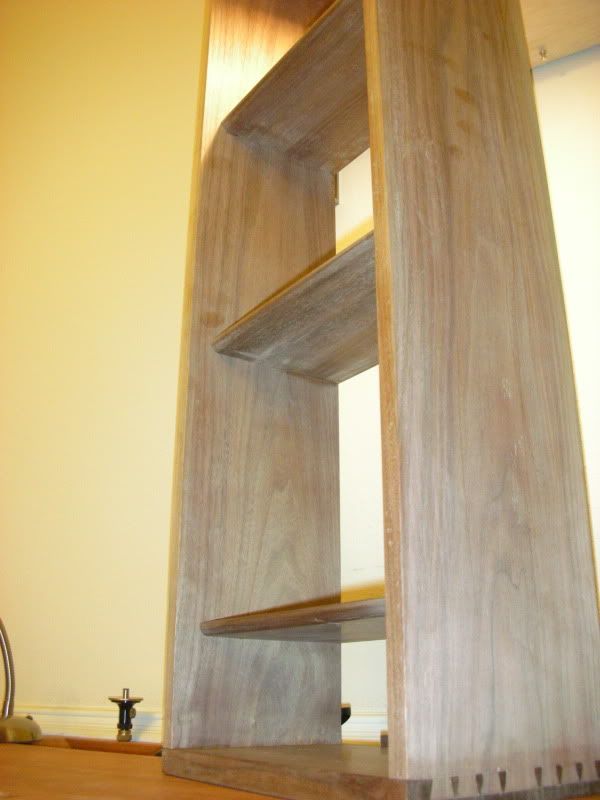
    the shelves have a chamfer done to the lower edge of the fronts. The vertical surface is right at 1/4 of an inch, just to make the 1/2" thick shelves feel a little lighter.


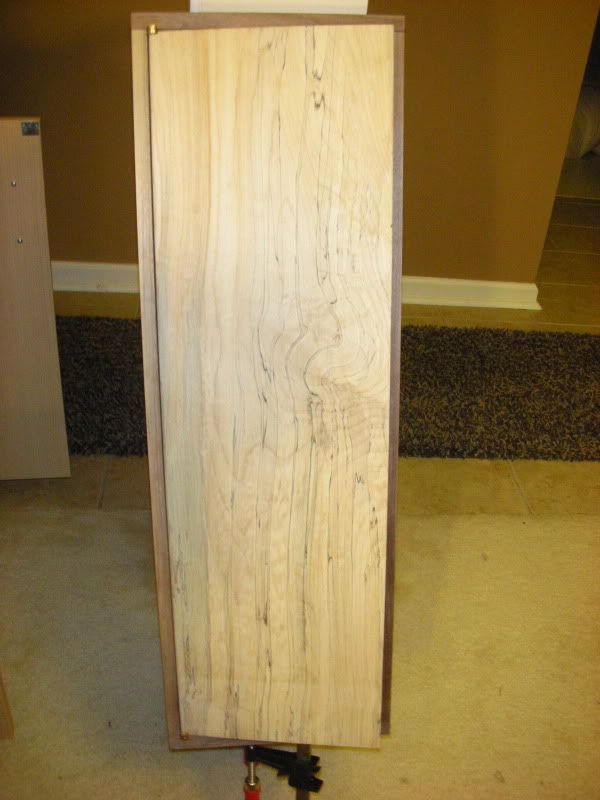
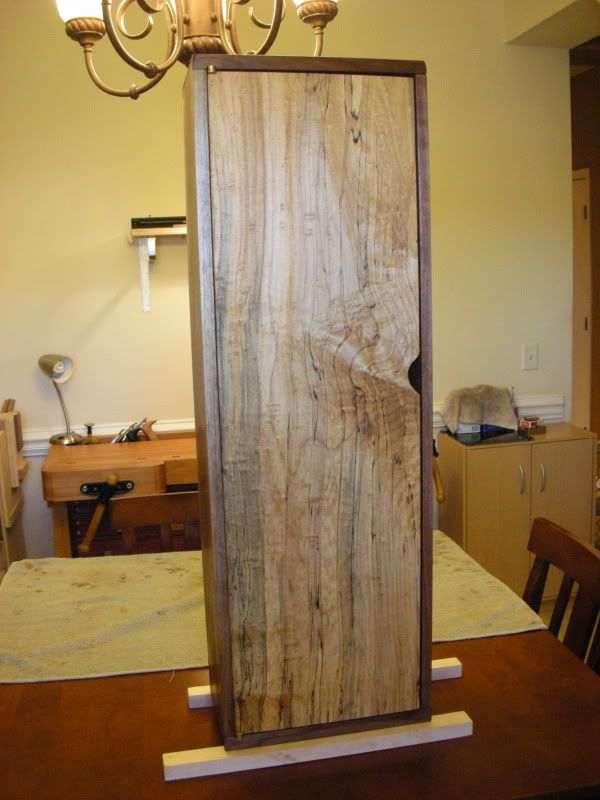
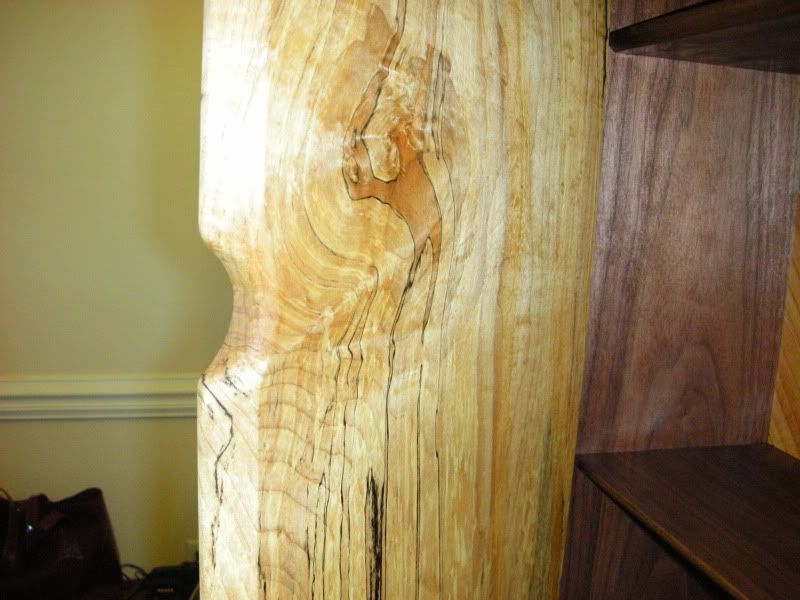
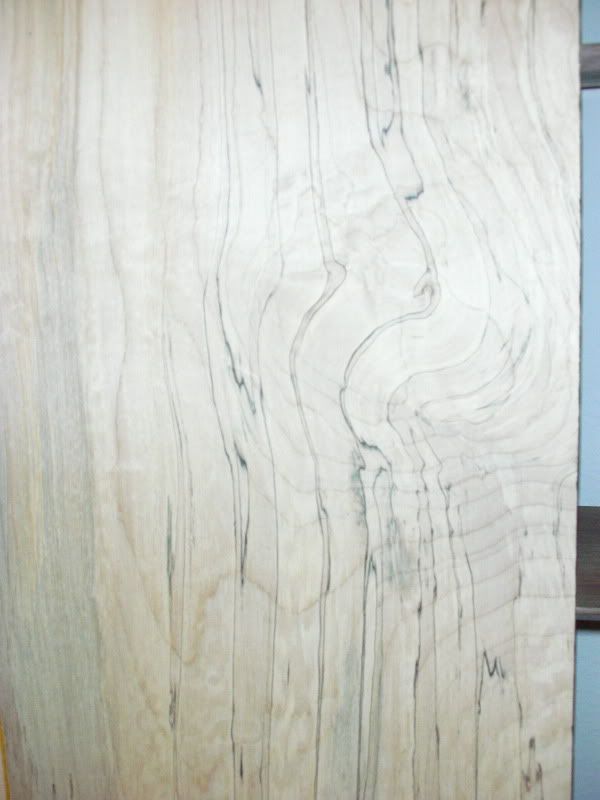
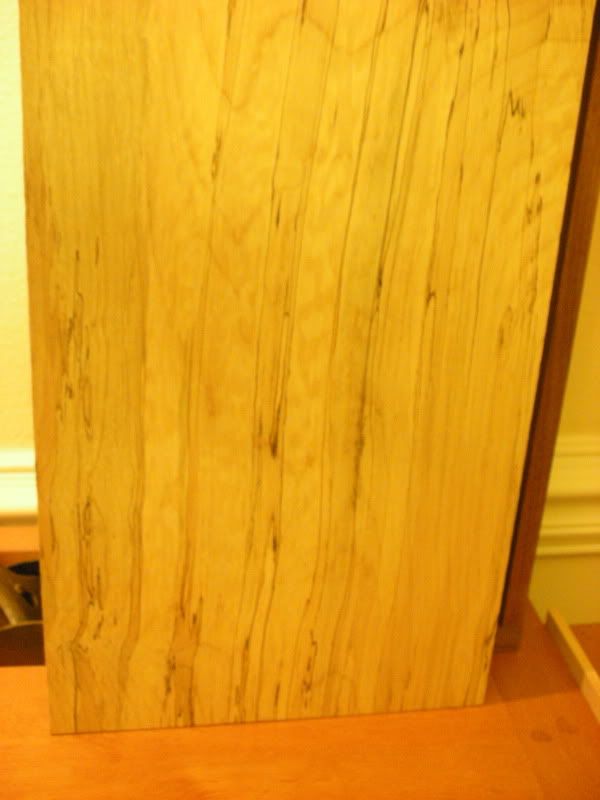
    The spalted door. It still needs to be cut out of the rough board ..
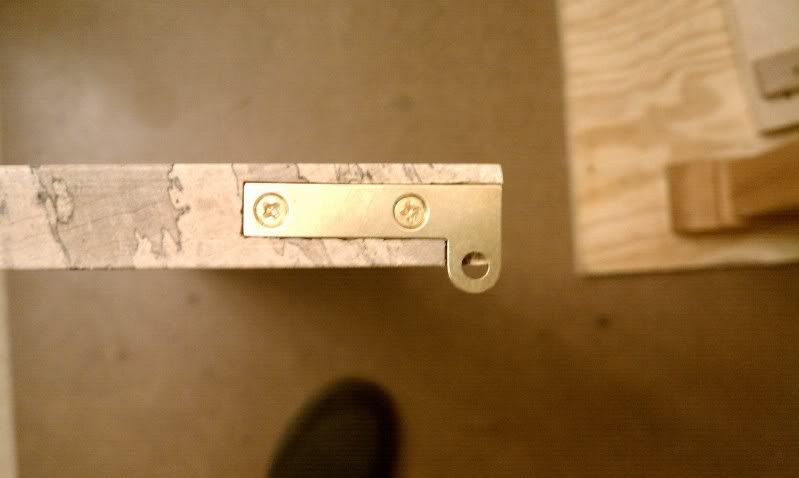
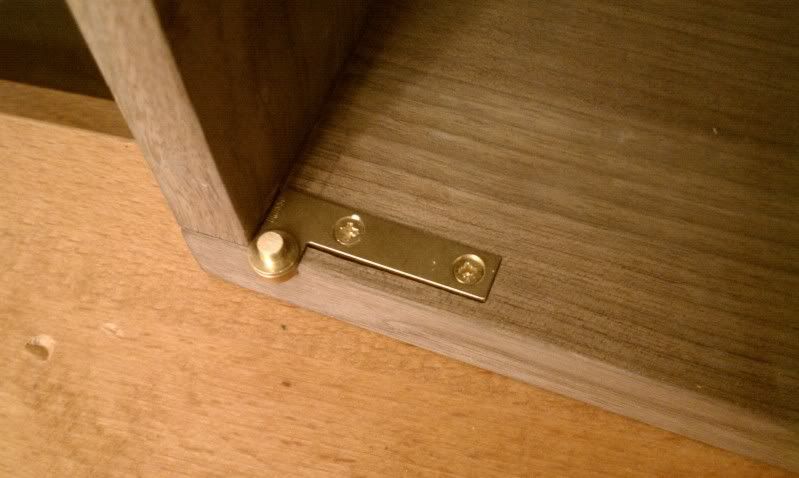
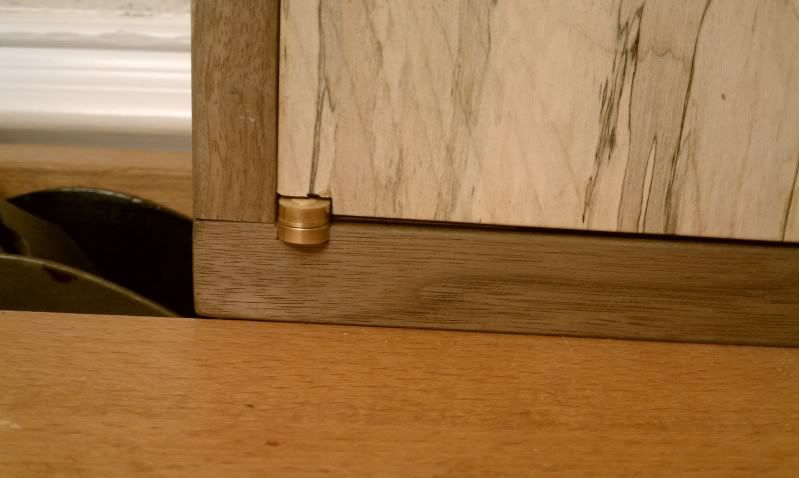
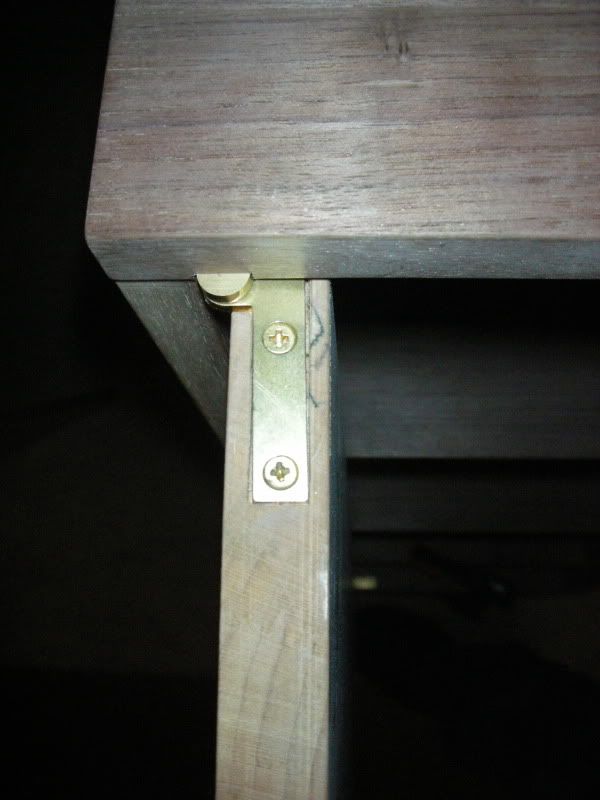
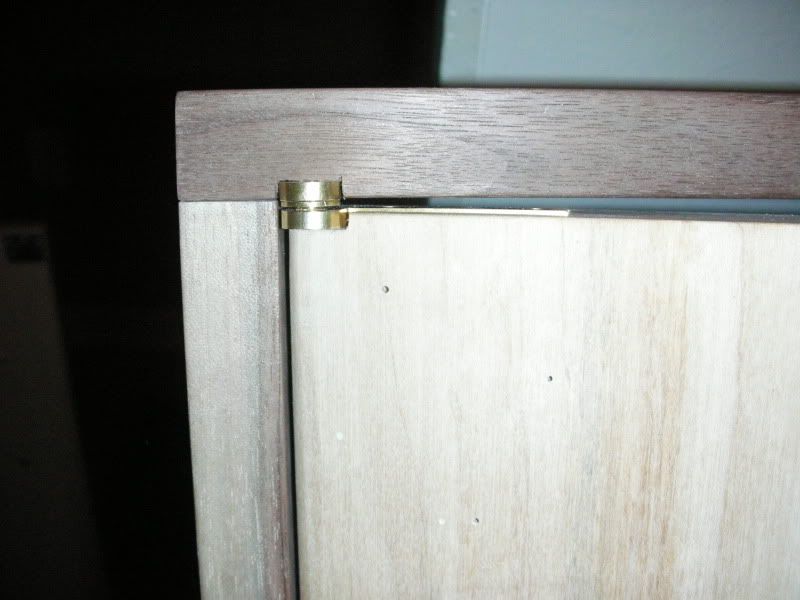
    This is the front side, this swirl will be just above center of the cabinet, with the heavier vertical spalting at the bottom. The board has most of the splating up the right side, starting at the bottom corner and working up at about a 15 degree angle... which we decided the wider and more noticeable lines should be at the bottom, with the swirl towards the top. The hinges will be installed on the left side of the cabinet, using Brusso hinges. I still need to order a Brusso ball catch and come up with some sort of door knob..? I may carve one , or I may just get a brass Brusso pull. I am still undecided on that. I may just order a pull and see if it looks okay, If not, I may make something and wedge tenon it into the door...


    Stay tuned for the finished work.

    ( oh.... and I learned I didnt account for depth to hang the thing.... So I am hoping the inset key holes will work or some of those Zclips ( really thin french cleats ) will work ...... )
    Last edited by John A. Callaway; 01-05-2011 at 9:49 PM.

  2. #2
    Join Date
    Feb 2007
    Location
    South Dakota
    Posts
    1,632
    The DTs are look'n good!
    The Plane Anarchist

  3. #3
    Join Date
    Nov 2009
    Location
    Coweta County, GA
    Posts
    485
    you are gonna have to give me a little more than that.... I know I sawed past the line a few times on some of the dovetails.... and I got a little heavy with the marking wheel on the top and bottoms... But my chisels? I keep them pretty sharp...


    ( never mind.... I read you signature line and overlooked your actual comment.... OOPS )
    Last edited by John A. Callaway; 01-05-2011 at 10:43 PM. Reason: OOPS....

  4. #4
    Join Date
    Feb 2007
    Location
    South Dakota
    Posts
    1,632
    Believe me I'd never be critical of hand cut DT's. I'm hanging on to my machine DT's with all I have but I can see that sooner or latter I'm gonna have to acept my neander roots!
    The Plane Anarchist

  5. #5
    Join Date
    May 2007
    Location
    Colorado Springs, CO
    Posts
    456
    Nice work John. You've gotta love working with Walnut. It's one of my favorite hand-tool woods. Is that air dried or kiln dried (looks air dried). How do you plan on finishing it?
    With skill and tool we put our trust and when that won't do then power we must.

  6. #6
    Very nice. I think the dovetails look terrific. I can't wait to see more.

    I think this is a fantastic way to learn/practice techniques. I'd be interested to see if you make more cabinets after this one, and if you get faster and where you find your techniques/"tricks" improve most.

  7. #7
    Join Date
    Nov 2009
    Location
    Coweta County, GA
    Posts
    485
    Rick, I found a great little saw mill on the bay... They claim it is kiln dried to 6% .... and if it is, somebody knows what they are doing... the color of this wood is just great.

    Phil, thanks for the compliment !

    I plan to probably just use a couple of coats of linseed oil on it... Krenov wasn't big on using shellac... So I don't think I will on this piece. I tested some of the spalted maple cut off with BLO and I liked the way it brought out the different colors... the door has a lot of blue, gray, black and amber... some gold and browns... so I want to try to preserve and and not alter that color as best I can, but I dont a shiny finish like poly gives. I just bought Flexner's new book... so I am thumbing through the chapters try to see what my choices really are... I bought the Alder the other day and ripped it down pretty thin to fit into the rabbet along the back.... I still have to ship lap it and chamfer one edge...but I like the way the alder looks with the walnut and maple. Should look really nice if I don't mess it up.

    so. how about a few pics of the bottom hinge set. I didnt do too bad for my first try at an installation. I will do the other set when I get back home ... maybe on Monday...


    I had a little tear out that you can see... I may try to carve a little piece and CA glue it in... Or I may leave it. this is a learning piece after all... And It is a keeper for me in my house.


    the door looks a little crooked cause the top is not mounted up....and I will probably have to plane down the hinge side of the door's lond edge to even up the reveal and give it a tad bit more room...
    Last edited by John A. Callaway; 01-08-2011 at 5:48 PM.

  8. #8
    Looks good!

    I am pretty sure that Krenov's usual finish was shellac (referred to in his books as "polish") followed by wax (either Renaissance or Goddard's), fwiw....

  9. #9
    Join Date
    May 2004
    Location
    Tyler, Texas
    Posts
    2,041
    Quote Originally Posted by seth lowden View Post
    Looks good!

    I am pretty sure that Krenov's usual finish was shellac (referred to in his books as "polish") followed by wax (either Renaissance or Goddard's), fwiw....
    That's a wonderful project and also being a Krenov fan, one I want to attempt one of these days.

    Krenov used both oil and thinned Shellac as a finish. The Shellac polish was thinned so much that it was like putting on coats of pure alcohol. ("The Fine Art of Cabinetmaking" pg 54)

    In some cases, Krenov would not use any finish at all since he said there was nothing he could put on the wood that would make it look better than it appeared naturally.
    Cody


    Logmaster LM-1 sawmill, 30 hp Kioti tractor w/ FEL, Stihl 290 chainsaw, 300 bf cap. Solar Kiln

  10. #10
    Join Date
    Nov 2009
    Location
    Coweta County, GA
    Posts
    485
    I have not experimented with shellac a=enough yet to dabble with it on this just yet... Although... You are right about his choice finishes.... so I may do a bit more reading and thinking on this....

  11. #11
    Join Date
    Nov 2009
    Location
    Coweta County, GA
    Posts
    485
    got the other hinge set in...It works good. Has just the right amount of tension to not feel sloppy.... Although the door could stand to be just a hair taller to even out the reveal on top and bottom... but it looks okay. I am happy with it... I also understand something I noticed but never gave it any more thought than it was just a design ... In order to install a little drawer on the bottom, I need to install a divider ... a full width drawer wont work because of the door being fully inset. I just never gave it any thought. makes perfect sense as to why Krenov never used a full width drawer.... Just something you dont think about until you build one of these .... Had I paid attention, I would have cut dadoes into the parts for the divider to slide in....


    And I used the 5 1/2 to shoot all the edges and flatten and smooth the little divider... the took my 103 and rounded over the exposed edge grain edge. This plane is a must have ....


    Maybe I will have time to get the cabinet back slats cut today.... And I still have to make a drawer for it now.

  12. #12
    Join Date
    Nov 2009
    Location
    Coweta County, GA
    Posts
    485
    I got some of the slats for the back cut to size. I am going to have to rip down a little more alder to thickness to make the rest of the pieces I need. This is basically all the full length slats... but the color works good. I will have to set up the dado stack to ship lap the edges still ... I would be happier going at it with a rebate plane... but I will use what I have...


  13. #13
    Join Date
    Nov 2009
    Location
    Coweta County, GA
    Posts
    485
    first layer of BLO applied today. Back is finished too. Waiting on a Lee valley order that is stuck in Atlanta... snowstorm evidently shut down UPS. I need the Brusso ball catch to put in the bottom of the door... and I will make the little drawer for it next time I come home. I think I may try thinning down some shellac and putting on a light coat....


  14. #14
    Join Date
    Nov 2009
    Location
    Coweta County, GA
    Posts
    485


    Last edited by John A. Callaway; 01-13-2011 at 5:12 PM.

  15. #15
    Join Date
    Nov 2009
    Location
    Coweta County, GA
    Posts
    485
    Got the drawer made. Next time I am home I will thin out some shellac and put a coat over the BLO.


Posting Permissions

  • You may not post new threads
  • You may not post replies
  • You may not post attachments
  • You may not edit your posts
  •