Page 1 of 2 12 LastLast
Results 1 to 15 of 68

Thread: New Build - Double Cutaway Prototype

Hybrid View

Previous Post Previous Post   Next Post Next Post
  1. #1

    New Build - Double Cutaway Prototype

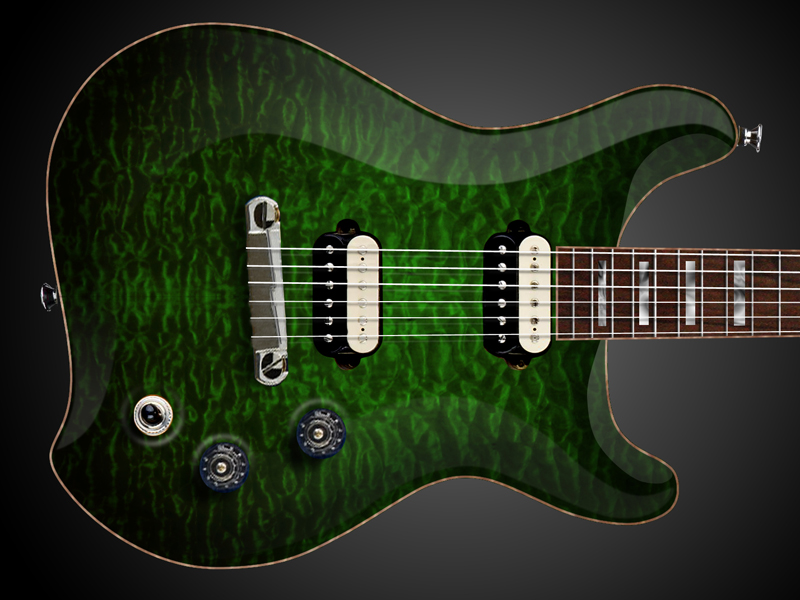
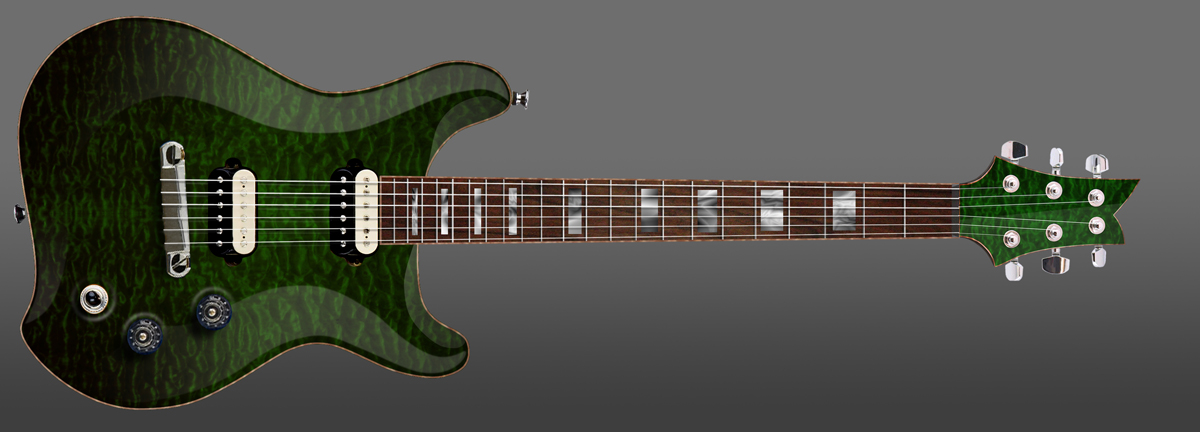
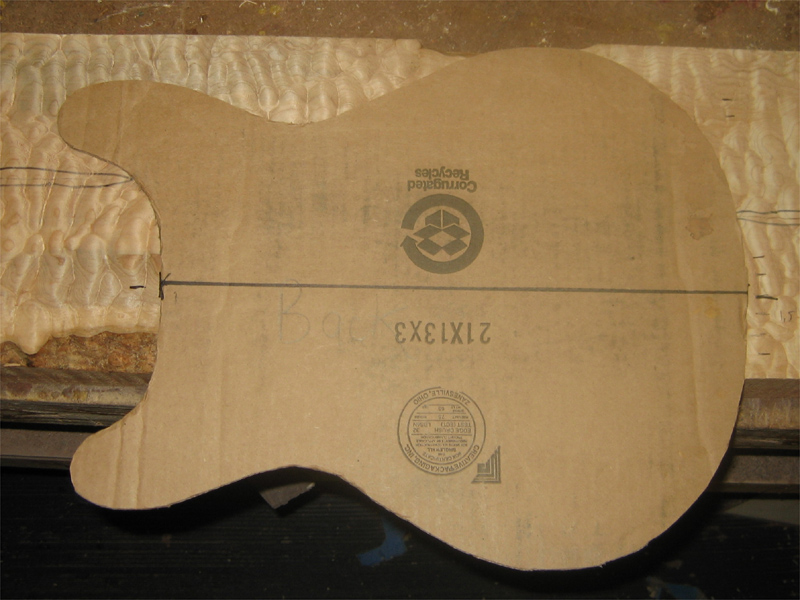
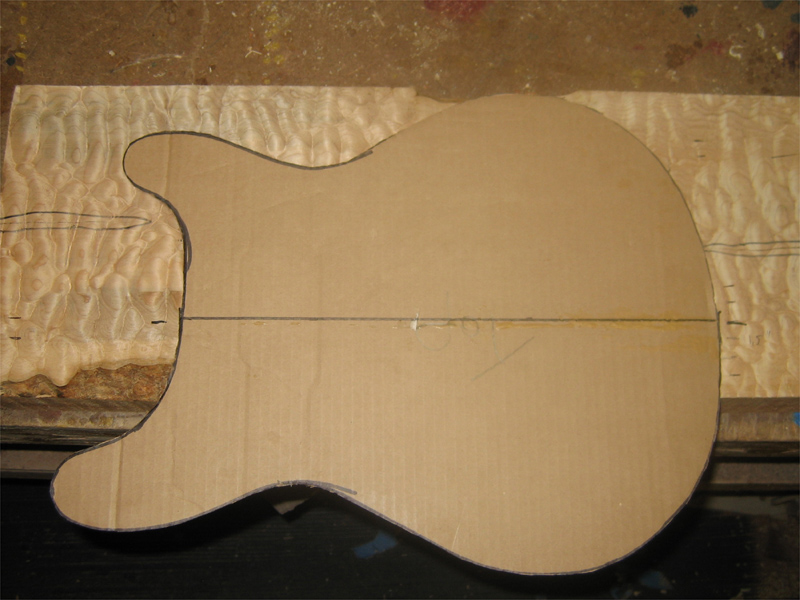
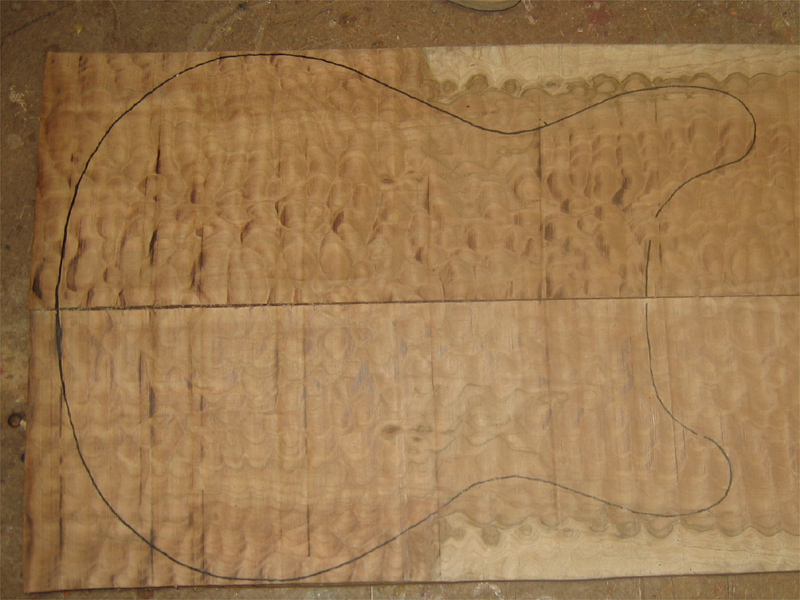
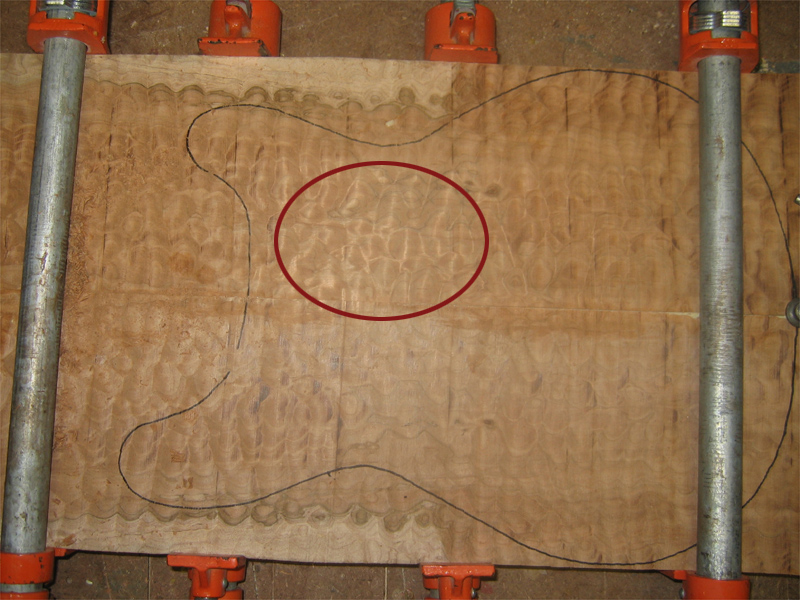
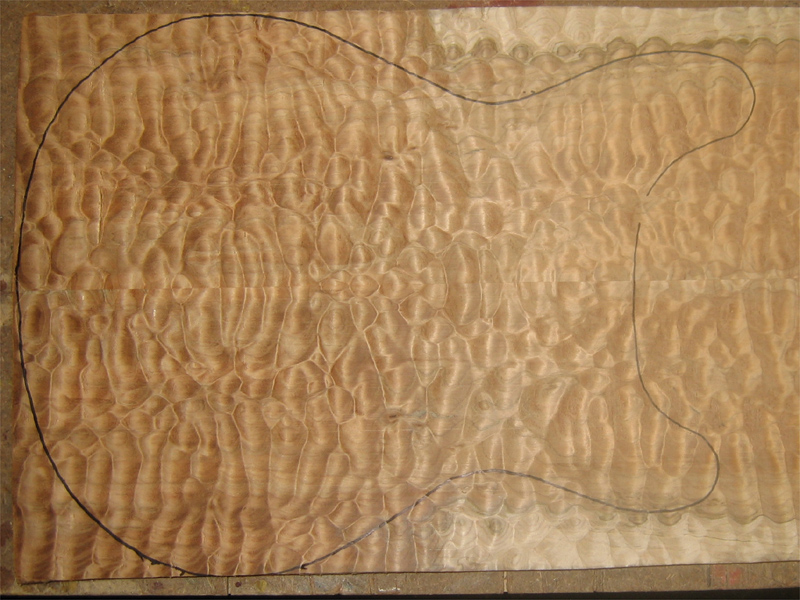
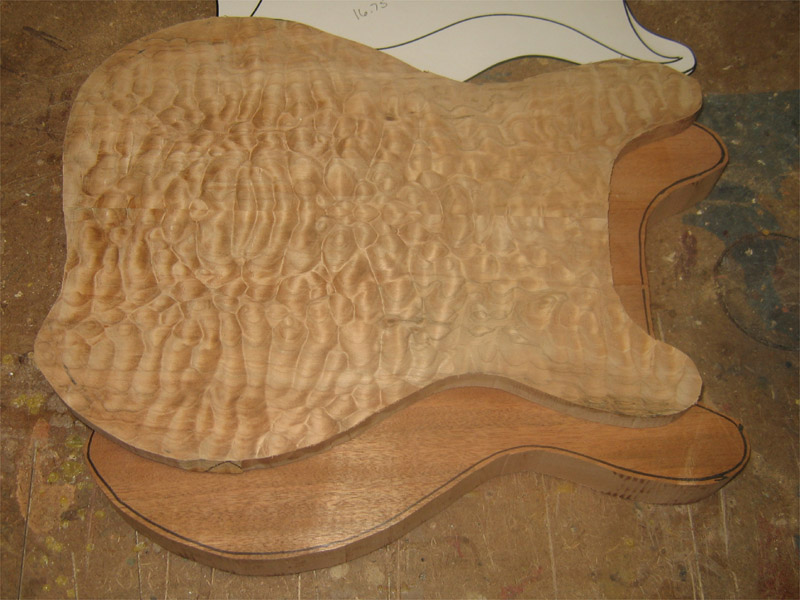
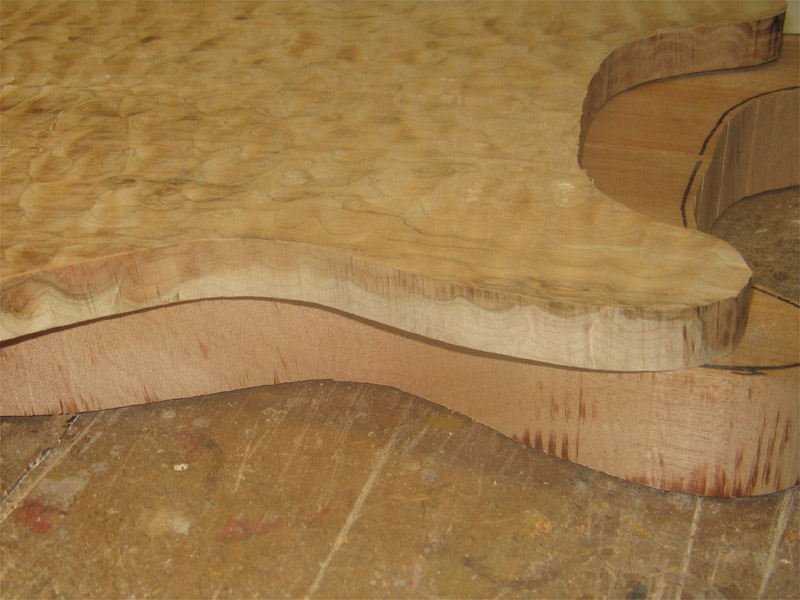
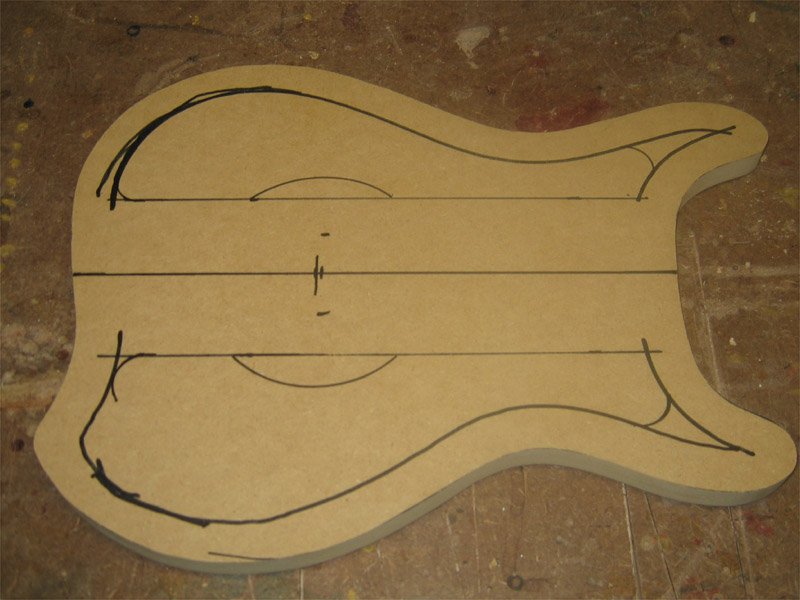
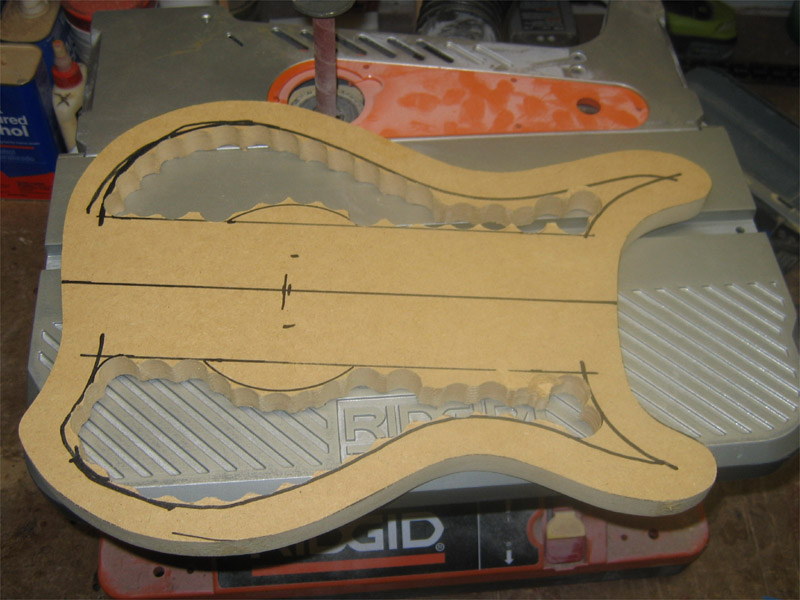
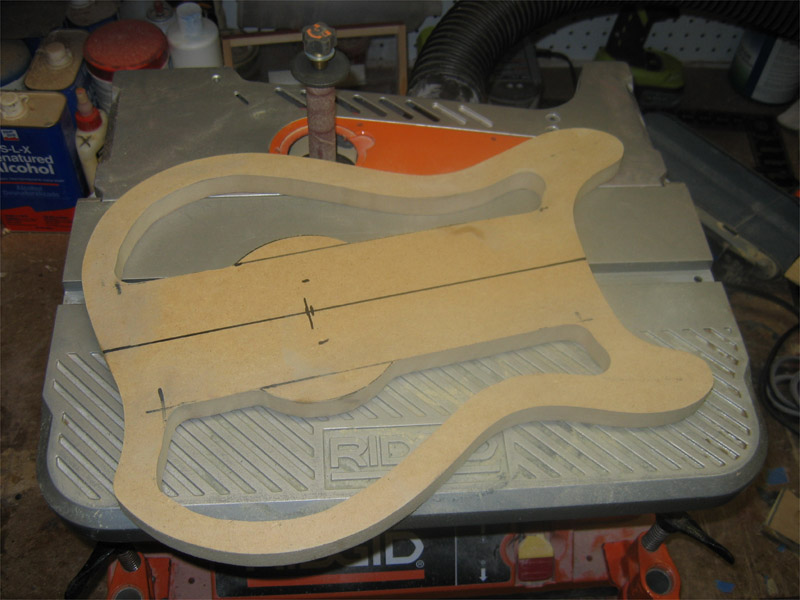
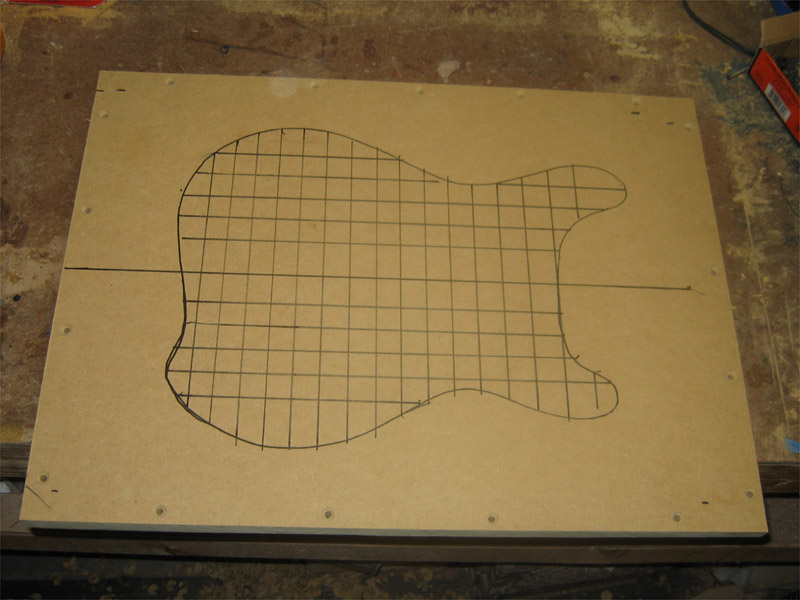
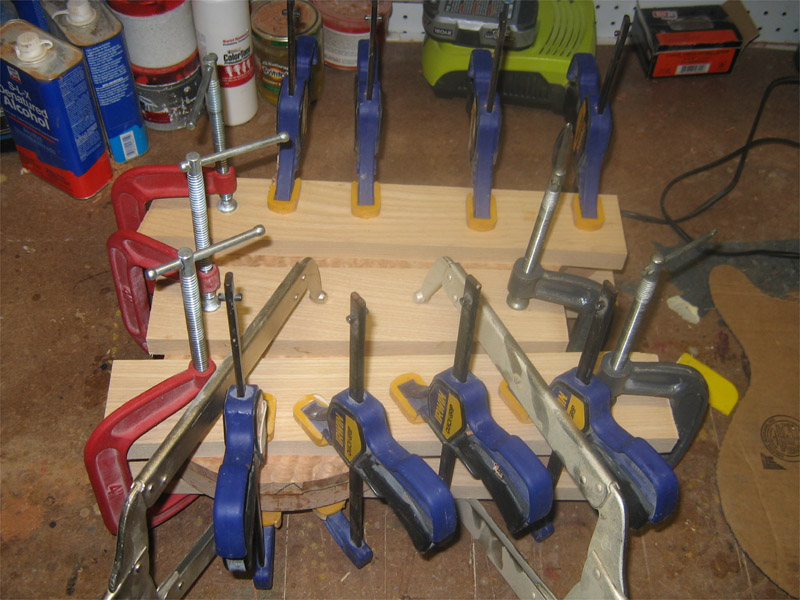
    I'm really excited about this build. It's a design that I've been working on over the past few months. The body is inspired by a PRS but with a little different styling and wider, fatter horns. The top will be carved similar to a PRS but with a few twists. I'll have drawings completed and posted in the next few days.

    Specs:

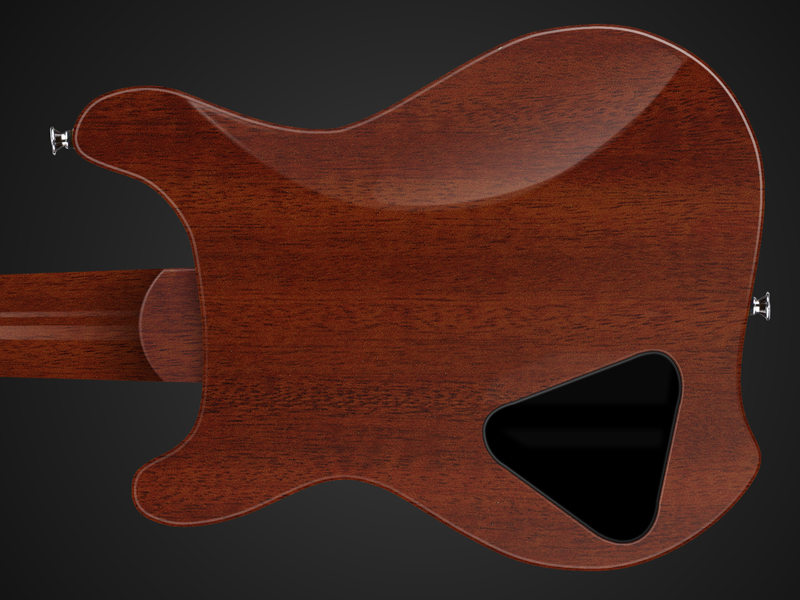
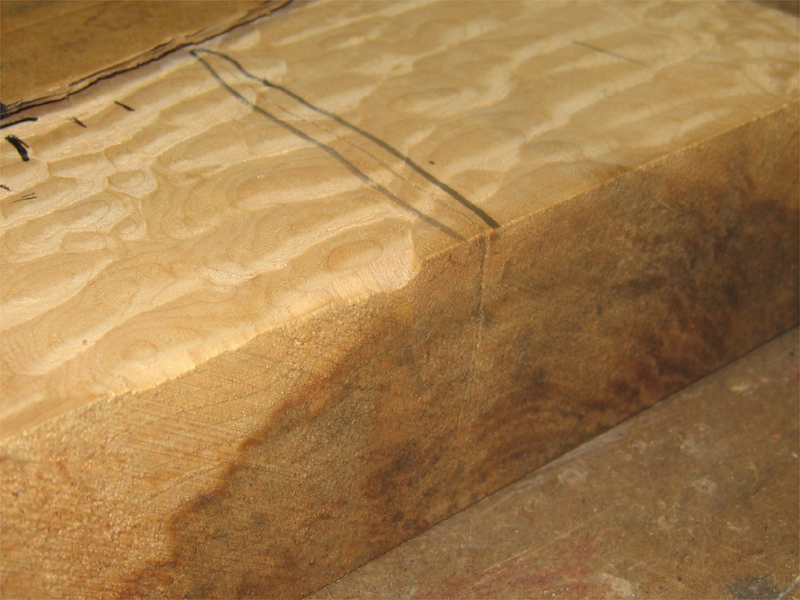
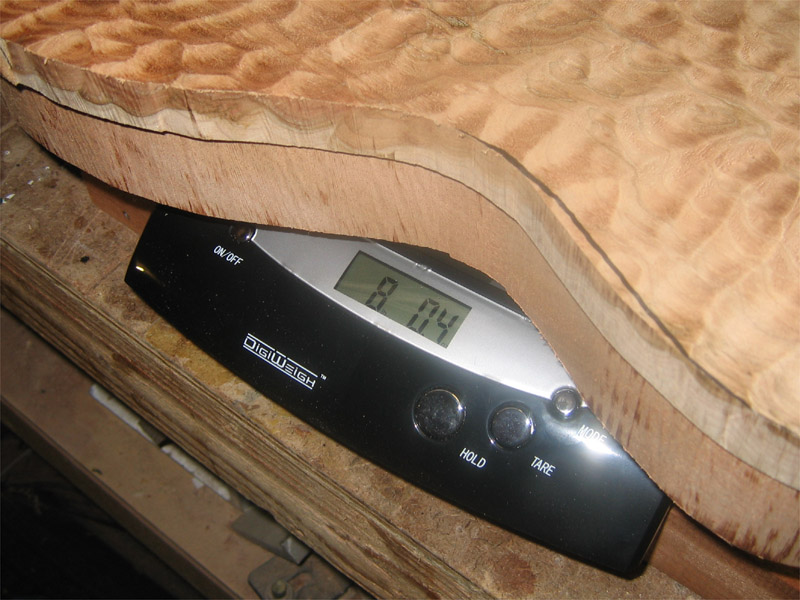
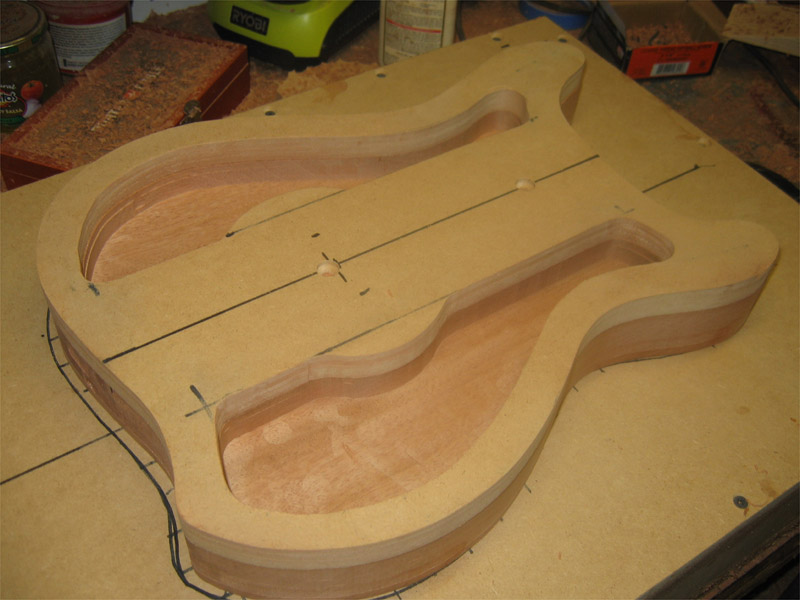
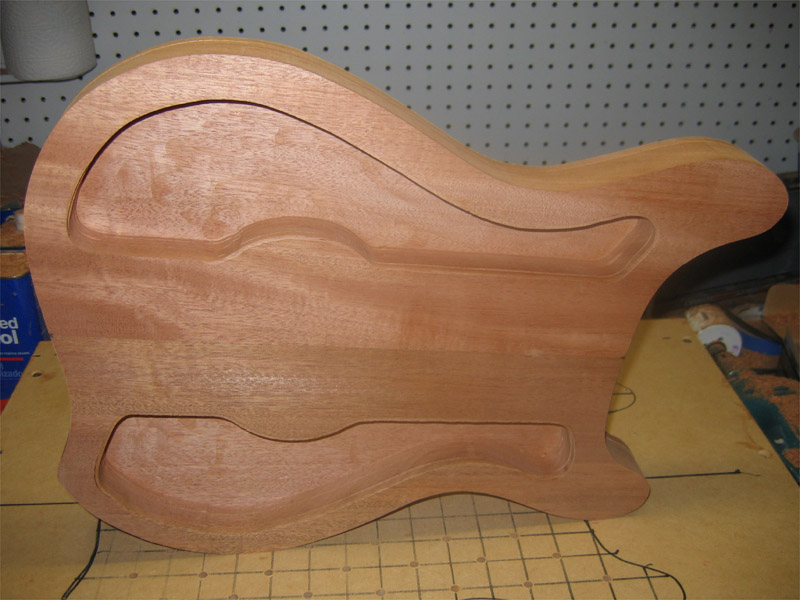
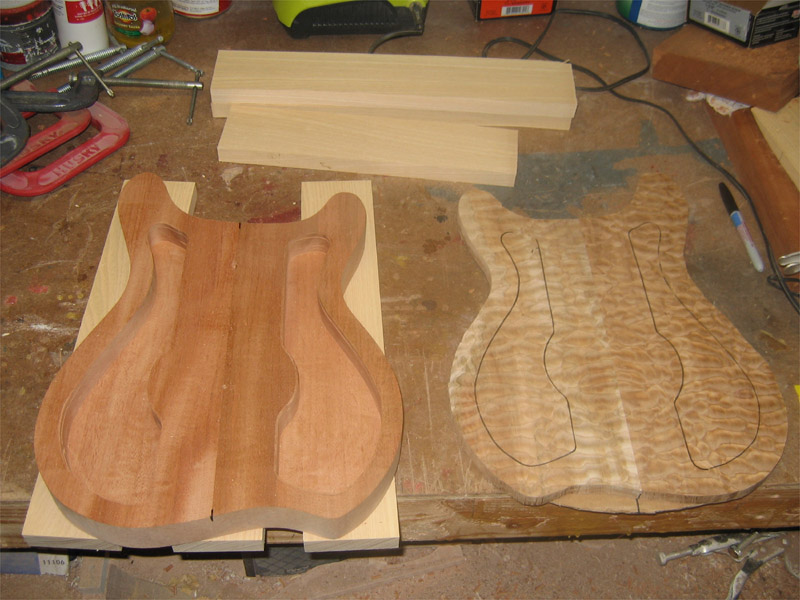
    Peruvian mahogany body.
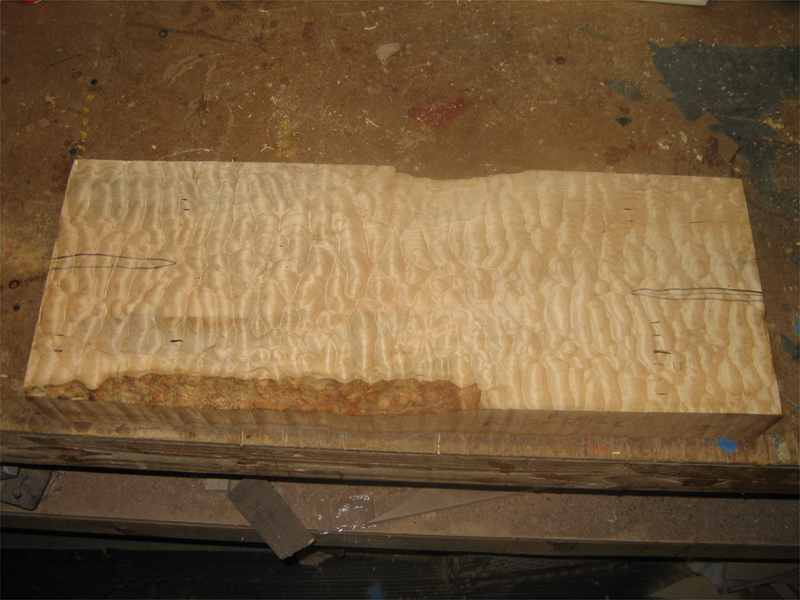
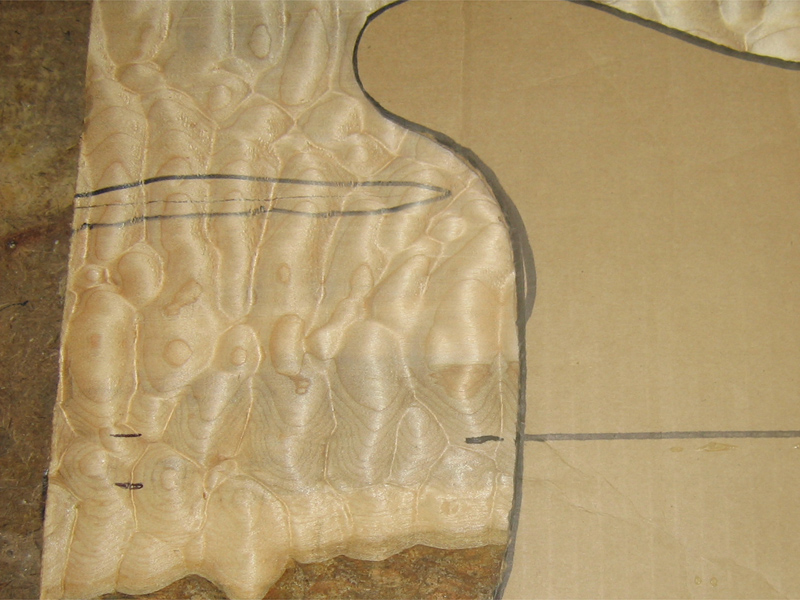
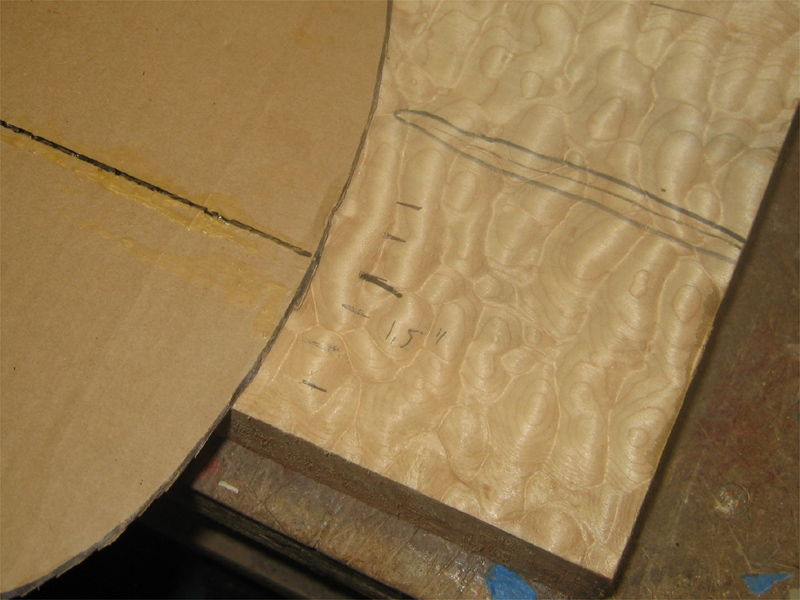
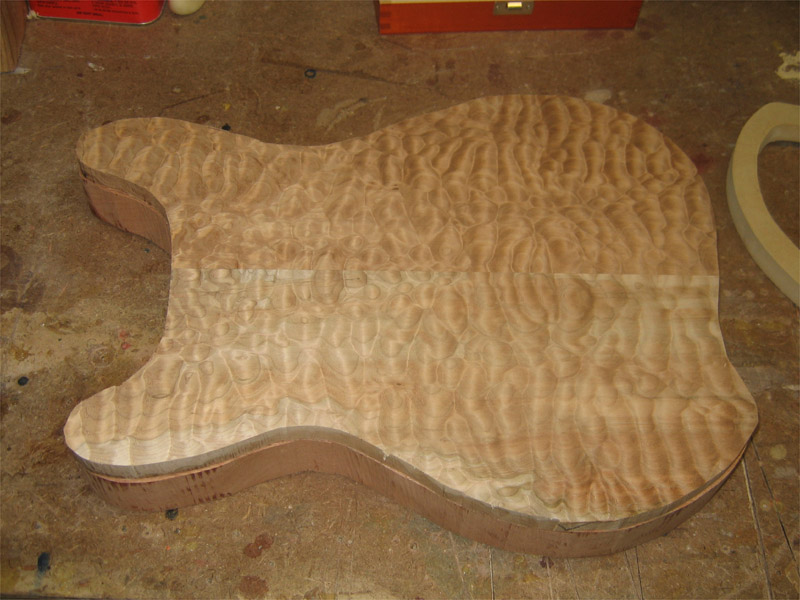
    Quilted maple carved top with faux binding.
    Peruvian mahogany neck.
    Bolivian rosewood fretboard with quilted maple binding.
    Dual HB...not sure which brand yet.
    Wrap around bridge.
    Volume, tone, 3-way toggle switch.


    Peace,
    Mark
    Last edited by Mark Crenshaw; 08-05-2010 at 11:54 AM.
    "Thought that is no longer limited brings experience that is no longer limited" Marianne Williamson.

  2. #2

    Previz

    I've been working on this design since March of this year. After getting the shape I wanted, I moved it into Photoshop to do a mockup of the top carve. Afret posting these oics in the guitar forums I post in, I received a huge response about my design process so I also created a video series that covers the mockup process in Photoshop. It's geared for the beginner and walks you thru all the tools and processes used in the design. The techniques can be applied to design of any project. It's posted over in the Design forum but in case you guys don't make it over there very often, here's the LINK


    "Thought that is no longer limited brings experience that is no longer limited" Marianne Williamson.

  3. #3

    On with the build!

    Well, the heat is backing off a bit and the AC managed to get the shop to an agreeable temp so I got to work on the quilted top.

    The billet had a check on each end. I know this when I bought it but I didn'r know that one of them went more than halfway thru the thickness.


    So, it took some creative positioning and measuring to find a spot that was full of quilt but had no checks intruding into it.

    I started by placing 1/2" hash marks on the face and sliding my pattern centerline inward until the horn cleared the check.


    "Thought that is no longer limited brings experience that is no longer limited" Marianne Williamson.

  4. #4
    Then I marked the head and tail and flipped the pattern to check it's positon with the other horn. 2" in from the edge with the most wane was the sweet spot.


    After trimming 2" from the egde and resawing two 7/8" slabs for the bookmatch, I saw that there was some sapwood on the inside that wasn't visable before. As luck would have it, the pattern fits just inside the sapwood. And the ends to the left are not affected by the checks...the deep one was on the other end. I must be living right. It couldn't have come our closer.


    Jointed and in the clamps. I gave it a quick test with a scraper to see the quilt...red circle.

    "Thought that is no longer limited brings experience that is no longer limited" Marianne Williamson.

  5. #5
    After it came out of the clamps, I gave it a cleanup pass thru the planer and took it down to 3/4". I think it's going to turn out nicely. There are a couple of small knots that appear to be very shallow. I'm thinking they'll be gone by the time the carve is done.


    More soon.

    Peace,
    Mark
    "Thought that is no longer limited brings experience that is no longer limited" Marianne Williamson.

  6. #6
    Join Date
    Oct 2007
    Location
    Fort Worth, TX
    Posts
    1,389
    Wow, if your guitar making skills are on par with your guitar photoshopping skills, it is going to be a heck of a project.

    I am curious as to the time and cost (materials/finished product). Obviously feel free to not answer, or PM me.

    That is one heck of a nice looking piece of maple.
    Grady - "Thelma, we found Dean's finger"
    Thelma - "Where is the rest of him?!"

  7. #7
    Join Date
    Oct 2005
    Location
    Phoenix, AZ
    Posts
    991
    Looks like an auspicious start. With that tight tolerance on the bookmatched portion, at least you can be glad that you are using that beautiful quilted maple to its fullest.

  8. #8
    Join Date
    Nov 2005
    Location
    International Falls, MN
    Posts
    766
    Another wonderful piece of art work Mark.

    Always look forwrd to seeing your work out here.

    Quinn

  9. #9
    Join Date
    Mar 2003
    Location
    SE PA - Central Bucks County
    Posts
    65,885
    Rut-ro....this one's going to be a real looker. Wow...that quilt in the maple is outstanding! You haven't even built it yet and I'm salivating. (noteworthy considering I'm a keyboardist at heart...LOL) And oh, my...it's incredible how the bookmatch with navigating the sap and checks worked out. You indeed have been a good boy or something!
    Last edited by Jim Becker; 08-06-2010 at 8:11 PM.
    --

    The most expensive tool is the one you buy "cheaply" and often...

  10. #10
    Join Date
    Jan 2005
    Location
    Waterford, MI
    Posts
    4,673
    I'm liking everything except the dark green color. It's just hiding that gorgeous quilt figure too much.
    Use the fence Luke

  11. #11
    Join Date
    Nov 2009
    Location
    Ellsworth, Maine
    Posts
    1,809
    I agree with Doug about the green. Just an absolutely beautiful peice of quilted with a perfect bookmatch. Hate to see the green displace some of that natural maple beauty and cover up your impressive job of matching them up. To each his own though as either way this one is going to be a looker for sure. Can't wait to see it come to life.

  12. #12
    Well, the AC in the shop is keeping a relatively cool 80F so I got a chance to get started on this today.
    First thing was to rough cut the top and body. I trimmed them fairly close to the template lines to reduce the risk of tear out during profiling with the router. I'm a bit concerned about the color variations in this maple. You can see on the edge that will eventually be the faux binding, there's going to be a change from light to dark. I think I may go with a honey amber finish to reduce the contrast at the edges...just have to wait and see.


    I wanted to get them cut and weigh them. Glad I did...the two together weigh in at over 8 lbs. So this baby getting chambered. No f-hole, just some wieght reduction.


    I was going to just profile the body on the belt/spindle sander but and route the top to match but since I'm chambering, I have to make a template. So, I did.


    Here it is just after hogging out the middles with a forstner bit and hand drill.


    And after smoothing it out on the spindle sander. It just needs a bit of hand blocking and it's ready to go.

    "Thought that is no longer limited brings experience that is no longer limited" Marianne Williamson.

  13. #13
    Since I was going to be doing more routing than I thought and since I've been meaning to do it anyway, I took the time to make a vacuum box. Just a simple MDF box. With the back and sides assembled, I sealed it up with caulk.


    Then I drew out a rough 1" grid and drilled every other cross point and offset each row...forgot to take a picture after drilling.


    I borrowed the collection fitting from my band saw...it's sealed in with electrical tape so it pops back out for use on the band saw.


    Standing on edge with my dust collector attached and running, I'd say it's working pretty well.

    "Thought that is no longer limited brings experience that is no longer limited" Marianne Williamson.

  14. #14
    So, back to all that routing I need to do. The body back by itself weighs in at a touch over 5 lbs. to start.

    I normally hog out most of the chambers with a forstner bit but I wanted to put the vacuum box thru it's paces. It works great! I may need to vent it on the side to let the DC work a little better...when I lean into it with the router, the body can slip a hair. Nothing scary, just not fully locked down. I don't normally exert that much lateral force but I wanted to test it's holding power.


    My camera batteries were down so I didn't get a pic of the scale after chambering but it weighed in at 3.028 lbs. Shed 2 lbs the easy way. It's chambered, profiled and ready for the top.


    I taped the top to the back of the body and ran the glue side thru the planer just to level it out. I did this to the body also before chambering it.


    So, all laid out and ready to glue up the top.


    Clampzilla!!!


    More soon...

    Peace,
    Mark
    "Thought that is no longer limited brings experience that is no longer limited" Marianne Williamson.

  15. #15
    Mark, Im a bit confused on the purpose of the vaccum box. Was it just to hold the body in place when you chambered it rather then clamping and routing one side then re-clamping and routing the other?

    Quote Originally Posted by Mark Crenshaw View Post
    Since I was going to be doing more routing than I thought and since I've been meaning to do it anyway, I took the time to make a vacuum box. Just a simple MDF box. With the back and sides assembled, I sealed it up with caulk.


    Then I drew out a rough 1" grid and drilled every other cross point and offset each row...forgot to take a picture after drilling.


    I borrowed the collection fitting from my band saw...it's sealed in with electrical tape so it pops back out for use on the band saw.


    Standing on edge with my dust collector attached and running, I'd say it's working pretty well.


Posting Permissions

  • You may not post new threads
  • You may not post replies
  • You may not post attachments
  • You may not edit your posts
  •