Time for the finish
For starters I use a spray bottle to spray the whole piece down with water to raise the grain. This is to prep it for the aniline dye. And if you are not dyeing the piece this step can be skipped. After the piece dries I go back and give everything a light sanding with P220 to knock off the fuzzies. Dont over sand or this is a wasted step.
I dye the drawers by hand with a foam brush and soak the piece down making sure I get everything well soaked. I keep the piece wet for about 5 minutes then remove the excess dye with an old t-shirt.
Once dry I move onto the oil. I use a blend of tung oil and varnish and flood the piece again keeping it wet for about 10 minutes and the removing the excess.
After waiting 24 hrs I lightly sand the piece and then spray it with a 1 lb cut of dewaxed shellac. I usually put on at least 3 good coats sanding between.
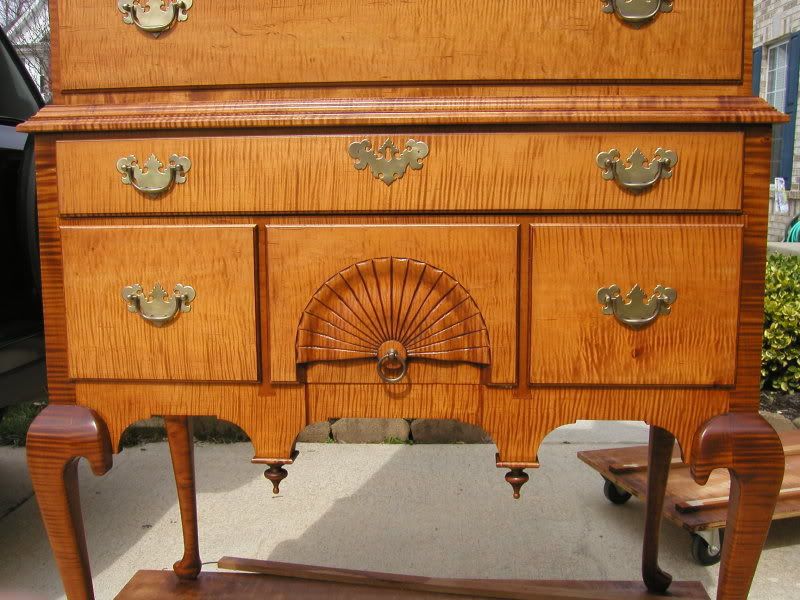
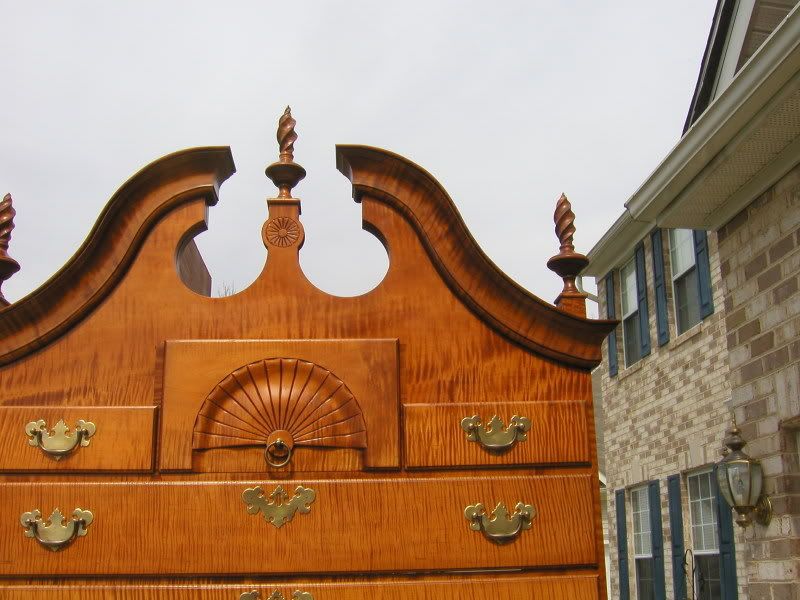
For this piece I added a glaze because it just needed something to highlight the carving. This step was done after 2 coats of shellac. For the glaze I just used a can of walnut Minwax gel stain I had. When you glaze the piece you will cover the whole piece with the stain but really pay attention to all the cracks and crevices and make sure you get plenty of dye in them. Work in sections so the dye doesnt dry on you and muddy the finish.
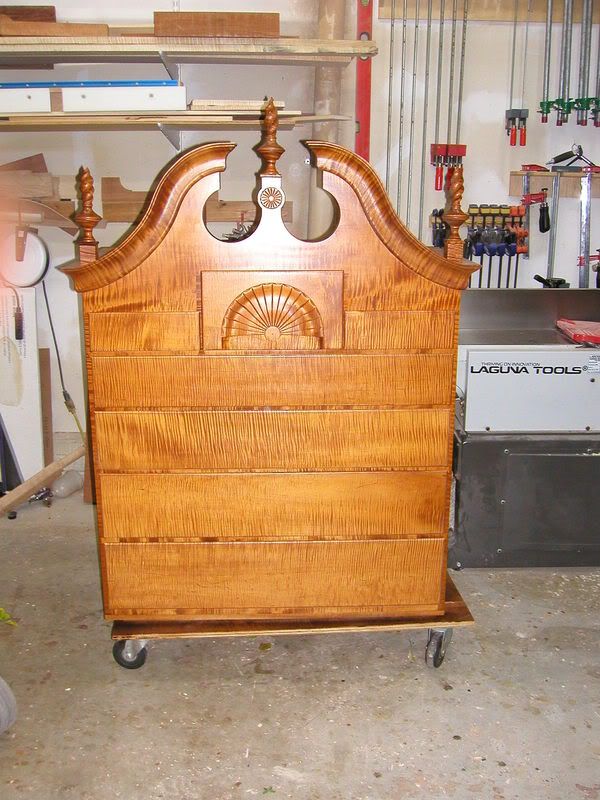
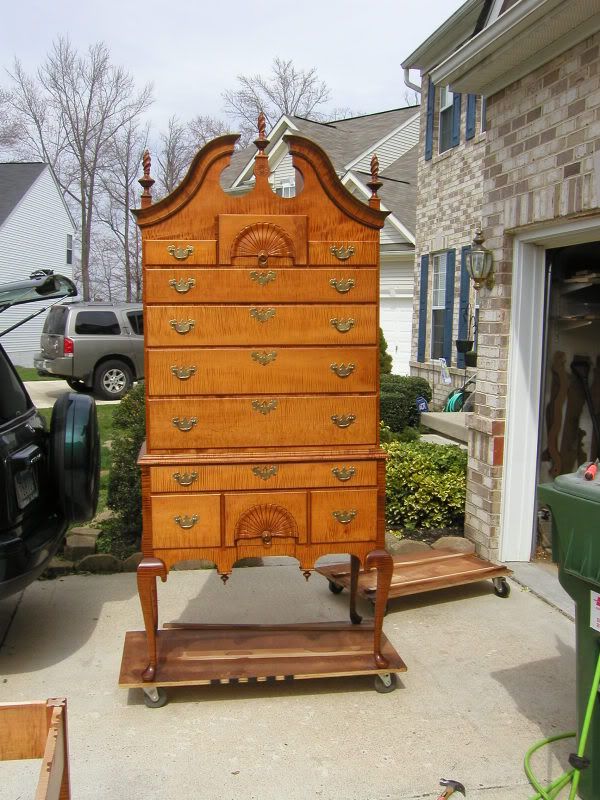
Before
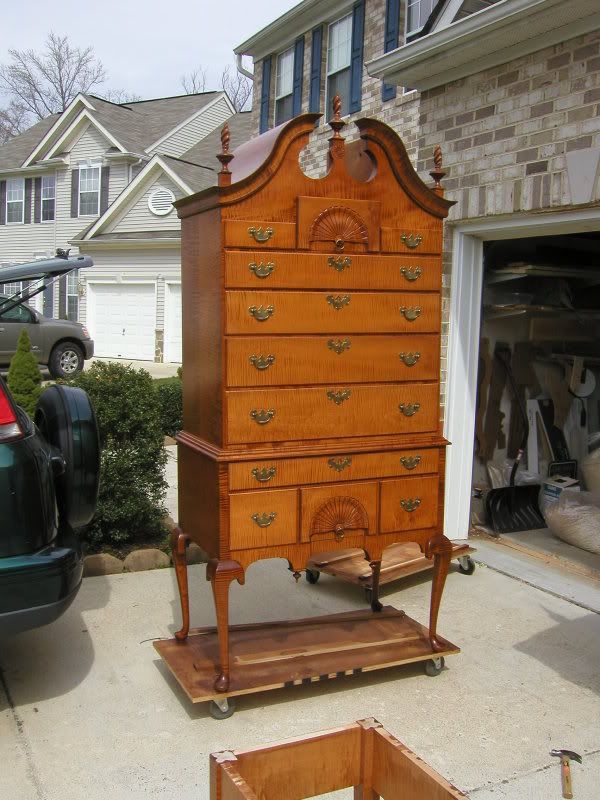
After
The difference is much more dramatic in person.
After the glaze is on add another coat of two of shellac. At this point the piece can either be rubbed out with steel wool or a top coat of lacquer can be added. This piece gets a coat of satin lacquer.
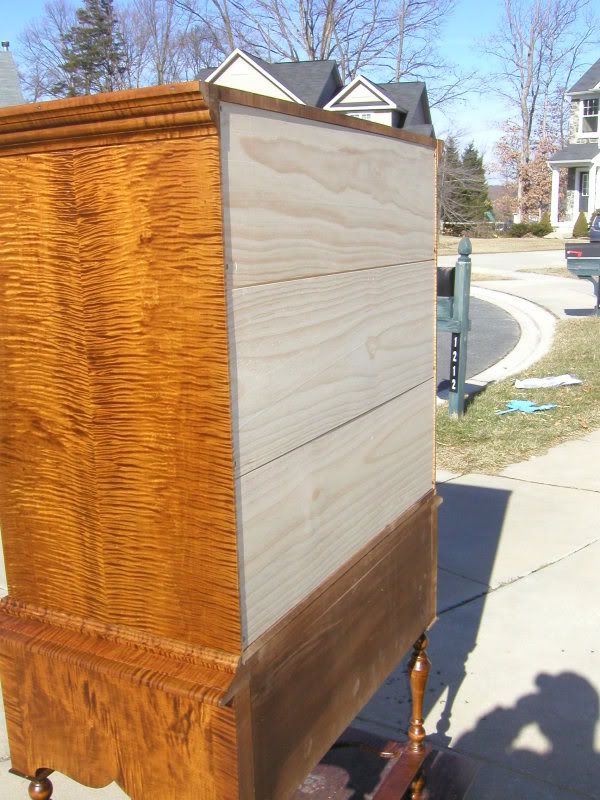
The final step is to add the back. The back is made of 5/8 poplar that is ship lapped. I leave a space the thickness of a nickel between the boards to allow them to expand and contract. I normally install the back boards on site when I deliver the piece so the piece is easier to move. Here is a picture of the back of a different piece so you can see how it is attached.
After you add the hardware it is all done


 Reply With Quote