Page 2 of 6 FirstFirst 123456 LastLast
Results 16 to 30 of 85

Thread: New Build - EVH Wolfgang

  1. #16
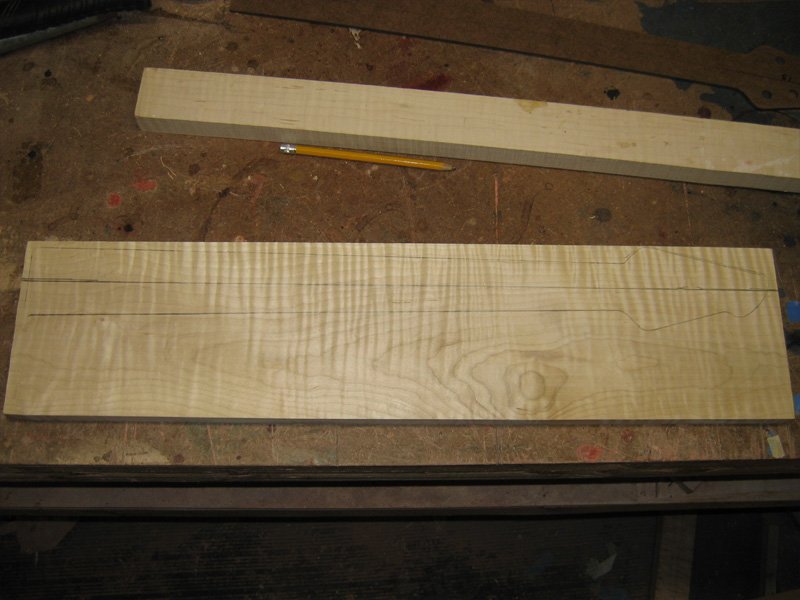
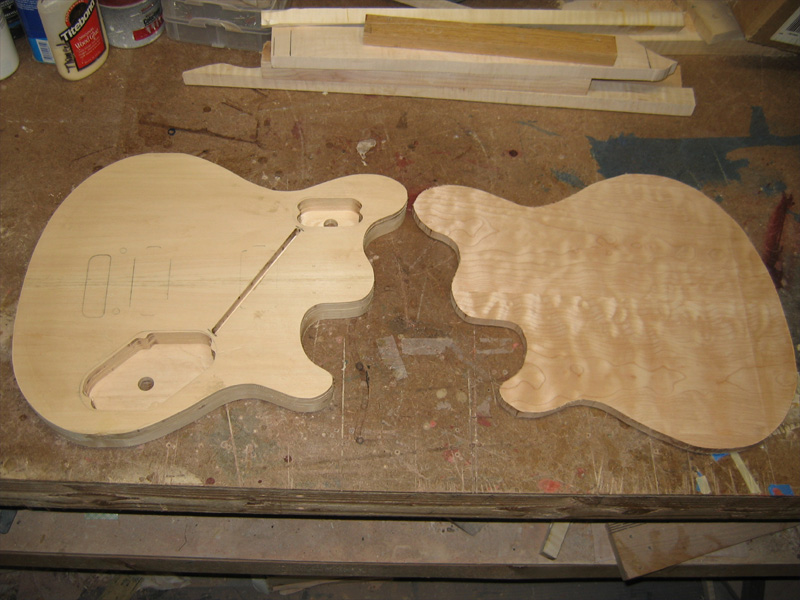
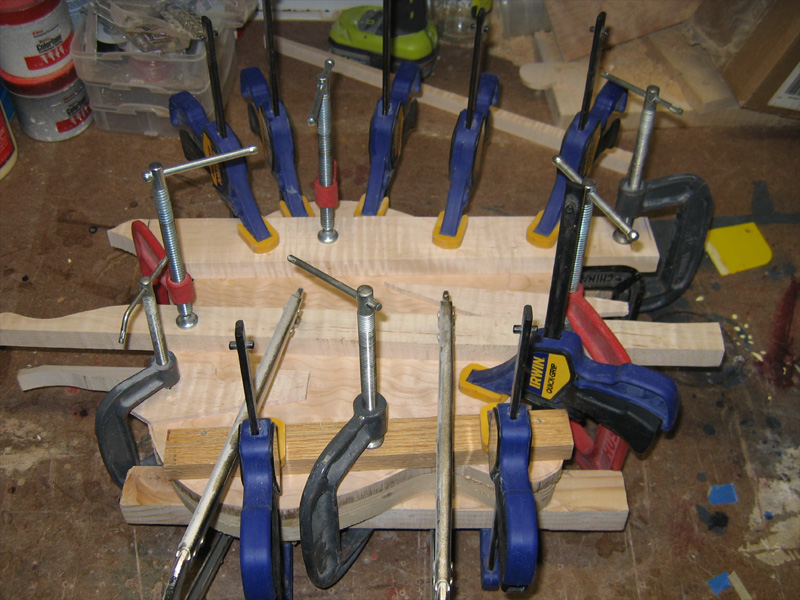
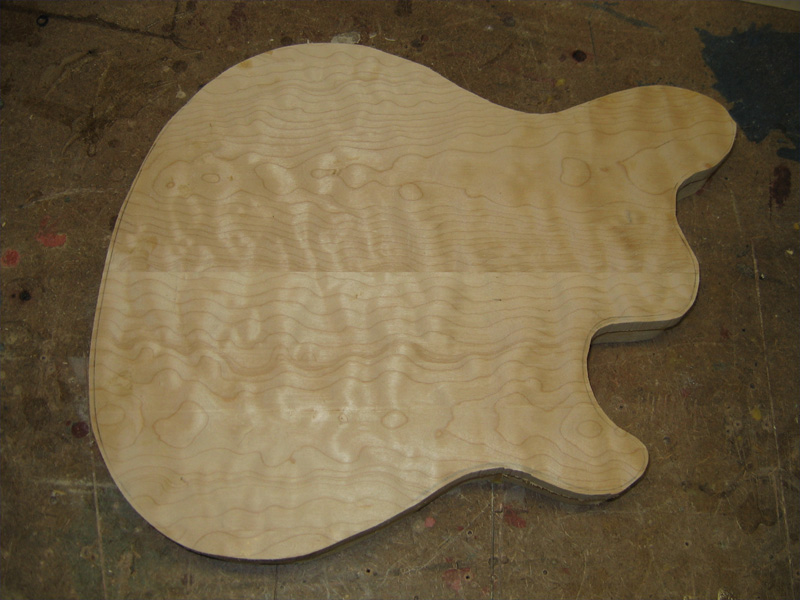
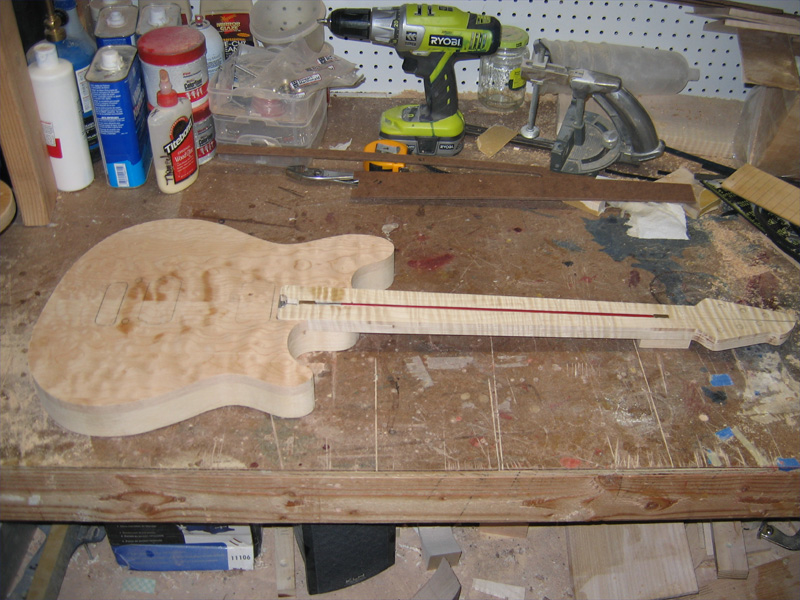
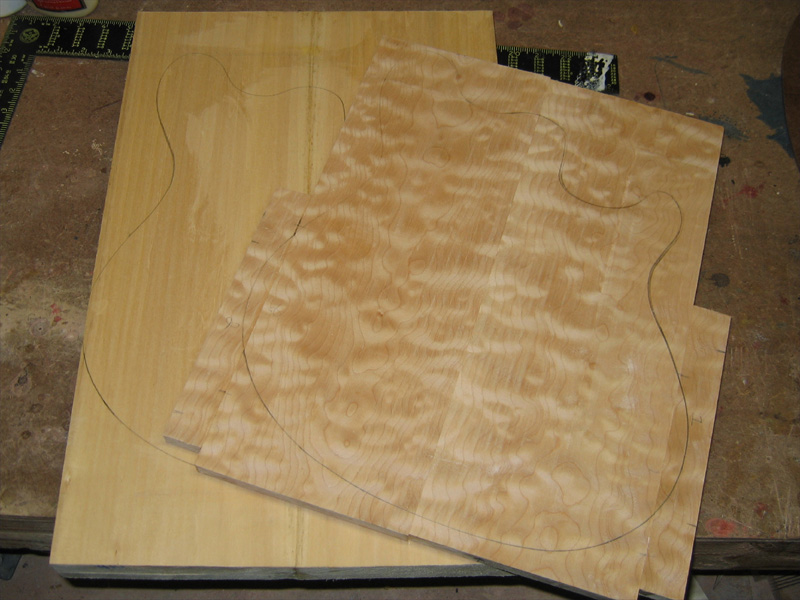
    With eveything glued up I started profiling today. Hereare the top and back with the template traced out on them...


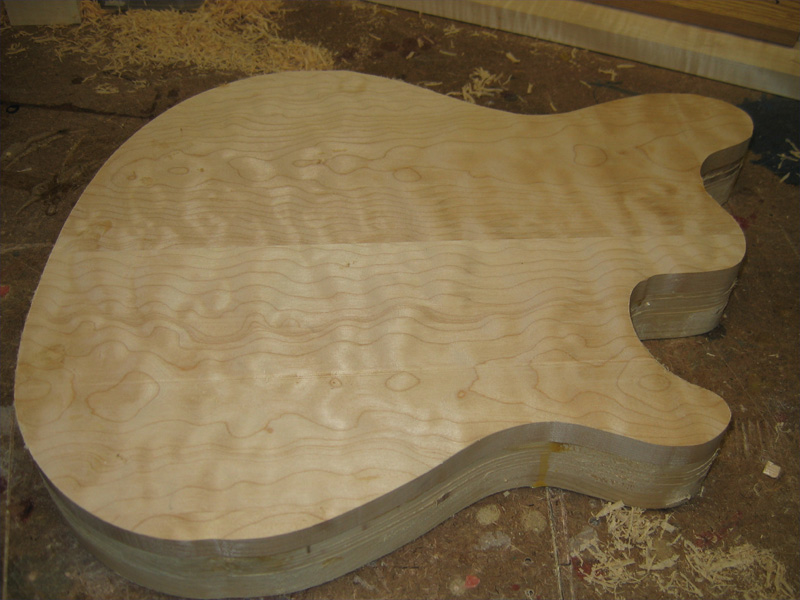
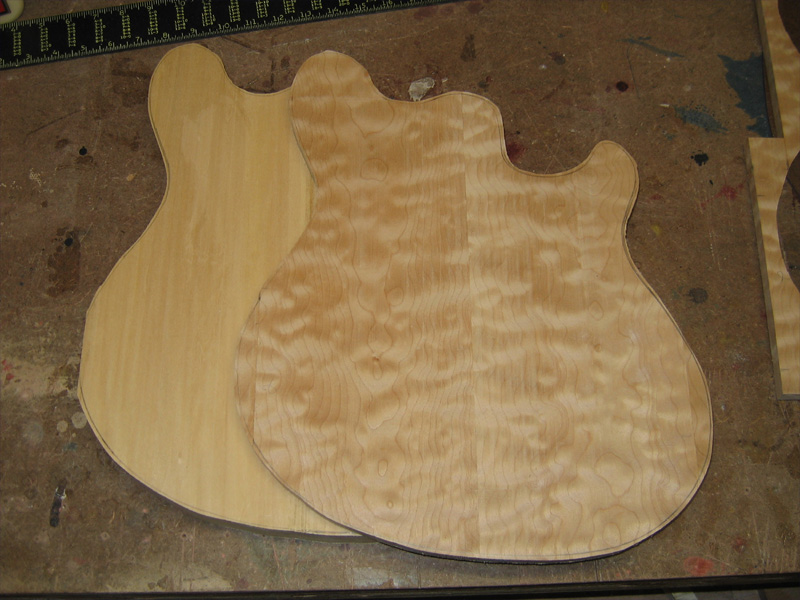
    And, after rough cut on the bandsaw.


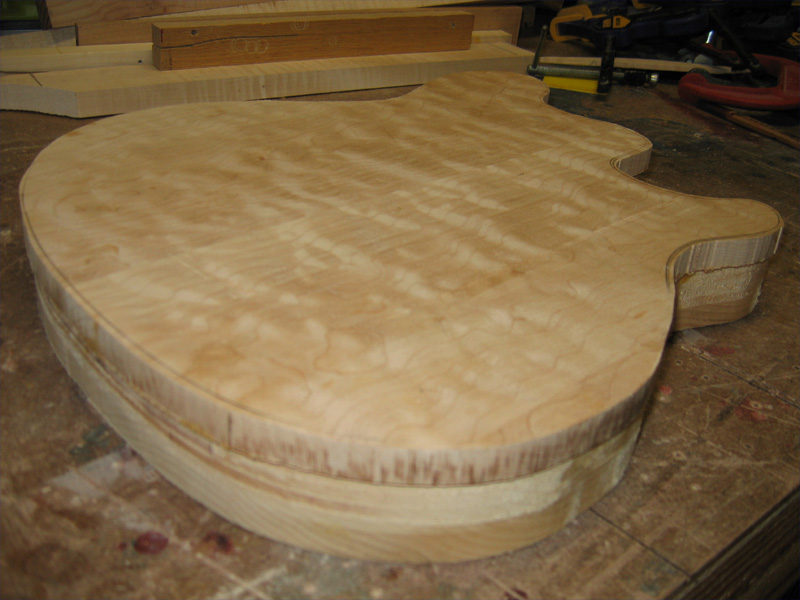
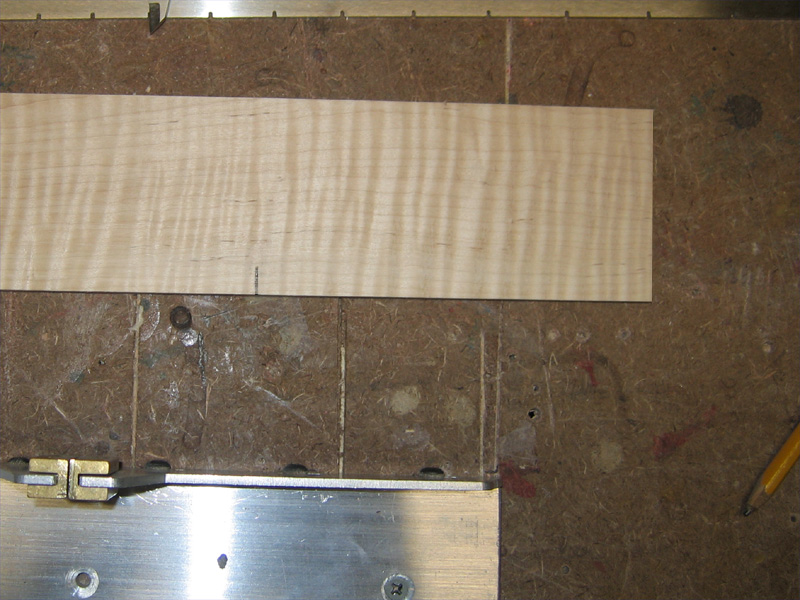
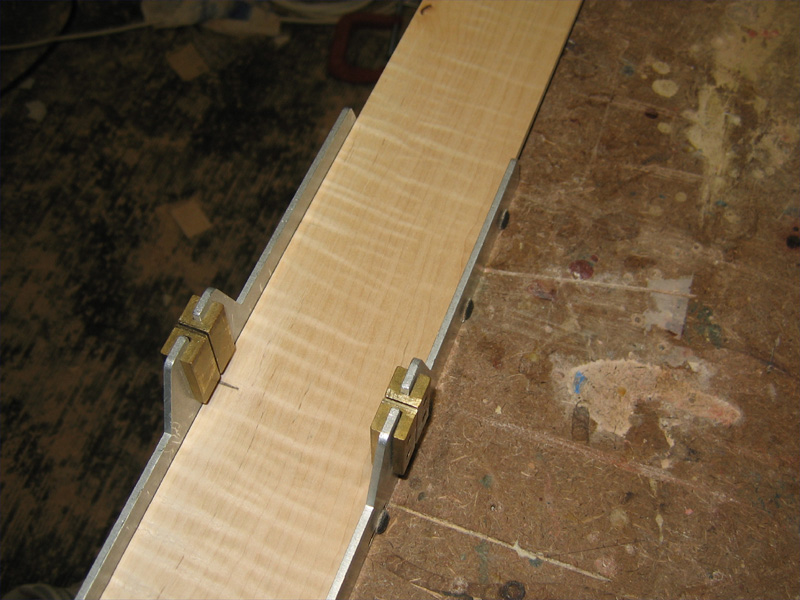
    I gave the top of the back a quick blocking to knock down any height differences in the joint.


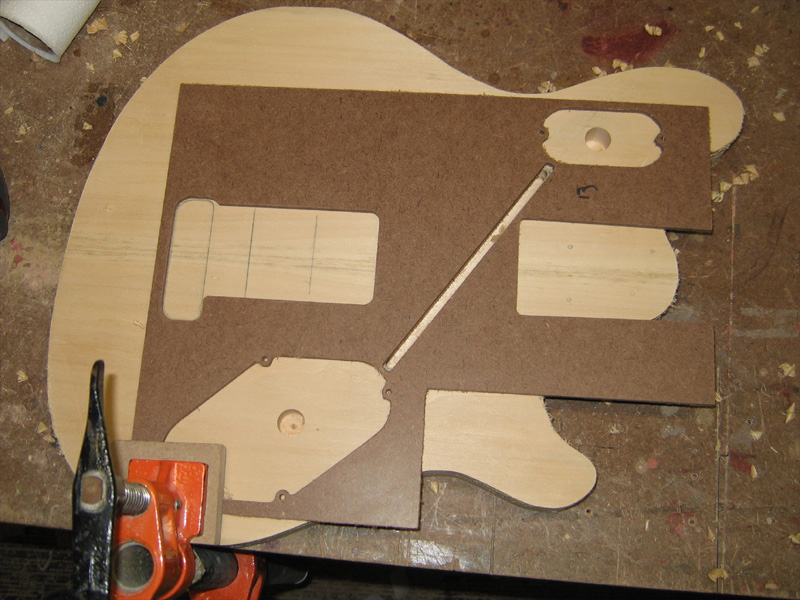
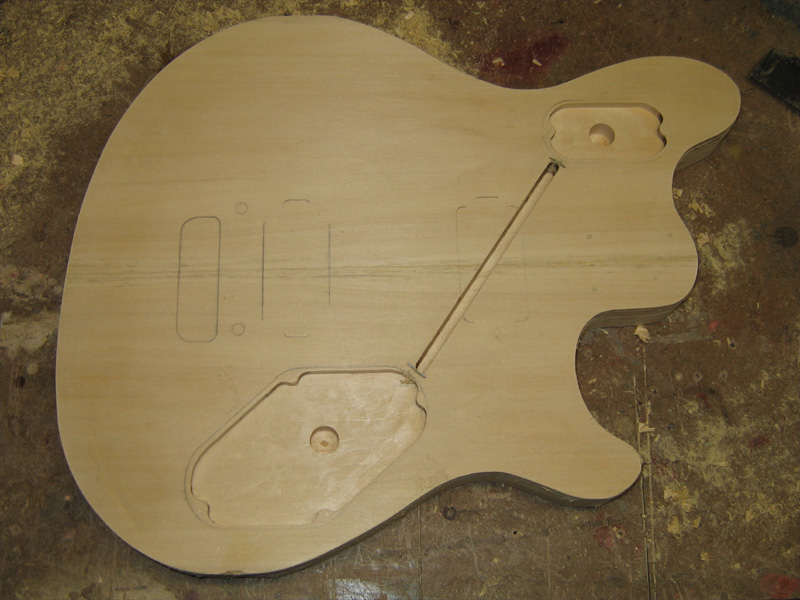
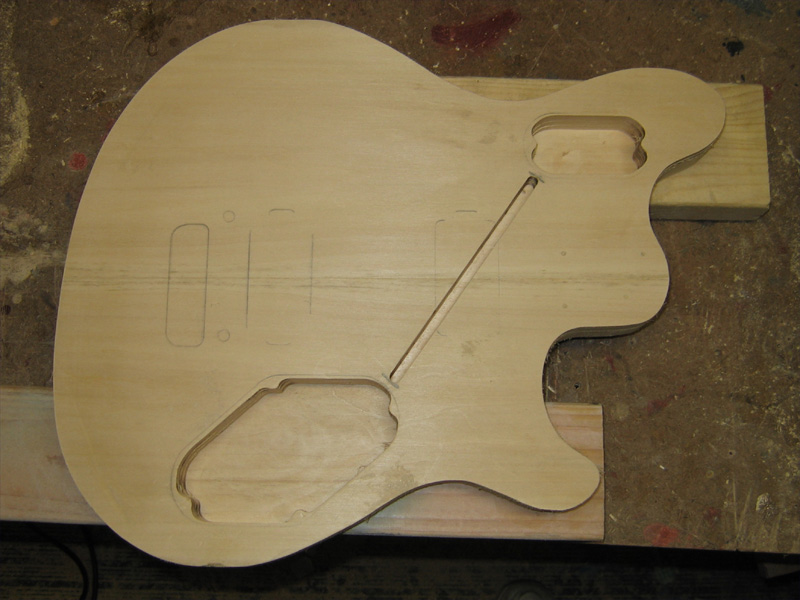
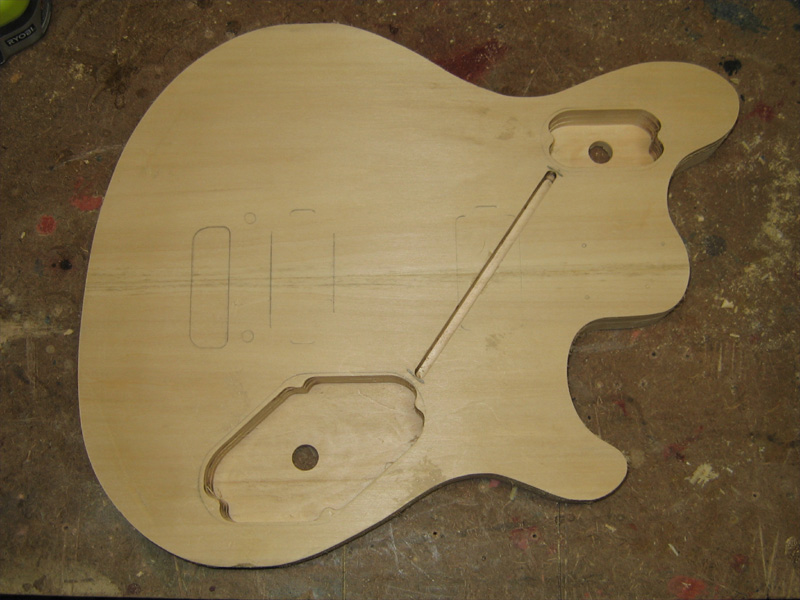
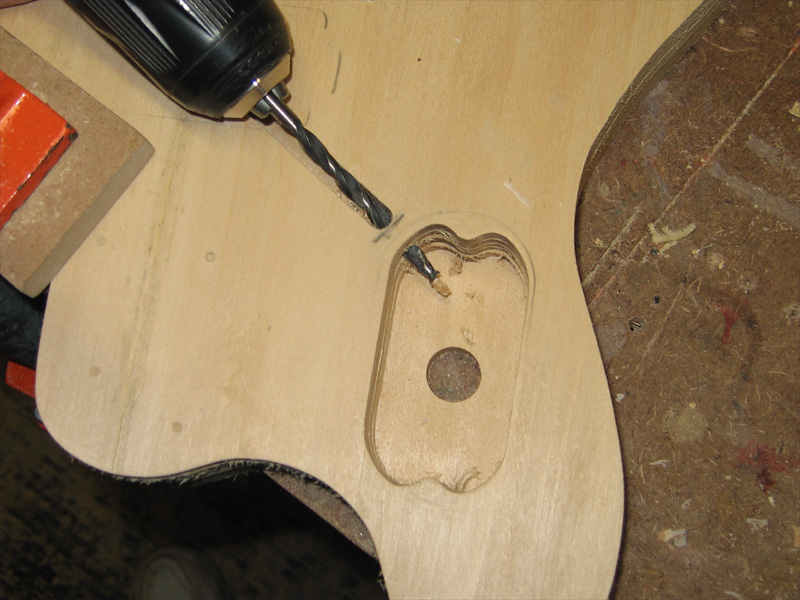
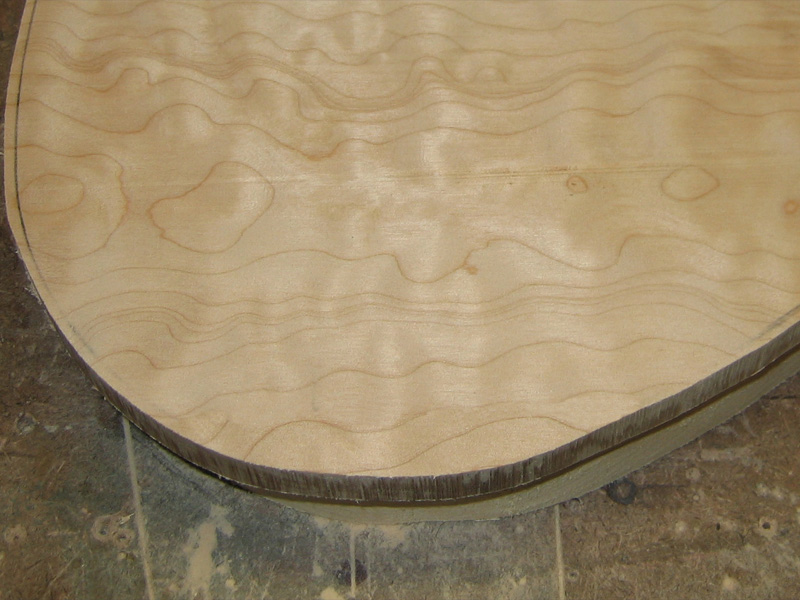
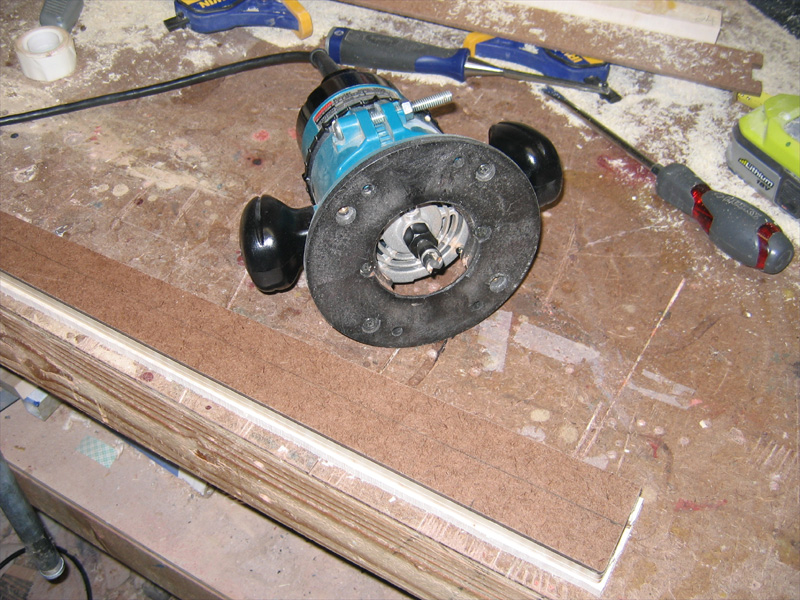
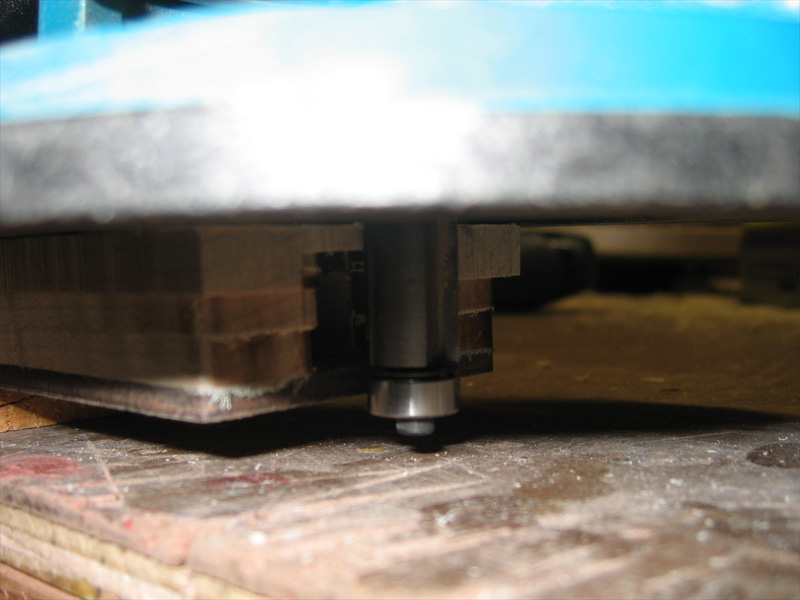
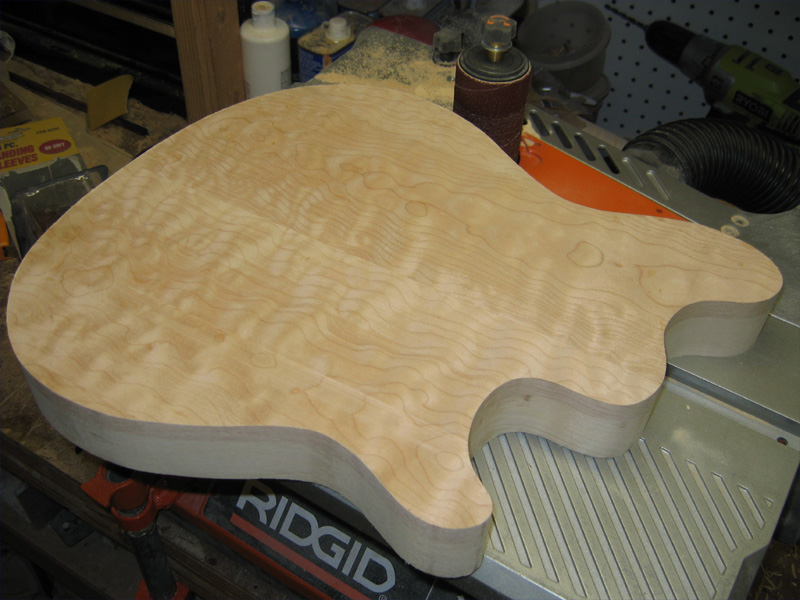
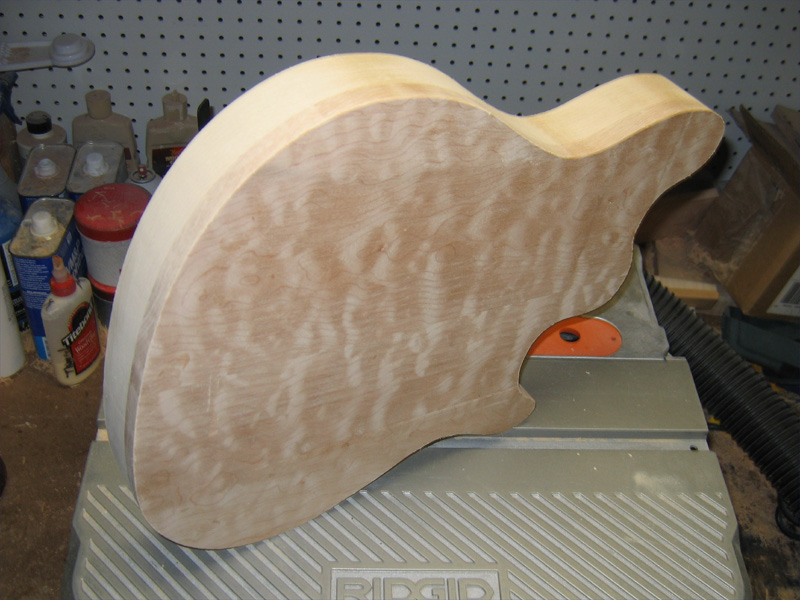
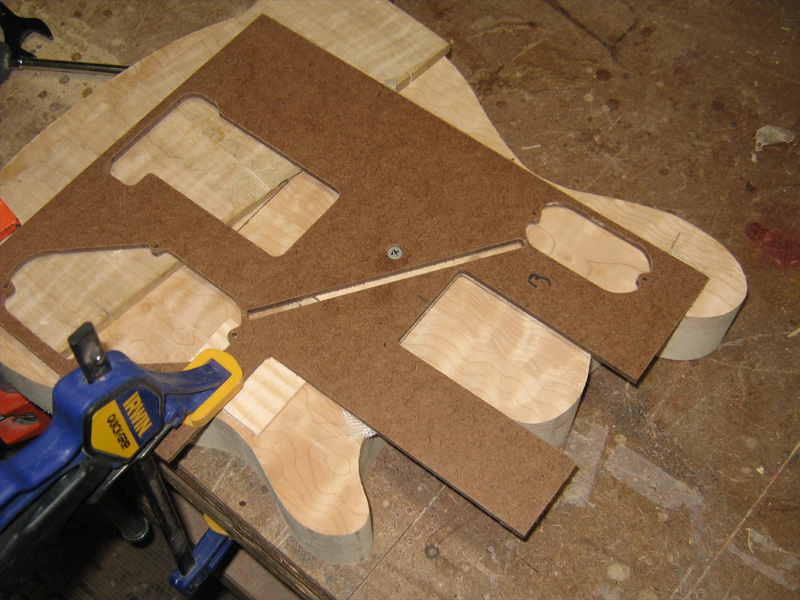
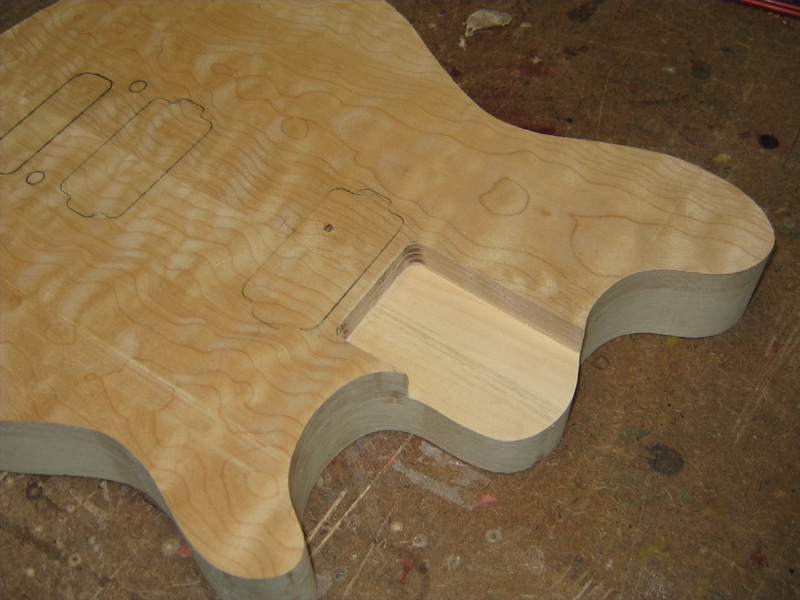
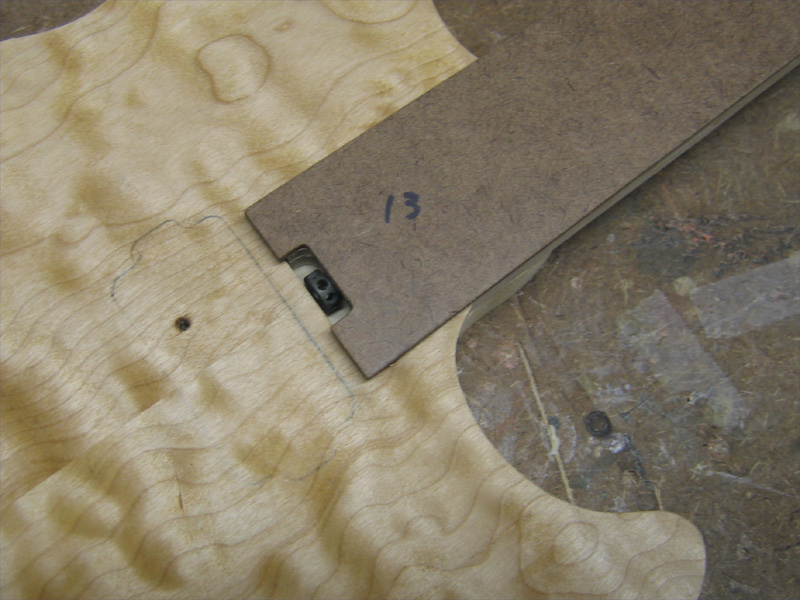
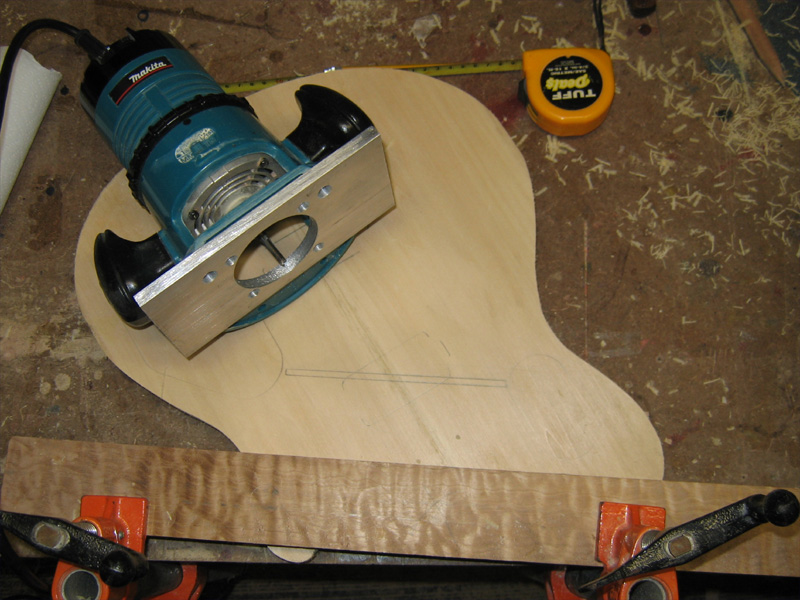
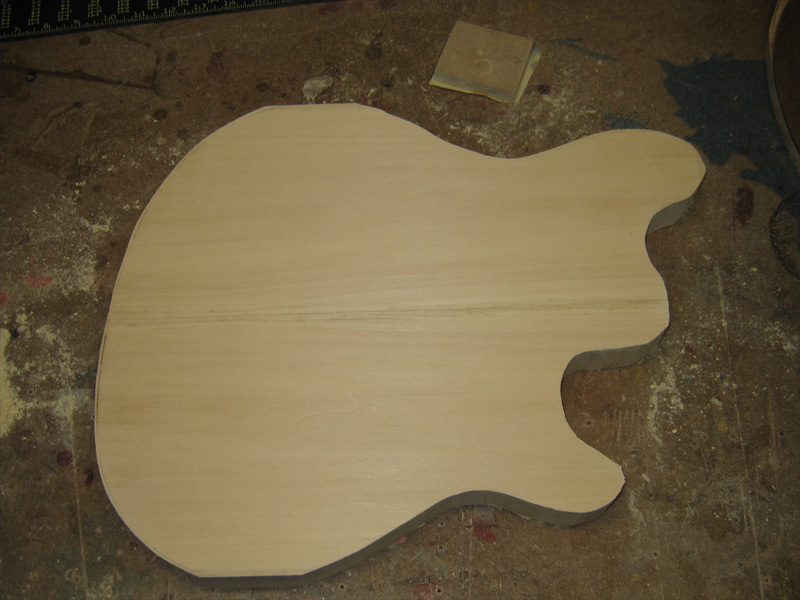
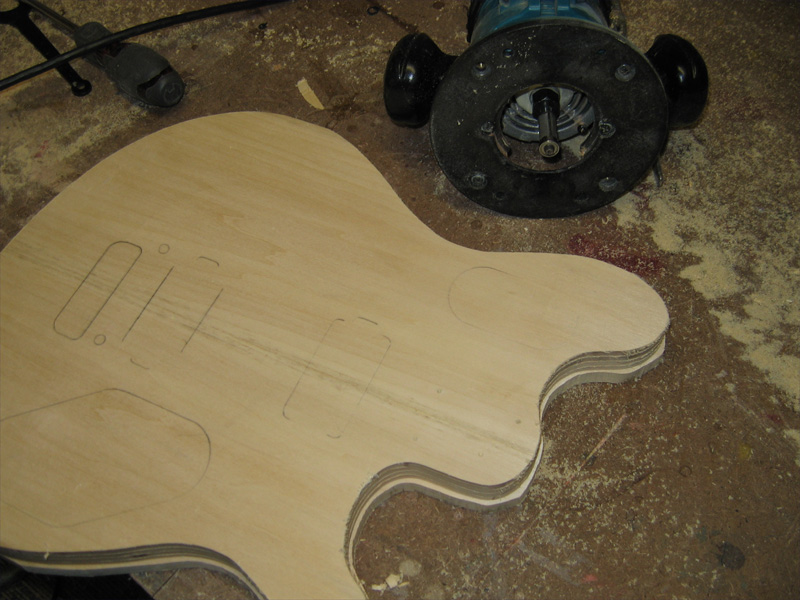
    I attached the template and made 3 shallow passes with a pattern bit. I'll flip the body and finish it out with a flush trim bit. While I had the template in place, I traced out the other routes...not for routing at this point, but for a reference later.


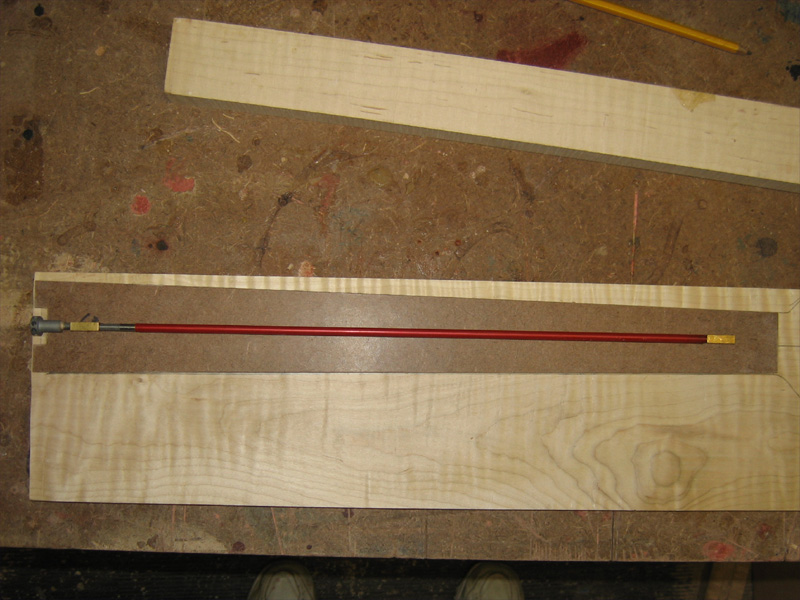
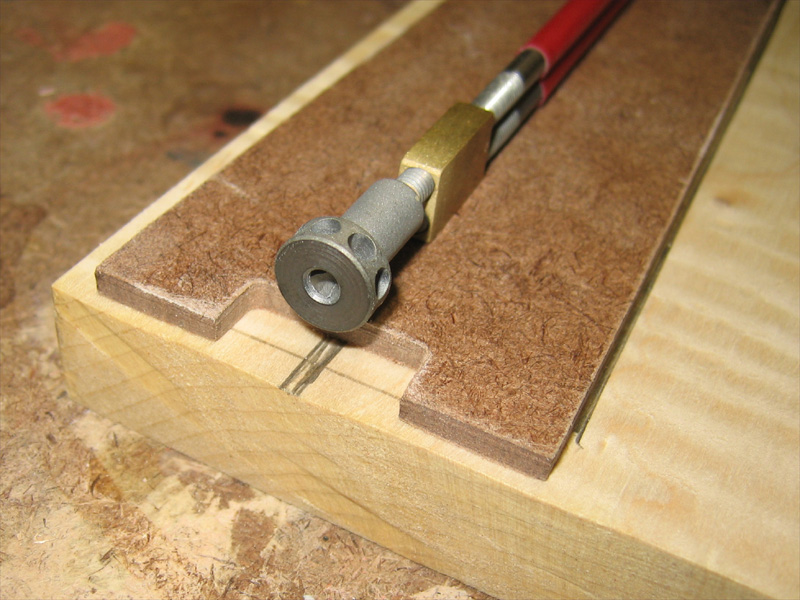
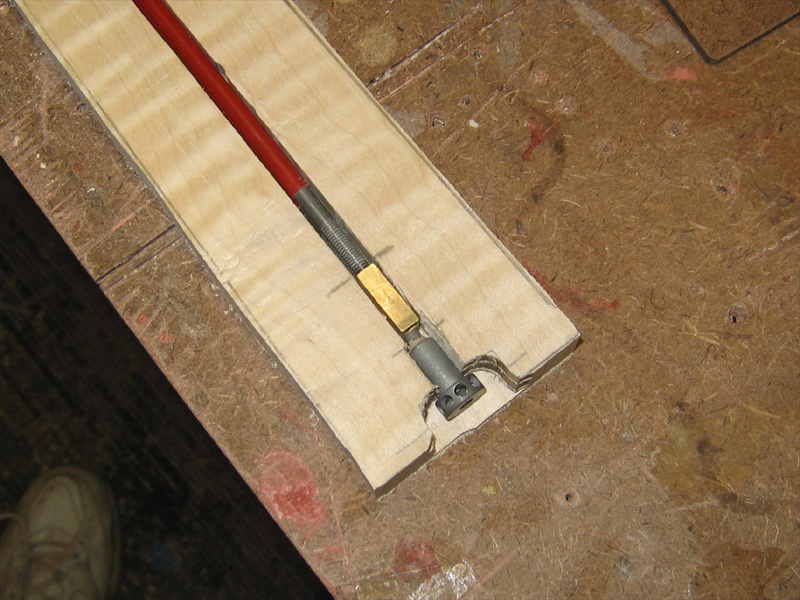
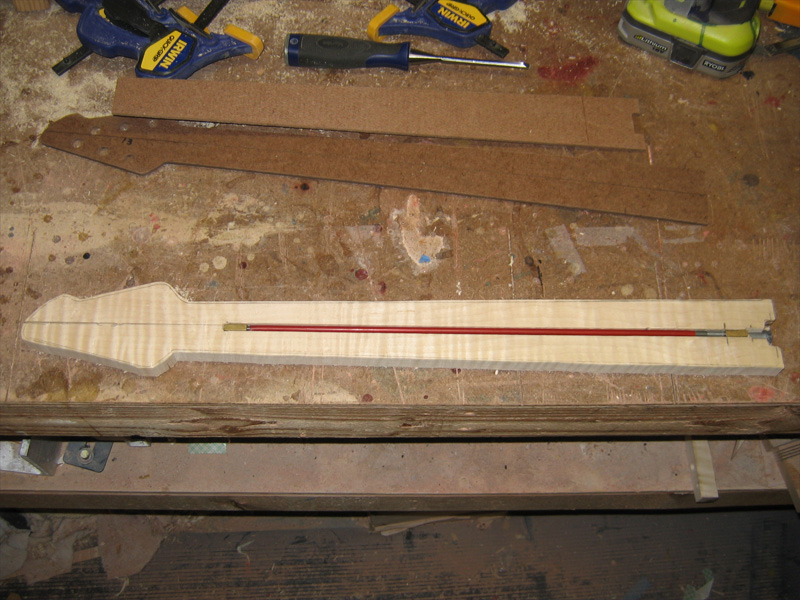
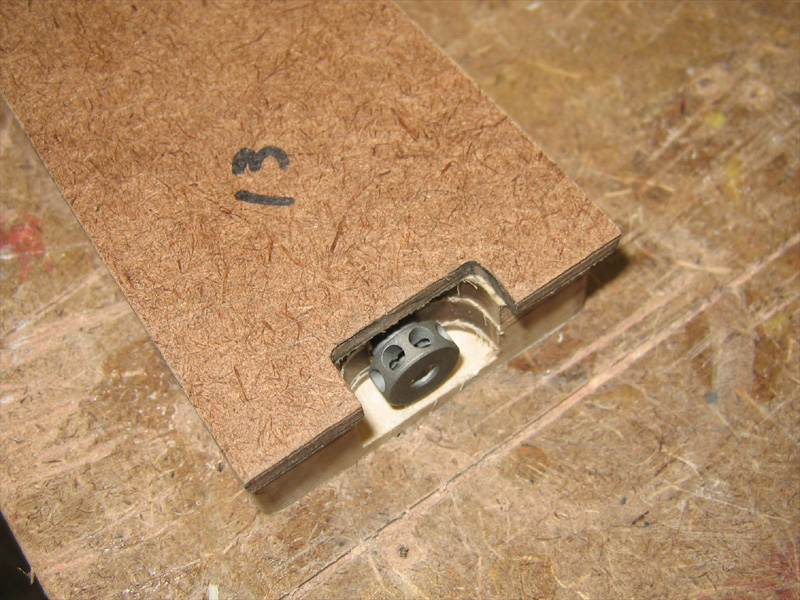
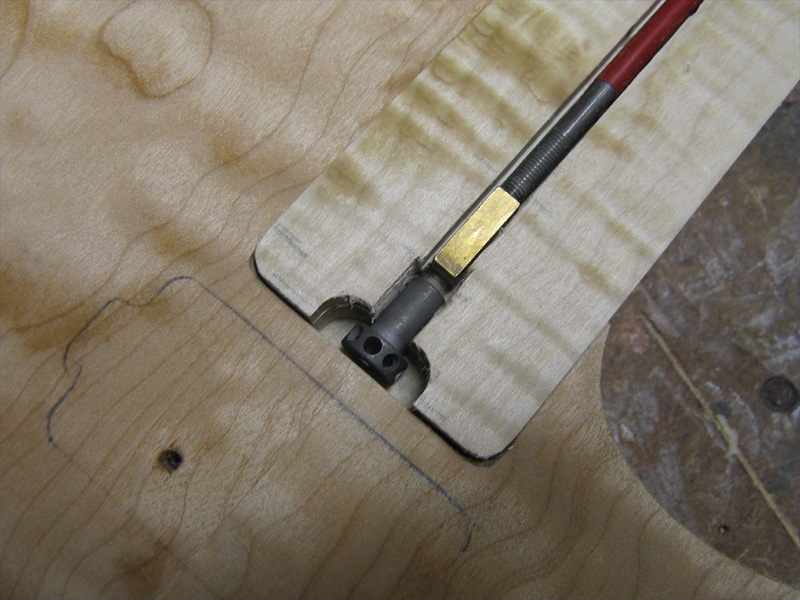
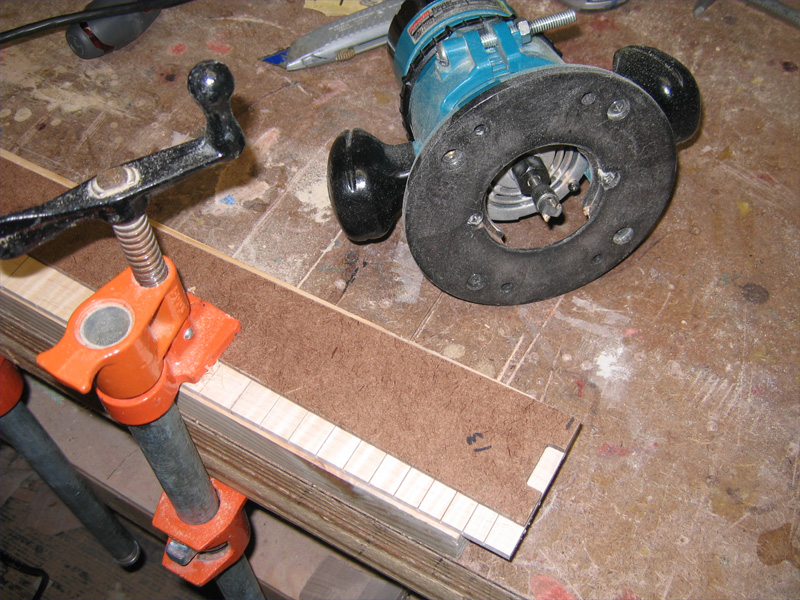
    I don't have a piloted bit this small, so I used my truss rod setup to route the channel between control cavities.

    "Thought that is no longer limited brings experience that is no longer limited" Marianne Williamson.

  2. #17
    I took the channel .500" deep. I figured the top would be no more than .500" here and with a pickup route of .75" or so from that finished thickness, that should leave me with .250" clearence below the PU cavity. I'm not sure that's how it's done but I'd rather have a bit too much than not enough after that top is glued on.


    Using the traced cavities from before, I lined up the template for the control cavities. I was wondering why they stopped short of each cavity with that channel. Well, if you ran it all the way into each cavity, the side of the cavilty would have a hole in that the router bit bearing would bump thru...causing a divot in the side. I also made a couple of starter holes for the router bit.


    So, I made one pass with the template and then removed it to take it out of harm's way....using the previous pass as my template, I moved on.


    When I got to within .250", I stopped and placed the body on a couple of 2x4s....


    ...then drilled thru holes that I can insert a flush trim bit thru to fuinish them up later. I don't want to route them thru just yet. I don't want to have to deal with open cavities during radiusing and other operations on the back of the body.

    "Thought that is no longer limited brings experience that is no longer limited" Marianne Williamson.

  3. #18
    Here's a step you don't want to forget...connecting the channel to the control cavities.


    I blocked out the joints on the top where I made my patches...came out pretty nice if I do say so myself.


    "Thought that is no longer limited brings experience that is no longer limited" Marianne Williamson.

  4. #19
    I also did some work on the neck. Since I don't have the exact specs on the WG neck, I'm going to build this one like a Tele neck. I went back to a .750" blank...the other half of my resaw from yesterday. I layed out the neck on the flamiest (sp) part of the blank.


    The spoke truss rod was first for me. I'm not sure if the WG rod installs this way but the StewMac rod has to be installed with the spoke nut and active rod down. So I had to move slowly. I know that the rod doesn't extend past the end of the heel, so I worked back from there.


    I layed it out using the fretboard template to mimic the fret board position.


    Then I used it to route the recess. Not the prettiest channel I've ever done but funtional none the less. I'll go back and clean it up later before I glue up the fretboard. The actual end of the neck will be the pencil lines close to the end.

    "Thought that is no longer limited brings experience that is no longer limited" Marianne Williamson.

  5. #20
    With the TR taken care of, I attached the template and profiled the neck. I made to passes on the top with a pattern bit...


    Then flipped it and finished with a flush trim bit. I would normally take to template by this stage I left it attached to guide the bearing past the notch...could have put a nasty gouge in the neck heel otherwise.


    So, there it is. My first WG neck. The brass fittings on the TR sit about 1/32" below the surface. I'm going to install a wood strip in this space so that the fretboard really bites down and hold the fittings in place...otherwise, the rod could be slipped out the heel end.


    A shot form overhead with the fretboard template in place.


    "Thought that is no longer limited brings experience that is no longer limited" Marianne Williamson.

  6. #21
    My last act of bravery tonight is to glue up the top. Nothing special here...just lots of glue and clamps.


    Clampzilla!!!

    "Thought that is no longer limited brings experience that is no longer limited" Marianne Williamson.

  7. #22
    Join Date
    Jan 2010
    Location
    LA & SC neither one is Cali
    Posts
    9,447
    That is some gorgeous wood and I look forward to the rest of the build

  8. #23
    Well, a little more progress. I'm back work this week so the updates may be few and far between as I ramp up on client projects...been out of the office for a week.
    The top glued up nicely. I had a dream that the Titebond turned to powder and the top fell off in my hands. Not sure what that's about...probably anxiety over gluing such a thick top. Maybe?
    Anyway...
    Here it is out of the clamps...

    It has a fairly large edge to clean up. I'll use a flush trim bit and make several passes...not pushing the bearing up to the body right away. Tearout at this point would be very sad...

    It came out nicely....

    And a pass on the spindle sander made it even better.

    "Thought that is no longer limited brings experience that is no longer limited" Marianne Williamson.

  9. #24
    The neck pocket seemed like the next logical step. I haven't been able to nail down an exact number on the angle so I went with 1.5 degrees. It's very subtle. The bridge should be in tomorrow and once I get it routed and mounted, I can check everything...considering how tall the binding is at the neck pocket, I really doubt it's a steeper angle than that.
    Anyway, I cut some wide wedges on the bandsaw and placed them under the template...it's a bit scary. I'll have to come up with something more solid next time.

    I took it down to 5/8" at the pickup end of the pocket. Again, I don't have firm numbers on the depth but this guitar is very similar to Fenders so I felt this was a safe depth. Please don't go by my numbers until all the results are in.

    The neck is a nice fit although the template has almost square corners and my pattern bit couldn't get all the way in there so I had to hand radius the corners of the neck to get it seated all the way into the pocket.

    The truss rod is a nice fit...

    And the fretboard template set into place just fine.
    "Thought that is no longer limited brings experience that is no longer limited" Marianne Williamson.

  10. #25
    Another shot of the fretboard template in place. With the measurement [B]fletch[B] confirmed for me, I can move on to the actual fretboard tomorrow.


    "Thought that is no longer limited brings experience that is no longer limited" Marianne Williamson.

  11. #26
    More work on the neck. Thanks to the measurements I collected from Dave ,aka fletch, I was ble to get the fretboard done.
    It was a bit of a process but having the distance from the heel of the neck to the 12th fret, and the end of the fretboard to the 12th fret, I was able to lock things up.
    I started by doing a finish cut on the heel end of the fretboard. From that edge, I measured 155mm (6.102")and marked the FB.

    I then laid the fret scale template into my miter box. I place double sided tape on it and removed the top backing paper. I slid the scale down to the 12th fret position and laid in the fretboard.
    I lined it up with the guides at the mark I had made and then stuck it in place on the tape.

    I double checked with the fret saw...looks good.

    Then I just cut the slots as I normally would. I made sure to mark the leading edge of the nut as well.

    I then made a mark on the side of the neck at 151mm (5.945"). Linig up the 2 marks places my fretboard on the neck at the right place along the scale. The angle of this shot makes it hard to see but I have a 4mm overhang as measured by Dave.
    "Thought that is no longer limited brings experience that is no longer limited" Marianne Williamson.

  12. #27
    I laid out the fretboard template and routed the recess for the spoke nut.


    "Thought that is no longer limited brings experience that is no longer limited" Marianne Williamson.

  13. #28
    More progrees with the neck. After taking the neck out of the clamps, I wanted to get the route for the nut done while the fretboard was still full width. Here we see the layout for the nut.


    I marked the forward position of the nut while I had the fretboard in the miter box. It's the cut you see here. The piece of maple behind it will be lined up with the cut and used as a routing template to remove the material.


    After the first pass...the shot is blurry, but I'm setting the nut in to check my progress.


    After a second pass with the router...just taking off 1/32" or so each pass.


    After I finished with the routing for the nut, I wnated to thin out the headstock before profiling the fretboard. I marked a line for the max cut and set up the bandsaw.

    "Thought that is no longer limited brings experience that is no longer limited" Marianne Williamson.

  14. #29
    I transferred the line to the side to make the cut.


    Because the fretboard is offset and wider than the headstock, I could use it to support the neck and keep it parallel to the table as I cut.


    The finished cut...


    I used a cutoff from another neck and a piece of 3/4" stock to guide the rasp as I blended the fretboard into the headstock.


    Still needs some blocking but it's roughed in.

    "Thought that is no longer limited brings experience that is no longer limited" Marianne Williamson.

  15. #30
    I started the carve by placing the neck up on 2 blocks allowing me to set my depth at each end and get the calipers under the neck without having to unclamp it.


    I roughed in the detail at the heel...


    ...and headstock.


    Then I got started on the carve.

    "Thought that is no longer limited brings experience that is no longer limited" Marianne Williamson.

Posting Permissions

  • You may not post new threads
  • You may not post replies
  • You may not post attachments
  • You may not edit your posts
  •