Page 1 of 6 12345 ... LastLast
Results 1 to 15 of 85

Thread: New Build - EVH Wolfgang

  1. #1

    New Build - EVH Wolfgang

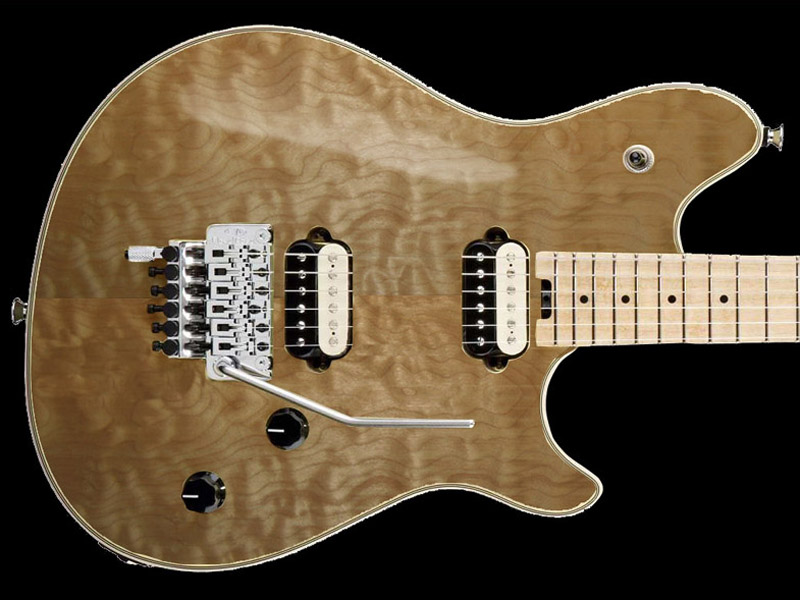
    Well, as my Tele binge comes to a close...finishing up the last 3 of 7... I'm moving on to other builds. The Wolfgang is similar to a Tele but has a carved top, slightly angled neck, spoke nut trussrod and dropped head stock. Some new challenges for me.

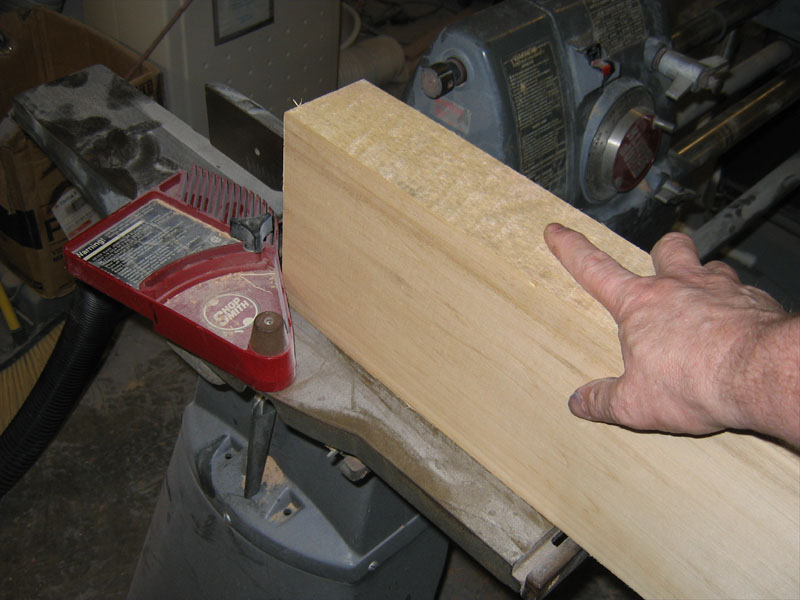
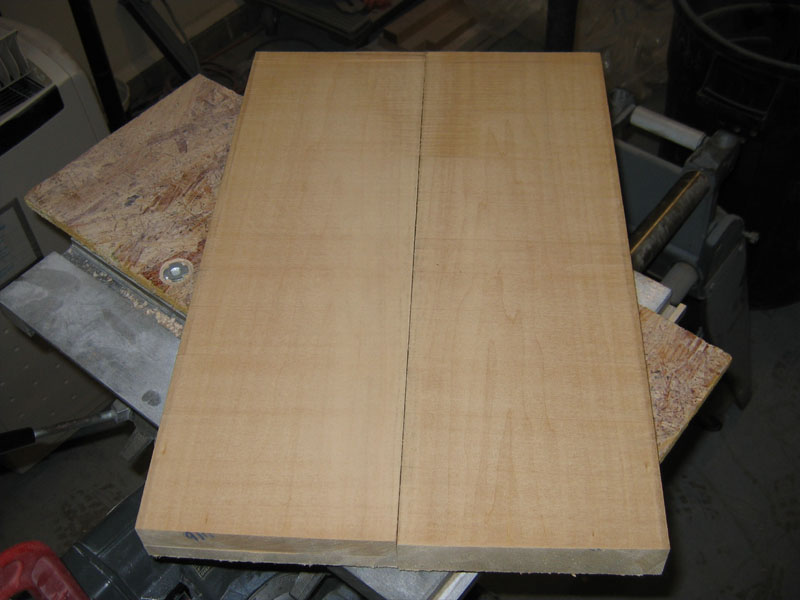
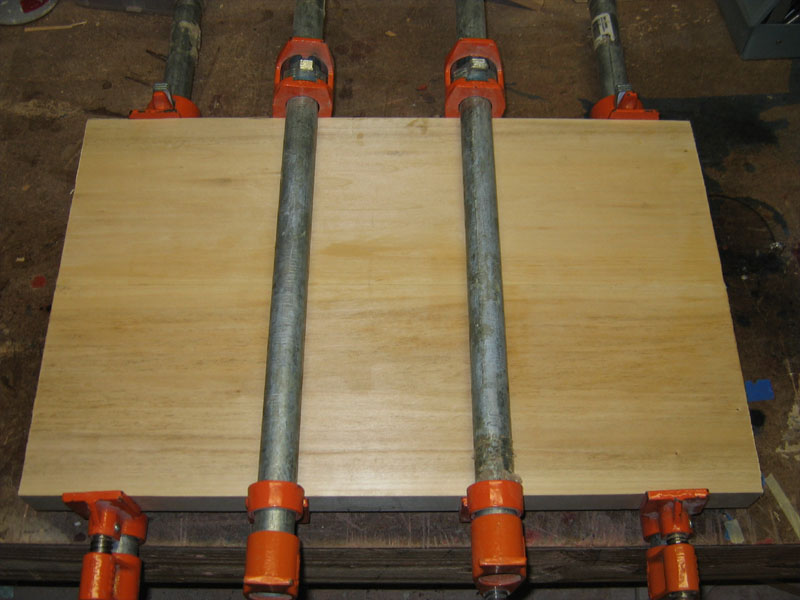
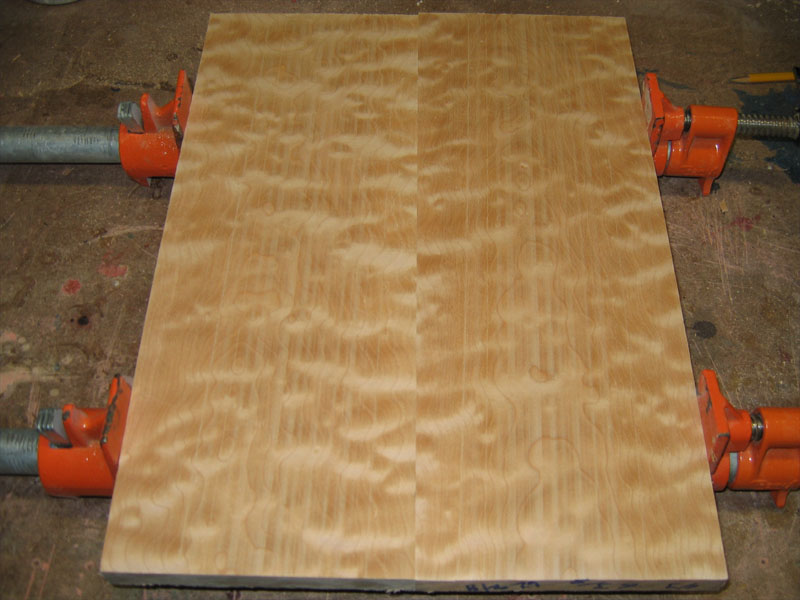
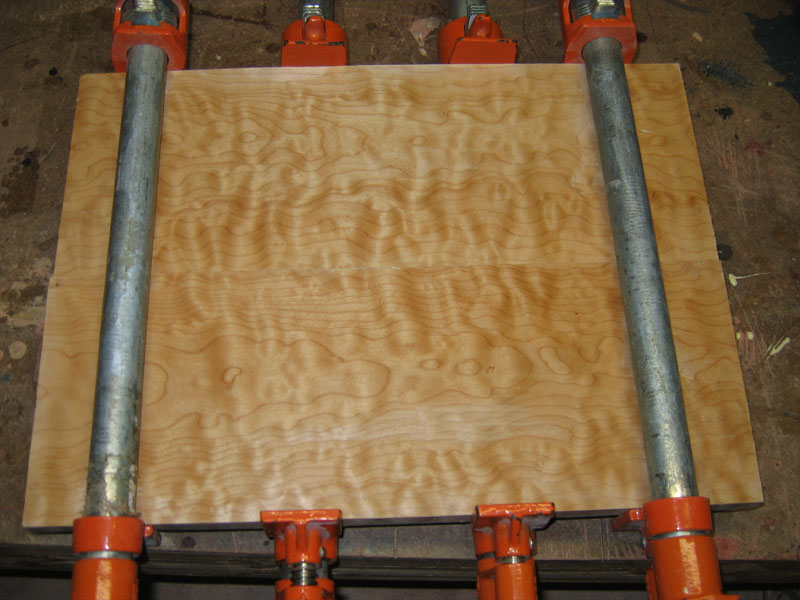
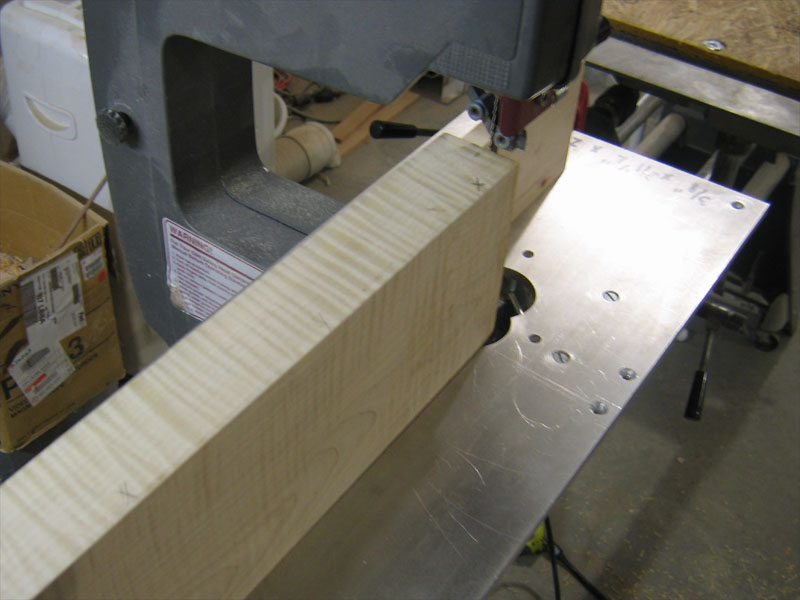
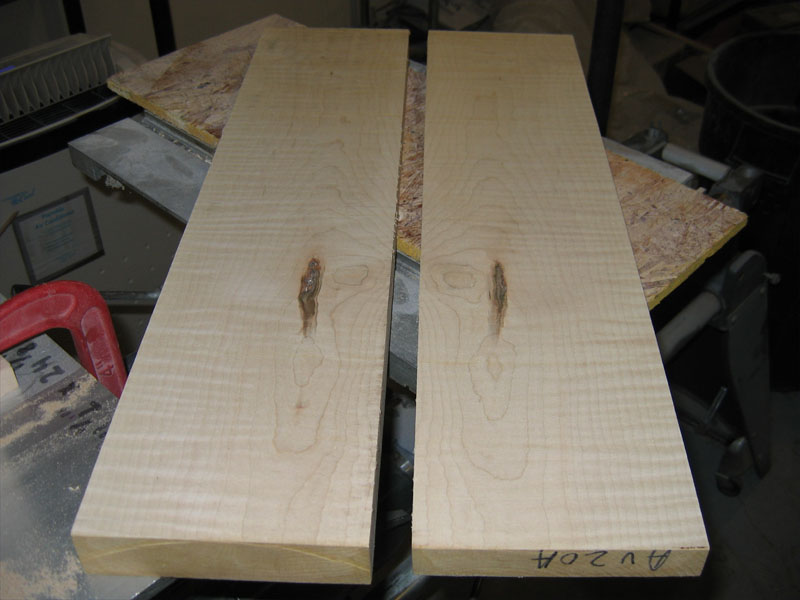
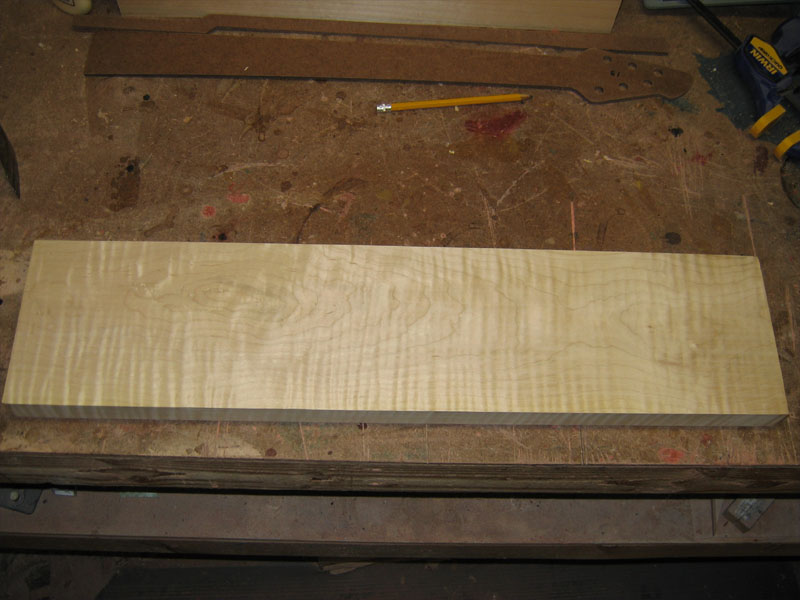
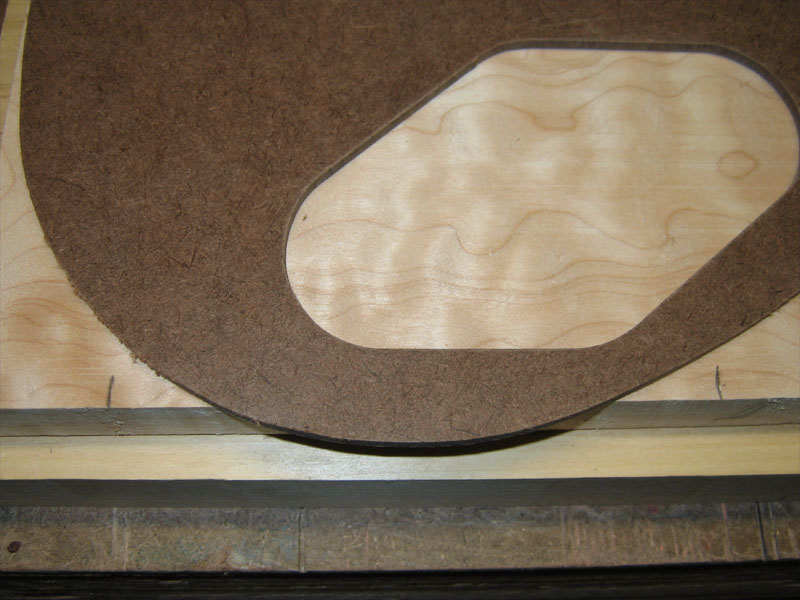
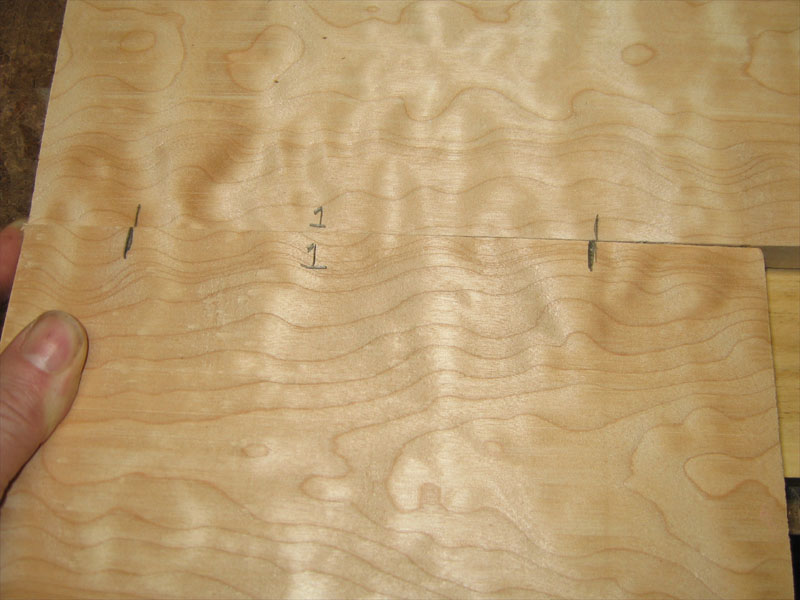
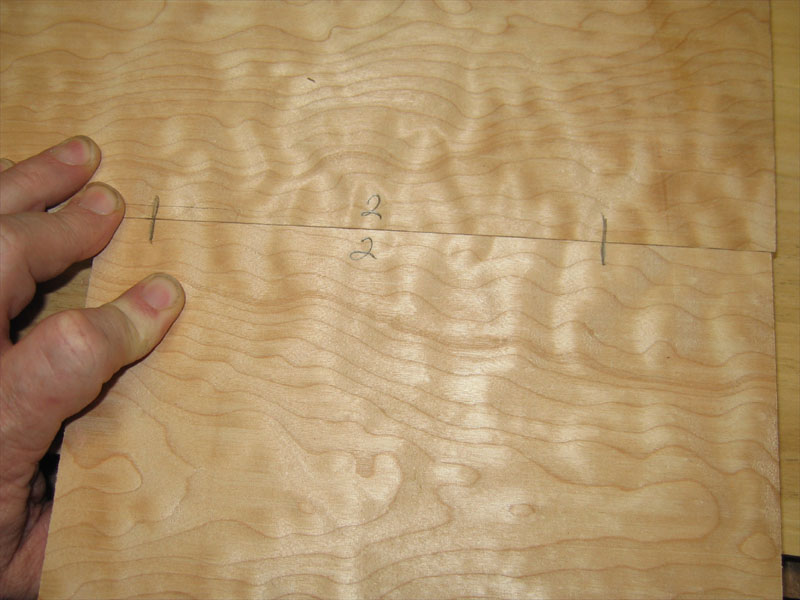
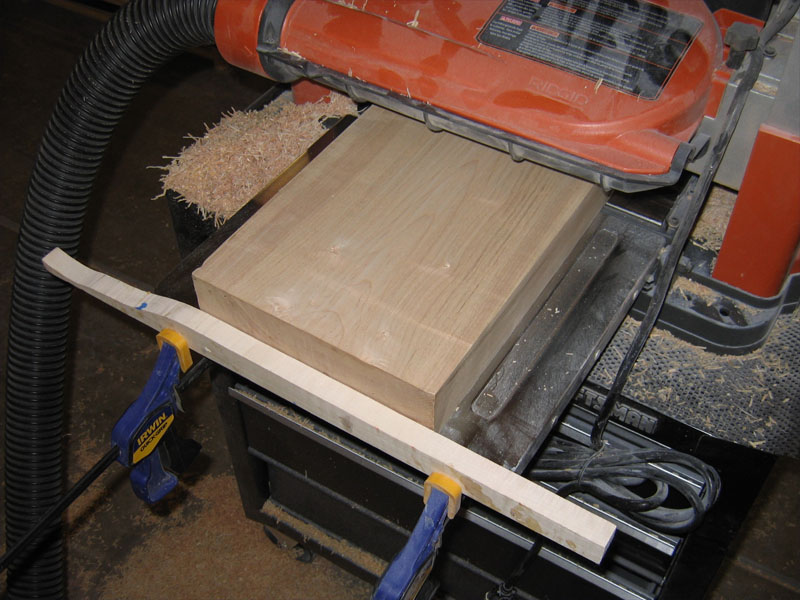
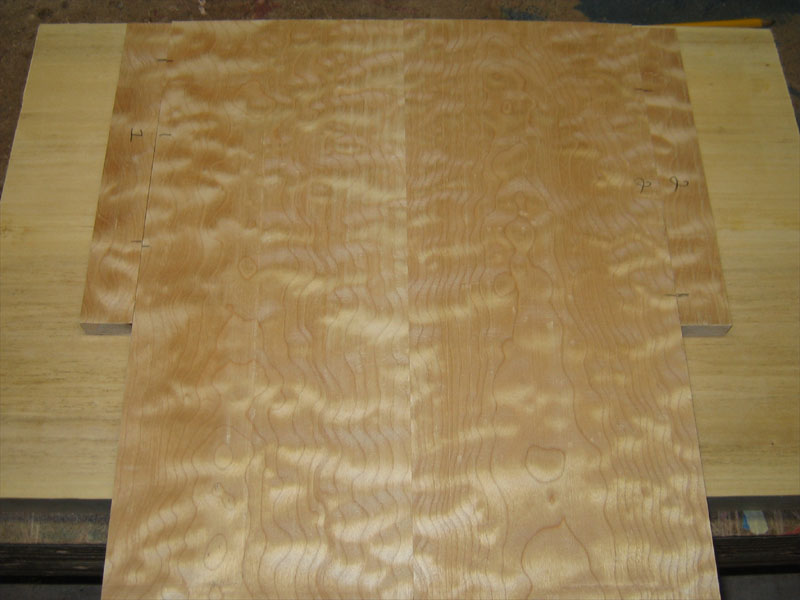
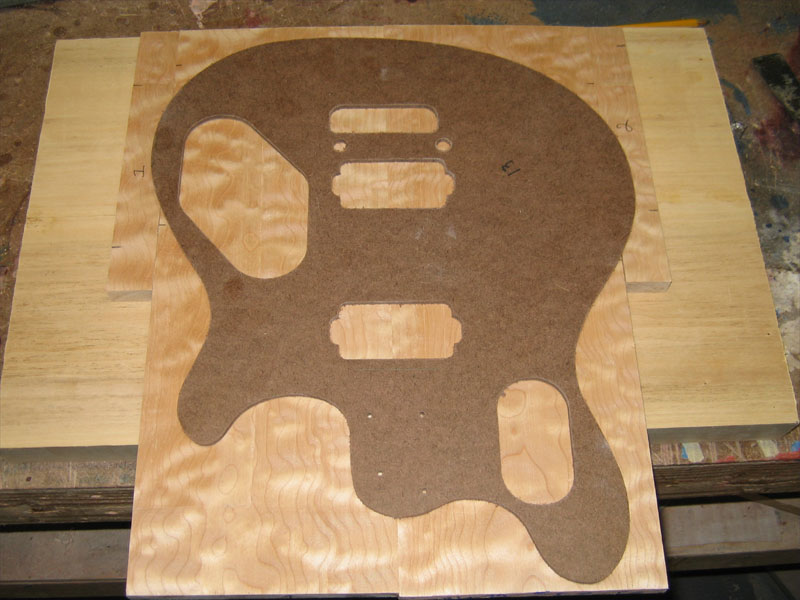
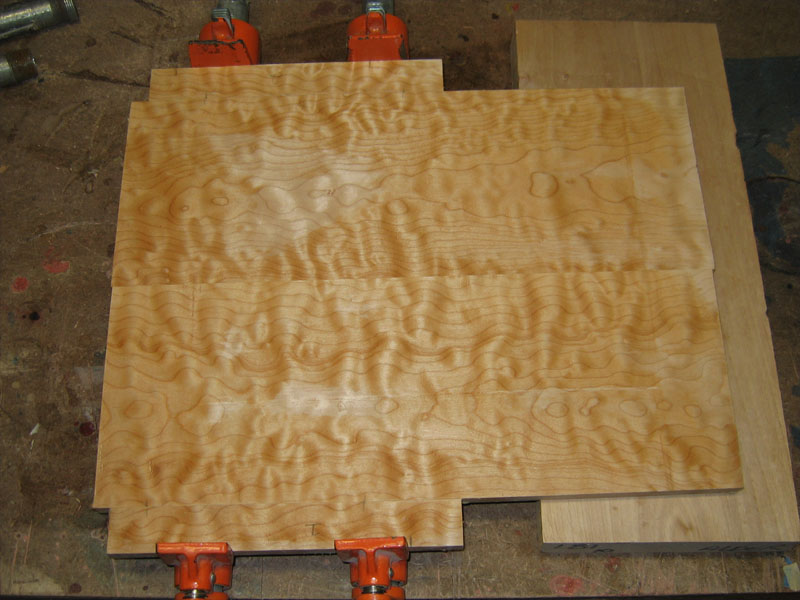
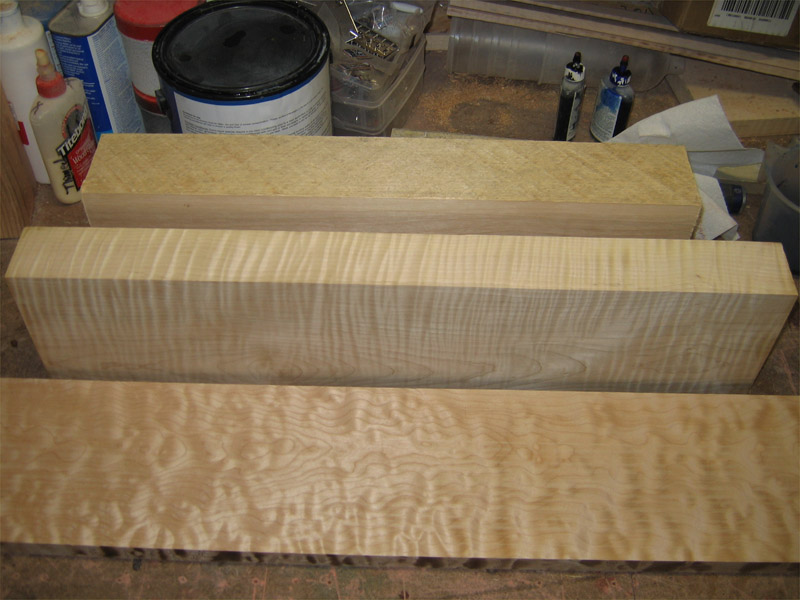
    I'm going to follow the factory formula of basswood and maple. I scored some huge chunks of seasoned basswood. This one is 20" x 7" x 3". I have two others the same width and thickness but 24" long. I may throw a basswood Strat into the mix at some point. The maple for the top is not quite wide enough for the body...it's odd lower bout makes it over 13" wide. It's also not long enogh for a third piece that's full body length, but I could rip the remaining bit and glue it up in the center in 2 pieces with a gap where one of the humbuckers will be. And add a thin strip of quarter sawn flame maple as dividers.

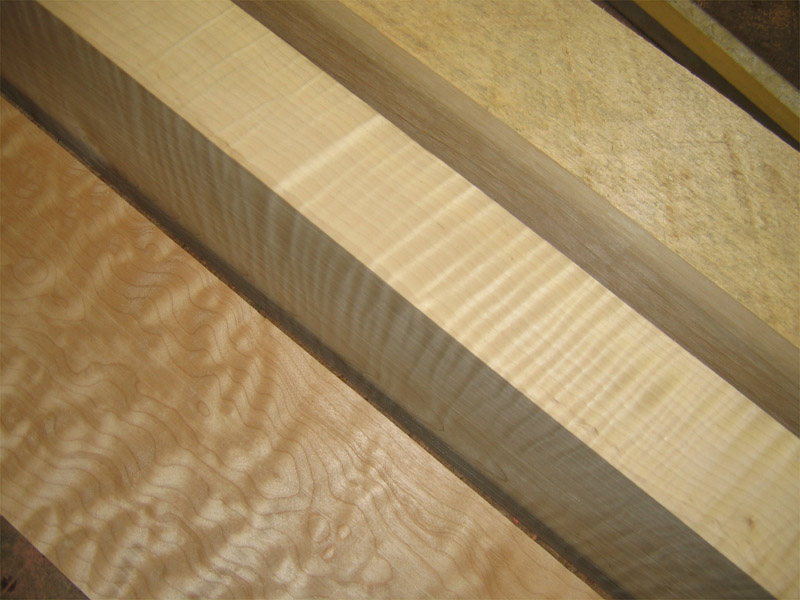
    I was also thinking about laminating in a wider piece of the quarter sawn flame maple flanked with a strip of walnut either side...may just go with the 2 types of maple.

    I could also resaw and bookmatch the quilted maple but this would mean a milder carve as the top would only be 3/8" instead of 1/2".
    And so it begins...I hope to start cutting this weekend.

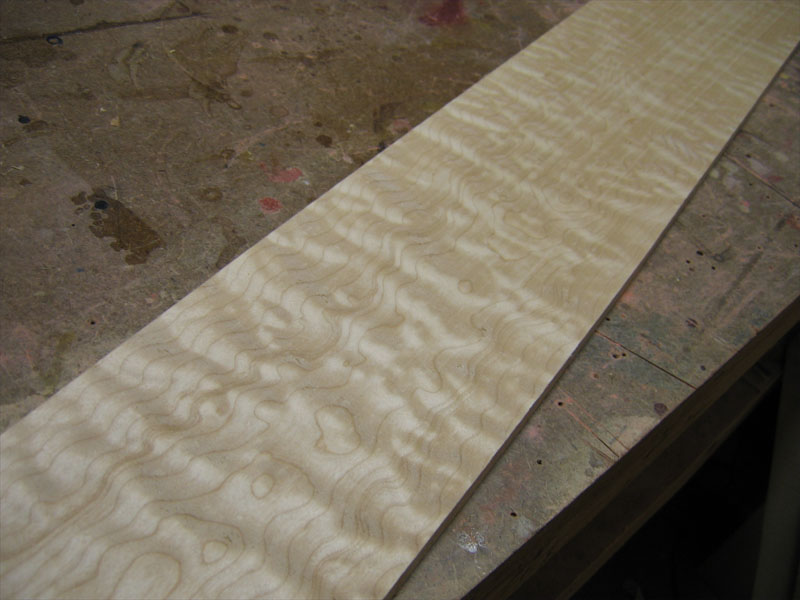
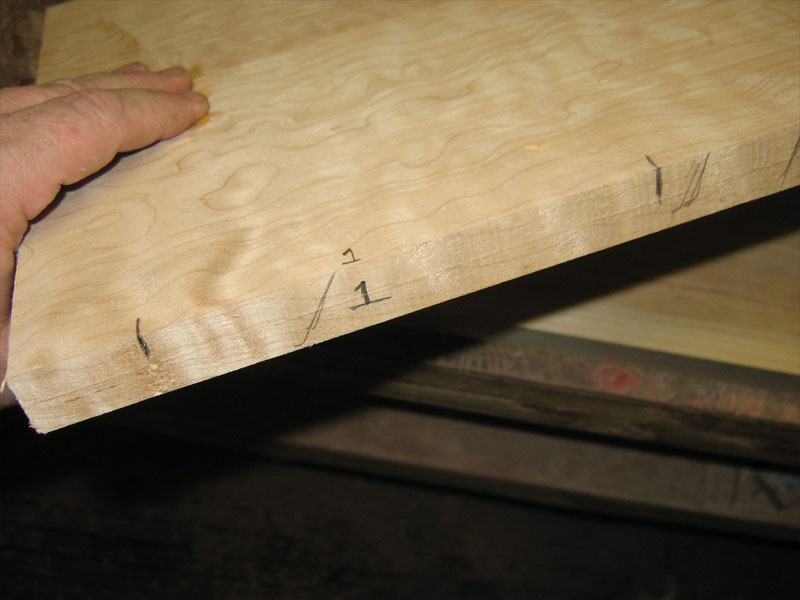
    Pictured are the basswood mentioned above, AAA quilted maple for the top and a nicely flamed billet for the neck and fretboard. I'll take the fretboard and laminate strip(s) from the flamey edge on top in the pic.


    "Thought that is no longer limited brings experience that is no longer limited" Marianne Williamson.

  2. #2
    Early in the morning when I'm just on the verge of waking up, I sometimes have these moments of clarity. Where I once had a problem, there is now a very clear solution.

    Allowing for jointing, the quilted maple is too narrow by only .250" or .125" each edge. The Wolfgang has a pretty thick 5 layer binding...which I plan to replicate. It looks to be a 4 layer W/B/W/B at .010" each and an outer W at about .040" totaling .080" or .160" top and bottom added together.
    I could add a sliver of quilted maple at the outer edges up against the binding channel and with careful selection and placement, no one would be the wiser.


    Or do a burst and hide it for certain.


    Maybe go even darker and richer.


    Hmmm..I bursted my neck PU...oh well, you get the point.
    "Thought that is no longer limited brings experience that is no longer limited" Marianne Williamson.

  3. #3
    Started cutting this one today.

    The basswood billet needed to be jointed on one edge before I could resaqw it. I also had to take some width off of it so it would fit under the blade guide of my bandsaw.


    Even though the saw is heavily modified from the factory 6" cut to a taller 6.75", the billet, after jointing, was about .125" too tall. A few extra passes after suare took care of this.


    Here are the two halves after resaw. They came out within .125" of each other in thickness.


    The planer evened them up. The Wolfgang, is 1.5" thick total, inclding the top but I'm going a bit thicker with mine. I took the resawn pieces down to 1.25". They glued up nicely.

    "Thought that is no longer limited brings experience that is no longer limited" Marianne Williamson.

  4. #4
    Next was the top. This was a bit of a challenge because I wanted to cut the board so similar grain would be at the seam since the top won't be bookmatched.

    I took a light pass thru the planer on each side to evaluate the figure on each. This side is a bit more quilted than the other.


    I've gotten used to using this method to cut boards to length. I have a chop saw but the time it takes to drag it out and set it up makes this method more attractive. Plus I can cut wider boards this way.


    Here's a dry fit to check the joint and make sure I get the best layout possible.


    All glued up. Even though it's not a bookmatch, with the top wet from clean up, it looks fairly symetrical.

    "Thought that is no longer limited brings experience that is no longer limited" Marianne Williamson.

  5. #5
    While those are setting up, I moved on to the neck blank. I needed to resaw a 1.250" blank. My plan is to make 2 necks as I go along so if something goes wrong, I have another up to the same point.
    Not as wide as the body billet but a fair task for the bandsaw at 6".


    Crap. It really bugs me when a resaw reveals something like this. An otherwise beautiful billet with a nasty defect hiding in it.


    I think I can still get 2 necks out of this. The defect appears to be only .250" inch into the surface. The backside of the neck blank will be cut down by far more than this to accommodate the dropped headstock. I could always put it under the fretboard, but I'd rather not.

    "Thought that is no longer limited brings experience that is no longer limited" Marianne Williamson.

  6. #6
    More work on the top.
    After the top came out of the clamps, I placed the template and centerewd it up to see how much I need to add the each side. I marked the range on the top that neede to be widened.


    Then I slid a cutoff along the edge until I found a nice match, transferred the marls and numbered it.


    Since these were going thru the planer, I transferred the marks to the edges of the cutoff and the top to preserve them.


    I used a lsed in the planer so I didn't have to crank the screw-drive all the way down to .50" of the planer bed. The clamped piece keeps the seld from moving thru under pressure during planing.

    "Thought that is no longer limited brings experience that is no longer limited" Marianne Williamson.

  7. #7
    I jointed the edges of both pieces and ripped a strip off the cutoff for each edge. I put the pieces in place to check their fit and as I was taking this pic, I realized from this angle, the grain was reversed on the patches.


    So, I flipped each piece and found a good alignment....much better.


    One last check with the template.


    And glued it up after transferring my marks one more time so I could make sure they didn't slip in the clamps.


    Done.
    "Thought that is no longer limited brings experience that is no longer limited" Marianne Williamson.

  8. #8
    Join Date
    Mar 2003
    Location
    SE PA - Central Bucks County
    Posts
    65,918
    Ooh...this is going to be a real beauty, Mark!
    --

    The most expensive tool is the one you buy "cheaply" and often...

  9. #9
    Join Date
    Dec 2006
    Location
    Atlanta , Ga.
    Posts
    3,970
    Looking great Mark. This old man gets a bit dizzy flipping through "all" the pictures so I will comment when you finish..
    Sarge..

    Woodworkers' Guild of Georgia
    Laissez Les Bons Temps Rouler

  10. #10
    Join Date
    Dec 2009
    Location
    Hill Country Texas
    Posts
    941
    Did you make these templates yourself or did you buy them someplace? I was thinking about building one of these as well, or an Axis.

    Your build threads are great! Thanks for taking the time to take pics and post all of this!

  11. #11
    Join Date
    Aug 2006
    Location
    Saint Helens, OR
    Posts
    2,463
    More eye candy. Thanks for taking the time to document the process Mark.
    Measure twice, cut three times, start over. Repeat as necessary.

  12. #12
    Quote Originally Posted by Jim Becker View Post
    Ooh...this is going to be a real beauty, Mark!
    Quote Originally Posted by John Thompson View Post
    Looking great Mark. This old man gets a bit dizzy flipping through "all" the pictures so I will comment when you finish..
    Quote Originally Posted by Bryan Morgan View Post
    Did you make these templates yourself or did you buy them someplace? I was thinking about building one of these as well, or an Axis.

    I got them from www.guitarbuildingtemplates.com

    Your build threads are great! Thanks for taking the time to take pics and post all of this!
    Quote Originally Posted by Greg Peterson View Post
    More eye candy. Thanks for taking the time to document the process Mark.
    My pleasure folks...stay tuned. This one's gonna be cool!

    Mark
    "Thought that is no longer limited brings experience that is no longer limited" Marianne Williamson.

  13. #13
    While those are setting up, I moved on to the neck blank. I needed to resaw a 1.250" blank. My plan is to make 2 necks as I go along so if something goes wrong, I have another up to the same point.
    Not as wide as the body billet but a fair task for the bandsaw at 6".


    Crap. It really bugs me when a resaw reveals something like this. An otherwise beautiful billet with a nasty defect hiding in it.


    I think I can still get 2 necks out of this. The defect appears to be only .250" inch into the surface. The backside of the neck blank will be cut down by far more than this to accommodate the dropped headstock. I could always put it under the fretboard, but I'd rather not.

    "Thought that is no longer limited brings experience that is no longer limited" Marianne Williamson.

  14. #14
    More work on the top.

    After the top came out of the clamps, I placed the template and centerewd it up to see how much I need to add the each side. I marked the range on the top that neede to be widened.


    Then I slid a cutoff along the edge until I found a nice match, transferred the marls and numbered it.


    Since these were going thru the planer, I transferred the marks to the edges of the cutoff and the top to preserve them.


    I used a lsed in the planer so I didn't have to crank the screw-drive all the way down to .50" of the planer bed. The clamped piece keeps the seld from moving thru under pressure during planing.

    "Thought that is no longer limited brings experience that is no longer limited" Marianne Williamson.

  15. #15
    Double post deleted.
    Last edited by Mark Crenshaw; 03-28-2010 at 8:33 PM.
    "Thought that is no longer limited brings experience that is no longer limited" Marianne Williamson.

Posting Permissions

  • You may not post new threads
  • You may not post replies
  • You may not post attachments
  • You may not edit your posts
  •