


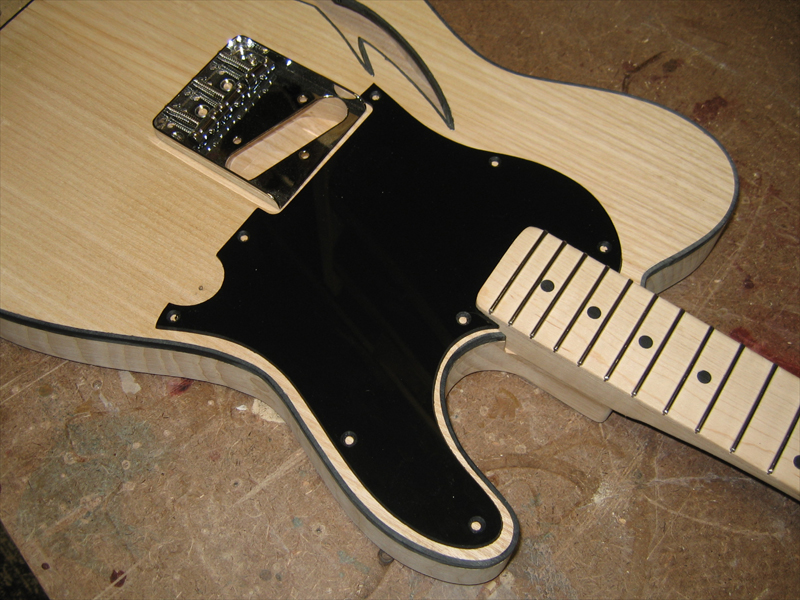
I drilled the neck and screwed it in place. And then started trim fitting the PG. Once I was happy with it, I drilled the screw holes.
This is the first time I've seen the PG from an angle other than flat...me likey!
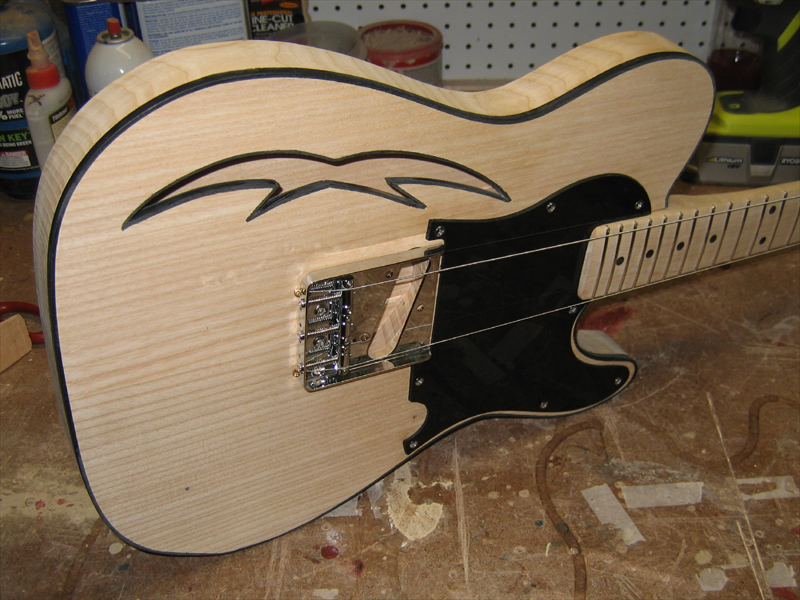
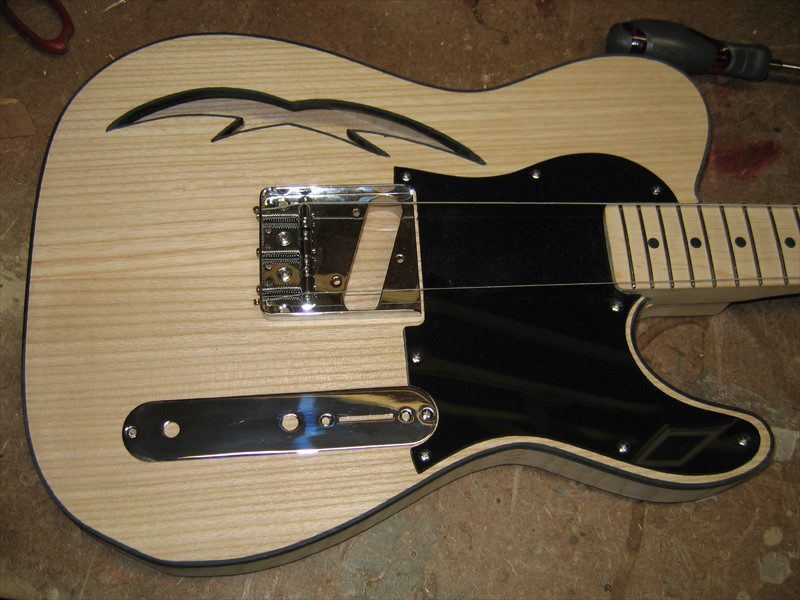
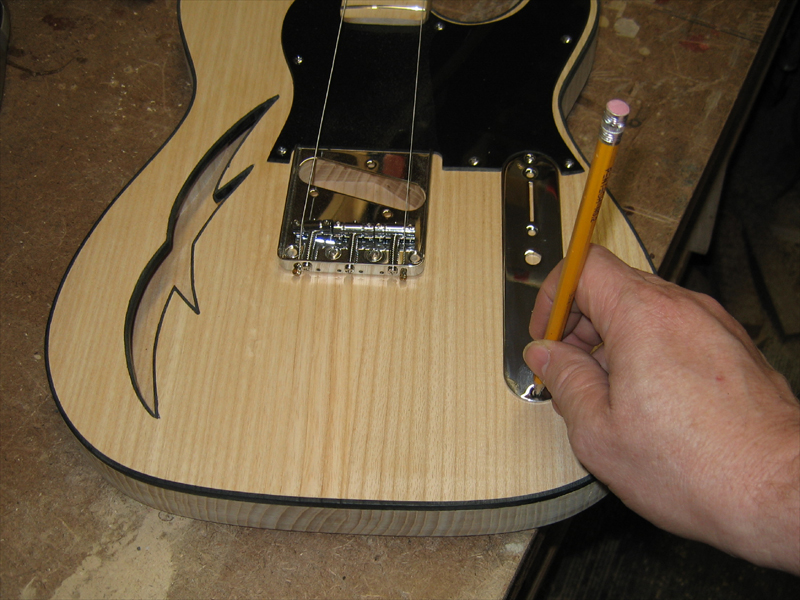
Time for the control plate. I struggled with this a bit. When it was parallel to the bridge, it looked off because of the straight grained ash...it's very close but not parallel to the side of the bridge. When I lined up the control plate with the grain it looked better visually but I knew it wasn't right, so I went with the bridge instead.
I'm not sure if was due to the PG or the amount of wood I removed during profiling but the template wasn't lining up properly, so I screwed down the right end of the control plate, marked the other end and then removed the PG and bridge. This way I knew I would end up with the plate right where it needed to be. In this shot, you can see what I meant about the grain being straight but not parallel to the bridge.
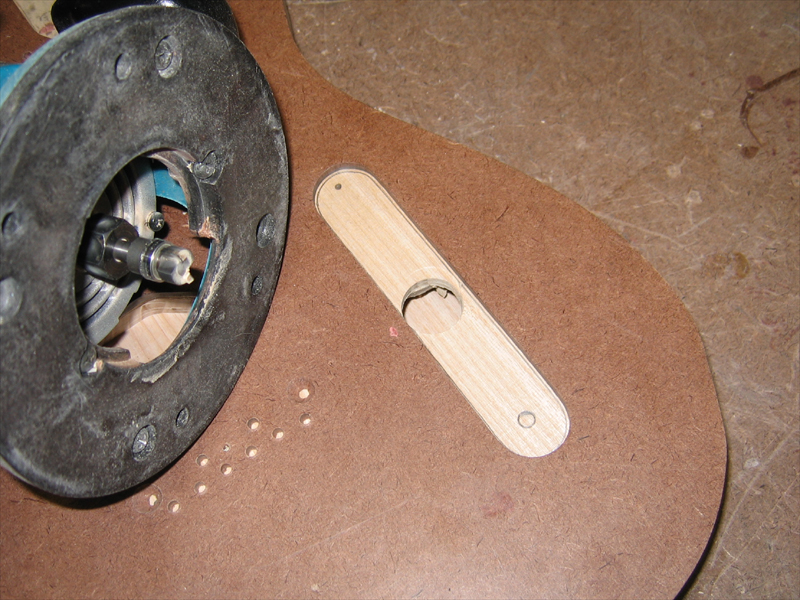
Once I had everyting marked, I placed the template and drilled a hole with a Forstner bit. Now, I knew this was a chambered body. But when the bit dropped thru so suddenly after only drilling .250", my heart jumped into my throat.

 Reply With Quote