Contemporary Coffee Table
Inspired by the work of David J Marks.
Description:
This coffee table measures approximately 50" long, 22" wide, and 17" high.
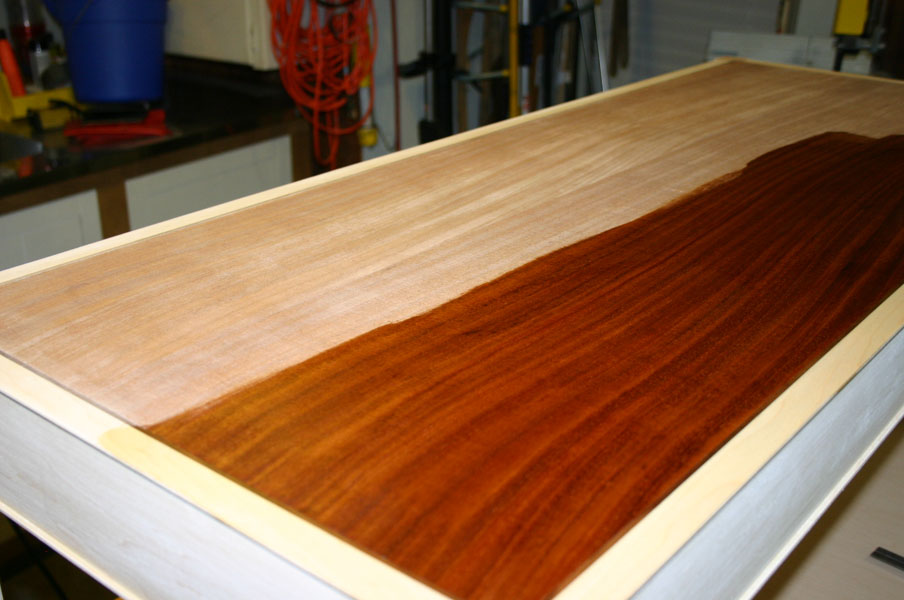
The top is quarter sawn ribbon mahogany veneer over hardwood plywood. This sheet was glued to a maple ledger.
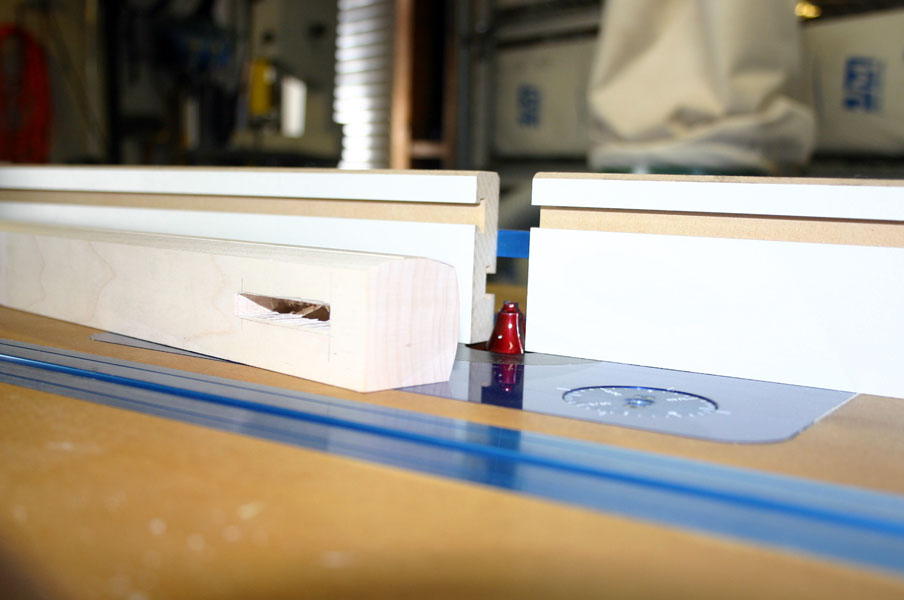
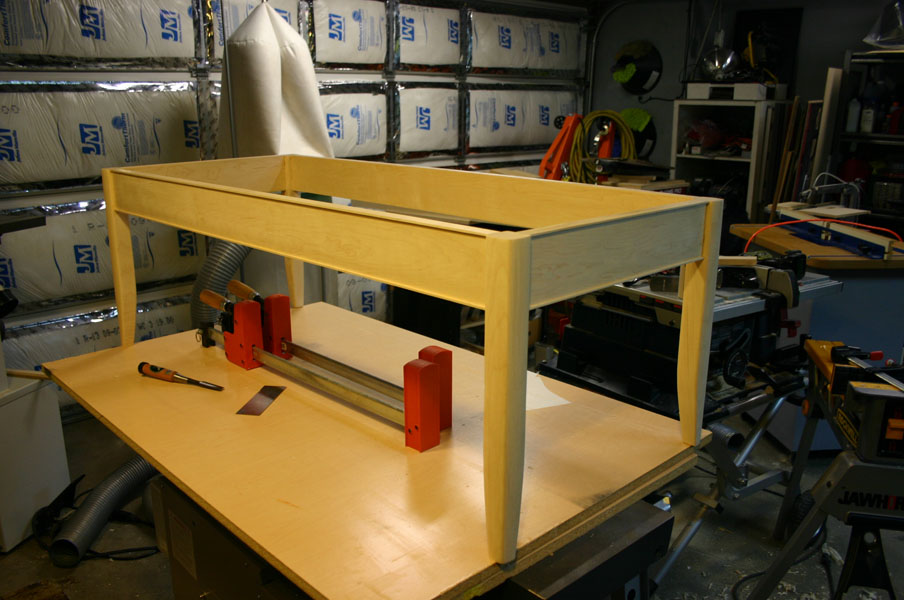
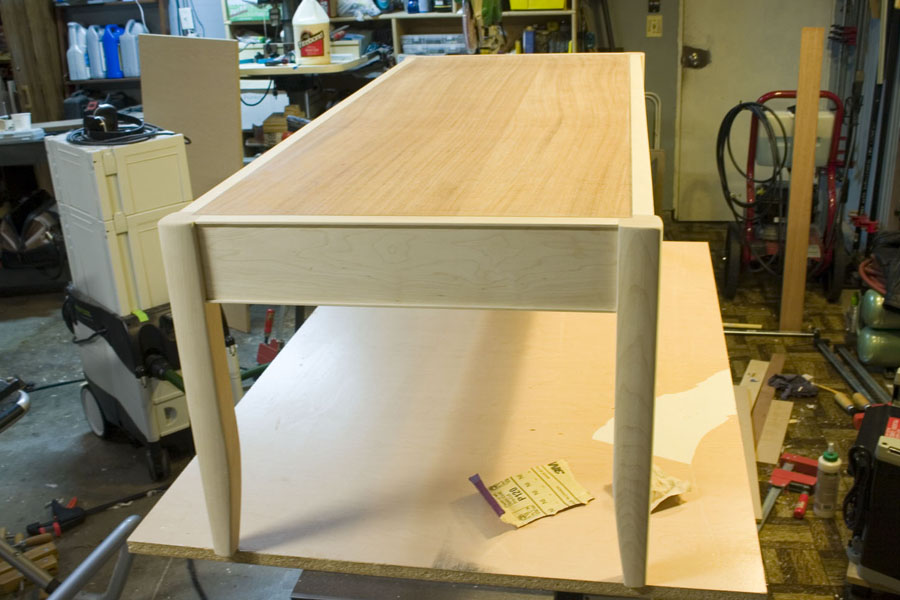
The aprons and legs are solid hard maple and the joinery is mortise and tenon.
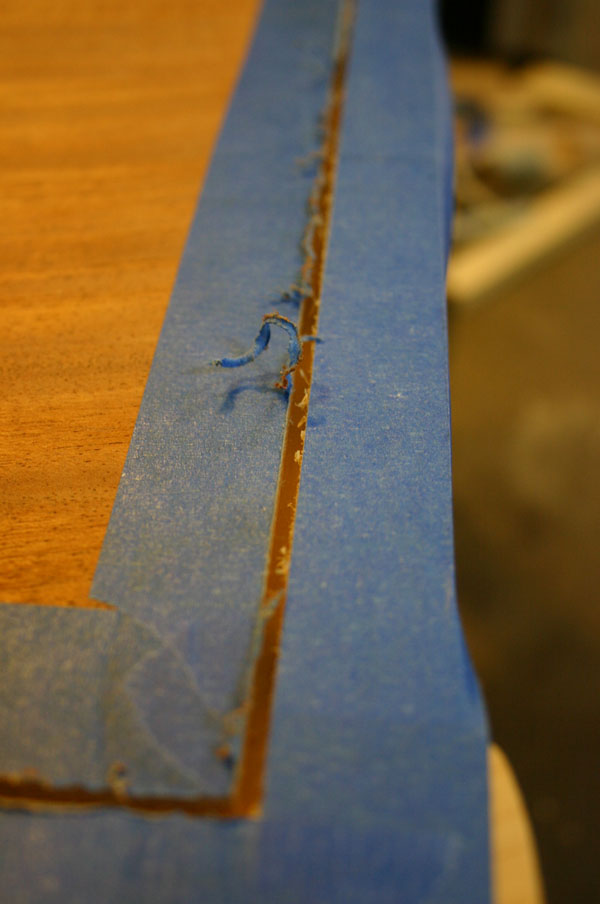
There is a 1/8" wide, 1/4" deep inlay of walnut around the perimeter of the veneer.
Finish:
1 coat of General Seal a Cell followed by several coats of clear polyurethane.
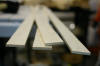
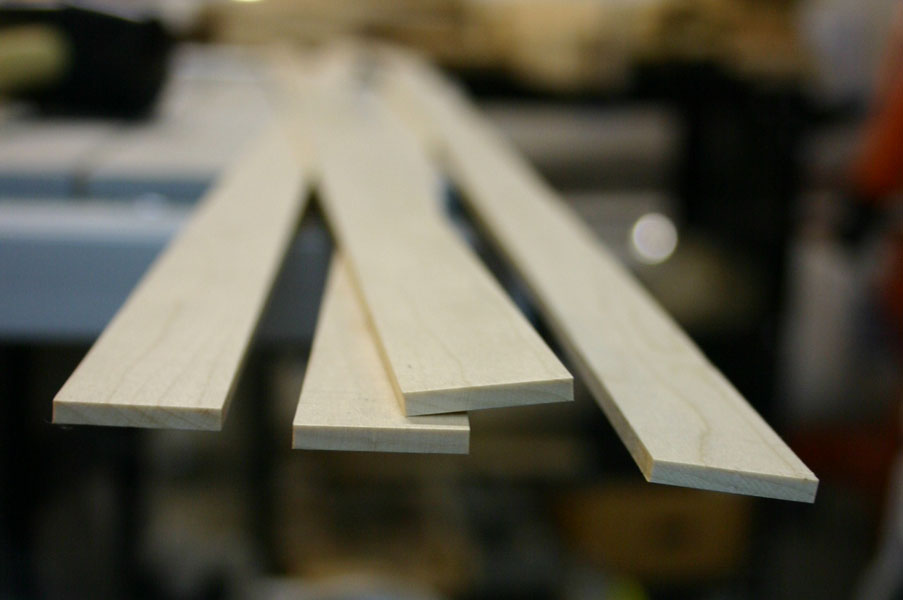
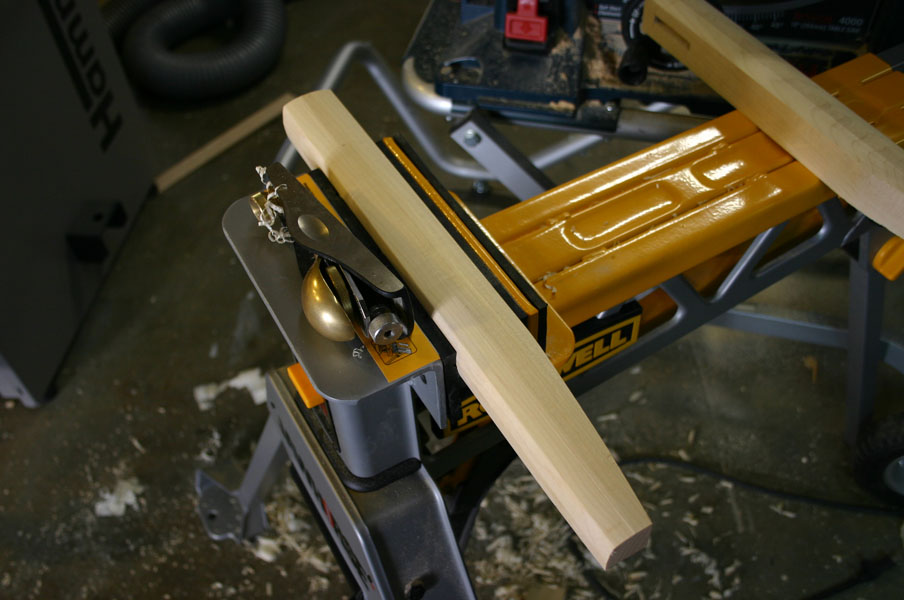
The aprons are 3.5" wide, the tenons are 5/16" thick and the apron has been milled to 3/4" thick. I've added a 1/8" thick beading to the top and bottom of the apron and this beading has a 1/8" reveal, thus making it 7/8" wide. To create the beading I was able to joint maple board and then rip it with a bandsaw. I then planed it using a thickness planer to make it smooth on the rough cut side and until they all reached 1/8" thick. I made sure the pieces were long so I could trim off the planer snipe.To create the tenons I used a jobsite table saw and miter gauge, and cut the tenon cheeks with a band saw and hand chiseled to a tight fit. No tenoning jig was used.
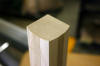
For the square mortisers I used a Delta hollow chisel mortiser with 5/16" bit.To shape the sided I used a vertical raised panel bit in a router table and adjusted the depth to give a nice radius to the sides of the leg.
I then used a block plane to smooth out the legs and some 60 grit sand paper on an orbital sander to smooth the leg.
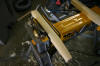
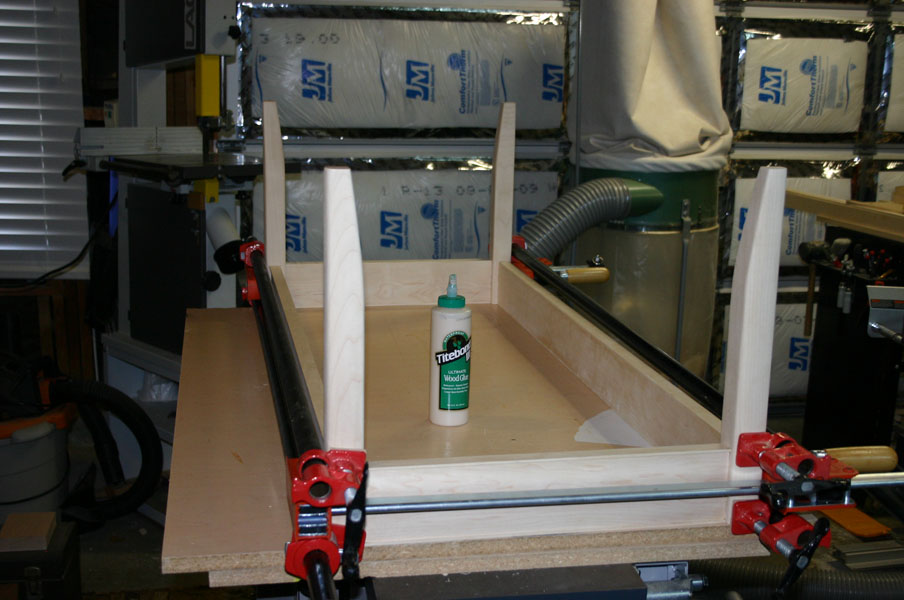
I used titebond III wood glue for assembly and clamps, to make sure the legs and aprons were flush, I assembled on the flattest surface I could find which is two sheets of 3/4" melamine particle board on the top of my j/p machine.

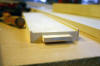
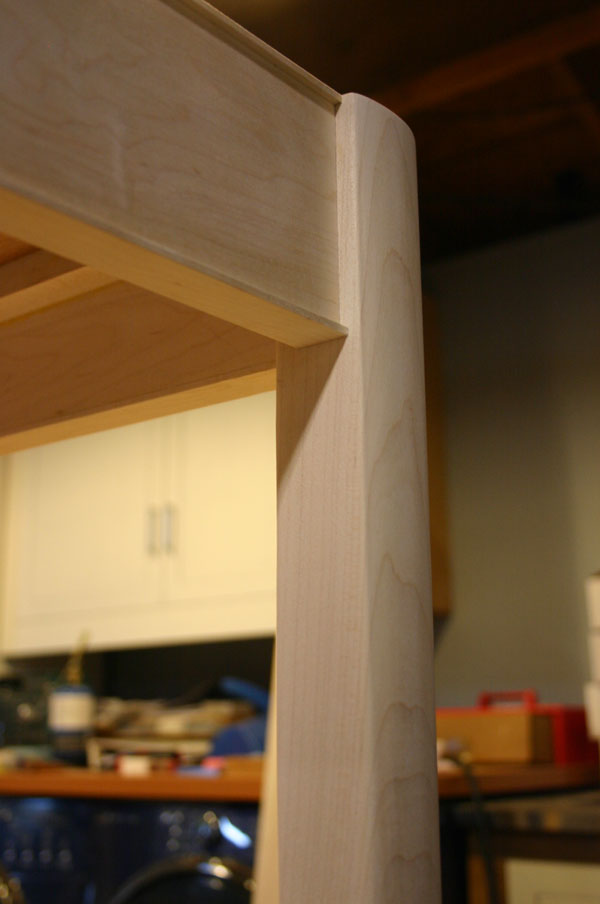
This is a finished shot of the now hidden mortise and tenon joinery. Final sanding of the maple was 150 grit prior to staining.
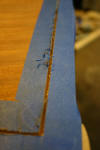
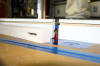
I used painters tape to protect the edges of the veneer and then used a plunge router with a 1/8" spiral down cut bit. I used a Festool 1010 router with a guide rail which made it really easy, though you could use any plunge router with an edge guide. (Though you will have to clamp a board to the side of the table to make a flat edge). I cut the walnut inlay using a jobsite table saw and I had to make it perfect the first time since I don't have a drum sander. I mitered the edges using a SCMS and then sneaked up on the final lengths of the 45 degree miters using a jig and disc sander.

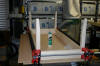
I flush the top by keeping the tape on the veneered portion and sanding using 60 grit and an orbital sander. Be extra careful not to sand through the veneer and by keeping tape on the veneer, it will act as a warning for when you begin to sand through the tape.Make sure you remove all glue squeeze out at this point or else it will show during the staining process. In addition, if there are any hairline seems, you can make your own filler by mixing wood glue with sawdust and filling in these cracks and sanding or scraping smooth.

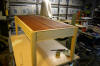
I applied the seal a cell with a small microfiber towel piece and wiped with the grain. If you apply too thick of a coat, it will take a long time to dry and you might get drips or puddles.I sanded with 220 grit between coats of poly to give the table a flat top.
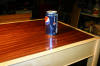
Finally I used a thick vinyl clear film to cover the veneer and inlay which will protect the top from water spots from coke cans, etc. To trim the vinyl to the perfect size i first taped it in place, then clamped a straight edge to it where i wanted to trim it. I used a sharp utility knife to score the vinyl (Don't cut all the way through or you'll damage the table!) and then it cut perfectly along the score line when I used a "tearing" motion.
I then waxed the vinyl membrane with a high end automotive synthetic sealant and you literally can't see the thick vinyl and it gives the veneer a wet looking finish.
If the above doesn't work, then here is where I hosted the pics and description:
http:// www.flex-innovations.com/coffee_table.htm


 Reply With Quote