Page 1 of 5 12345 LastLast
Results 1 to 15 of 73

Thread: New Build: Alder and Maple Tele

  1. #1

    New Build: Alder and Maple Tele

    The weather here in S. Indiana has prevented me from continuing the finish work on my other 2 builds. So, what do you do when you can't work on the projects you have going? You start another project!

    Specs:
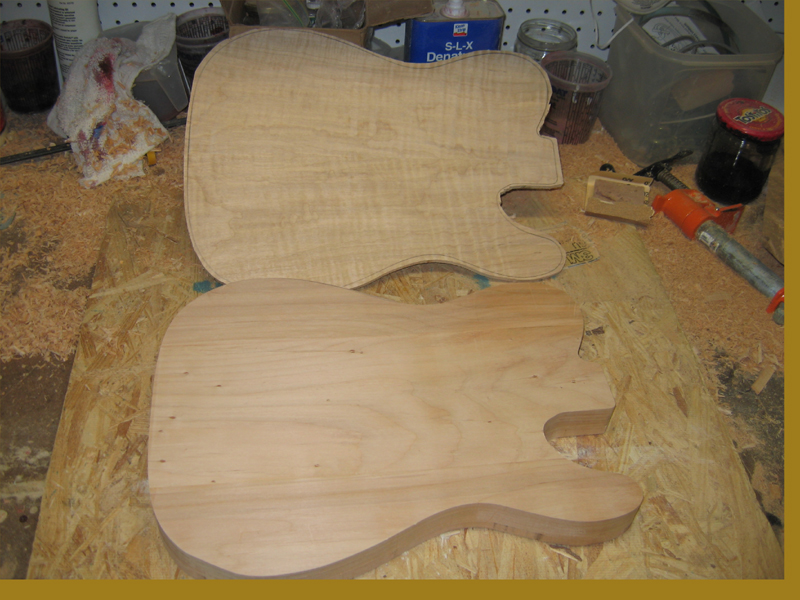
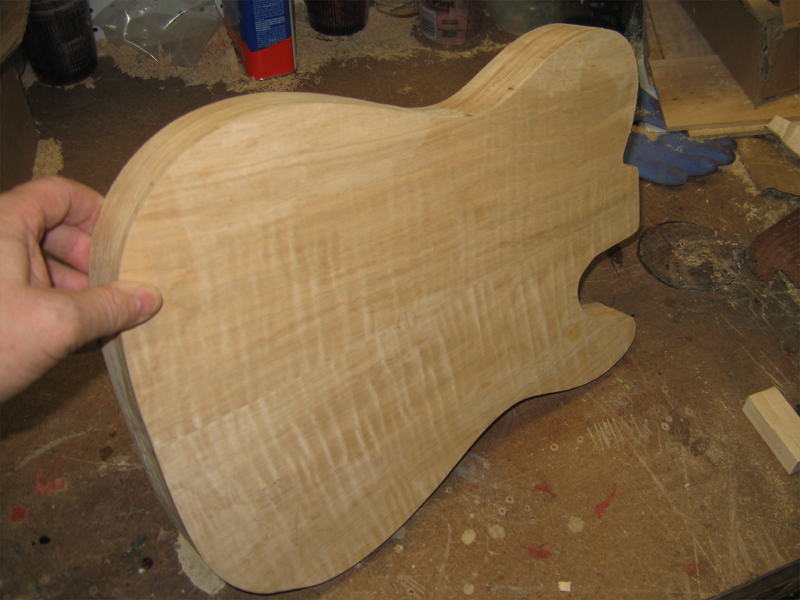
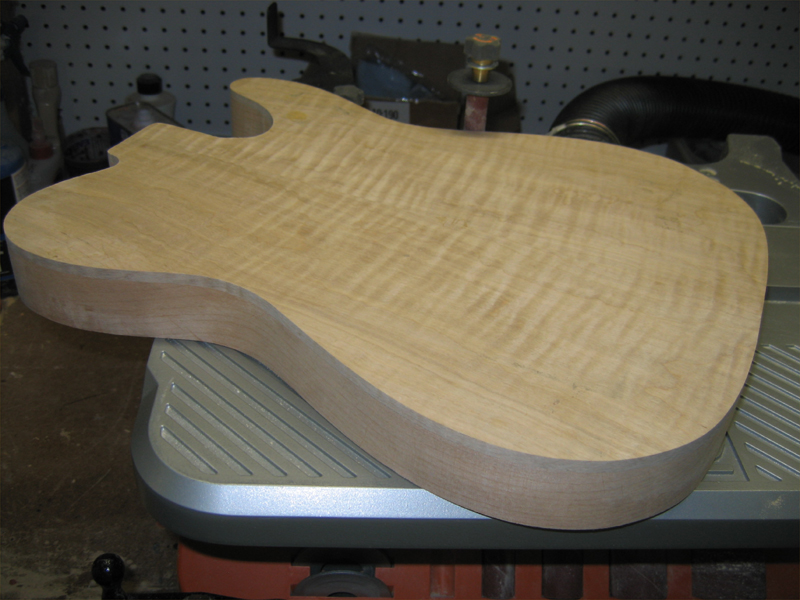
    Flame maple bookmatched top
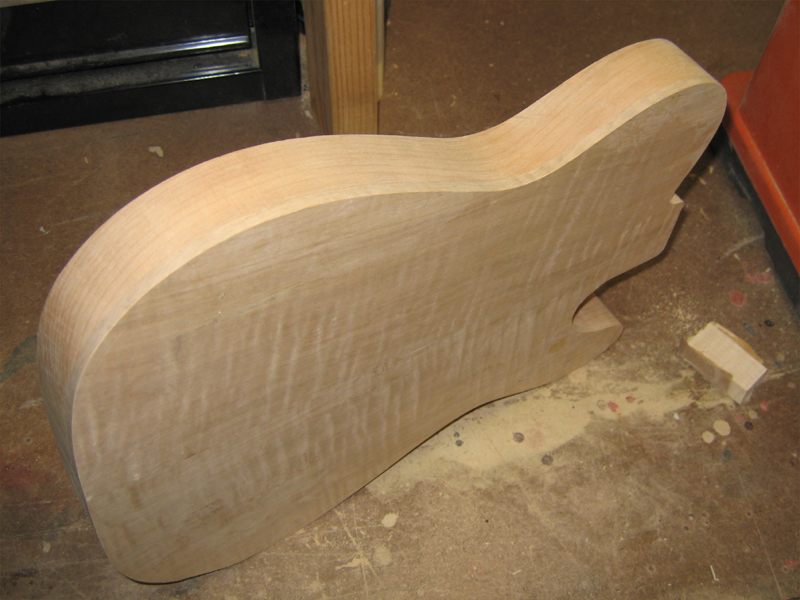
    Alder back
    Black back with blackburst top
    Faux binding
    Flame maple neck/maple fretboard. Maybe blackburst on the neck/FB, too.
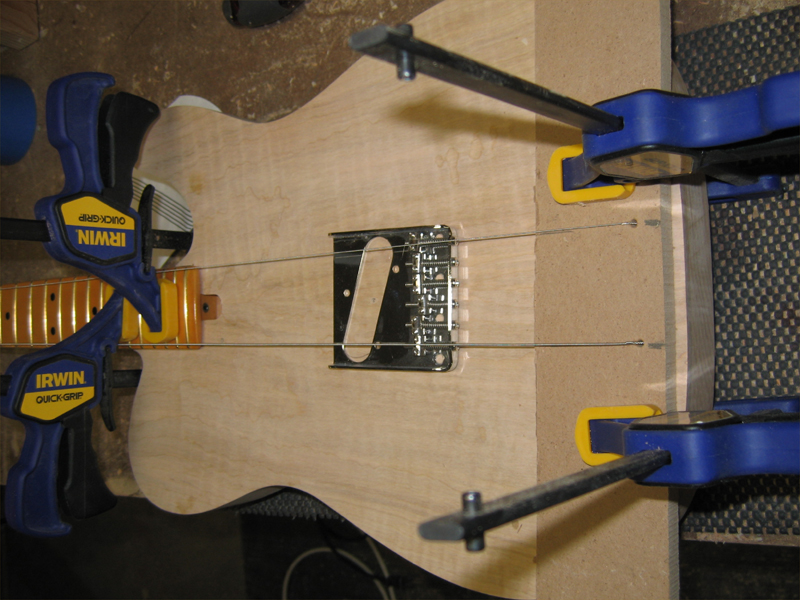
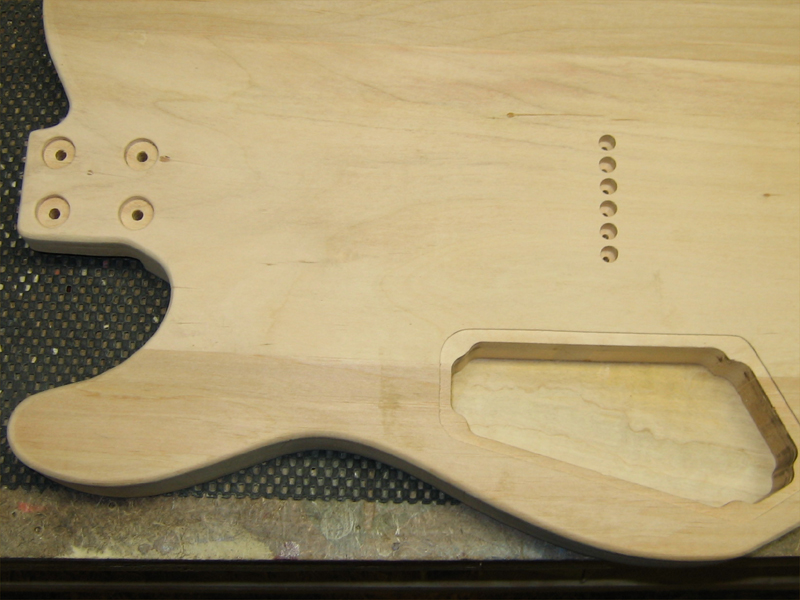
    Standard Tele style bridge and pup config...flavors to be determined
    Single volume and tone, phase switch...backloaded.
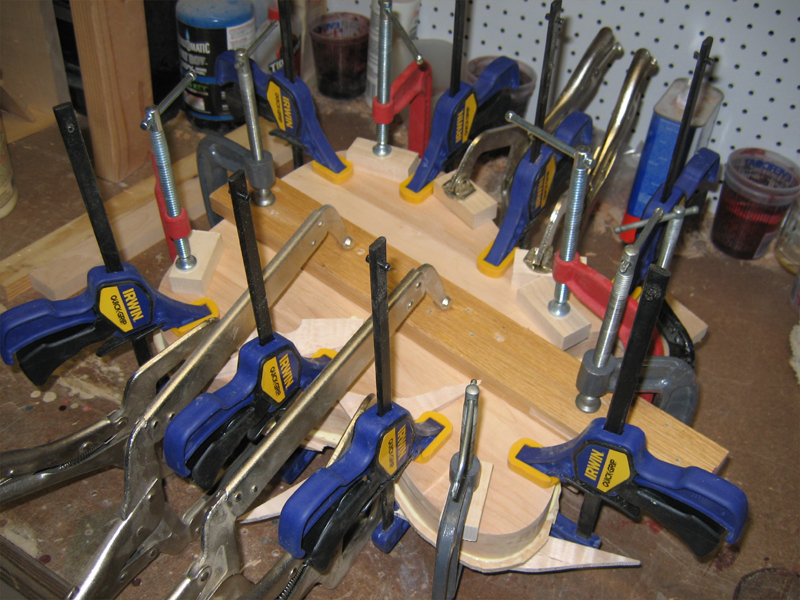
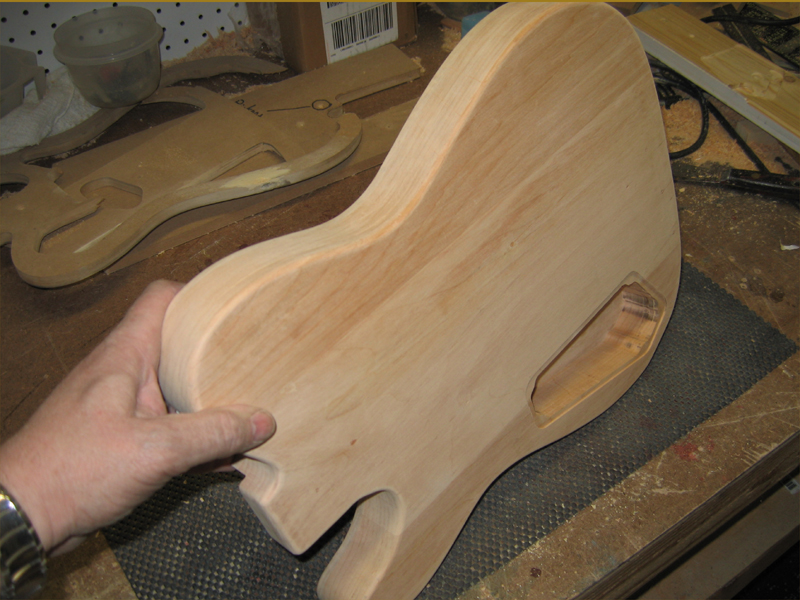
    And so it begins...

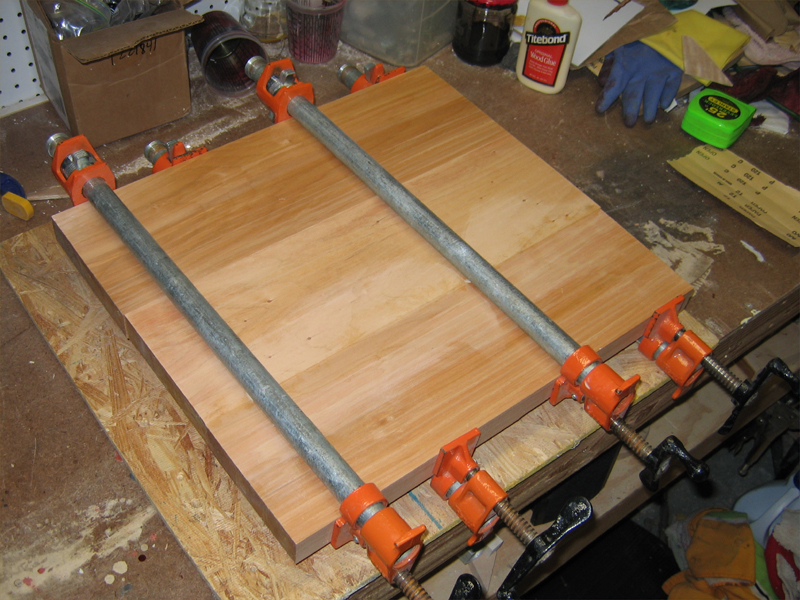
    I had two 2 piece alder body blanks that I glued up last summer and set aside. They shrank up enough that neither one was wide enough for a Telel body. So, I cut the better half off of one and glued it up to the other blank.


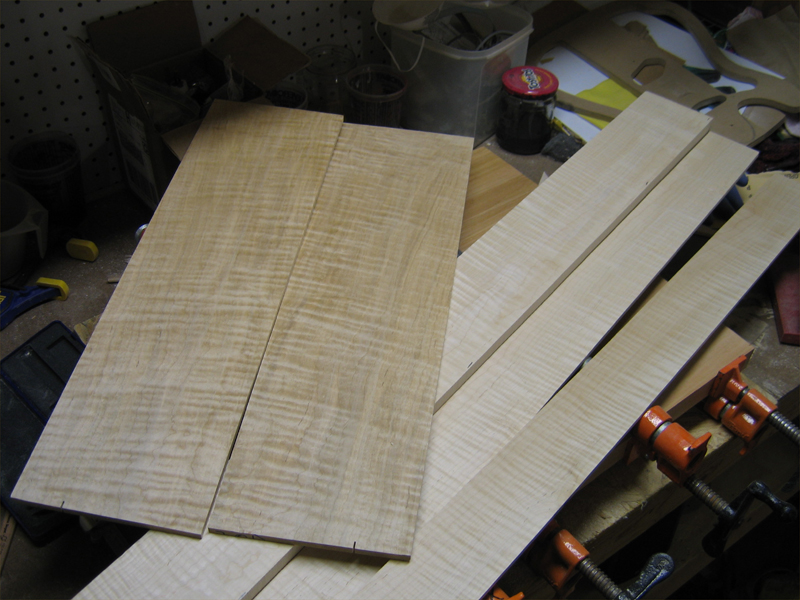
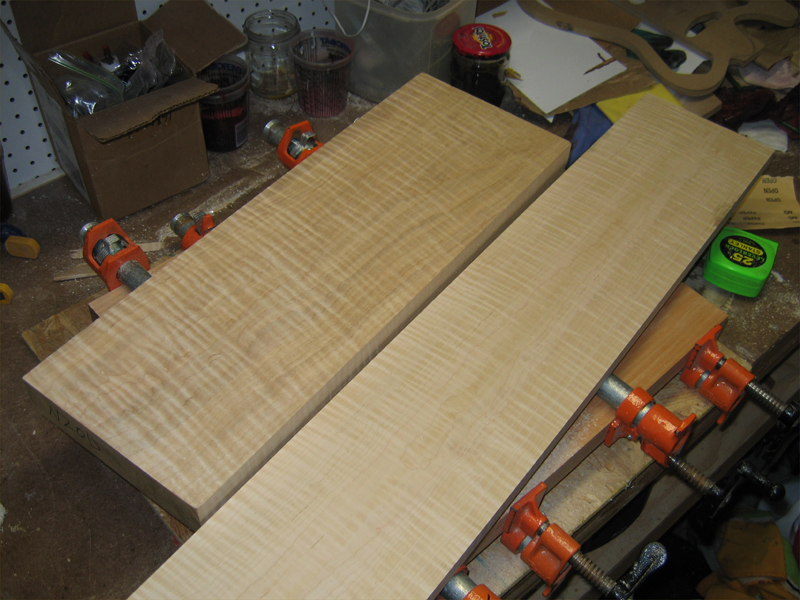
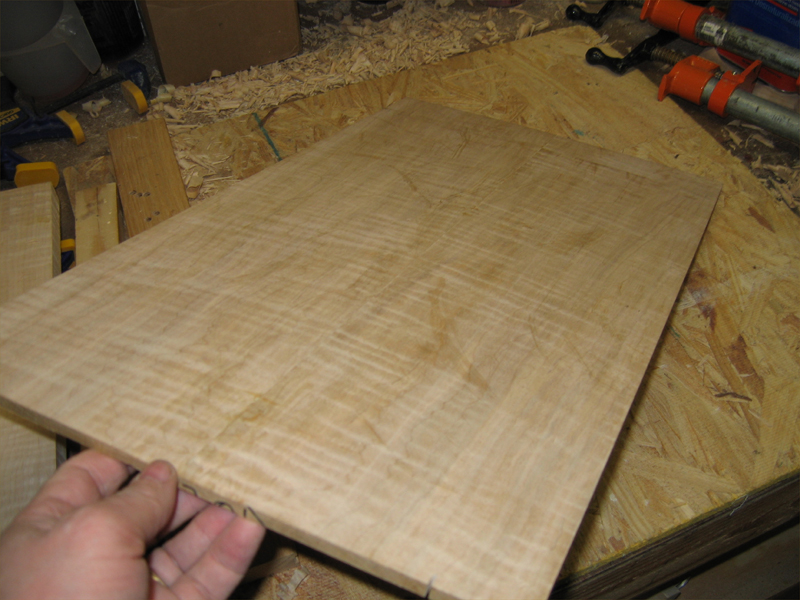
    While the body was setting up, I layed out the top and neck woods. The billet on the left will be resawn for the top. The board on the right will yield a neck blank and 4 fretboards.


    Nice flame all the way thru both pieces.


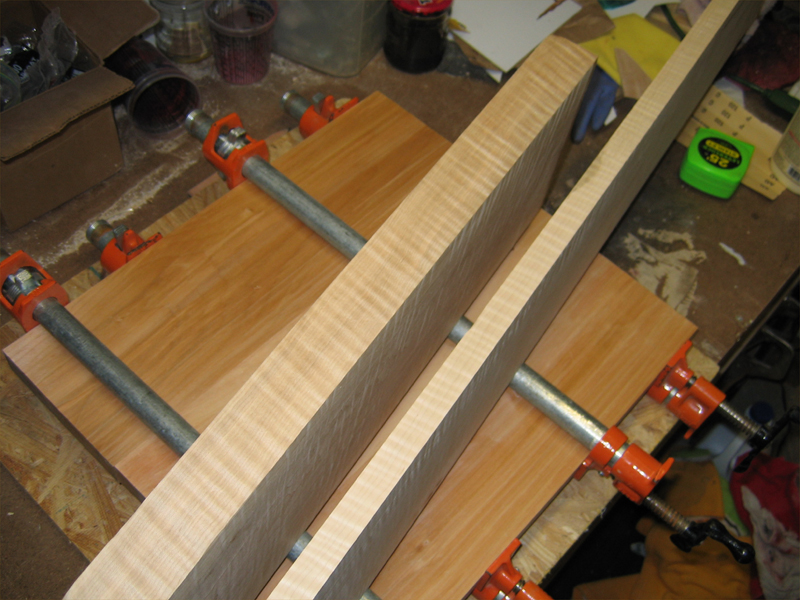
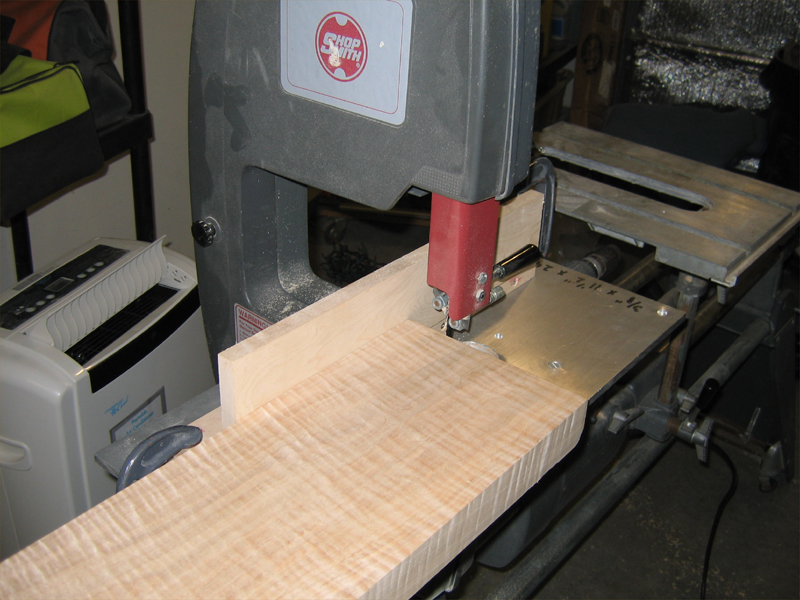
    Set up to resaw on my heavily modified Shopsmith band saw. The factory cut height was around 6.00". By adding a flat aluminum table and filing away some casting material I was able to open it up to 6.75"...perfect for guitar tops. Here, I'm trimming the billet to 6.75" wide for resawing.


    And an hour later I have my top, neck blank and 4 beautiful fretboard blanks. I'll set the fretboards aside for future projects.

    "Thought that is no longer limited brings experience that is no longer limited" Marianne Williamson.

  2. #2

    More Pics 01-03-10

    I glued up the top. While that was setting up, I rough cut the body.


    Here's the top out of the clamps.


    The body routed and ready for the top. The top has been rough cut on the band saw.


    The glue joint on the underside of the top wasn't even so it needed to be smoothed out. I used double stick tape to mount it to the back of the body and then I ran it thru the planer...worked perfectly...flat and smooth and ready to glue.


    And here we have "clampenstein". Enough for today. Two more wonderful days off before Monday and lots more to do on this project.

    "Thought that is no longer limited brings experience that is no longer limited" Marianne Williamson.

  3. #3

    More Pics 01-03-10

    I know I said I was done for the night but one last task before calling it quits. I profiled the top to the body. It feels more like a complete day now.

    "Thought that is no longer limited brings experience that is no longer limited" Marianne Williamson.

  4. #4

    More Pics 01-03-10

    Back on the project this morning. I started by smoothing out the sides on a spindle sander. The router bit burned the maple during profiling and I wanted make sure the burn marks were all removed since this maple edge will be my faux binding.


    Then after a quick blocking by hand to smooth out any dips left by the spindle.


    I blocked out the top while I was at it and then wiped it down with a bit of denatured alcohol. I see a bit of planer snipe on the upper bout that I need to block out.


    Then time for the neck pocket. I learned the hard way to do this before locating the bridge, even if you're using a template for the bridge location. If the pocket is off even a bit, you'll want to be able to make adjustments in the location of the bridge. I have my template marked so I know which holes line up with the PU cavities...OK to run a short screw (1.25") in here.


    Made a mark at 5/8" so I don't have to unclamp the body to check the depth or rely on measurments of the bit below the router's base plate.

    "Thought that is no longer limited brings experience that is no longer limited" Marianne Williamson.

  5. #5

    More Pics 01-03-10

    Finished neck pocket...I went about a 1/16" deeper than normal because I have to take the top down a touch to deal with the planer snipe I mentioned above.


    I borrowed a neck from another project to get my bridge located. The fit is nice. It should give me good results.


    I installed 2 tuners, and ran 2 strings down the neck that was clamped in place.


    After marking the string position coming off the end of the fretboard, I made a temporary bridge that will clamp to the end of the body. More on this in a minute.


    Double checked my spacing at the end of the fretboard ...

    "Thought that is no longer limited brings experience that is no longer limited" Marianne Williamson.

  6. #6

    More Pics 01-03-10

    The temporary bridge was clamped to the end of the body. I wanted to use this for 2 reasons. One, without the real bridge in place, the frets were making the srtings hang up and influencing the way they layed out. The second reason is because I wanted tension on the strings...more than I could get by just taping them down.


    With everything centered up and some tension on the strings, I was able to slide the bridge in place and check spacing and alignment.

    "Thought that is no longer limited brings experience that is no longer limited" Marianne Williamson.

  7. #7

    More Pics 01-03-10

    I routed the pickup cavities. I took it this far with the template in place but since I cut the neck pocket first and the truss rod adjustment is at the heel, I had to remove the template and block the access route for the adjustment nut. If I had kept routing with just the template, the bearing would have slipped under the edge of the template.


    Completed pickup routes.


    Next was the control cavity. I drew lines the edges of the flat spot for the output jack onto the back to align the template.


    The cavity routed to depth.


    Then I lined up the template for cutting the cover lip...I always do a test cut of the complete cover on a piece of scrap, with double stick tape in place just like it would be on the guitar.

    "Thought that is no longer limited brings experience that is no longer limited" Marianne Williamson.

  8. #8

    More Pics 01-03-10

    The finished route puts the cover just a hair below the back of the body. Finish coats will even it up.


    I added a roundover to the back of the body. Since I'm using ferrules instead of a neck plate, I carried the roundover all the way around the neck pocket.


    Peace,
    Mark
    "Thought that is no longer limited brings experience that is no longer limited" Marianne Williamson.

  9. #9
    Join Date
    Dec 2008
    Location
    Pensacola Florida
    Posts
    2,157
    Mark, I cant get nothing done when you post...LOL. these are very intresting threads. I followed your other one and waiting on the weather so you can finish. this one looks to be another great build..

    what kind of pickups are you going to use on this one ?
    I have built a few teles and one strat, one of my teles I put 57 clasic humbuckers in and it sounded great. I have a unfinished tele out in the shop and after watching your other thread im almost in the mood to finish it but Im thinking of using TV jones pickups in it anyway we will be standing by for updates
    Dave

    IN GOD WE TRUST
    USN Retired

  10. #10
    Join Date
    Mar 2003
    Location
    SE PA - Central Bucks County
    Posts
    65,894
    Oh, my...this is going to be another beauty!!! That maple is going to be the bee's knees once you get the finish on it!
    --

    The most expensive tool is the one you buy "cheaply" and often...

  11. #11

    More Pics 01-04-10

    Today I drilled the string thru and ferrule holes. I've shown this before but in case some are just tuning in.

    The first thing I do is make sure the string holes on the bridge are drilled out to 1/8". I don't want risk the bit binding in the plate while I'm drill the string holes. Then the bridge is screwed down. I align a bridge hole with the bit and then start the drill press, as the bit (a standard twist bit will center in the hole easier than a brad point) comes down, I ease my grip on the body and the bit takes he path of least resistance and drops into the bridge hole, centering itself. I drill halfway thru the body from the front.


    The results speak for themselves. NIce, straight row.


    To finish the holes, I flip the body and use a pin register method to locate and drill the remaining depth. I decided to tool up a bit during this build. I made a OSB jig that bolts to 2 existing holes in my table. I marked, drilled and bolted the OSB into place, then drilled my pin hole. This gives me perfect alignment with no clamps in the way. The pin is just another 1/8" drill bit with the shank poking thru.

    When I use the jig in the future, I'll hand tighten the bolts, bring the bit down into the hole, lock of the quill and tighten the bolts...again, perfect alignment.


    I like to place a piece of contrasting tape over the bridge mounting hole for 2 reasons. One so the pin doesn't hang up in them and 2, so if I need to lift the body to make a visual alignment with the pin, I just sight down the edge of the tape where the string holes are.


    Again, a nice straight row.

    "Thought that is no longer limited brings experience that is no longer limited" Marianne Williamson.

  12. #12

    More Pics...

    I use the same setup to drill the ferrule insets. The great thing about this technique is that even if you're off a tiny bit with the string holes from a wandering bit, the larger bit in the process, aligned with the pin, conceals it since all anyone will see are the ferrules.


    Speaking of ferrules, I installed the neck ferrules too. Nothing difficult here. I countersunk the locations with a forstner bit then drilled the screw holes. Drilling from the back of the body, I placed a 5/8" piece of scrap in the neck pocket to keep it from tearing out as the bit comes thru.


    But for the wire paths, output jack and a few small screw holes for strap buttons and the control cover, the machining on the body is done.


    Peace,
    Mark
    "Thought that is no longer limited brings experience that is no longer limited" Marianne Williamson.

  13. #13
    Join Date
    Jan 2009
    Location
    sLower Delaware
    Posts
    5,464
    My son is not a woodworker but loves guitars. He talks about it being neat to build one. (ie. do you want to do this together
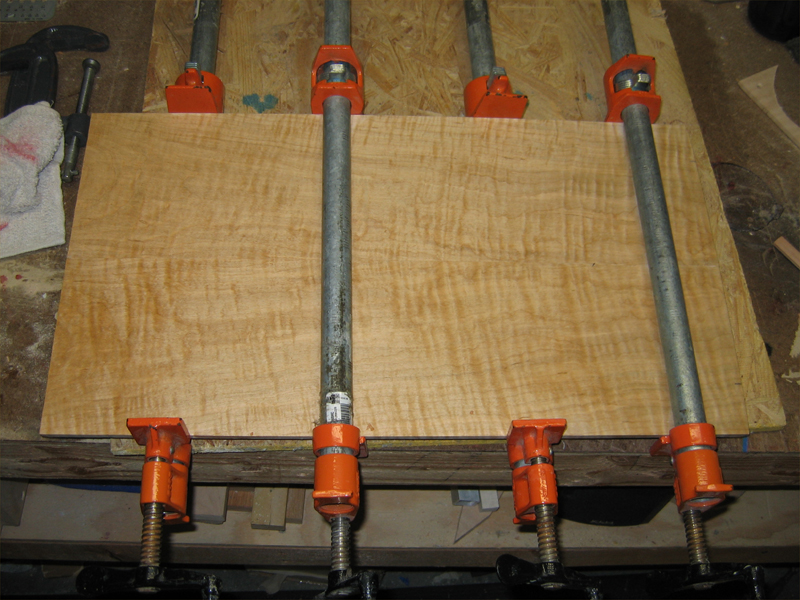
. I study your great posts and think, I don't know about this!

  14. #14
    Join Date
    Aug 2006
    Location
    Saint Helens, OR
    Posts
    2,463
    Mark - Why do you make this look so easy?!?!

    In mere minutes you whip out yet another Leo classic.

    The body I think I could do, but the neck/fret work is a whole different matter.

    But I can't stop following your threads.
    Measure twice, cut three times, start over. Repeat as necessary.

  15. #15
    Join Date
    Mar 2003
    Location
    SE PA - Central Bucks County
    Posts
    65,894
    Mark, please talk to us about how you do the wire paths after the fact, rather than as part of the lamination. (And I'm loving this thread!)
    --

    The most expensive tool is the one you buy "cheaply" and often...

Posting Permissions

  • You may not post new threads
  • You may not post replies
  • You may not post attachments
  • You may not edit your posts
  •