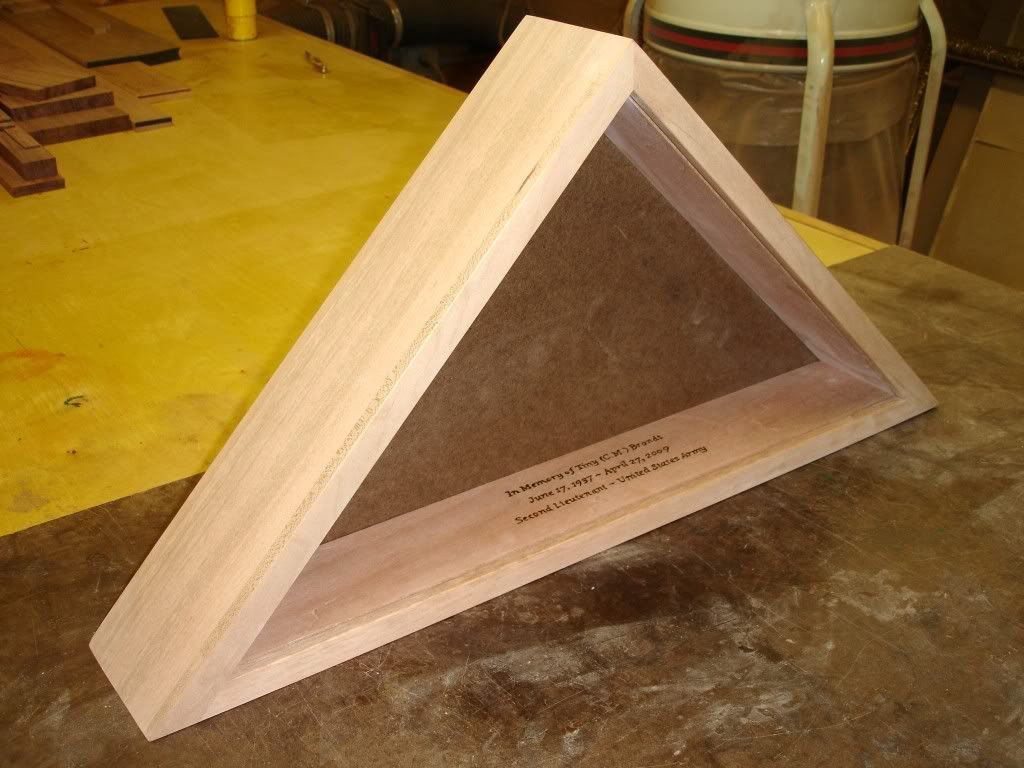
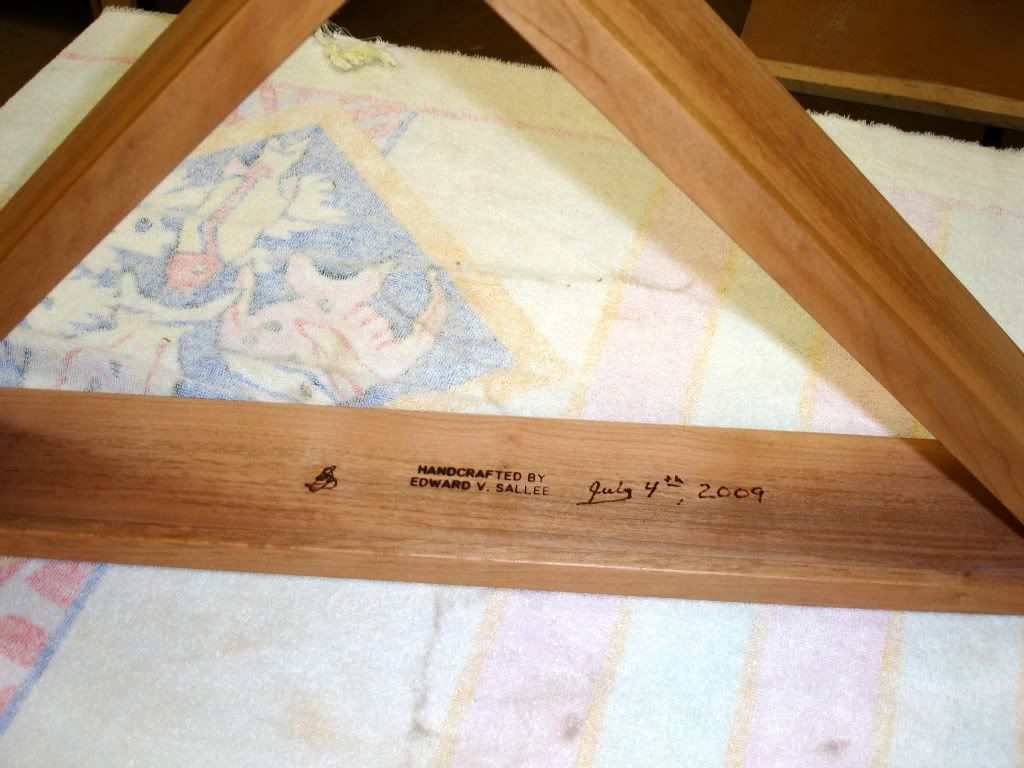
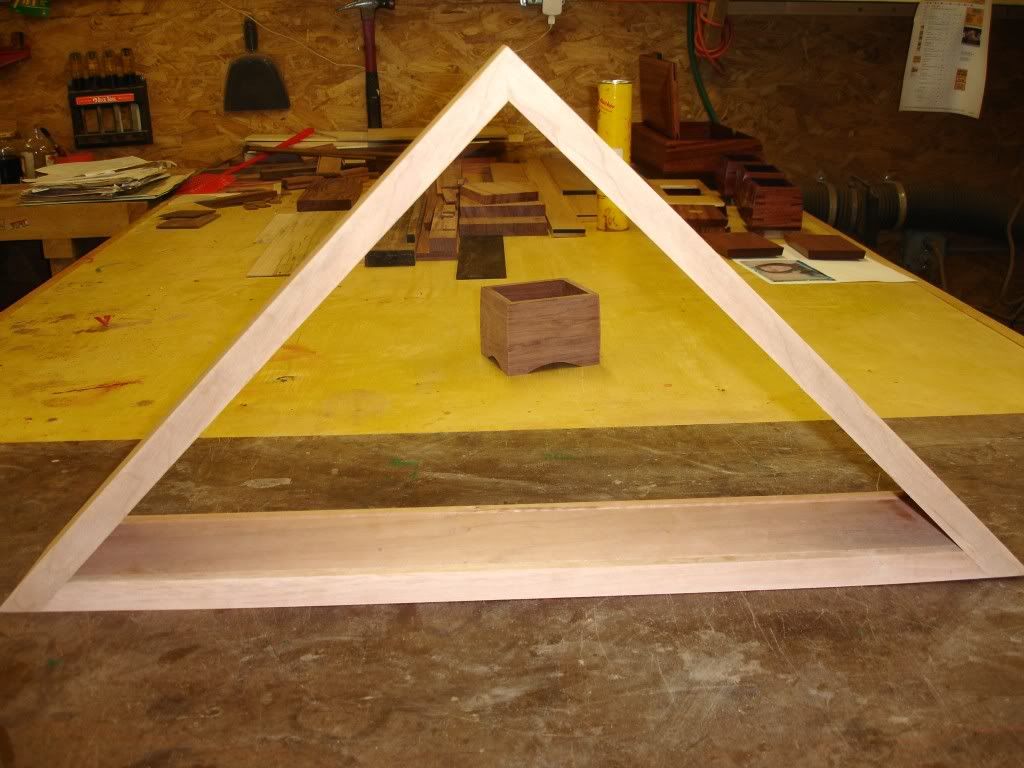
I am currently working on a flag case and the simple, triangle design was requested as the widow does not (as expected) have a lot of room to hang anything more on the wall. The flag case is 1/2" thick with a 1/4" thick liner - this technique was used in lieu of rabbets and/or grooves for the glass and the back. The liner can easily be removed as it is three pieces and will not be glued together.
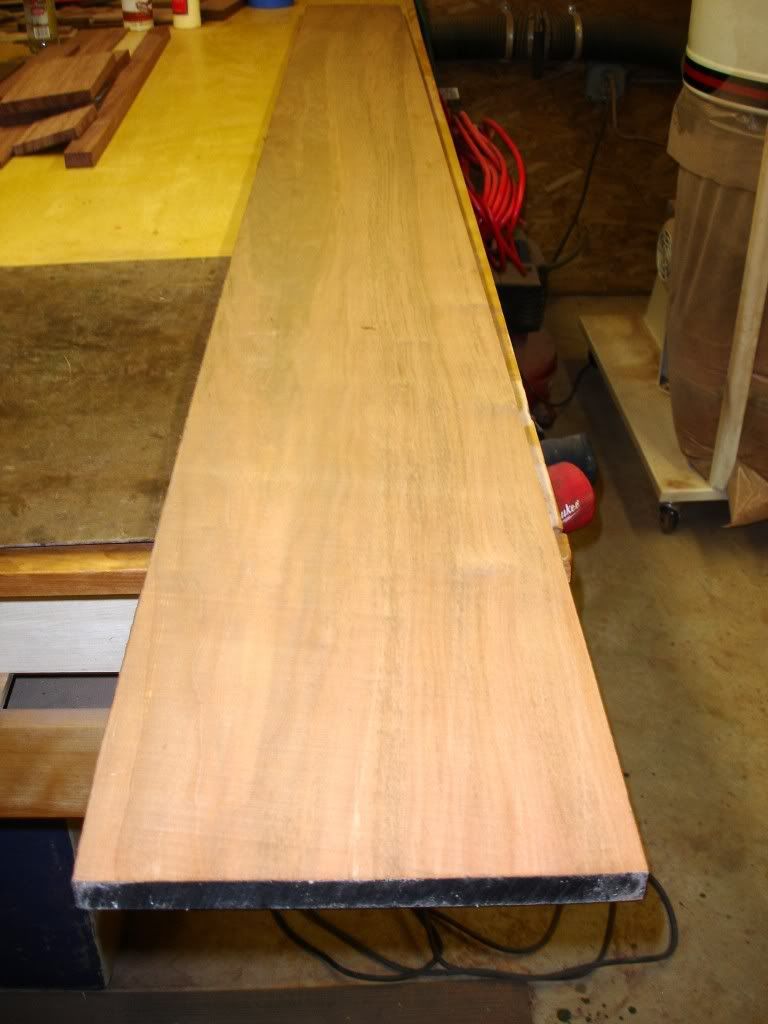
Here's a picture of the One Board....
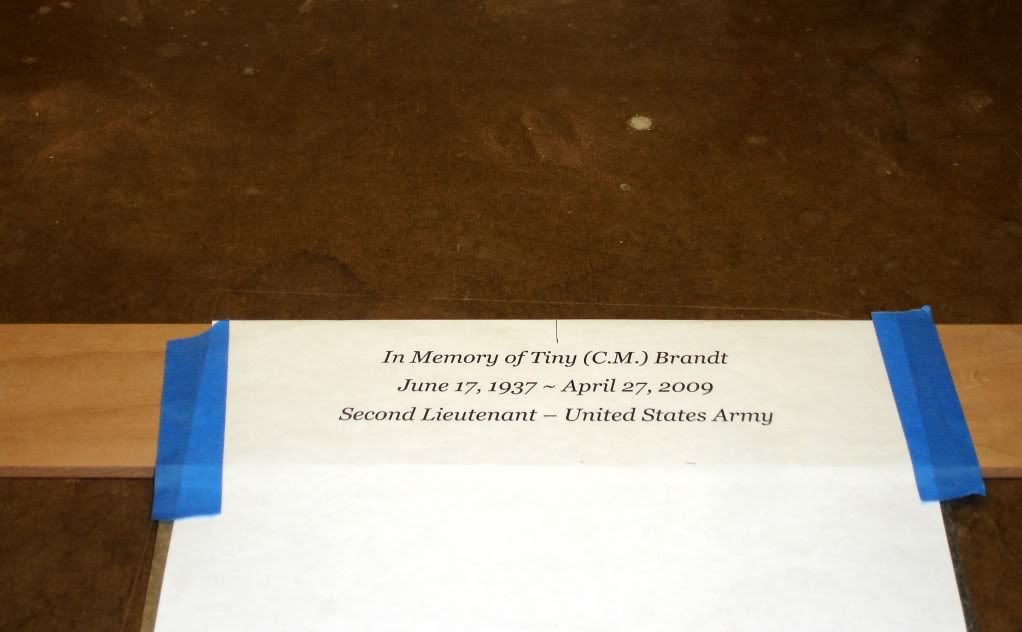
This flag case is for a childhood friend of mine's father who was a veteran and recently passed. "Tiny" Brandt lived two doors down from me in the small town I grew up in.
I started out with one piece of cherry - 76" x 9" x 15/16" thick. Maybe a little longer, but that was the trimmed up size that I was working with.
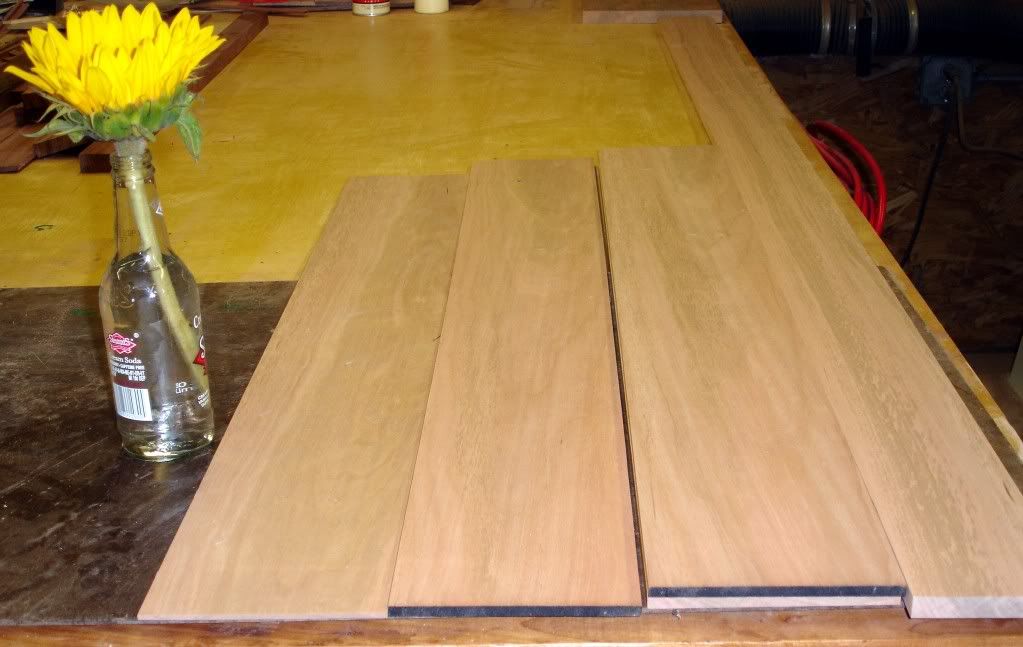
I ripped off 3-1/2" slice, 76" long and planed it down to 1/2" This will yield 2 sides at 18-1/4" and 1 base at 24-13/32" by 3-3/8" wide. I used the scrap as test pieces.
I then crosscut the remaining 5-3/8" piece to two pieces of 38". I then resawed and planed one of the lengths in to two 1/4" thick boards. And then I re-sawed and planed the remaining board to yield on 3/8" board and one 1/8" board.
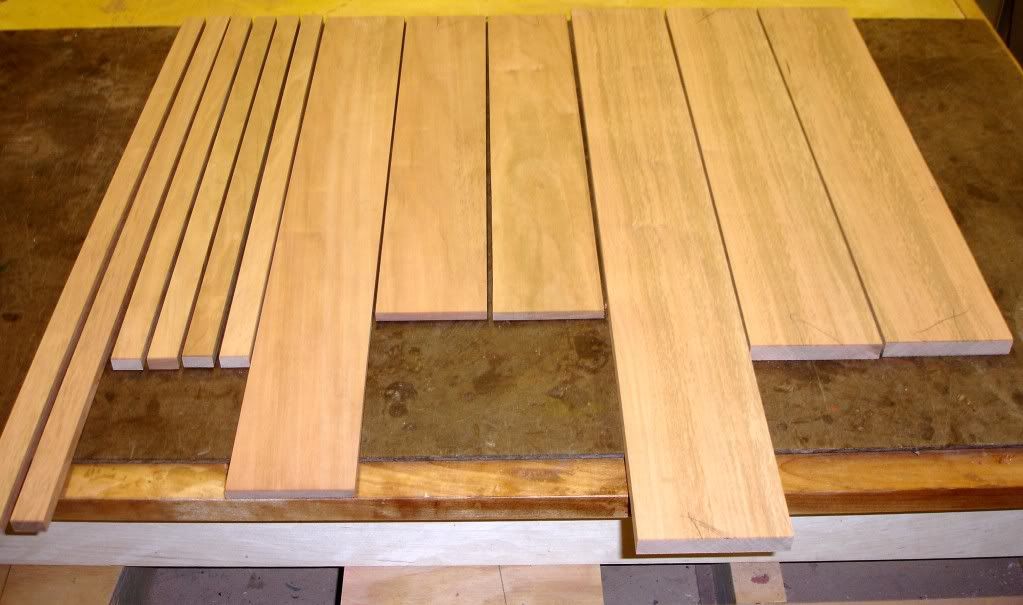
I then dimensioned the pieces as follows, one inch more than the finished size:
The dims will be thickness, length then width.
Sides: 1/2" x 19-1/4" x 3-3/8" (two needed). Remember, the lengths are 1" more than the finished size.
Base: 1/2" x 25-13/32" x 3-3/8"
Liner Sides: 1/4" x 17-1/2" x 3-3/16" (two needed)
Liner Base: 1/4" x 23-11/16" x 3-3/16"
Front and Back Face Trim Sides: 3/8" x 19-1/4" x 3/4" (four needed)
Font and Back Face Trim Base: 3/8" x 24-11/16 x 3/4" (two needed)
Keep the 1/8" piece around for the splines....
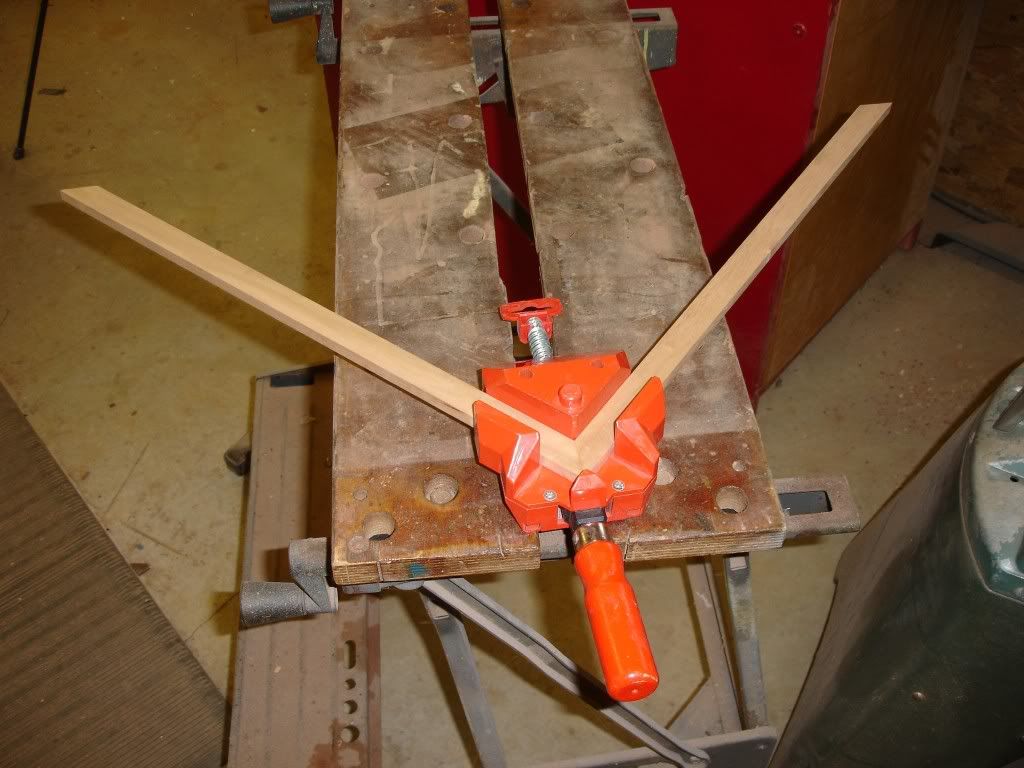
Cut all of the pieces to size and at 45 degree angles. This flag case does not require 22-1/2 degree angles.
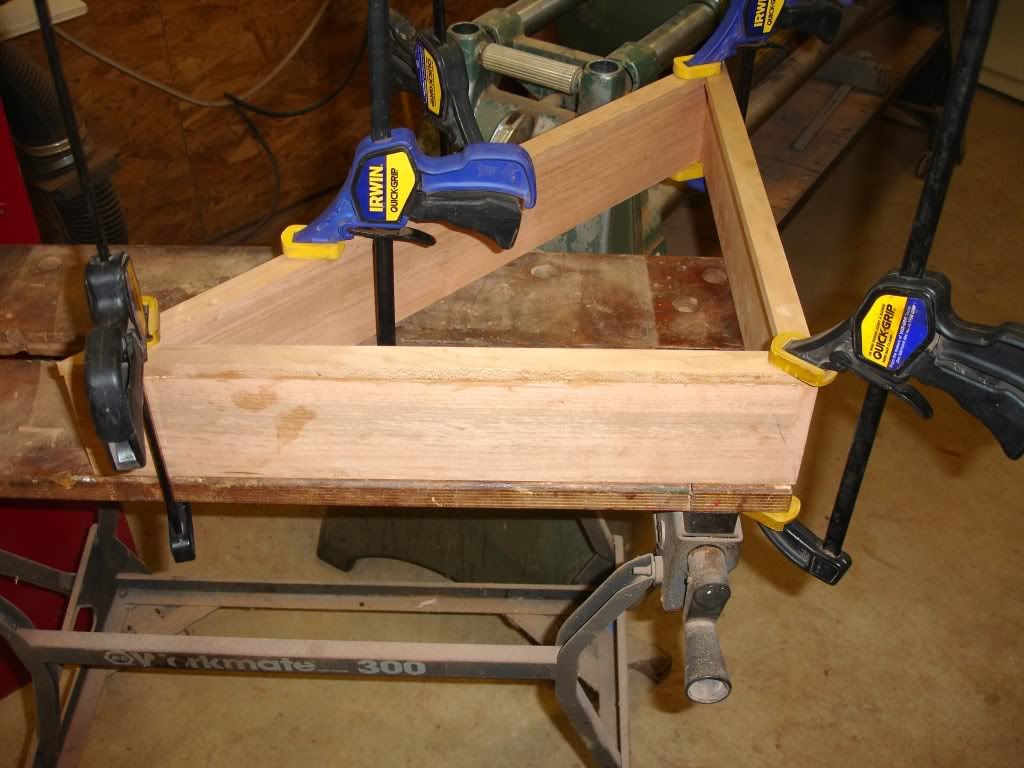
I got a little carried away before I stopped to take a picture. But, it's pretty straight forward to cut the splines and glue together.
Note: The splines on the bottom of the sides were lined up using a 45 degree gauge and lining up the cut using the spline that was already cut in the end of the base.
Then cut to size and glue the face frame on the face of the flag case.
Since the back face trim will not be glued on to the flag case - it will later be mounted with brass screws - It will be glued together apart from the case.
Trim all the pieces to fit and then glue together. Notice again all angles are 45 degrees.
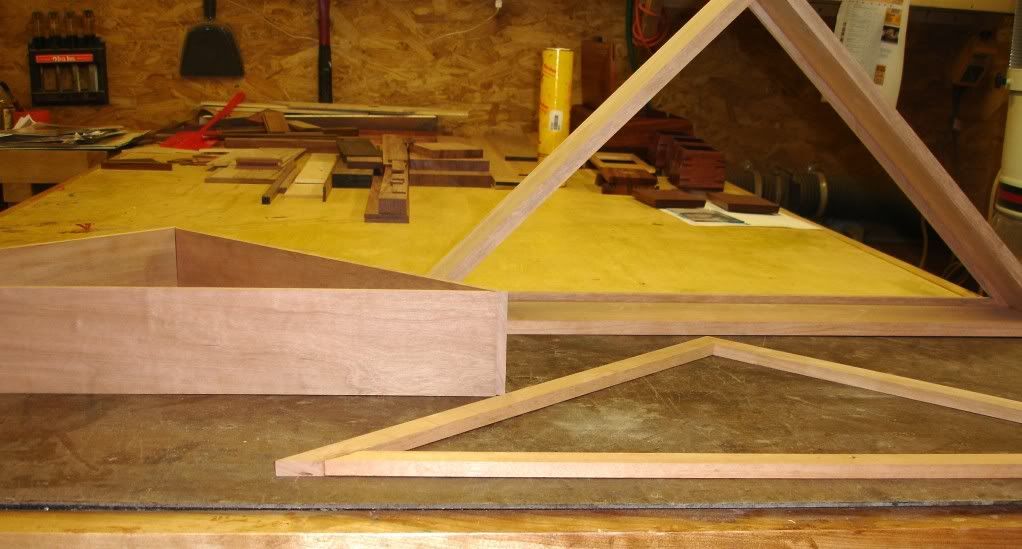
Now you should have your main pieces for the flag case.
The outer case with the face frame attached, The liner and the back face frame. (I still have to drill the holes for the screws and do a lot of sanding)...
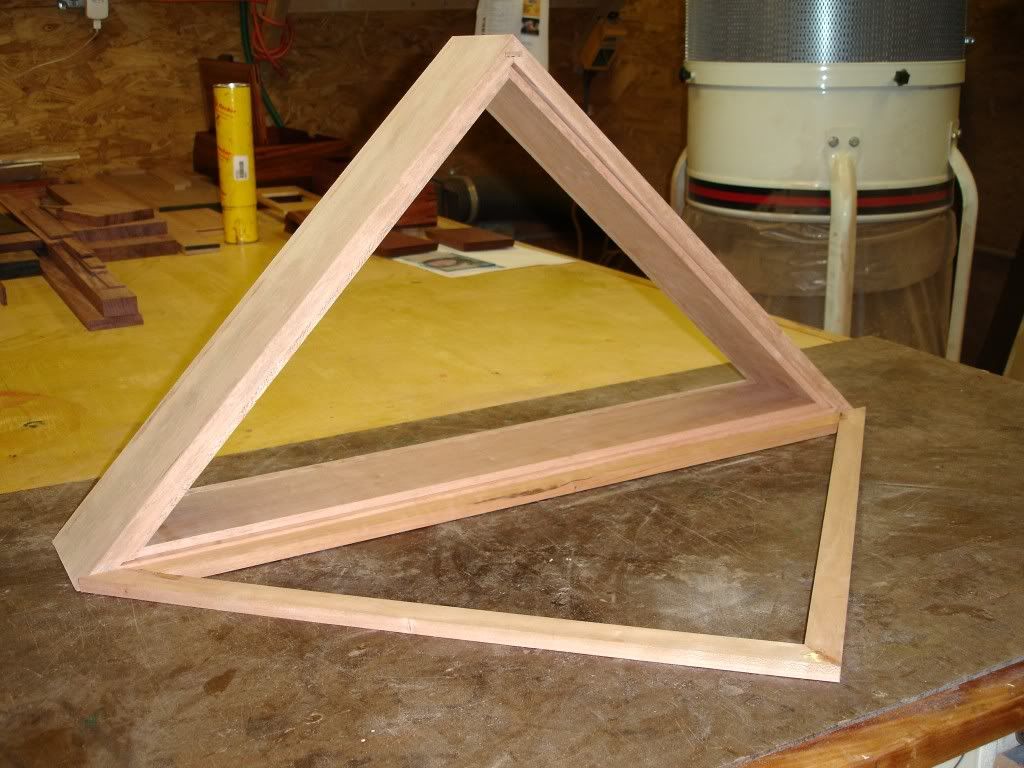
In this picture, you can see that the liner is mounted inside the flag case and the back face frame is lying down. Since the liner is removable, and the face frame is mounted - the glass will fit between the liner and the face frame. The back will then fit between the hardboard and the back face frame - which is mounted with screws for overall access.
And here are all the pieces loosley assembled.... I still have to drill the holes to mount the back face frame and do a lot of sanding.... mount the glass, etc... but, I have time to do so... I am taking with me on an upcoming trip to Mineesota, where I am originally from.
I hope I didn't bore anybody and I aplogize if the details are not quite clear....
I finished up early in the shop today and had the time to throw this together..... I hope it helps somebody out there to make a flag case for an honored veteran.

 Reply With Quote