Page 1 of 6 12345 ... LastLast
Results 1 to 15 of 79

Thread: Walnut Desk

  1. #1

    Walnut Desk

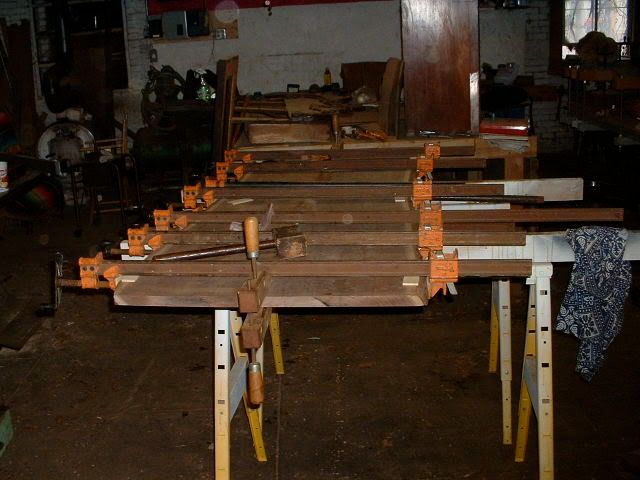
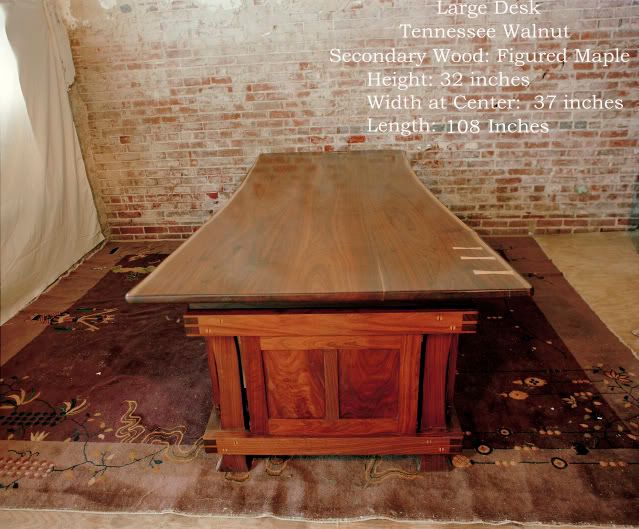
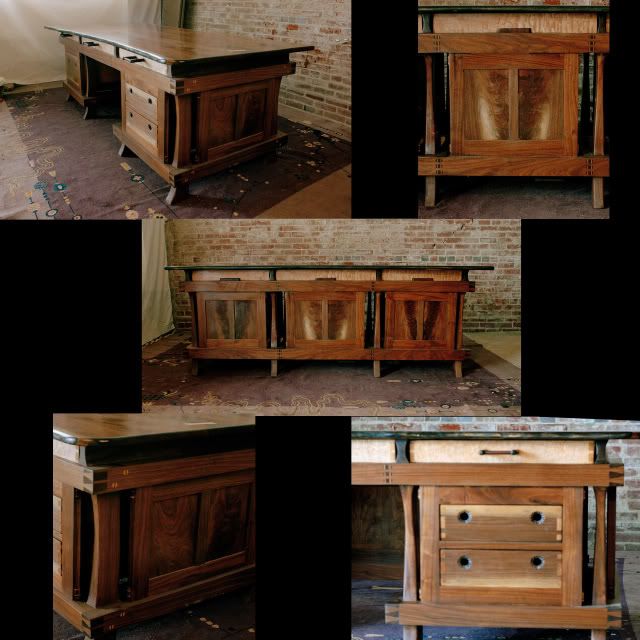
    About 10 years back I made this desk-it was large 108"long and37"wide at the center-


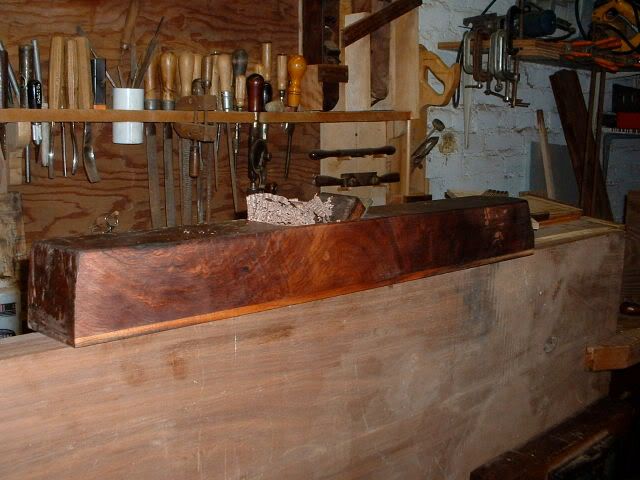
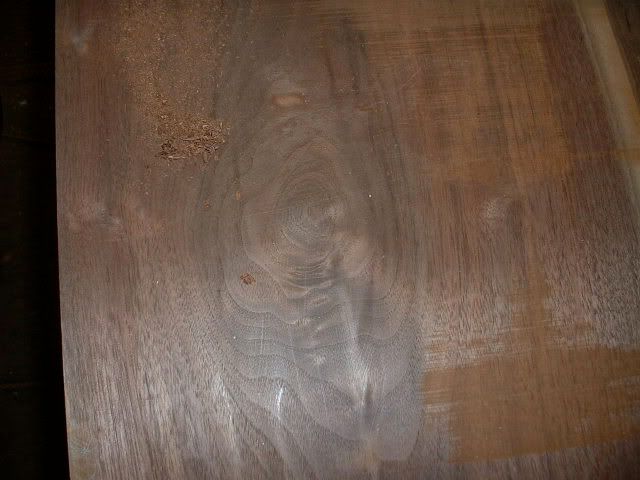
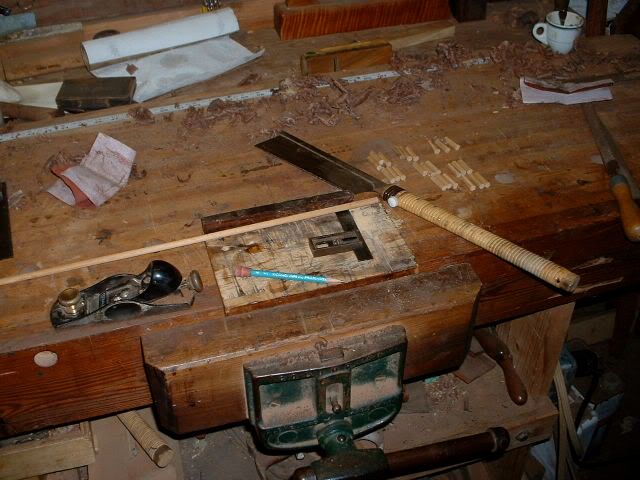
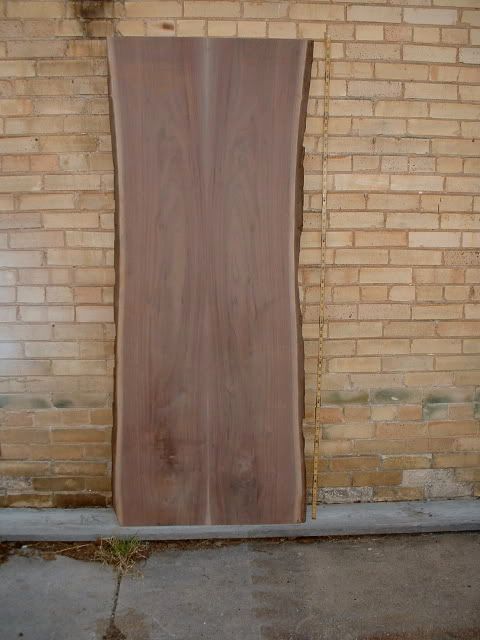
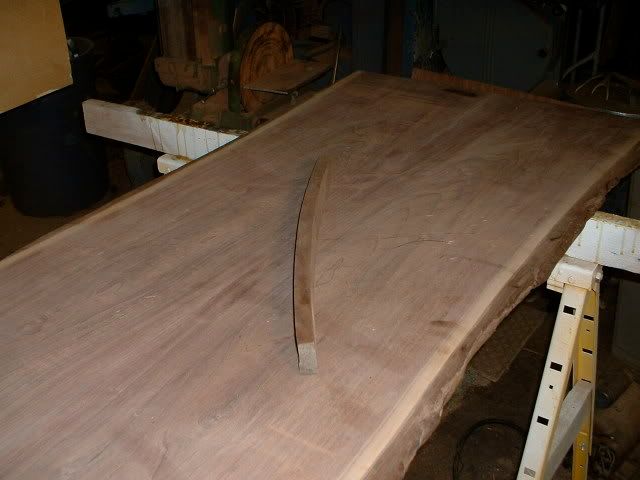
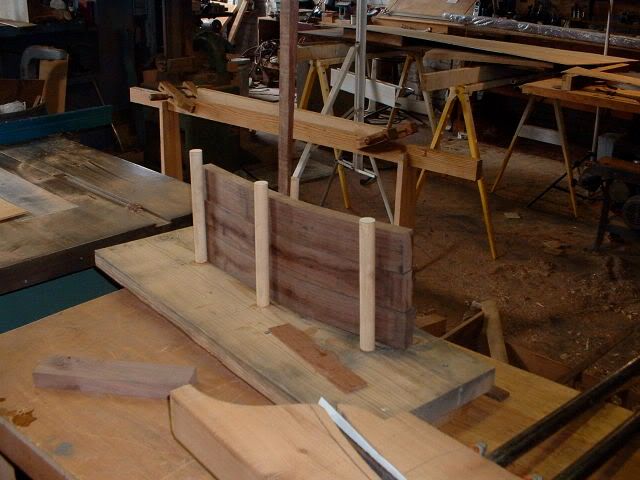
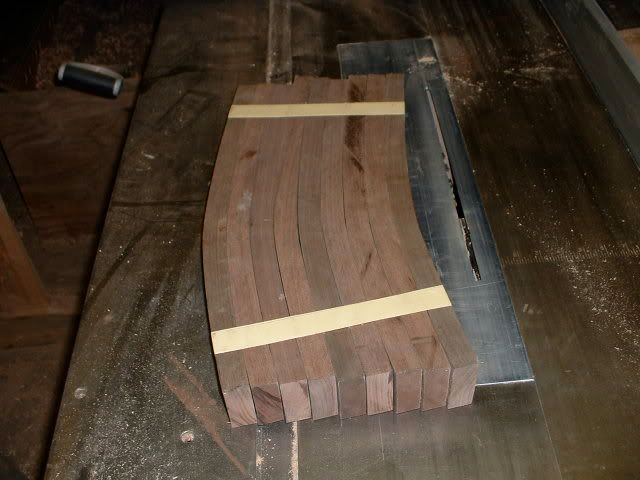
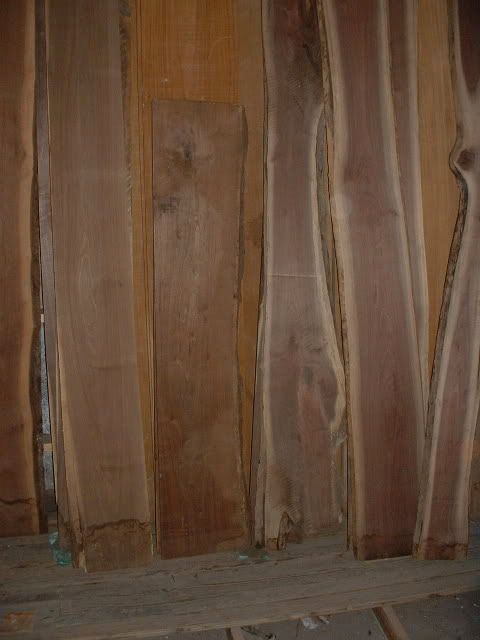
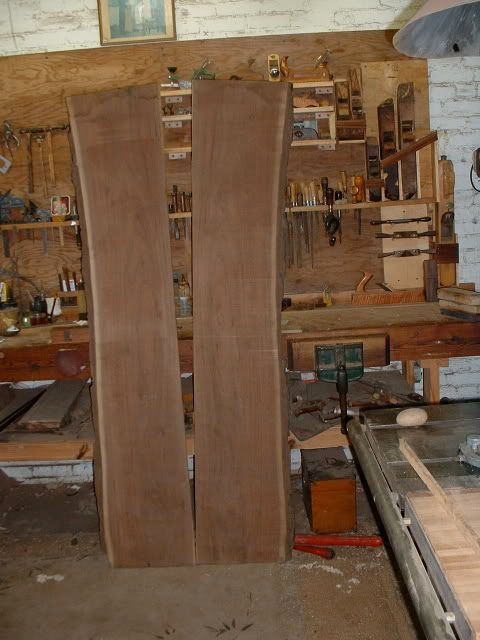
    from the same load of walnut I had this board (6ft. long and 15in. wide) and have been thinking about making somewhat the same design again but with curved panels -

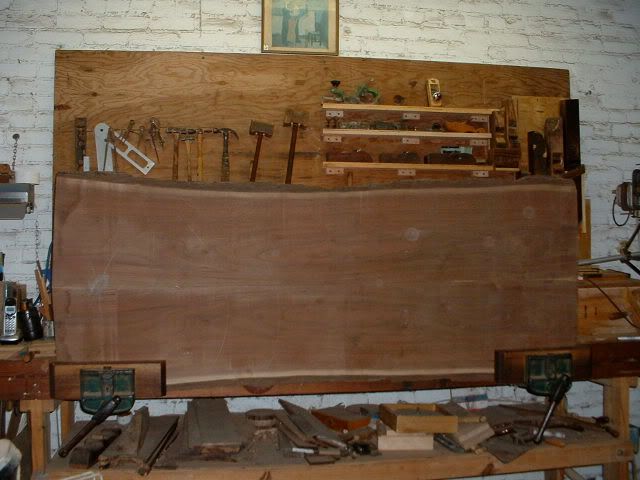
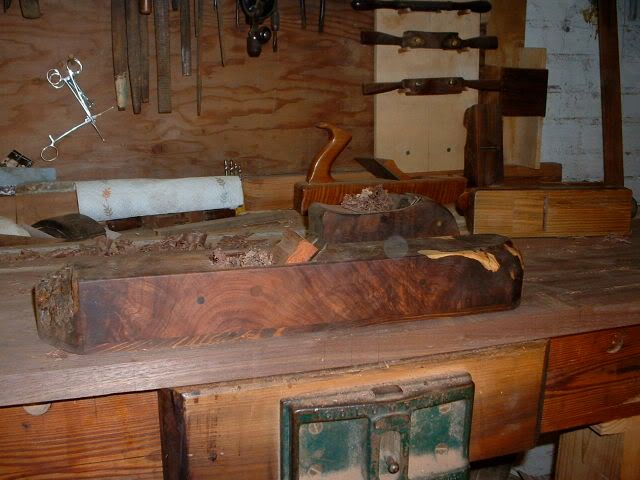
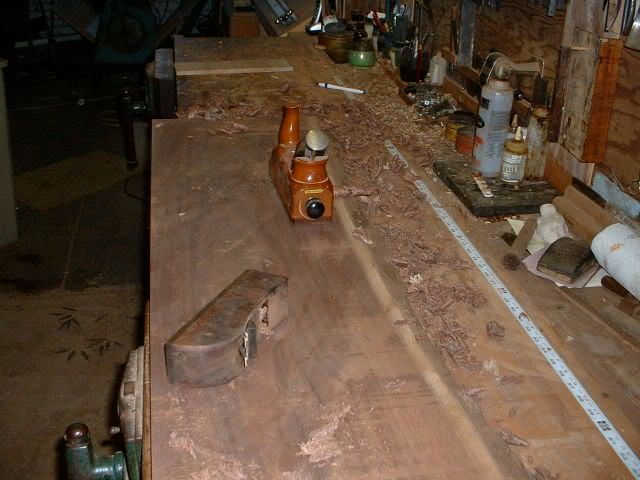
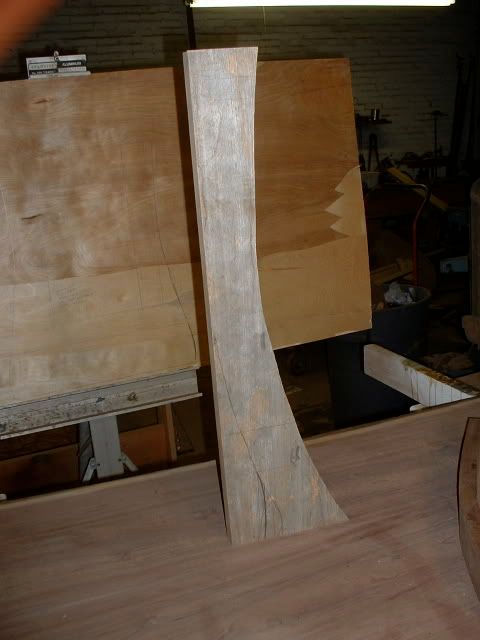
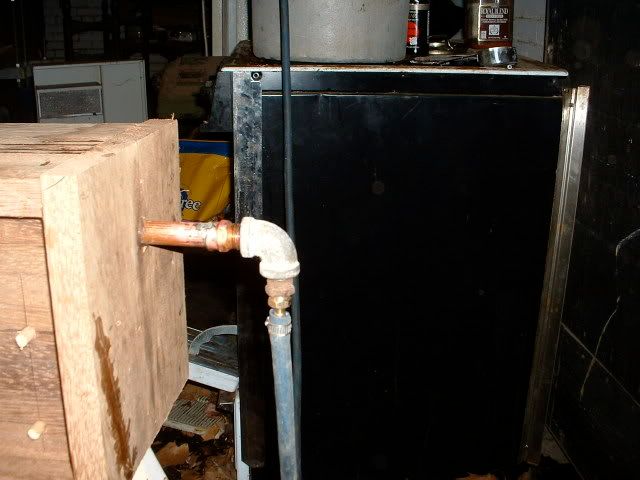
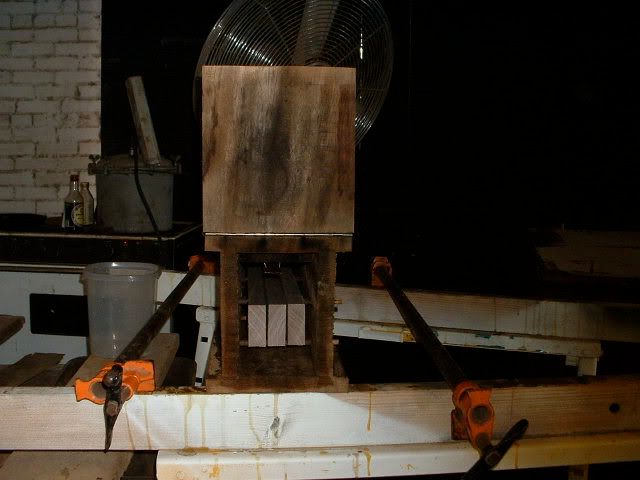
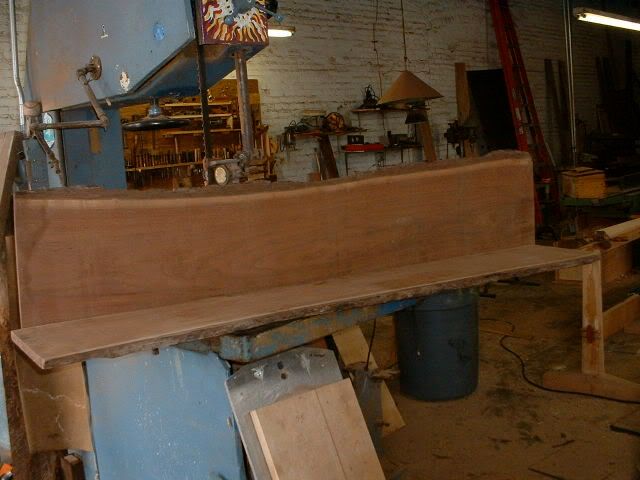
    so I bring it into the shop and resaw it- -


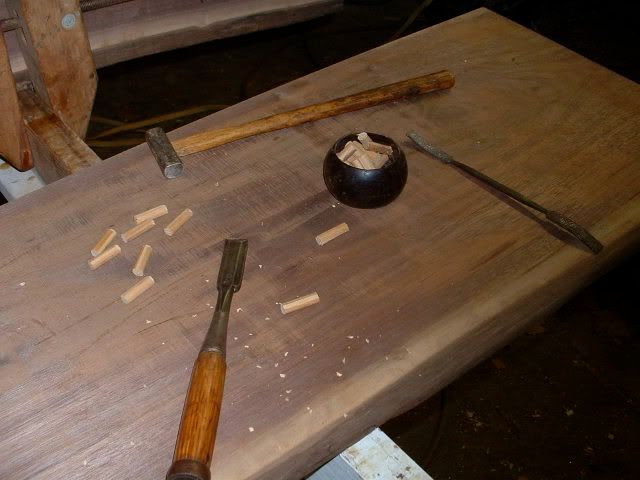
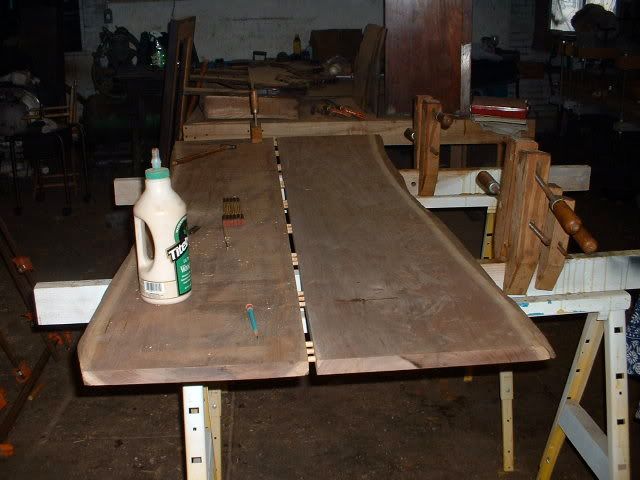
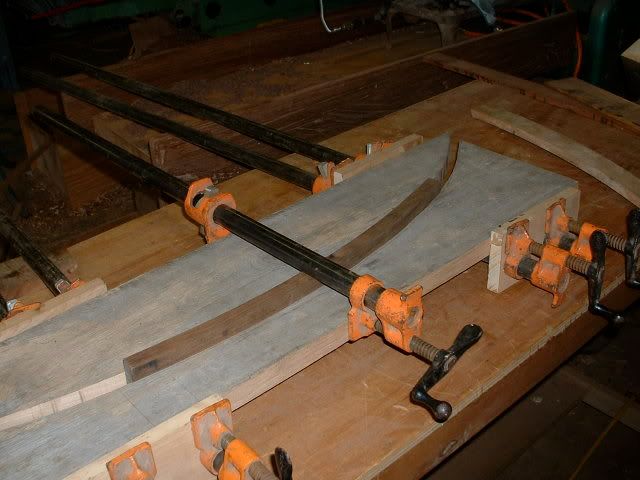
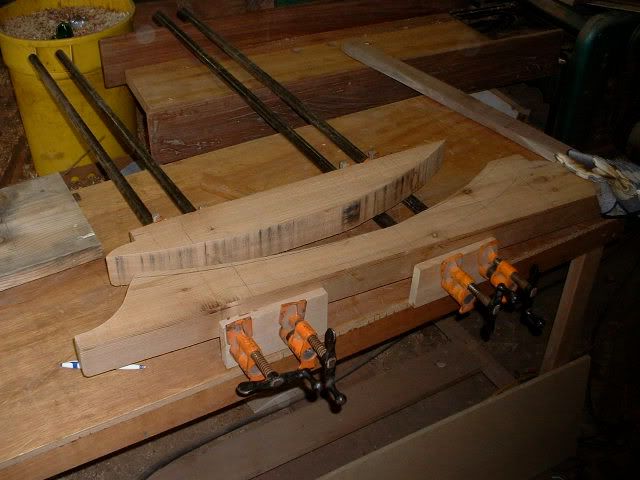
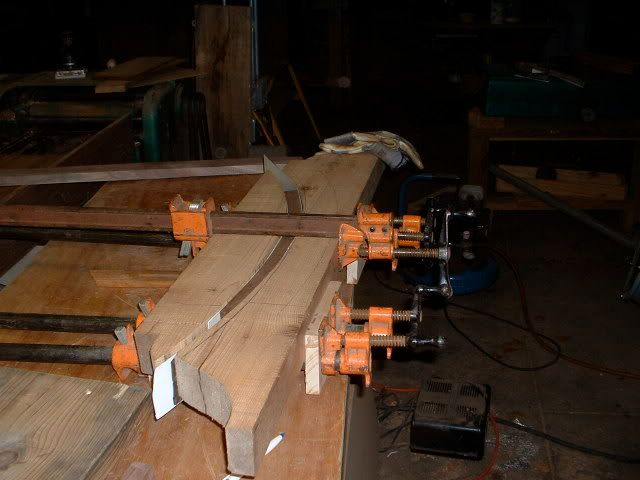
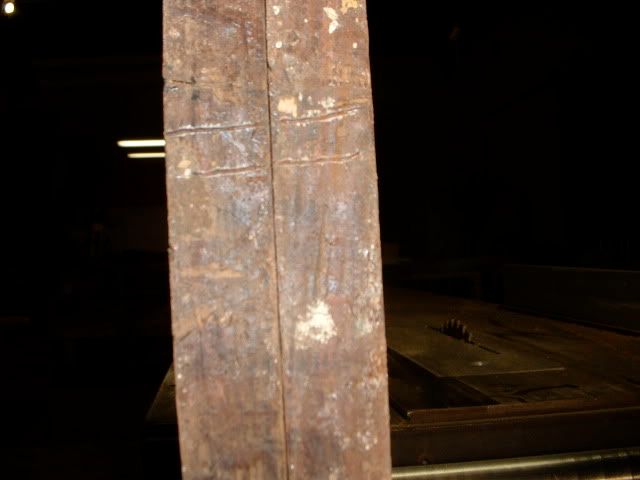
    I put the two pieces back together on a flat surface and mark them (just in case I get mixed up)-

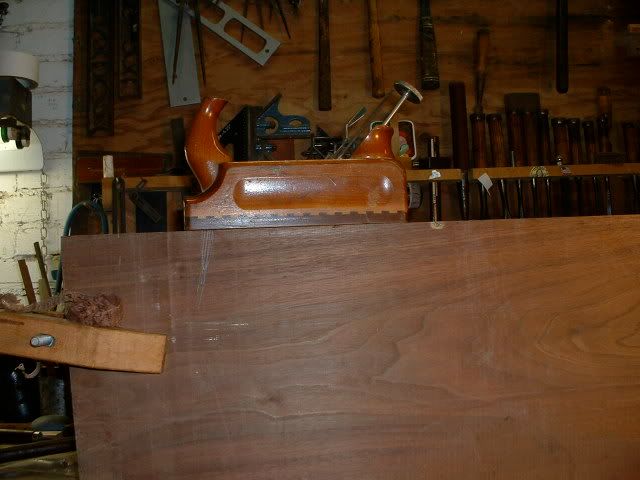
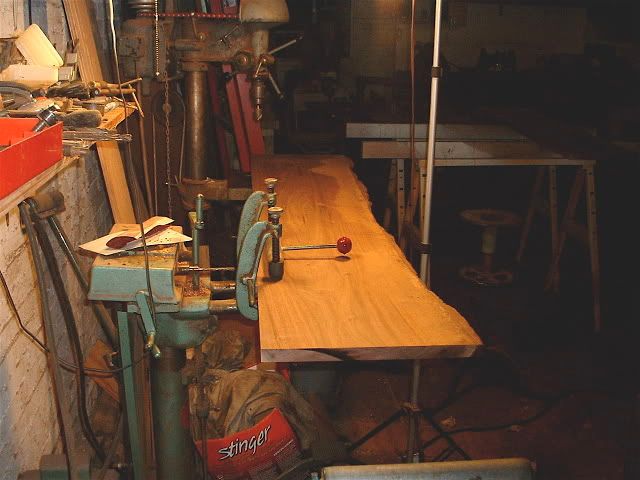
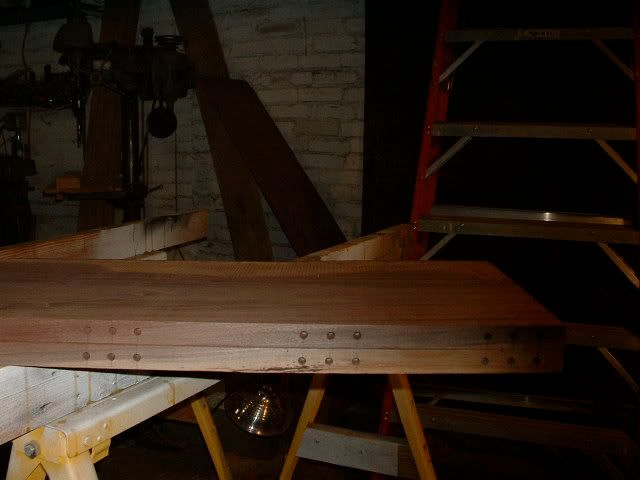
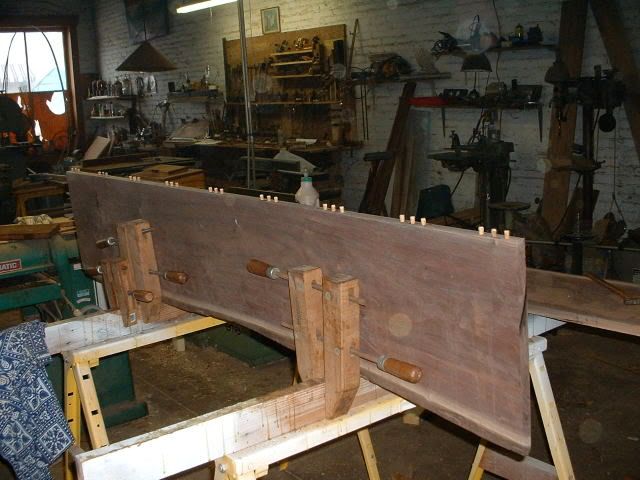
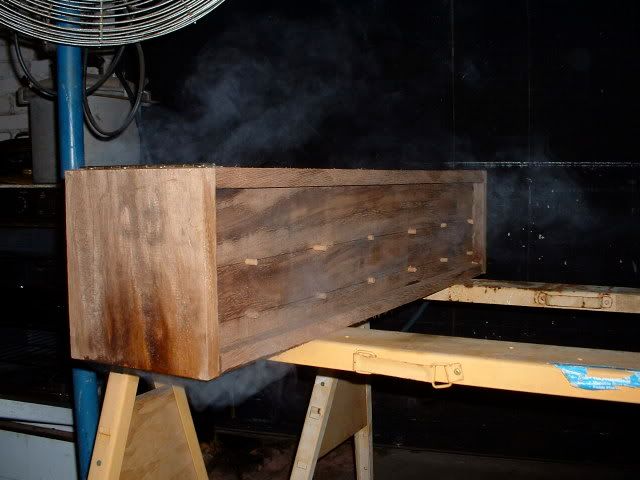
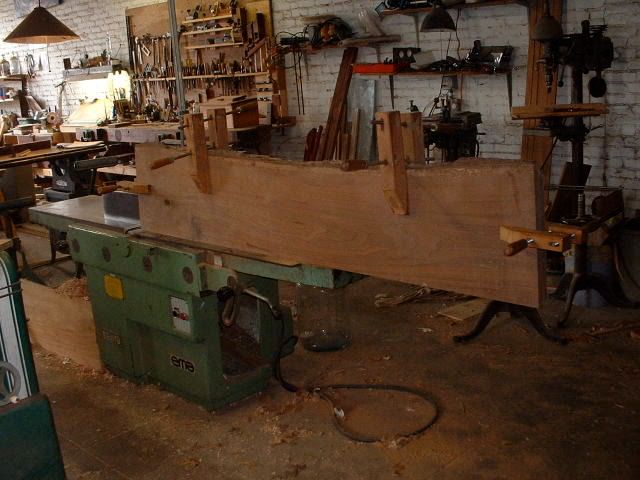
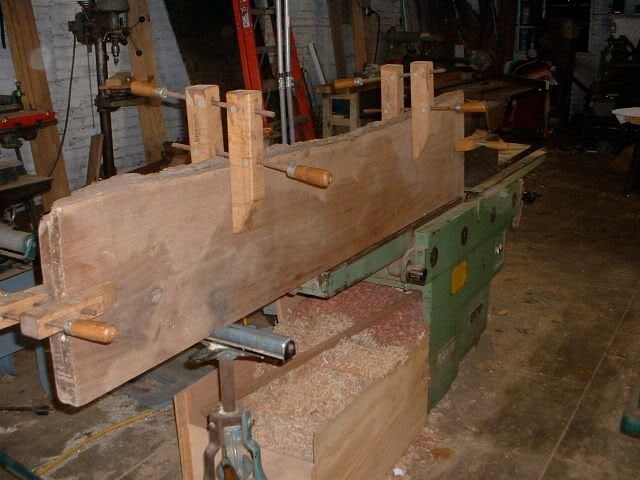
    then I clamp them together and take them to the big jointer-I take a couple of good passes then a couple of lite ones-


    more to come
    alex

  2. #2
    That desk is a masterpiece. I love your design sense.

  3. #3
    Join Date
    Jan 2007
    Location
    CLARKSVILLE, TN
    Posts
    178
    That is a great looking desk, and beutiful wood.

  4. #4
    After I joint them on the big jointer I take it to the bench and and take a few passes with a big jointer plane-this plane is 24" long and has a 2" blade it's made of rosewood and is heavy-the trick to hand planing this edge joint with the two boards together is that the plane iron be perfectly square with the bottom of the plane-

    then I unclamp the two pieces put them together as they will go when glued up put a light behind and mark the high spots then I clamp them back together and with a smoothing plane I take off the high spots-I have to take them apart and put the light behind them again a few times before I have them right-


    when I've got the edge joint right I hand plane the bandsaw marks out better to do this now before they are glued up -I could do this with machines but I enjoy doing it by hand-I start wit this 18" plane to take off the high spots then use these smaller planes to finish it up-


    to plane these whorls the irons have to be really sharp-and set just right-

    then I take them to the #1 table saw and square the ends-

    more to come
    alex
    Last edited by edward alexander; 03-17-2009 at 12:55 PM. Reason: no change

  5. #5
    Join Date
    Jul 2003
    Location
    Wixom, MI
    Posts
    1,163
    WOW!!!!

    I can't wait to see more pictures!

    - Keith
    "Listen, here's the thing. If you can't spot the sucker in the first half hour at the table, then you ARE the sucker. "

  6. #6
    Alex, the desk is a phenomenal piece of work! Great design, and nothing works together as well as walnut and curly maple in my book. Just great! Can't wait to see what you do with the "leftovers."

  7. #7
    Now to glue the book-matched pieces - I nearly always use dowels for edge joints-as much to keep things lined up as anything-I mark for the dowels and bore the holes on a little Newton two bit horizontal borer-these are neat little machines and were made right here in texas-


    I like to use the pre-cut dowels but I don't have any-so I take a 3/8" dowel rod and with a block plane I plane a little flat on one side then do the same on the opposite side so any glue can get out if I put too much in a hole-I cut the 27 dowels I'll need by hand-I could cut them faster on one of the bandsaws but I'm not in that big of a hurry-besides anytime you can do something by hand you can always use the practice-I point the ends with a sharp chisel and a curved riffler the I put a drop of glue in each hole in one board and tap the dowels in-


    I make sure everything thing lines up then clamp it-


    I take it out from the clamps the next morning and it looks good-

    this phase one-all done next steam bending the frames.
    alex

  8. #8
    Join Date
    Oct 2007
    Location
    Horsham, PA
    Posts
    1,474
    That's an amazing desk. Beautiful wood and design.

  9. #9
    Join Date
    Aug 2008
    Location
    Milwaukee, WI
    Posts
    142
    Awesomeness!

  10. #10
    the next step is to find the true curve , this will be determined by how much spring back happens with the steam bent frames-I take a piece of 1"aspen and draw a curve then bandsaw it out-

    The steam box-is made from spanish cedar it has a 1/2"copper pipe with 1/8" holes drilled every inch fastened to the top- and has dowels through side to side for a rack -you want a steam box to be built loose so it leaks a bit also you want drain holes-


    my steam maker

    I take a piece of 1"walnut steam it for an hour then I use the piece of aspen I cut the curve for a mold and clamp the steamed walnut over nite-

    the next morning I take the test piece out of the mold-it's sprung back 1/2" on each end---the test piece-

    compensating for the spring back I make the real mold from a piece of fir timber-

    then I make a simple drying jig-

    I make a backing strap from a 1 1/4" bandsaw blade I cut two three foot lengths and grind off the teeth then on the back side I hold them together with gaffers tape (for ya'll that live in that close bordering state that's duck tape) I cut two pieces of plastic to put on each side of the walnut so it won't take on some weird color-

    more to come
    alex

  11. #11
    Great job. I love the design. Thanks for all the pictures. Nice to see how things ar done. Always another way to do stuff.

  12. #12
    Join Date
    Dec 2006
    Location
    Tucson
    Posts
    5,001
    Blog Entries
    1
    WOW a true craftsman the old school ways. Your work is absolutely stunning. I'd like to shake your hand. (I think we're a little too far apart for that though.) Thank you for sharing your fine work.
    What you listen to is your business....what you hear is ours.

  13. #13
    Now I'm ready to bend these pieces-I looked all through my walnut to get straight grain-I need nine pieces-five for the back and four for the front and I'll do one extra --as it turned out I need two extra -one failed being bent the other had sap wood on one side-I was going to hide it on the back side but wasn't paying attention and bent with the sap wood on the outside -oh well two test pieces for when I cut the grooves for the panels and cut the mortises in the front frames- if you do this always wear gloves , steam is 212 degrees-

    I use the clamps to hold the door closed-one hour in the box-

    15 min. in the mold-then 24 hours in the drying jig-

    now with this true curve I can made a templet for the legs and a mold for the panels-


    more to come-next making the curved panels
    alex

  14. #14
    Join Date
    Jun 2007
    Location
    Clinton Township, MI, United States
    Posts
    1,554
    Alex,
    That is a most intriguing piece of work.
    I assume that it is your design.
    Well done,
    Mike
    From the workshop under the staircase, Clinton Township, MI
    Semper Audere!

  15. #15
    Join Date
    Mar 2003
    Location
    SE PA - Central Bucks County
    Posts
    65,887
    Superb desk, Edward!
    --

    The most expensive tool is the one you buy "cheaply" and often...

Posting Permissions

  • You may not post new threads
  • You may not post replies
  • You may not post attachments
  • You may not edit your posts
  •