It has been a long journey, but it is finally drawing to a close. This project started in March 2017 when I decided to build a shop. It started in half of our two-car garage with a couple of work benches, a contractor saw, router table, and my collection of Bosch tools. Eventually, the shop expanded to most of the garage, which meant the cars were banished to the driveway. It was okay when it was my car out in the elements, but when my wife had to leave her car out, something had to change, and would change. Eventually, we decided I should build the shop in the basement, and that is when the project really took off.
The shop walls, electrical distribution, and dust collection system are now complete. I contracted out the drywall construction and door installation, but did the rest of the work myself. My friends from work helped move the equipment to the basement before the wall construction began to minimize the chances of damaging the new work. I wish I had taken photos of the stairwell preparation and equipment move.
I am now ready for the SCM technician to finish the assembly of the Minimax SC2 and commission it. I bought the saw in May 2017, but my basement shop wasn’t ready for it, so I had it delivered to my garage. I told the salesman that the saw was going down a flight of stairs into my basement, so it had to be disassembled as much as possible so it would make the turns and still be manageable by two or three people.
The shop technician removed the bulky items, like the outfeed table, rip fence, and slider, but left the rest of the saw mostly intact. Even then, the saw proved to be too heavy for us to manage down the stairs. I wasn’t worried about the stairs taking the weight, but there wasn’t enough maneuvering room to make the move safe.
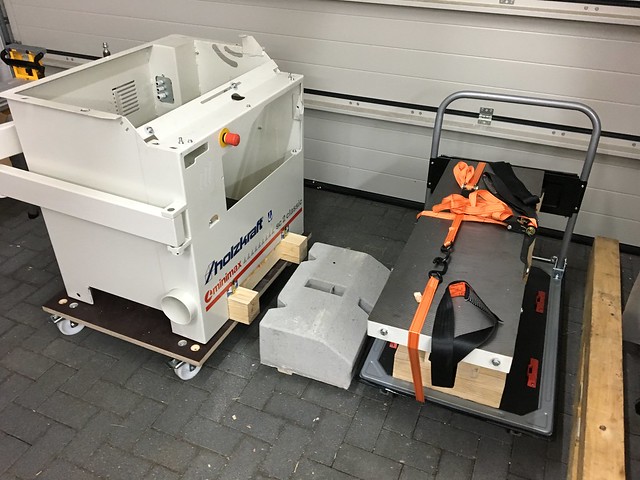
I decided to disassemble the saw more, and removed the main saw assembly and the very heavy concrete counterbalance. This made three manageable pieces. Here is an image of the three items in my garage waiting to be moved to the basement. I do not have a scale, but the concrete counterbalance was almost as heavy as the cast iron table and motor assembly.
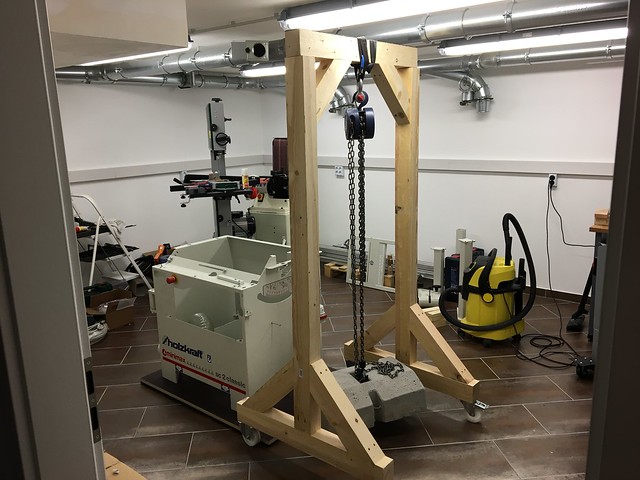
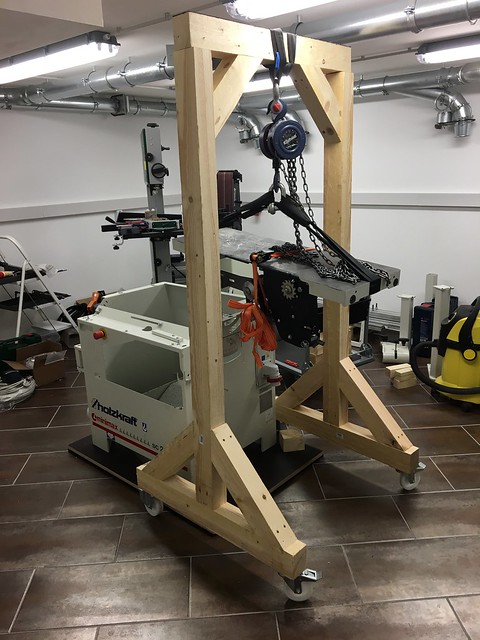
With the dust collection system and electrical distribution complete, now is the time to place the saw and put it back together as much as I can so the technician can do the rest. I used timber to shore up the stairs while moving the shop equipment to the basement. I salvaged some of the timber, and the casters from the cart I made to move the equipment around, and made this hoist. It is very stable and has two steerable casters on the rear. The concrete counterbalance is ready to hoist.
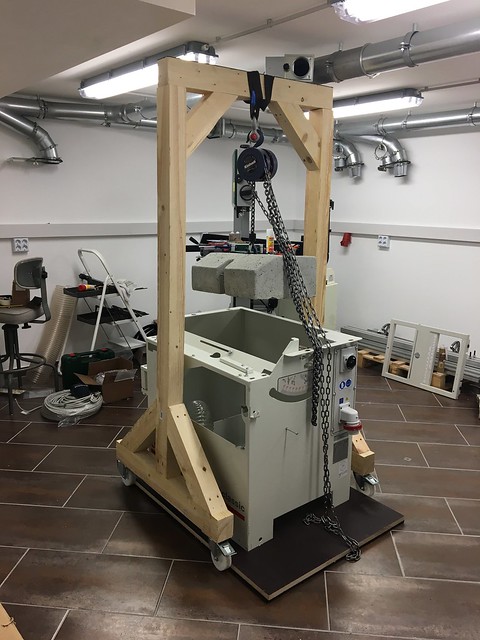
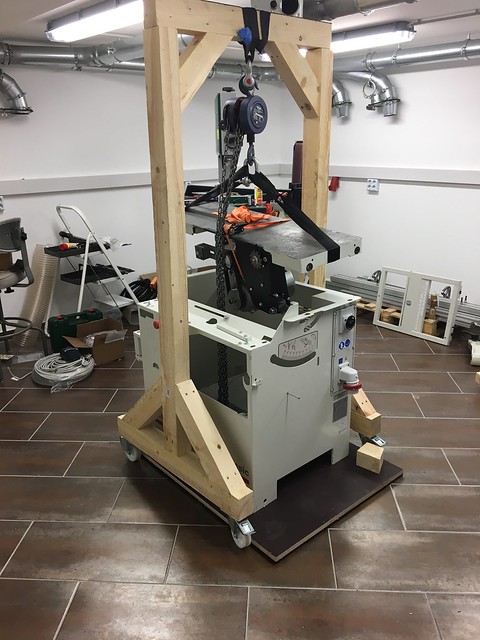
Now it is moved into place and ready to be lowered into the saw chassis.
All secured in place and ready for the next step.
The main saw table and motor assembly ready to move into place.
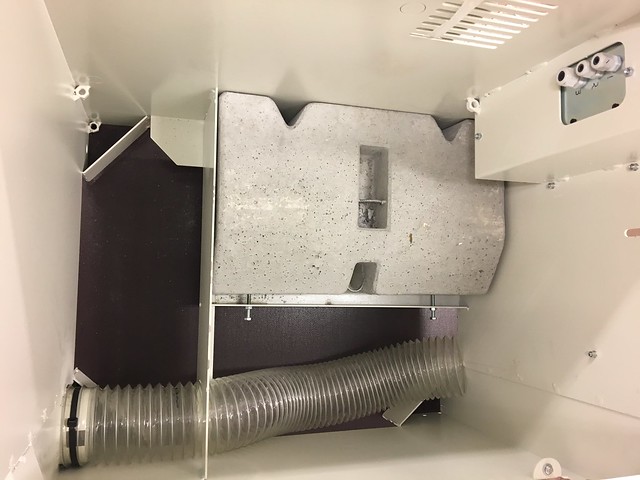
Holding it above the chassis while I reconnect the electrical cables, limit switch, emergency switch, and dust extraction hose.
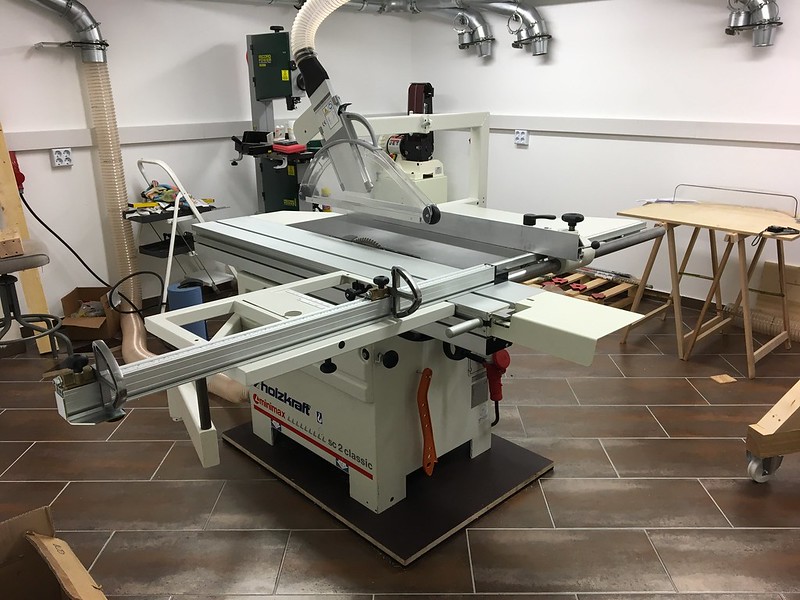
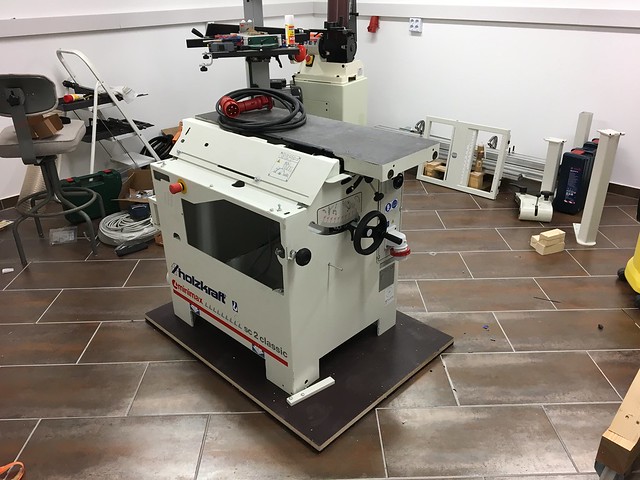
Finished, sort of. This is how I received the saw and I will let the technician finish the installation. I installed a blade and powered it up to make sure the electrics work, and it works perfectly. Some of the other parts are behind the saw against the wall. The slider is on a pallet. It might be a few more weeks before the technician can visit, but this will give me time to finish assembling the jointer/planer, move a few more tools to the basement, and give half of the garage back to my wife.
To minimize the vibration of the saw and protect the ceramic tile floor, I used a sheet of 21mm dense plywood as the base for the saw. I glued 15mm rubber insulation mats to the bottom of the plywood. These mats are 60cm x 60cm and are normally used to dampen the vibration from washing machines and dryers. It was not practical to remove the existing tiles or add another covering to the floor, so the next best solution for me was to make a pad for the saw.

 Reply With Quote