Results 1 to 9 of 9

Thread: Pirate Chest Build- part 2

  1. #1
    Join Date
    Feb 2011
    Location
    Carlsbad, CA
    Posts
    2,230
    Blog Entries
    2

    Pirate Chest Build- part 2

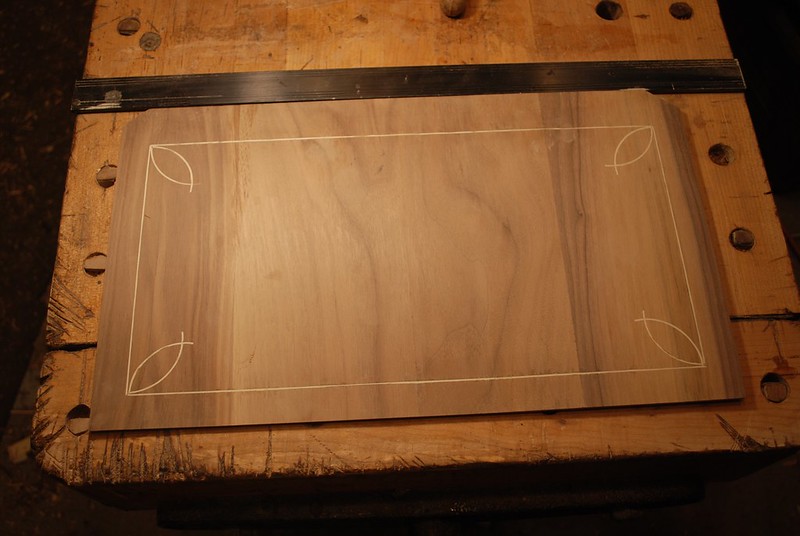
    As I mentioned in part one, construction/joinery for this chest is unusual; here’s the front panel -the chest stiles are joined to rails by M&T’s. The rails top and bottom are joined to sides of the chest by dovetails. Hopefully that’ll make more sense with subsequent pictures

    1 by Mike Allen, on Flickr


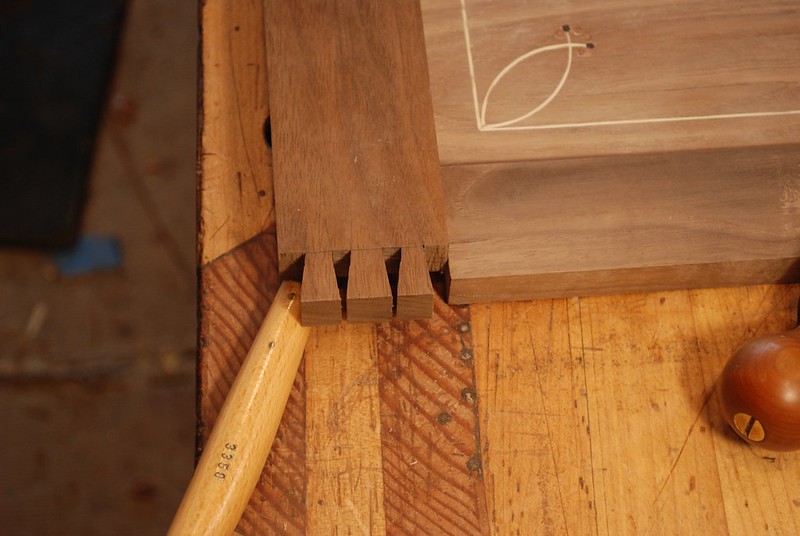
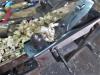
    Here is sawing out the tennons. For the ripping/cheeks I like a sturdy saw plate – this is a shop built saw with .025”thick plate. For the cheeks, a shop built .015” thick plate crosscut back saw – one of my favorite tools.

    3 (2) by Mike Allen, on Flickr


    3.5 by Mike Allen, on Flickr

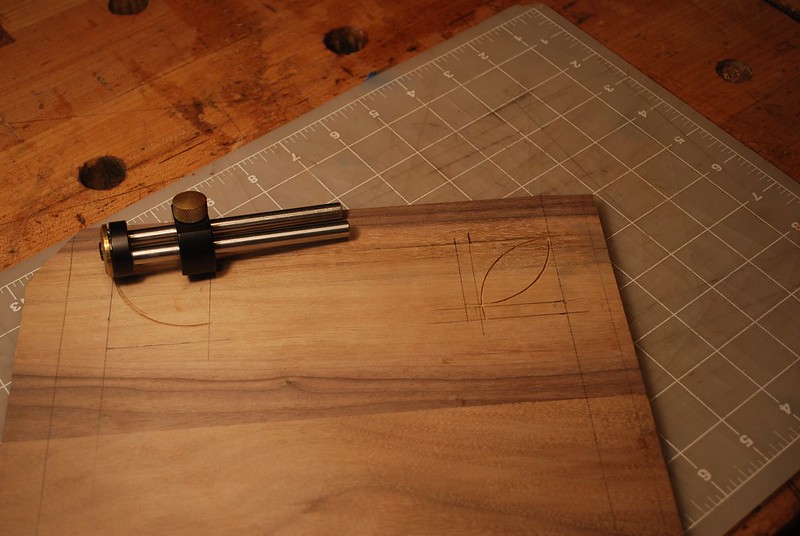
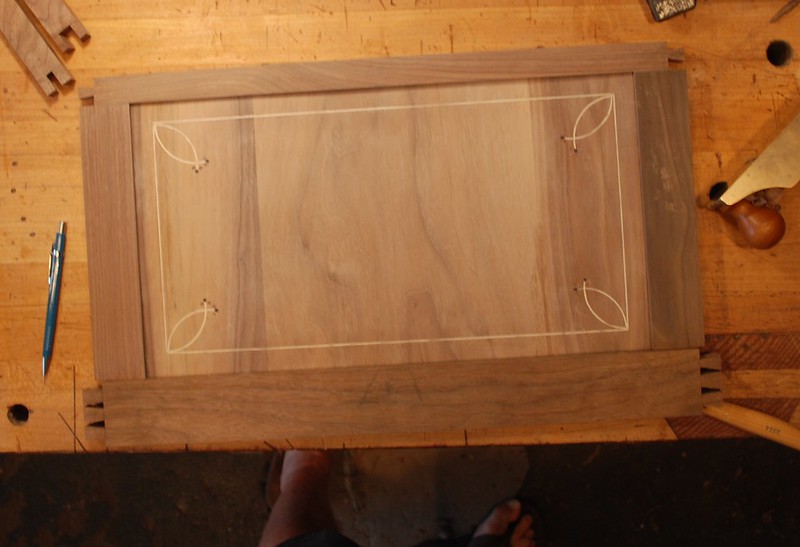
    The bottom rail is proud of the front of the chest. Because I’m using 4/4 stock, stiles are joined with open lap joints that will later be screwed.

    3 by Mike Allen, on Flickr

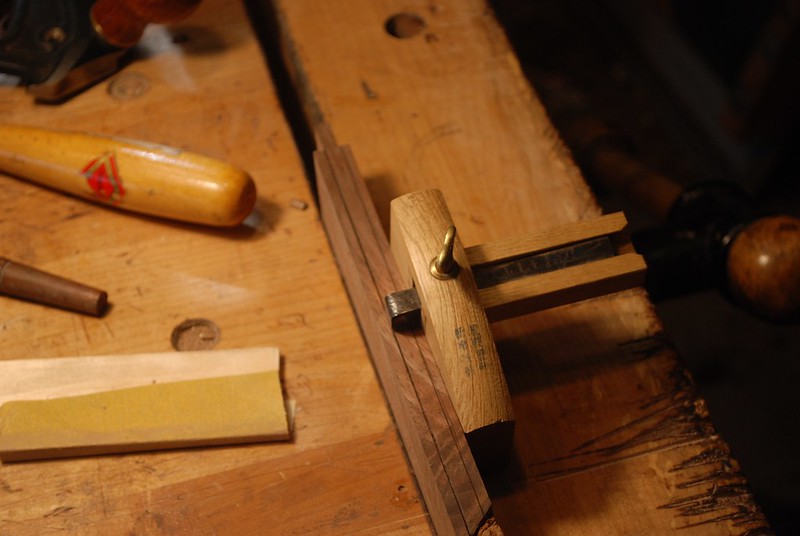
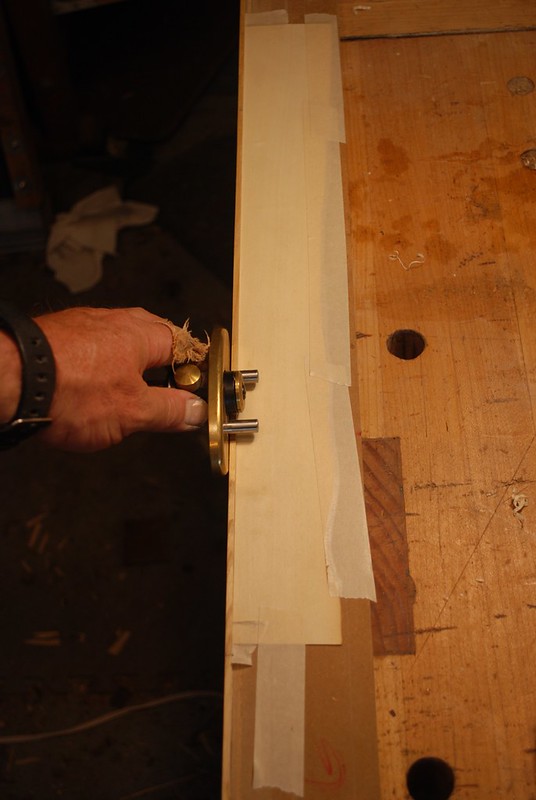
    In frame and panel construction getting the show surfaces to fit tightly with M&T joints is key. I like to do most paring freehand with chisels, but for this a job where a finally set shoulder plane really works well.
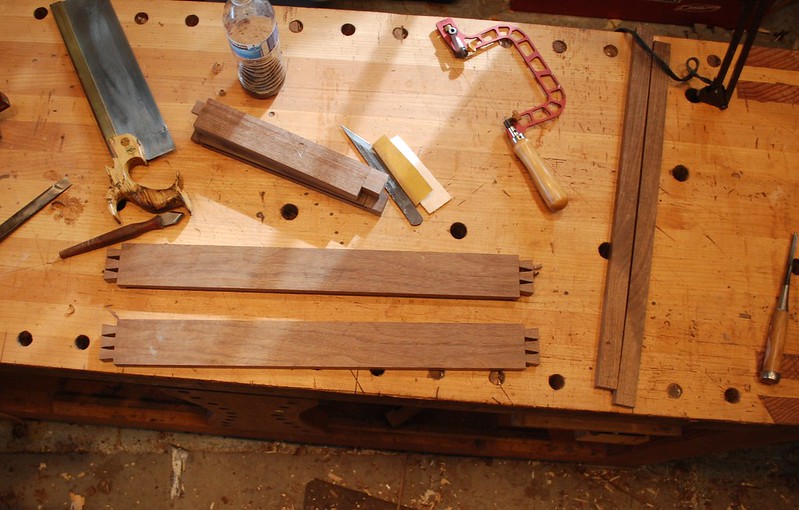
    Here’s the dry assembly before the dovetails are cut in top and bottom rails.

    5 by Mike Allen, on Flickr


    6 by Mike Allen, on Flickr

    7 by Mike Allen, on Flickr


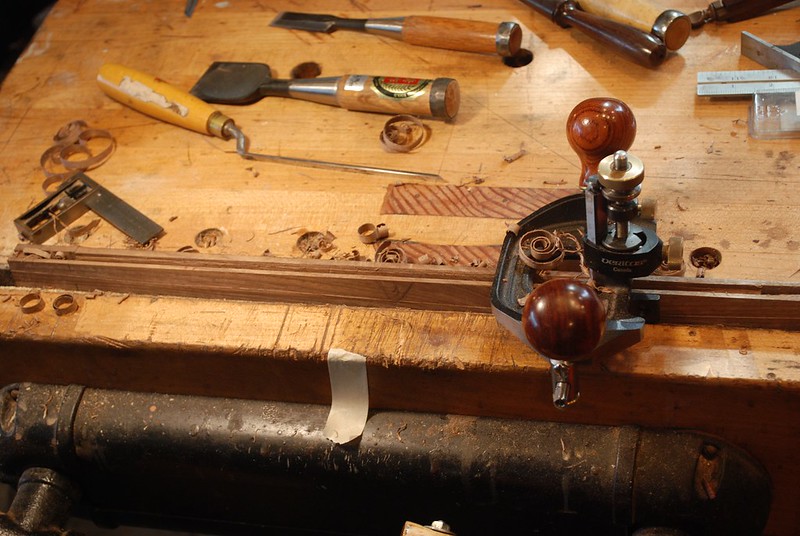
    Again because the bottom rails are proud of the vertical plane of the carcass by 3/16”, the panel fits into the bottom rail with an open, stopped rabbit. Stopped rabbit/grooves are a headache for me and I usually try and avoid them in the design. When necessary, like in this case, marking gauge and paring chisels work you better for me than rabbit planes that don’t reach to the end of the groove/rabbit.

    8 by Mike Allen, on Flickr

  2. #2
    Join Date
    Feb 2011
    Location
    Carlsbad, CA
    Posts
    2,230
    Blog Entries
    2
    Capturing the panel in the top rail also requires a stopped groove which is done with a 2 blade mortise gauge followed by fenced router plane.

    9 (2) by Mike Allen, on Flickr

    9 by Mike Allen, on Flickr


    Here’s some pics of sawing dovetails for rails. The outside shoulder cuts on dovetails are a place where IMHO paring a “saw grove” adjacent to the layout line is worthwhile to ensure a tight fit.

    11 by Mike Allen, on Flickr


    10 by Mike Allen, on Flickr

    Dry assembly of the front carcass frame hopefully shows how all the joinery components for carcass front/sides come together. This construction places a real premium on layout to ensure baselines for rail DTs correspond exactly to the thickness of side components.

    13 by Mike Allen, on Flickr

    12 by Mike Allen, on Flickr


    I added some Line and Berry inlay to the front panel using the Lee Valley string inlay tools. Cutting the grooves is really pretty straightforward. Important to plan the sequence so the curved elements are cut first, this allows pivot point to fall in to the framing grooves which are cut last, so hopefully they’re not visible.

    14 by Mike Allen, on Flickr

    Cutting the stringing to the correct thickness to fit grooves is important and a headache. If you don’t get it right the width of final inlay will be uneven. This is a little jig with a fence with the slicing tool. As you might imagine when seeking stringing that is .040” thick, any unevenness in the fence is a problem. I don’t get great results out of this; my best advice is make a couple passes with the stringing firmly in place and then flip it over to make a couple passes from the other side in hopes you get a uniform strip that doesn’t fracture with the grain.
    Actually now I think of it, the best way to do this is sliced the stringing a little wider than needed and then use a scraper to bevel one edge so that it fits into the groove with a wedge action.


    15 by Mike Allen, on Flickr

    Here’s the finished stringing. I didn’t follow my own advice about beveling the edge of the stringing so you can see there’s a couple places where thickness of the finished inlay isn’t uniform.

    16 by Mike Allen, on Flickr


    The “berries” are 1/8th inch diameter dowels made in contrasting ebony and cedar using a dowel firmer plate.

    17 by Mike Allen, on Flickr


    Here are the ebony and cedar berries. Hopefully will show up better once the finish is applied.


    18 by Mike Allen, on Flickr


    Here is a close-up of the front carcass panel that hopefully shows the 3/16” revealed of the bottom rail that will be joined via DTs.

    20 by Mike Allen, on Flickr


    With the front panel moving along it’s time to get back to the inlay design for the curved chest lid. This is really over my head; lots of small pieces like the outer braided rope which was covered in earlier post and sharp corners like the ¼” stars. Also because this inlay is going into a curved substrate, all the inlay pieces need to be thick enough to allow for final surfacing. There was no way I could saw the small stars with sharp corners into the background using a fret saw so I cut them out separately with a chisel, hot glued them in place, scribed for the recesses and hope for the best.

    23 by Mike Allen, on Flickr


    Here is sawing out the central elements of the inlay with the fret saw. As you can see, after adding all the other inlay elements the show surface is a gluey mess. Can’t tell what the results of this work will look like on till it’s finally glued into the chest top and the show surface can be cleaned up.


    24 by Mike Allen, on Flickr

    Here’s the finished product – you’ll note I’m not showing any close up pics because up close it’s far from perfect. That said, I’m pretty darn proud of myself that the whole thing didn’t turn into firewood!

    25 by Mike Allen, on Flickr

  3. #3
    Join Date
    Feb 2011
    Location
    Carlsbad, CA
    Posts
    2,230
    Blog Entries
    2
    26 by Mike Allen, on Flickr


    Next up will be building the sides and assembling the carcass and then hoping like heck the top actually fits. I’ll try and post more pictures as build progresses.

    Thanks for looking, all the best Mike

  4. #4
    Join Date
    Nov 2015
    Location
    Freiburg, Germany
    Posts
    223
    you should be proud of yourself! Amazing how the inlay pops when the top surface is cleared. Thanks for sharing the progress!

  5. #5
    Join Date
    Feb 2016
    Location
    Edmonton, Alberta
    Posts
    350
    Mike, as always, amazing. What an inspiration to actually go to the shop and make something.

  6. #6
    Nicely done! I think a lot of us are taking notes over here...

  7. #7
    Join Date
    Feb 2011
    Location
    Carlsbad, CA
    Posts
    2,230
    Blog Entries
    2
    Thanks much for the feedback.

    Initially I planed the inlay flush with the curved chest top, but due to the alternating direction of grain for the various inlay pieces there was some tear out. Ultimately card scrapers yielded the best results. Certainly not perfect, but good enough for me.

    Thanks for looking, Mike

    50.JPG

  8. #8
    Join Date
    Jun 2013
    Location
    Neither here nor there
    Posts
    3,838
    Blog Entries
    6
    This gets the pirate seal of approval. Very nicely done. I say again, I do a lot of intricate inlays, and I respect what it took to do the rope and stars. Very well executed.

  9. #9
    Join Date
    Jun 2010
    Location
    twomiles from the "peak of Ohio
    Posts
    12,169
    The Pirate.JPG
    The Pirate seems to like it, too....

Posting Permissions

  • You may not post new threads
  • You may not post replies
  • You may not post attachments
  • You may not edit your posts
  •