Originally Posted by
Hasin Haroon

The plane would be a lot easier to balance and cut if you didn't use it so far away from the edge. A cam rest would help with that if you absolutely needed to cut so far, but for a board that size, why not just flip it and cut closer? It's a perfectly easy cut that way. And as someone else pointed out, you shouldn't be needing the knickers for cuts along the grain.
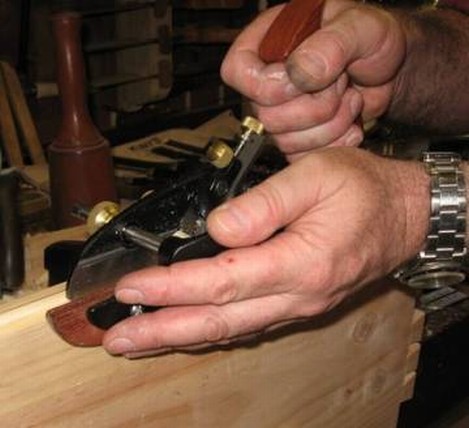
Actually it's not easier! With the fence starting level with the edge and your thumb on top you have the leverage advantage of the long rods for control. We did play with it closer and had less control. Once the cut starts the fence drops and makes precise control very difficult. Don't forget you will want to use it across wood some day not just on the edge.
We wanted to try the nickers, partly because of some varying grain on part of the maple. Clearly they are essential across the grain. Most of our testing was done with the nickers completely removed.
The cam rest may be worth a try, I will see if I can create one.
The most surprising thing is the serious friction and heat generated by the skates on the maple.
You can do a lot with very little! You can do a little more with a lot!


 Reply With Quote