Page 1 of 2 12 LastLast
Results 1 to 15 of 25

Thread: Installing Blum Undermount Slides

  1. #1
    Join Date
    Apr 2009
    Location
    fayetteville Arkansas
    Posts
    631

    Installing Blum Undermount Slides

    Soon I will building some new face framed cabinets for our kitchen and plan to use Blum Tandem Under mount slides for most of the drawers. It has been a few years since I've installed under mounts, Hettich I believe was the brand I last installed. My question is it best to purchase the rear mount sockets for the Blum slides or just install a wood spacer and attach the slides to the carcass side?
    thanks-

  2. #2
    Join Date
    May 2012
    Location
    Gatineau, Québec
    Posts
    298
    Hello Julian,

    I went through the kitchen overhaul project (plywood boxes; face frames and inset doors and drawers) and opted for the same Blum undermount slides (very happy with the result). I used wood spacers rather than rear mount, as I felt this provided me with better fastening choices. I made the spacers from offcuts.

    You may wish to consider using the adjusters that allow you some "fine tuning" in the three axis for the drawer fronts (probably not necessary if you use overhanging fronts and doors).

    Have fun for the many hours ahead of you!

    J.

  3. #3
    Join Date
    Jan 2009
    Location
    N.E, Ohio
    Posts
    3,029
    I have done both methods and prefer building out the side to mount the slide. If you have two drawers side by side in one cabinet box building out the side is not an option. In this case you will need the rear mounts and I recommend 1/2" ply backs not 1/4". Other option with the rear mounts is to put pieces across the back to screw the rear mounts into.
    George

    Making sawdust regularly, occasionally a project is completed.

  4. #4
    Join Date
    Jan 2012
    Location
    mid-coast Maine and deep space
    Posts
    2,656
    My preference is to build my sides flush with the face frames - no blocking or other accommodations required. I build my bottom flush with the face frame bottom rail too. The top rail is flush on the top edge of the cabinet but overlays into the cabinet.
    "... for when we become in heart completely poor, we at once are the treasurers & disbursers of enormous riches."
    WQJudge

  5. #5
    Join Date
    Dec 2004
    Location
    Cincinnati, OH
    Posts
    924
    The Blum tandem undermount slides that I purchased from Rockler about 6 weeks ago had the rear mounts included in each package.
    Rustic? Well, no. That was not my intention!

  6. #6
    Join Date
    Dec 2010
    Location
    WNY
    Posts
    9,715
    What Sam said. Keep it simple.

    John

  7. #7
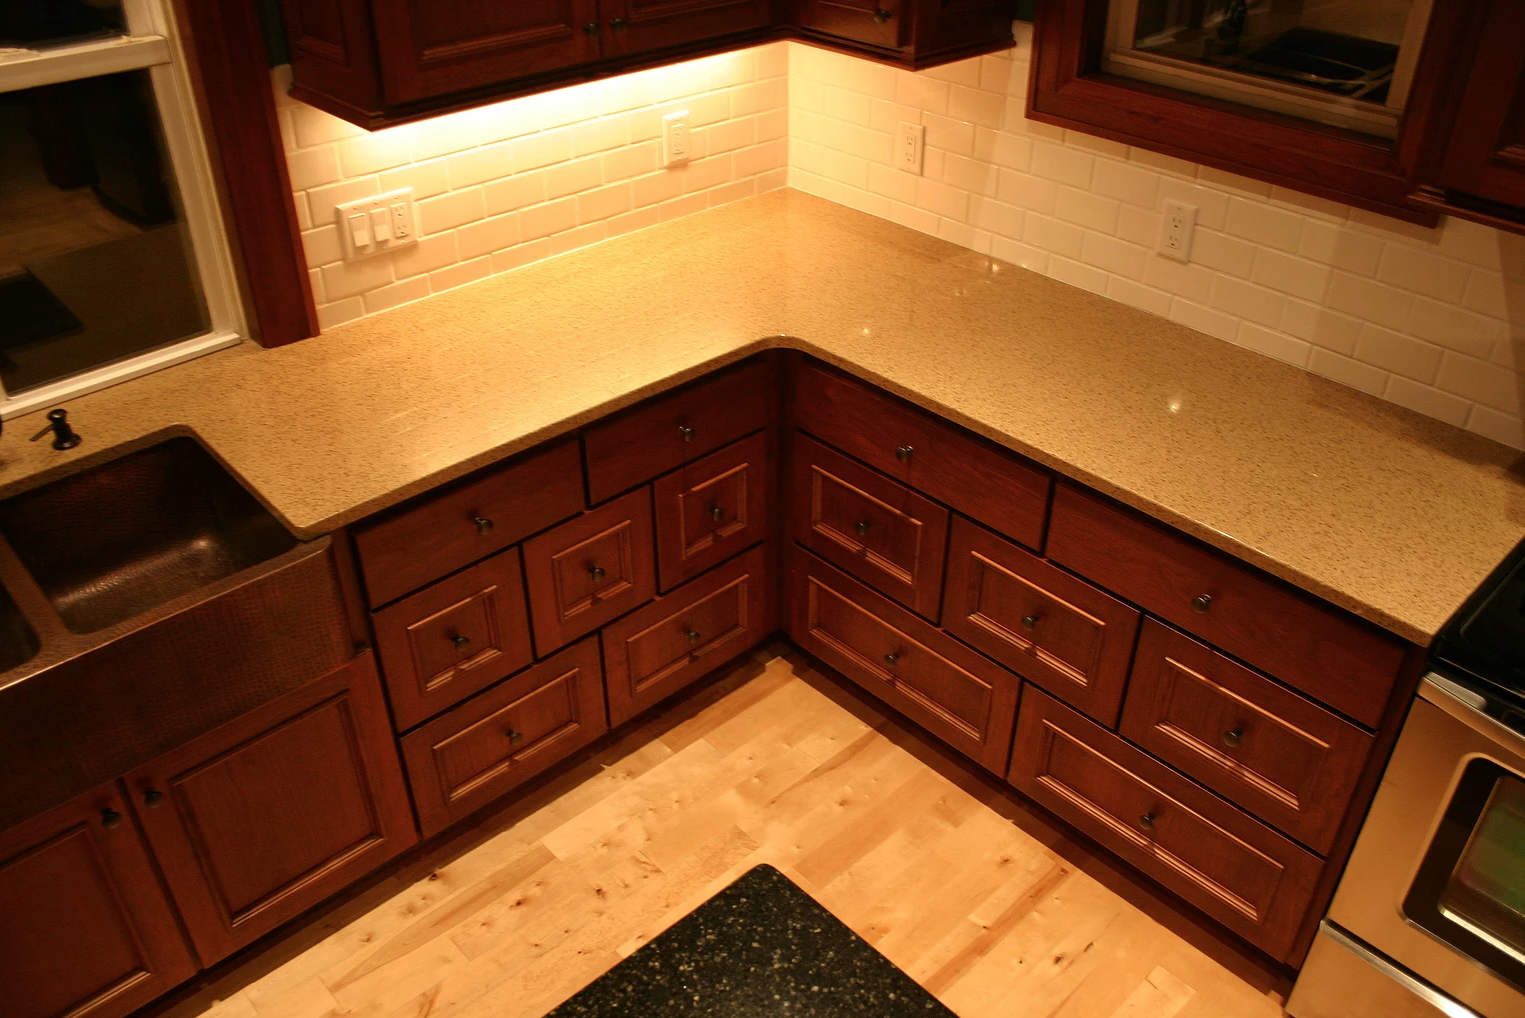
    I build all of mine out. I chop up otherwise useless drops of 3/4" plywood for my build out. 2-1/4" wide, the length of the slide. I just slip it in behind the frame, mark the edge of the frame, then do a double resaw, (cut half way through on one edge, then flip and finish the cut on the opposite edge), in the tablesaw to get them to thickness. Then we just glue and nail or staple them in. If you have a void in the plywood and the screw doesn't grab nicely, you just move to another hole. Thankfully Blum doesn't short you on holes.

    I like being able to use more screws, and 90% of the work we do is inset, so the slide ends up being behind the face frame where if you didn't build them out, you wouldn't have anything to attach to if the carcass isn't flushed out with the frame. That takes too long, and requires more material if you have drawer side by side with another.

  8. #8
    Join Date
    Sep 2009
    Location
    Three Rivers, Central Oregon
    Posts
    2,340
    Quote Originally Posted by Sam Murdoch View Post
    My preference is to build my sides flush with the face frames - no blocking or other accommodations required. I build my bottom flush with the face frame bottom rail too. The top rail is flush on the top edge of the cabinet but overlays into the cabinet.
    That works great where the cabinet has a single stack of drawers, not so much where you've got a long cabinet with 1 or more dividers that support 2 or more stacks of drawers...you can only flush up one side or the other of the middle stile(s), unless your mid-cabinet stiles are 3/4" to match your plywood.
    Scott Vroom

    I started with absolutely nothing. Now, thanks to years of hard work, careful planning, and perseverance, I find I still have most of it left.

  9. #9
    Join Date
    Dec 2010
    Location
    WNY
    Posts
    9,715
    Quote Originally Posted by scott vroom View Post
    That works great where the cabinet has a single stack of drawers, not so much where you've got a long cabinet with 1 or more dividers that support 2 or more stacks of drawers...you can only flush up one side or the other of the middle stile(s), unless your mid-cabinet stiles are 3/4" to match your plywood.

    For the mid stiles I build the FF flush on one side and pad out the other.

    This same approach of building the FF flush to the inside edge of the cabinet also allows you to use frameless hinges with no extra work.

    John

  10. #10
    Join Date
    Sep 2009
    Location
    Three Rivers, Central Oregon
    Posts
    2,340
    Quote Originally Posted by John TenEyck View Post
    For the mid stiles I build the FF flush on one side and pad out the other.


    John
    The first center stile base I built I centered the 3/4" ply divider on the 1-1/2" stile.....and then in hit me
    Scott Vroom

    I started with absolutely nothing. Now, thanks to years of hard work, careful planning, and perseverance, I find I still have most of it left.

  11. #11
    Flushing out a long run of partitions better come with a free pad to write my suicide note on. This is a pretty typical setup for me with the drawers be staggered in width on different levels. That would be unpleasant at best to get to come out perfect. Especially with plywood where the thickness varies so much.


    This is actually the first time I did it.

  12. #12
    Join Date
    Aug 2013
    Location
    Hatfield, AR
    Posts
    1,170
    I haven't gone to Martin's drawer extravaganza, by I like to offset drawers as well. As to the OP question: mount to the side is my method.
    -Lud

  13. #13
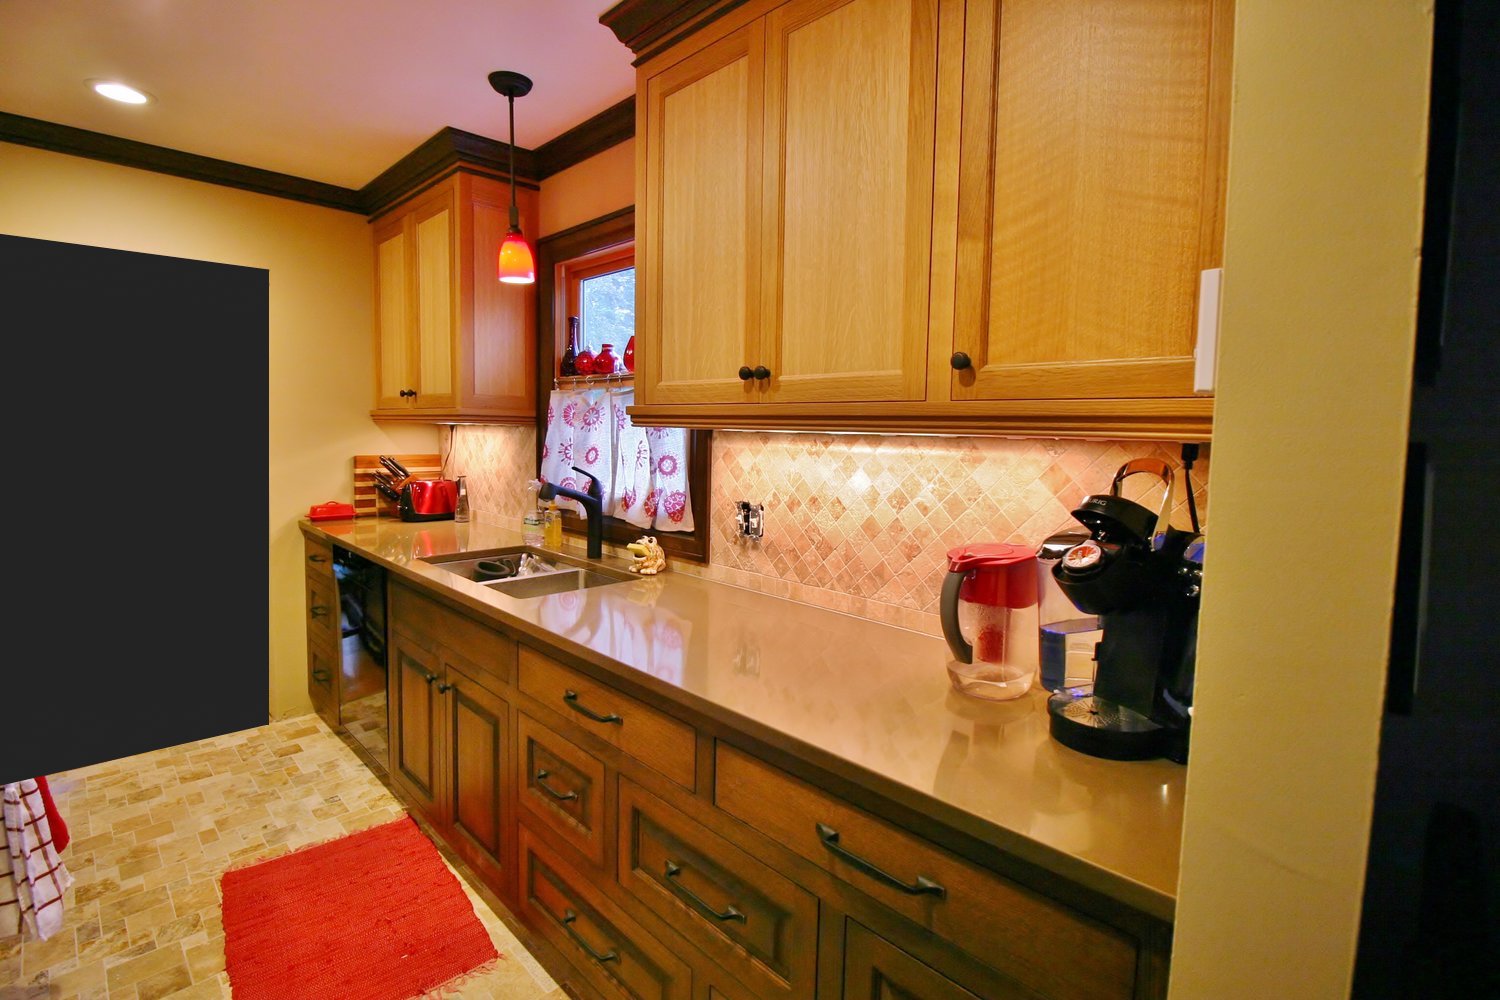
    Pretty cool, Martin. Like how you put the receptacle in the corner, too. Hate having to cut them into a raised panel.

  14. #14
    Join Date
    Jan 2012
    Location
    mid-coast Maine and deep space
    Posts
    2,656
    Well YES indeed Martin if one is to offset all the drawers and face frames as you have beautifully done, my technique qualifies as a nightmare project - well difficult at the least. BUT - in the standard cabinetry construction of the day in which each cabinet contains a bank of drawers or a set of doors with a drawer above or some variation on that theme, flushing out the sides is simple and clean.

    For the typical kitchen or bath or library cabinetry I normally use 1-1/2" wide face frames attached to 3/4" ply sides. Each cabinet is built as its own box and ganged up with its adjacent cabinet. One cabinet can be 48" wide with a full bank of drawers, flanked by a two door cabinet with a drawer above and a corner cabinet or single door cabinet, in any variation. I can gang up a 5' , 6', 8' or 12' run of cabinets (only limited by how much cabinetry can be moved or fit through the door to its designated room at one time - otherwise I assemble in the field) BUT - the face frame is made up as one unit and attached in the shop or in the field - scribe verts and field joints added as necessary but all appearing as one grand design when complete. Each cabinet interior side is flush with its respective face frame.

    Installing drawers, adjustable shelves, or doors with this set up requires no extra parts or calculations. The inside box dimension, is the inside face frame dimension, is the drawer box size minus the required drawer slide clearance. Rollouts behind doors require some additional considerations.

    I don't like using less than 1-1/2" wide face frames or 3/4" plywood sides, for a number of reasons but I have used as wide as 4" face frames with the same flush/flush condition. The pads in this case are set between the cabinets to provide stability and precise dimensioning.

    All this to answer the OP's question. Of course there are no right answers - simply different methods to achieve the same objective. I prefer the nice clean look of a cabinet not filled with padded out drawer slides. If I were to build cabinets as you show Martin my plan would be to build horizontal rows of cabinets that would stack on each other and the face frame would still be flush to my individual box sides in each horizontal row. The frame would be assembled as a full piece that I would attach to the ganged up cabinetry with dominos or biscuits for alignment. More complicated than a conventional cabinet arrangement but manageable.
    "... for when we become in heart completely poor, we at once are the treasurers & disbursers of enormous riches."
    WQJudge

  15. #15
    Nice stuff, Martin. I just don't like "islands" on dry ground. Like the white kitchen best. Drawer arrangements and handiling of stove area and hood are super.

Posting Permissions

  • You may not post new threads
  • You may not post replies
  • You may not post attachments
  • You may not edit your posts
  •